Aliases
- How to add new Shell Aliases Group on site in CloudPanzer?
- How to add Shell Aliases to the site on CloudPanzer?
- How to change shell type for a user on a site in CloudPanzer?
- How to Navigate Shell Aliases on Cloudpanzer?
- How to organize aliases into groups in shell settings on CloudPanzer?
- How to push commands from Advance Shell Aliases on CloudPanzer?
How to add new Shell Aliases Group on site in CloudPanzer?
Shell alias groups are used to organize related command shortcuts (aliases) in a shell environment. They enhance organization, readability, and efficiency by categorizing commands, improving access to specific tools, and reducing naming conflicts. Alias groups streamline workflows, support customization, and promote collaboration in team environments. They make maintenance easier and facilitate quick transitions between different task contexts, contributing to a more structured and productive command-line experience.
Follow the steps below to add Shell Aliases
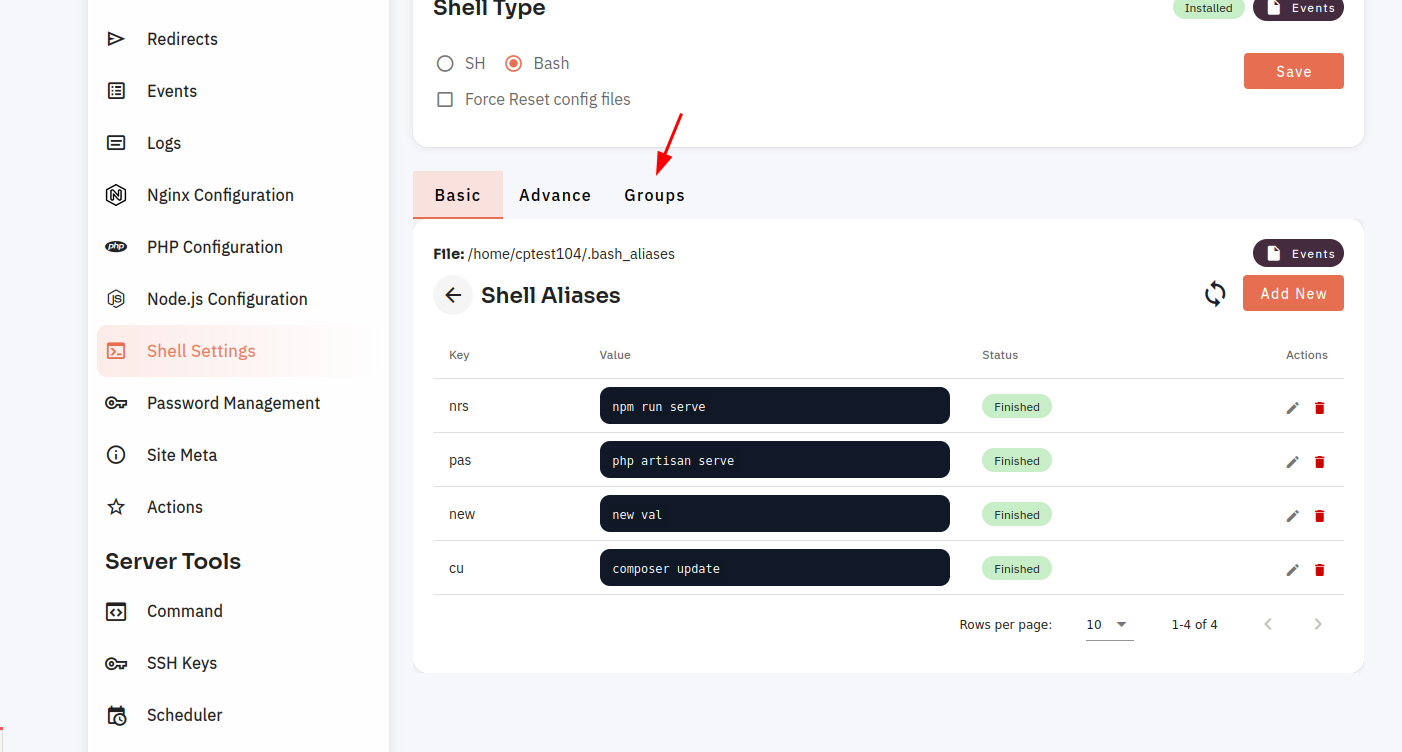
Navigate to the Shell Aliases
Use this link to view How to Navigate
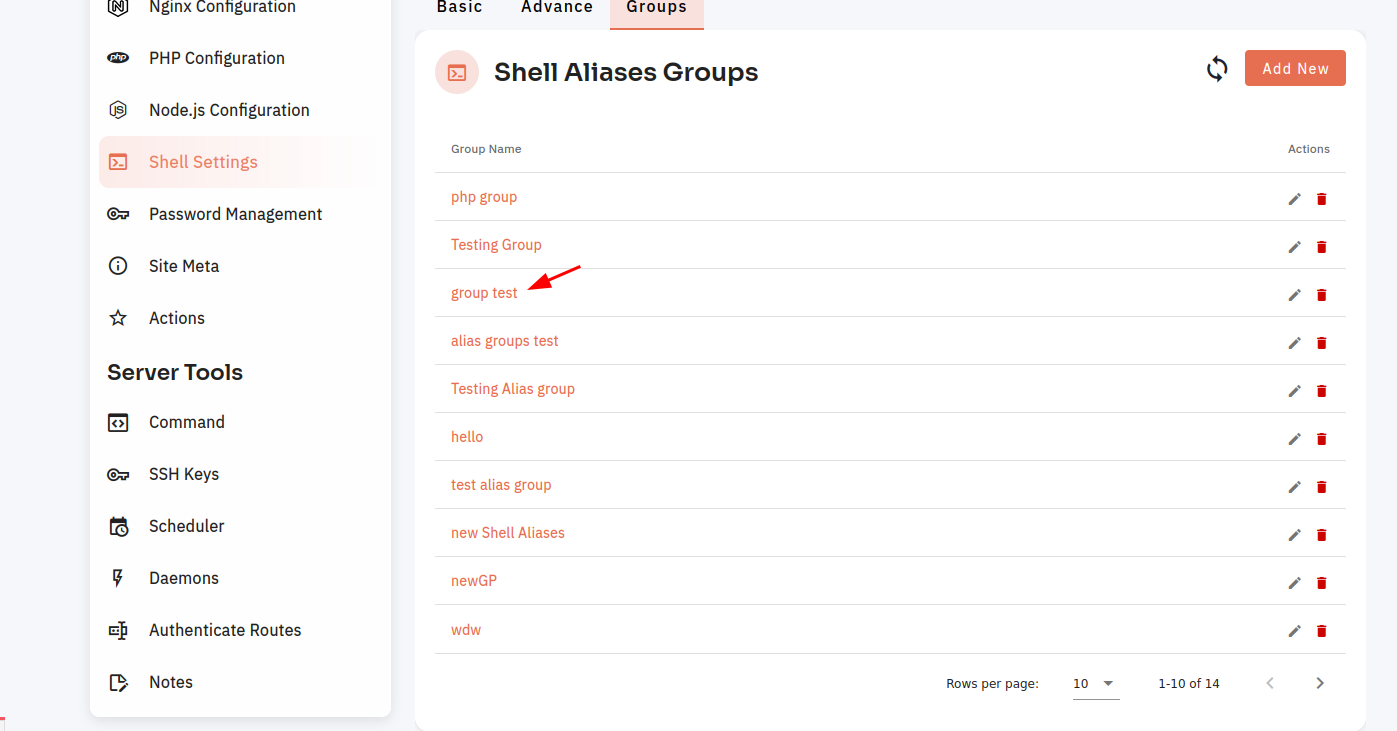
4. Click on the Groups tab.
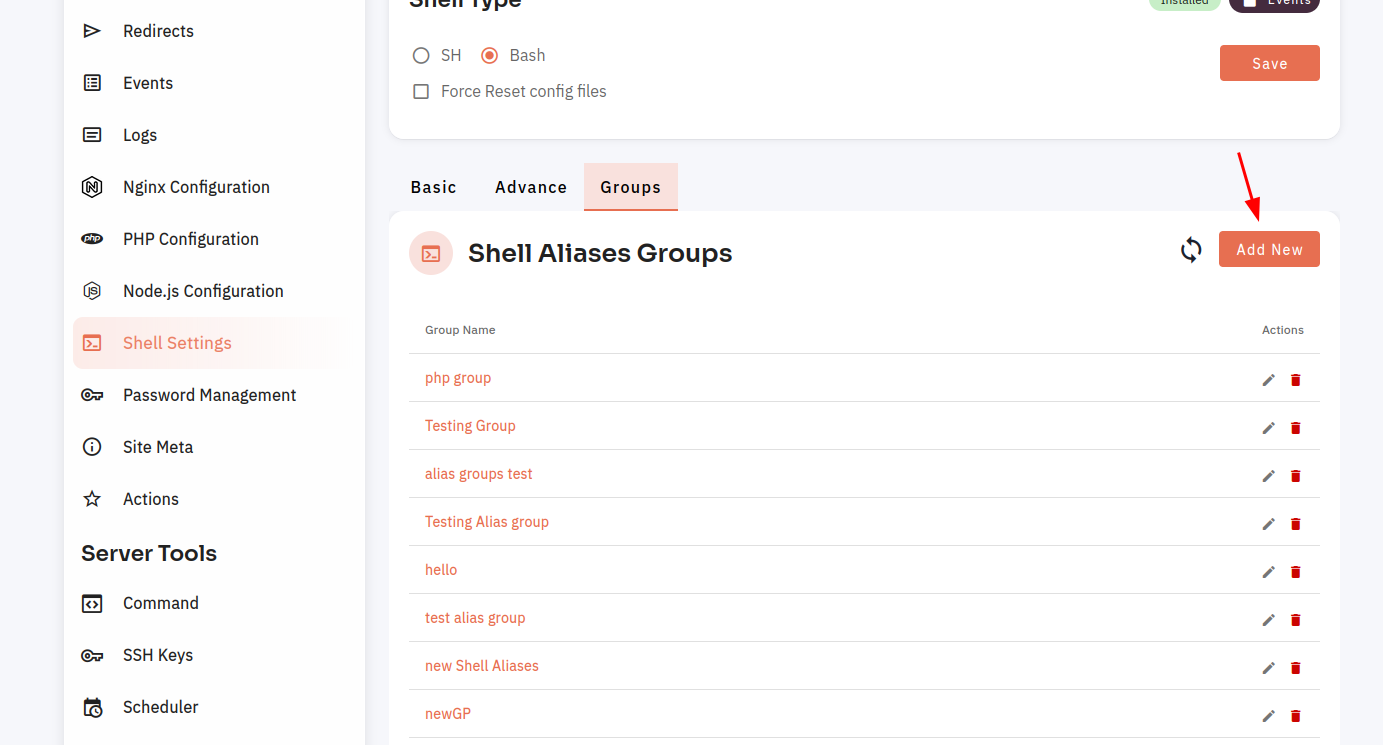
5. Click on the Add New Button.
6. Enter the Group name and then click on the Save button.
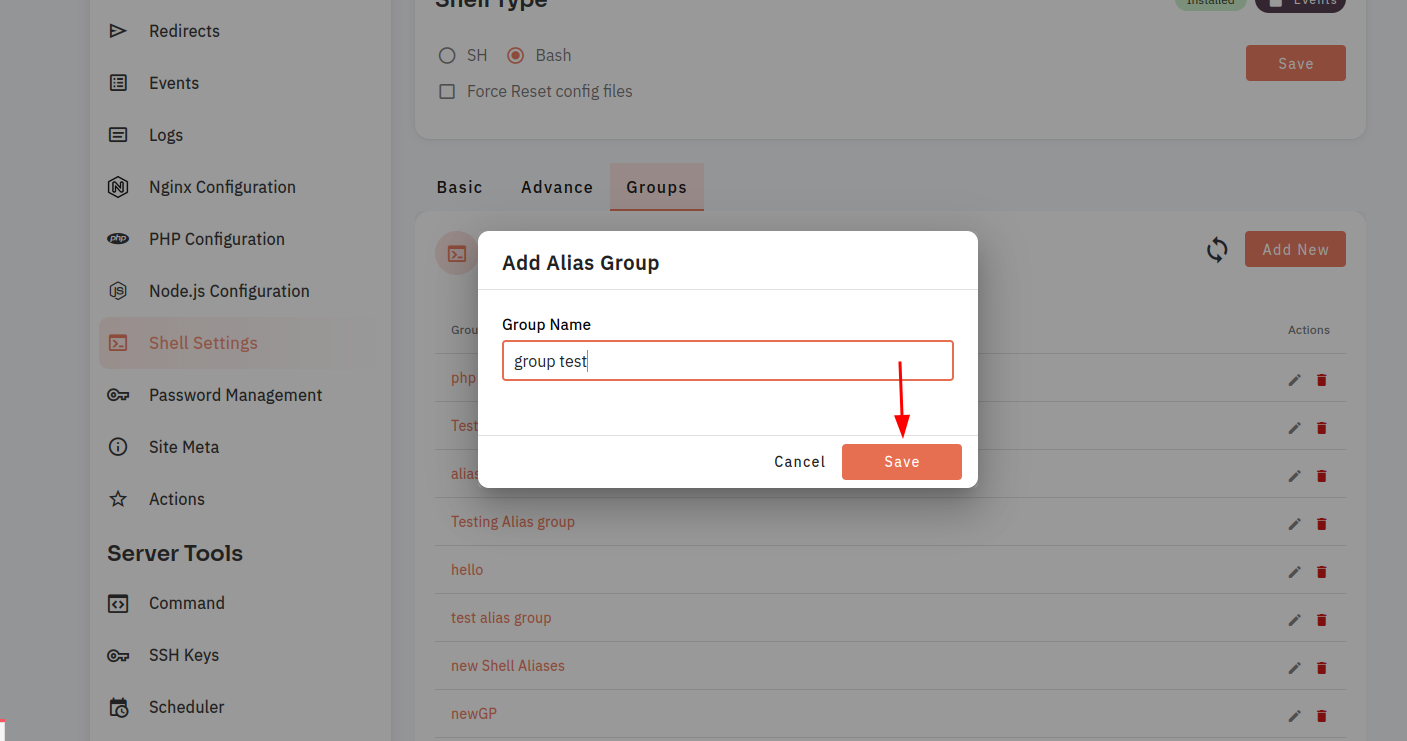
7. Here, you can see that the group added successfully.
How to add Shell Aliases to the site on CloudPanzer?
By creating and adding shell aliases to your web server, you can streamline your workflow and work more efficiently. Whether you are a beginner or an experienced administrator, aliases can save you time and make it easier to work with the CLI. With a little bit of setup, you can customize your shell environment to suit your needs and work more effectively.
Prerequisites :
You must have an Active Server and Active site. You can jump to the tutorial section if the above conditions are proper, Or first follow the links below to set up the prerequisites.
How to install a Server
How to Setup a Site
How to Navigate to Apps Under Website
Tutorial :
You can watch the Video or Continue reading the post.
Follow the steps below to add Shell Aliases
Navigate to the Shell Aliases
Use this link to view How to Navigate
4: Click on Add new button.
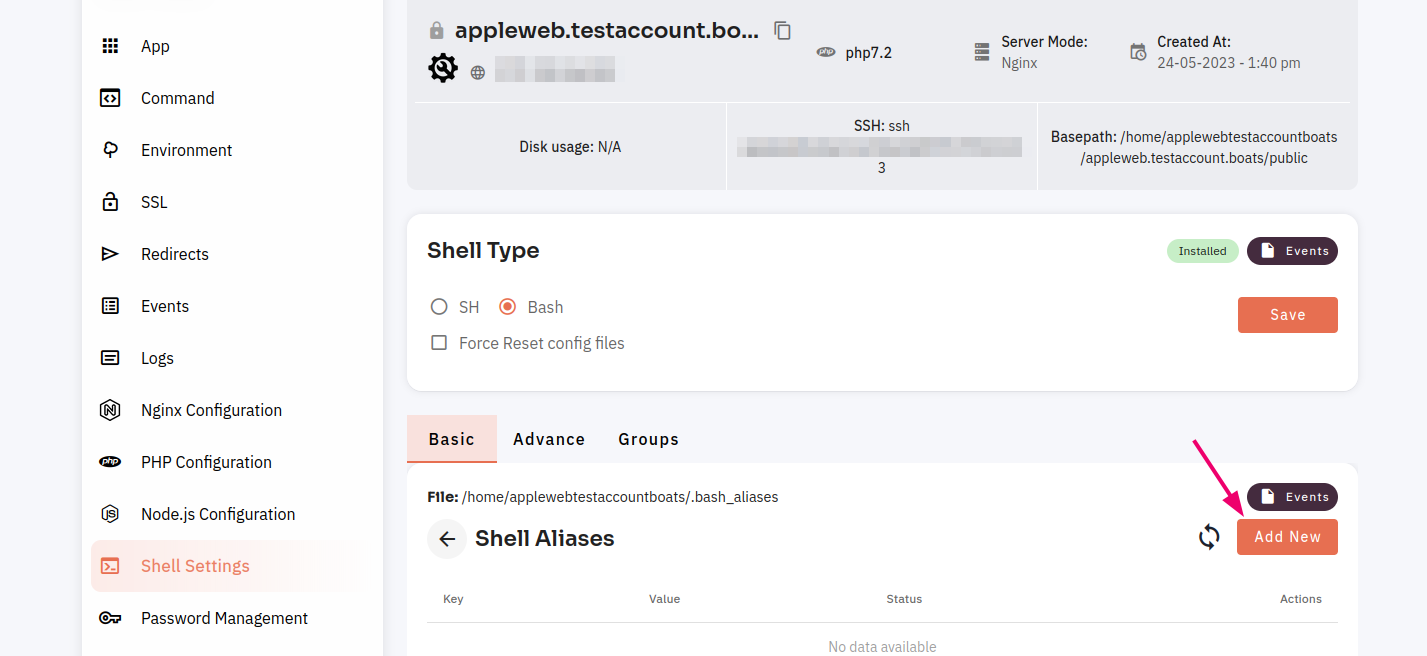
5: Fill in all fields and click on the save button.
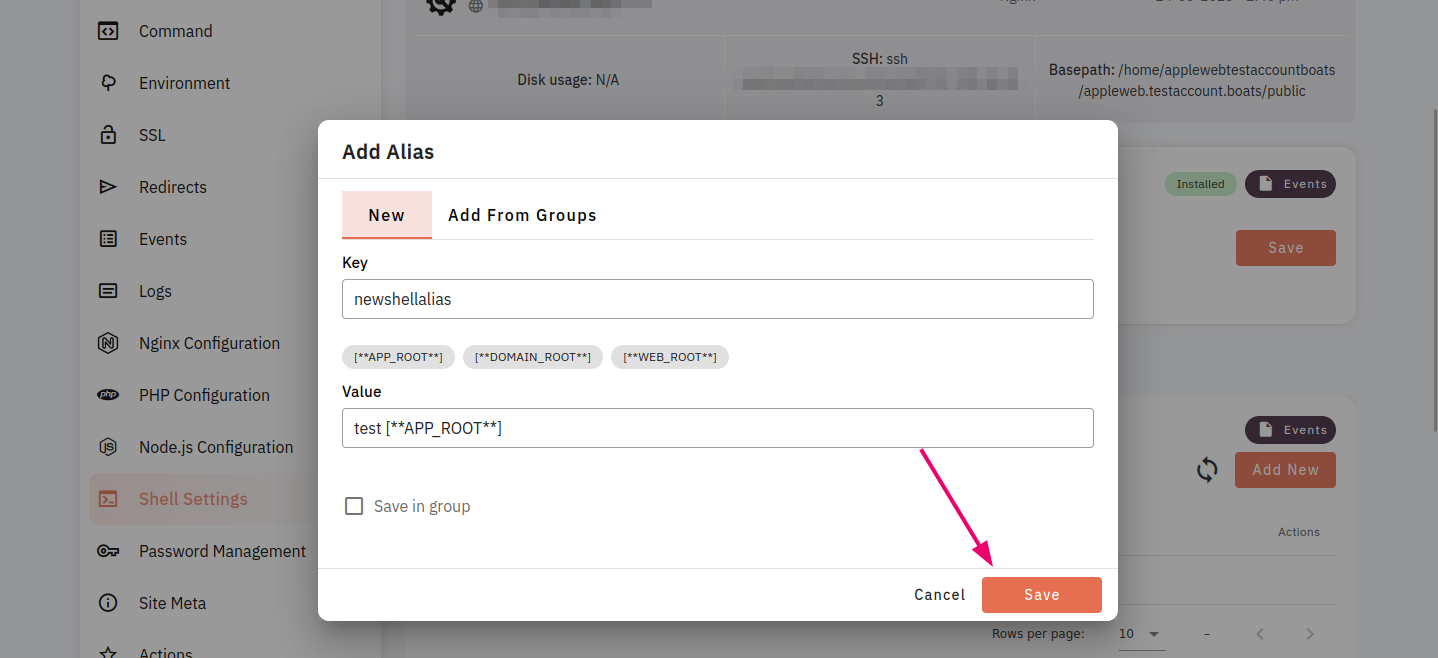
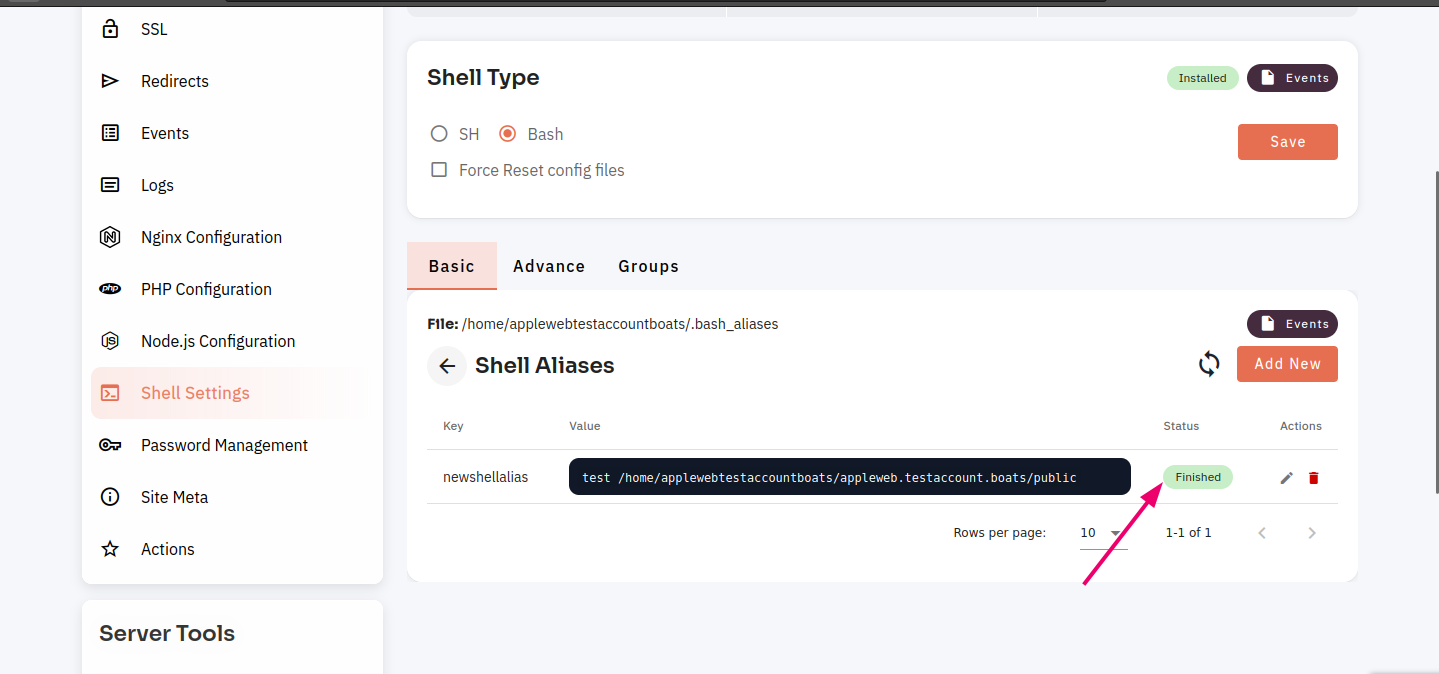
Here, you can see the alias added successfully.
How to change shell type for a user on a site in CloudPanzer?
In Unix-like operating systems, including Linux, you can create aliases for commands using either the "sh" (Bourne Shell) or "bash" (Bourne-Again Shell) shells. Both shells allow you to create aliases. It is essential to understand the various shells available and how to use them.
Prerequisites :
You must have an Active Server. You can jump to the tutorial section if the above conditions are proper, Or first follow the links below to set up the prerequisites.
How to install a Server
Tutorial :
You can watch the Video or Continue reading the post.
Follow the steps below to SH in shell settings.
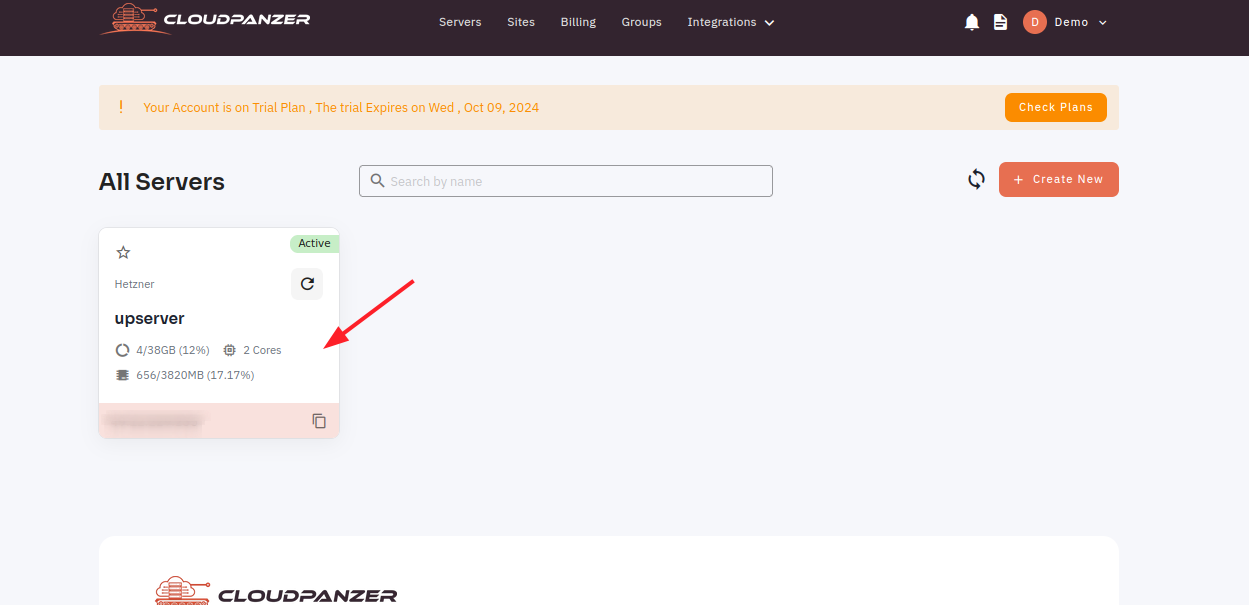
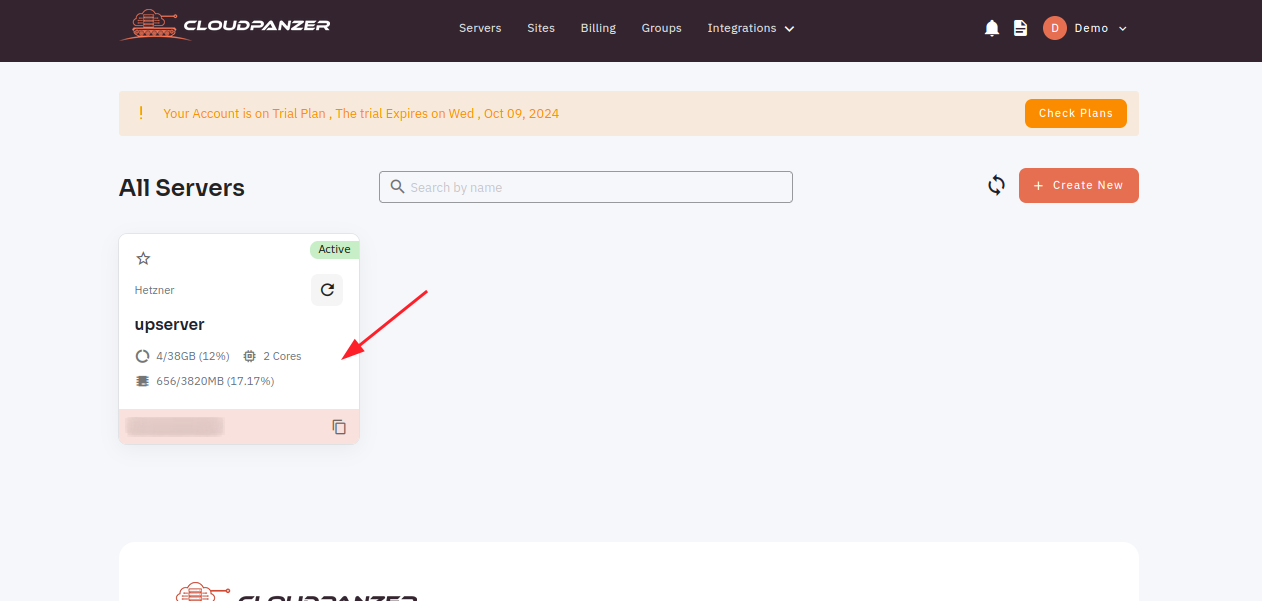
1: Once logged in, look for a "Server" and click on it.
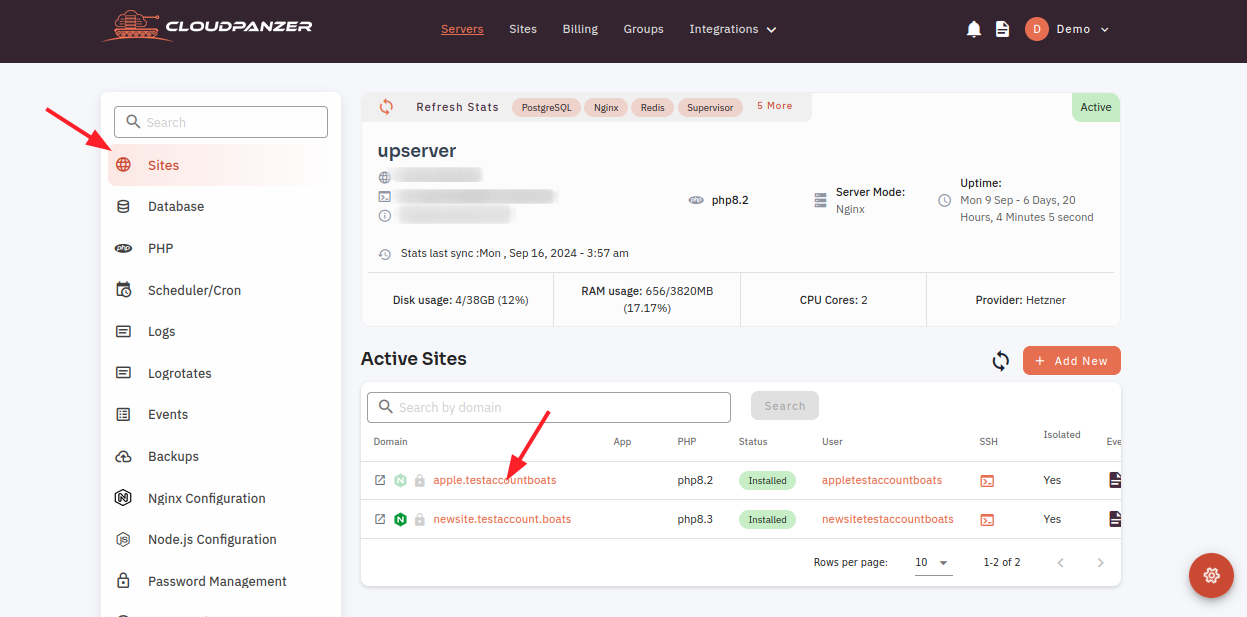
2. Select the Sites Option.
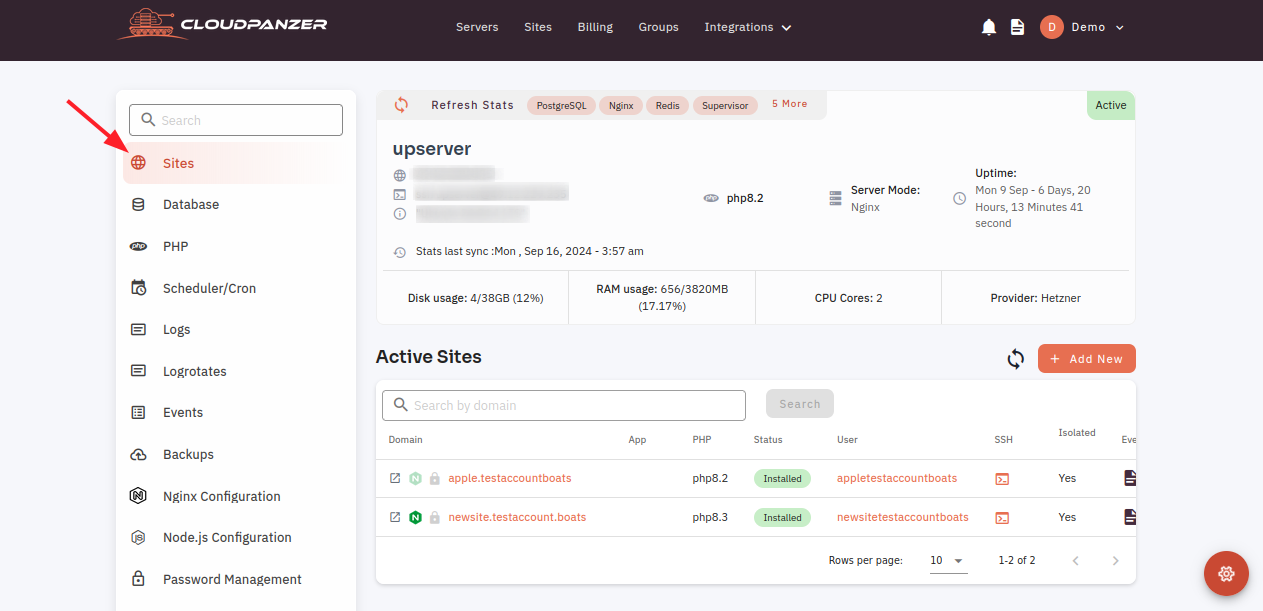
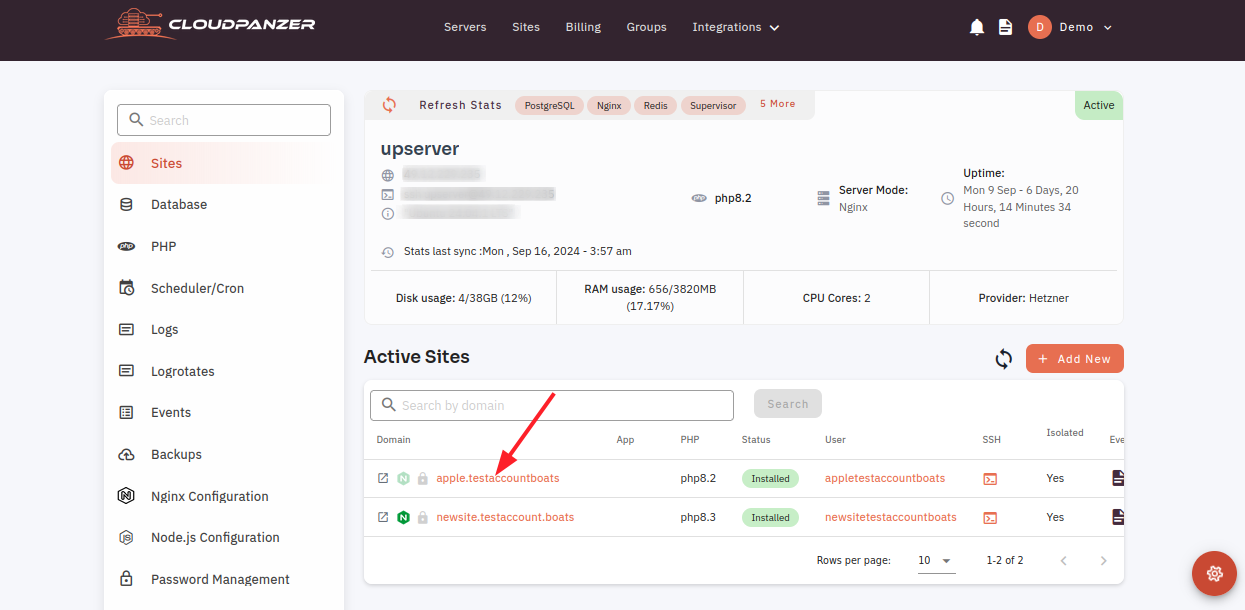
3. Select the site.
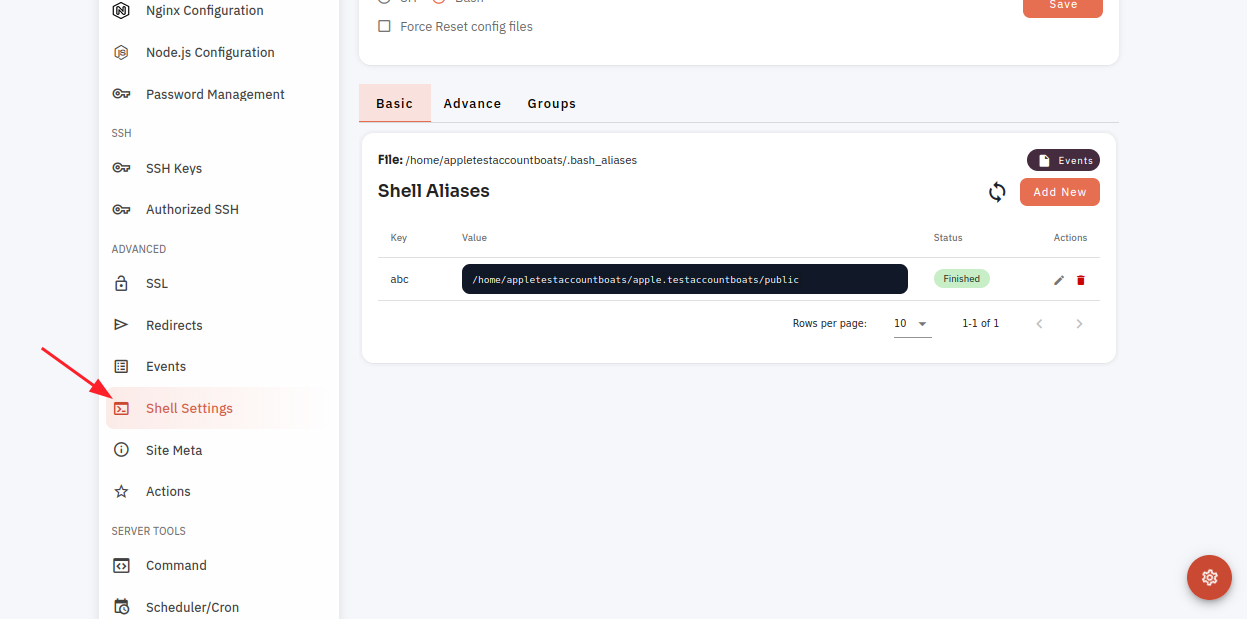
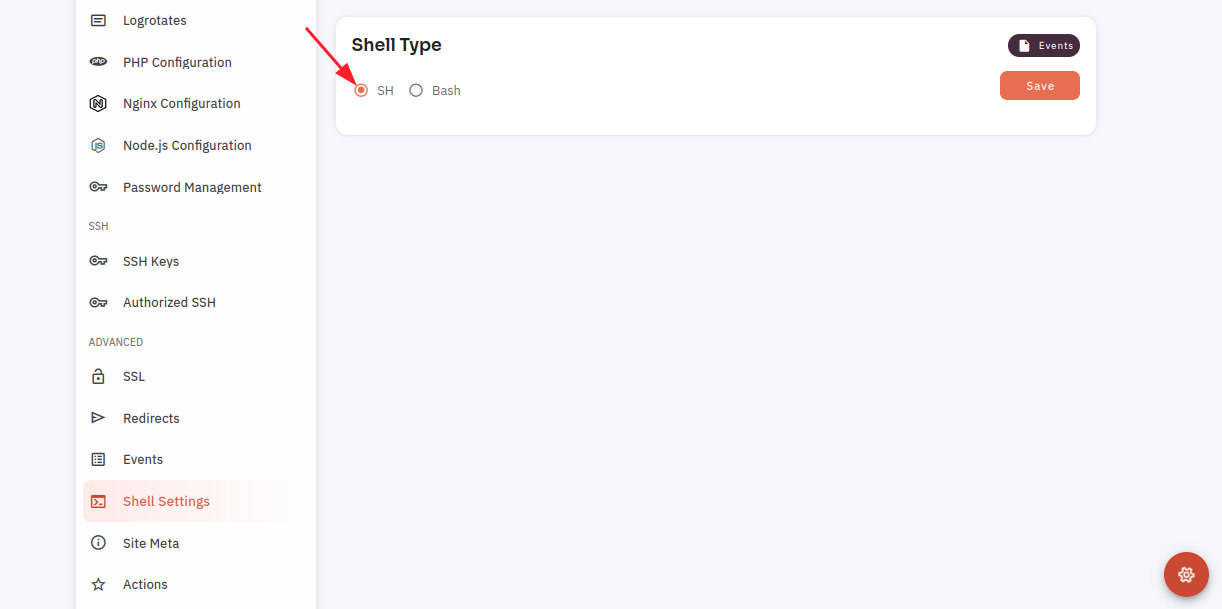
4. Select the Shell Settings Option.
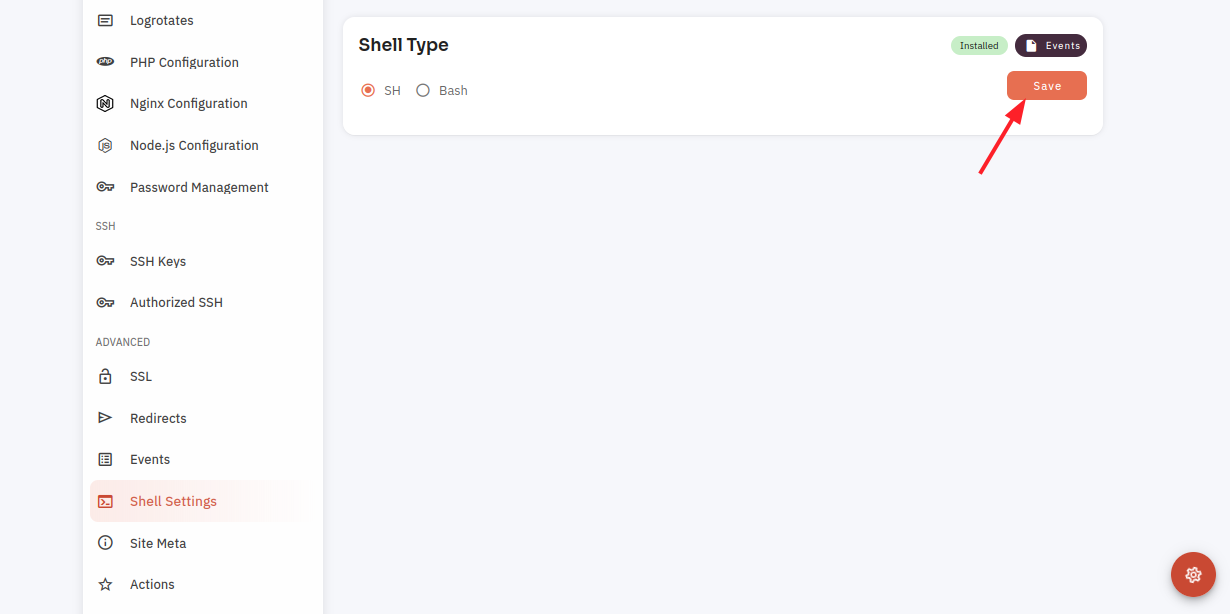
5. Click on the SH or Bash radio button.
6. Click on the save button.
How to Navigate Shell Aliases on Cloudpanzer?
Follow the steps below to navigate shell aliases:
1: Once logged in, look for a "Server" and click on it.
2: Click on the active site.
3: Click on the Shell Settings.
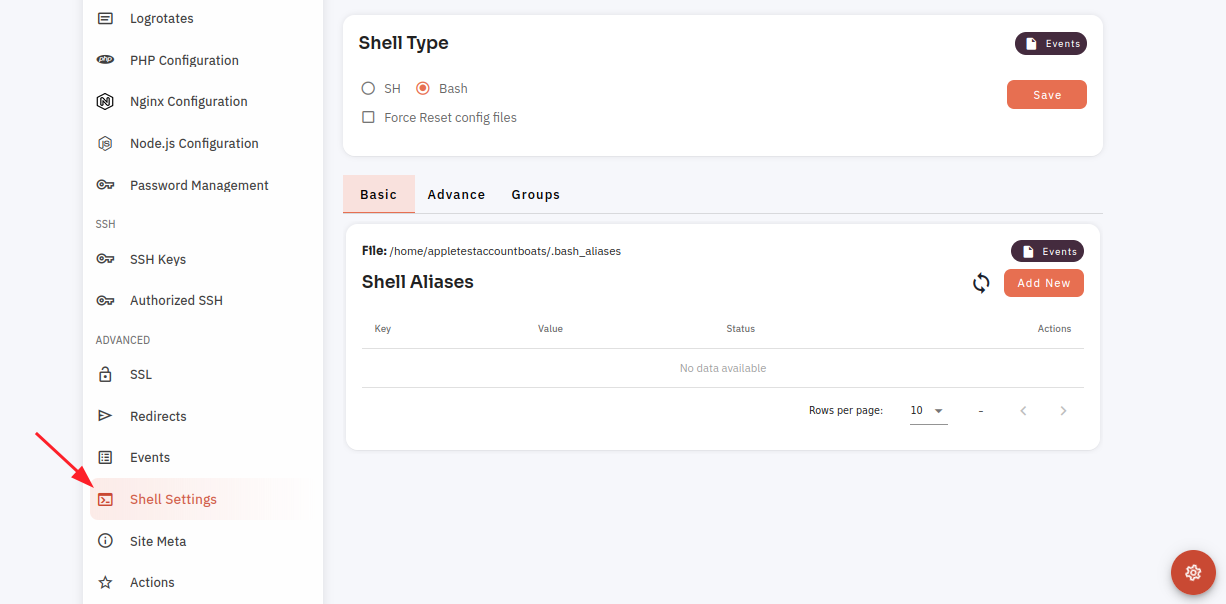
How to organize aliases into groups in shell settings on CloudPanzer?
Organizing aliases into groups in your shell settings improves efficiency, readability, and organization. This approach improves command execution, reduces mental load, and logically categorizes commands. It enhances collaboration, reduces errors, and simplifies maintenance, resulting in a more effective and structured command-line experience, especially in server administration and development scenarios.
Prerequisites :
You must have an Active Server and Active site. You can jump to the tutorial section if the above conditions are proper, Or first follow the links below to set up the prerequisites.
How to install a Server
How to Setup a Site
How to Navigate to Apps Under Website
Tutorial :
You can watch the Video or Continue reading the post.
Follow the steps below to add form groups
Navigate to the Shell Aliases
Use this link to view How to Navigate
4: Click on Add new button.
5. Click on the Add From Groups tab.
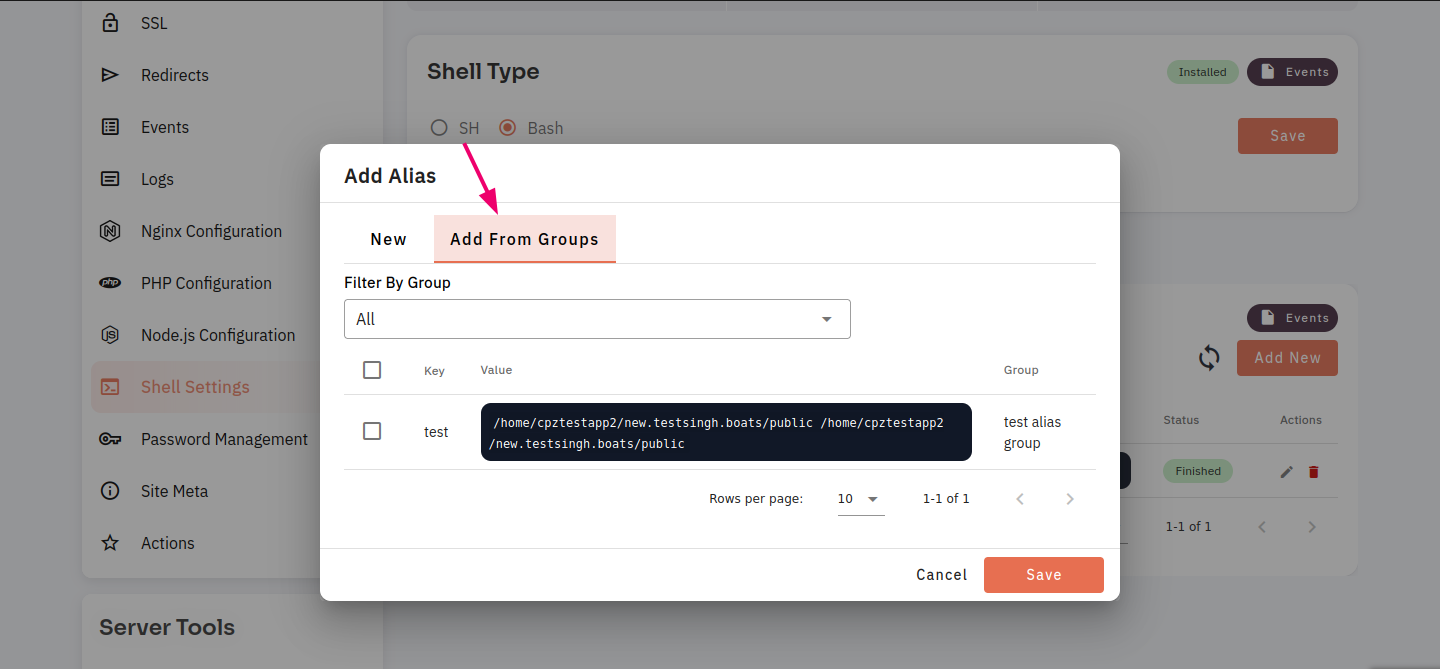
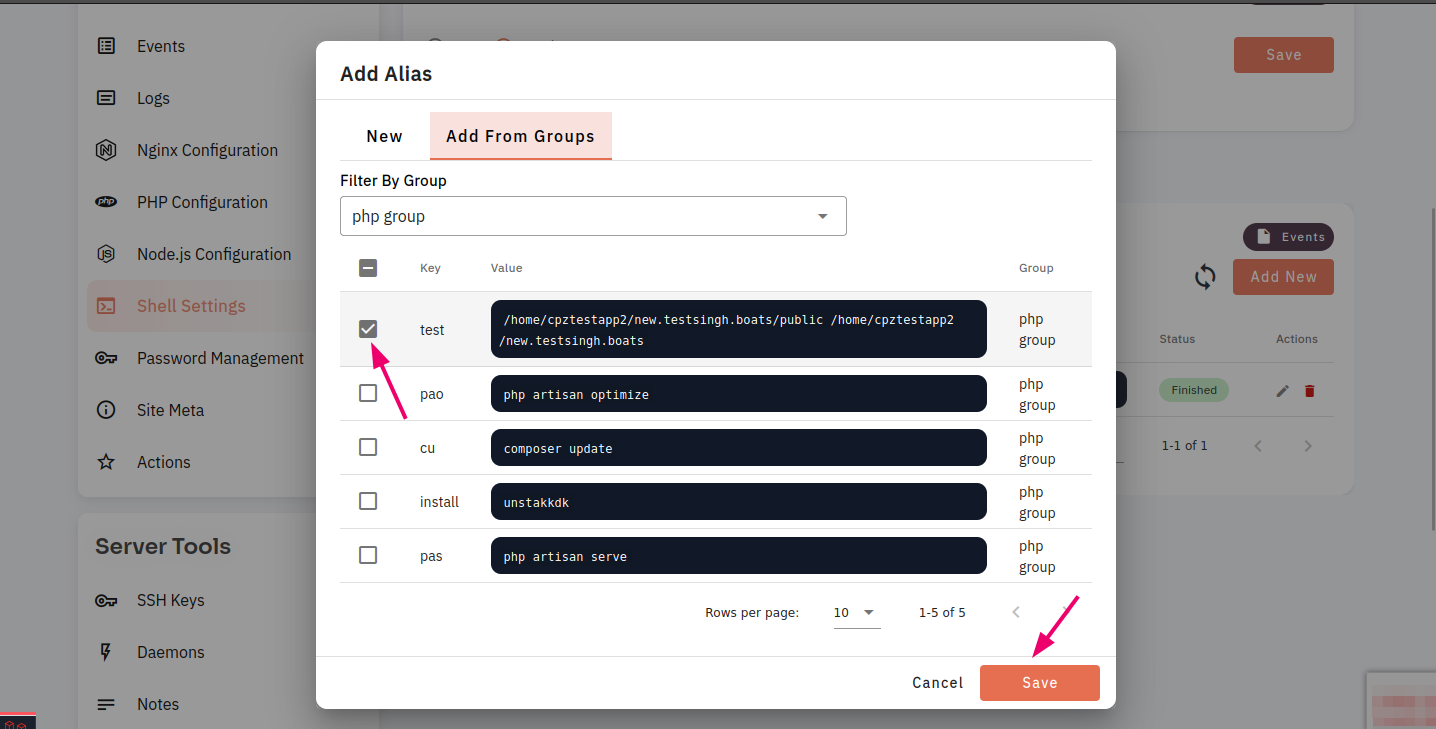
6. Open the dropdown and select the value then click on the save button.
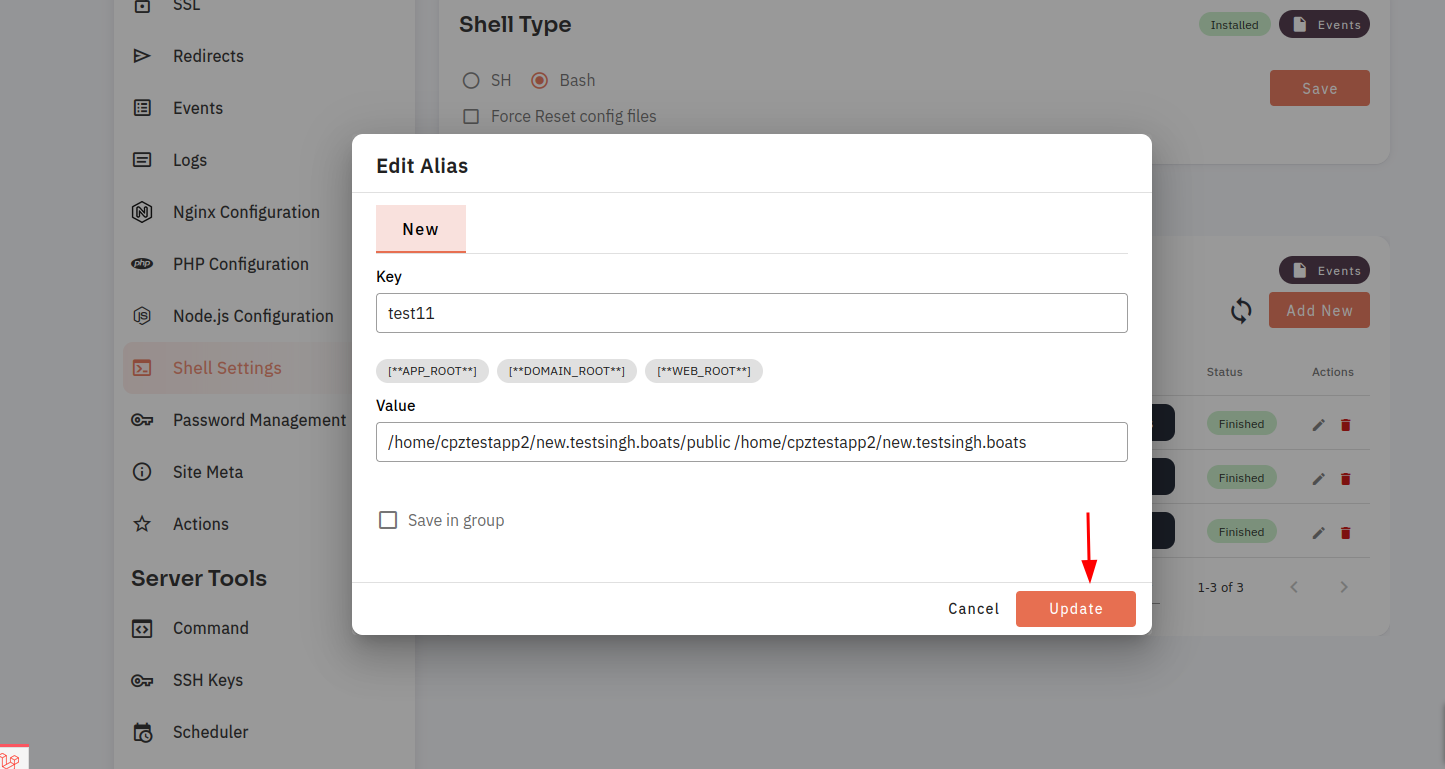
7. Here, you can see the Shell Aliases added successfully. You can also edit aliases by clicking on the edit icon.
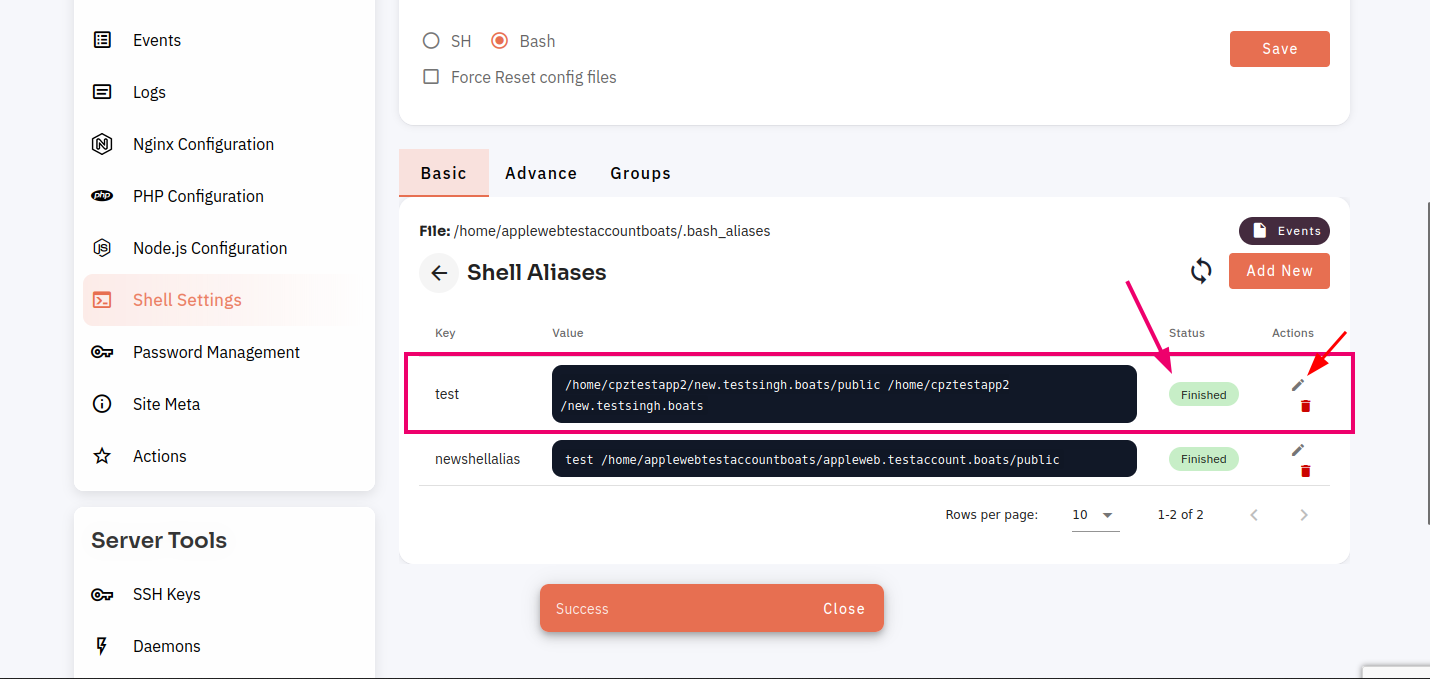
8. A dialog box will open. Make changes in key or value and then click on the update button.
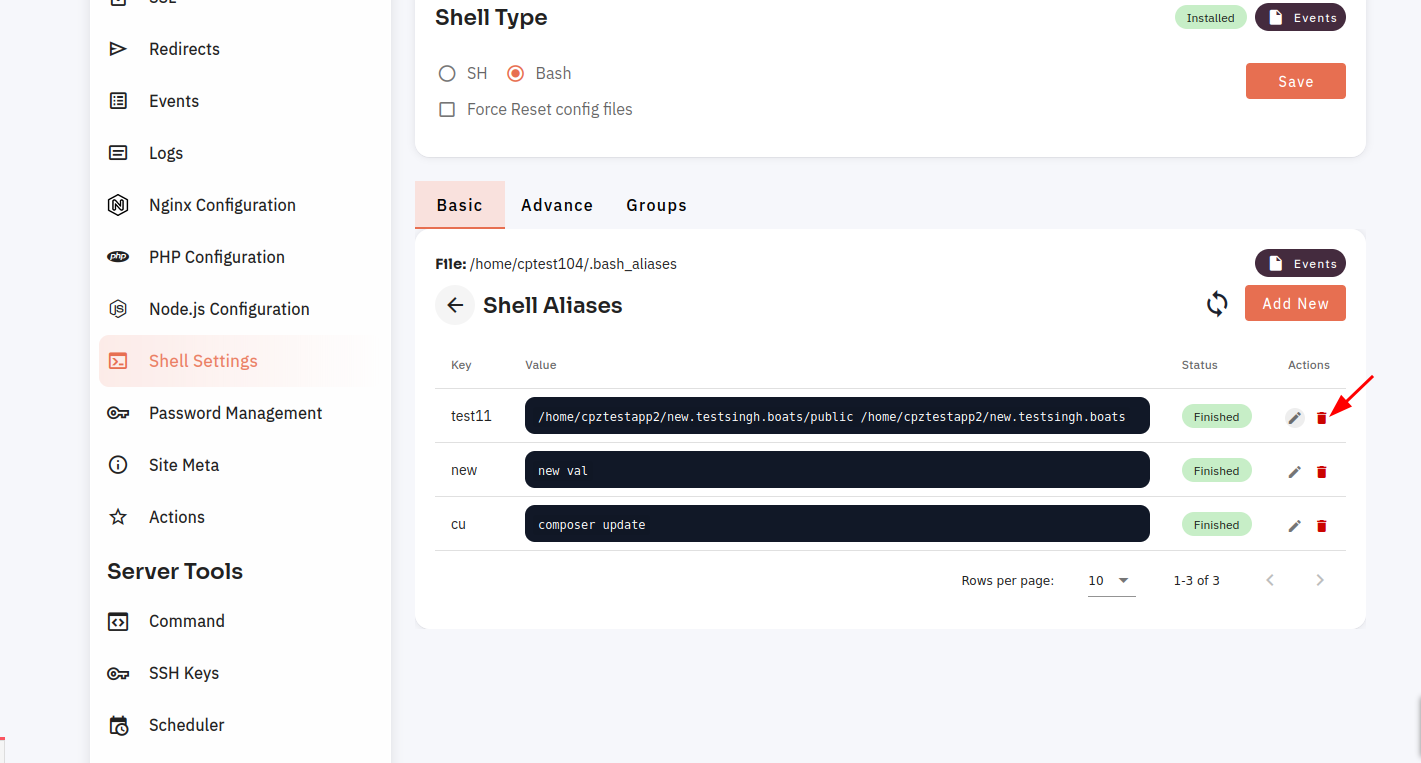
9. You can also delete aliases by clicking on the delete icon.
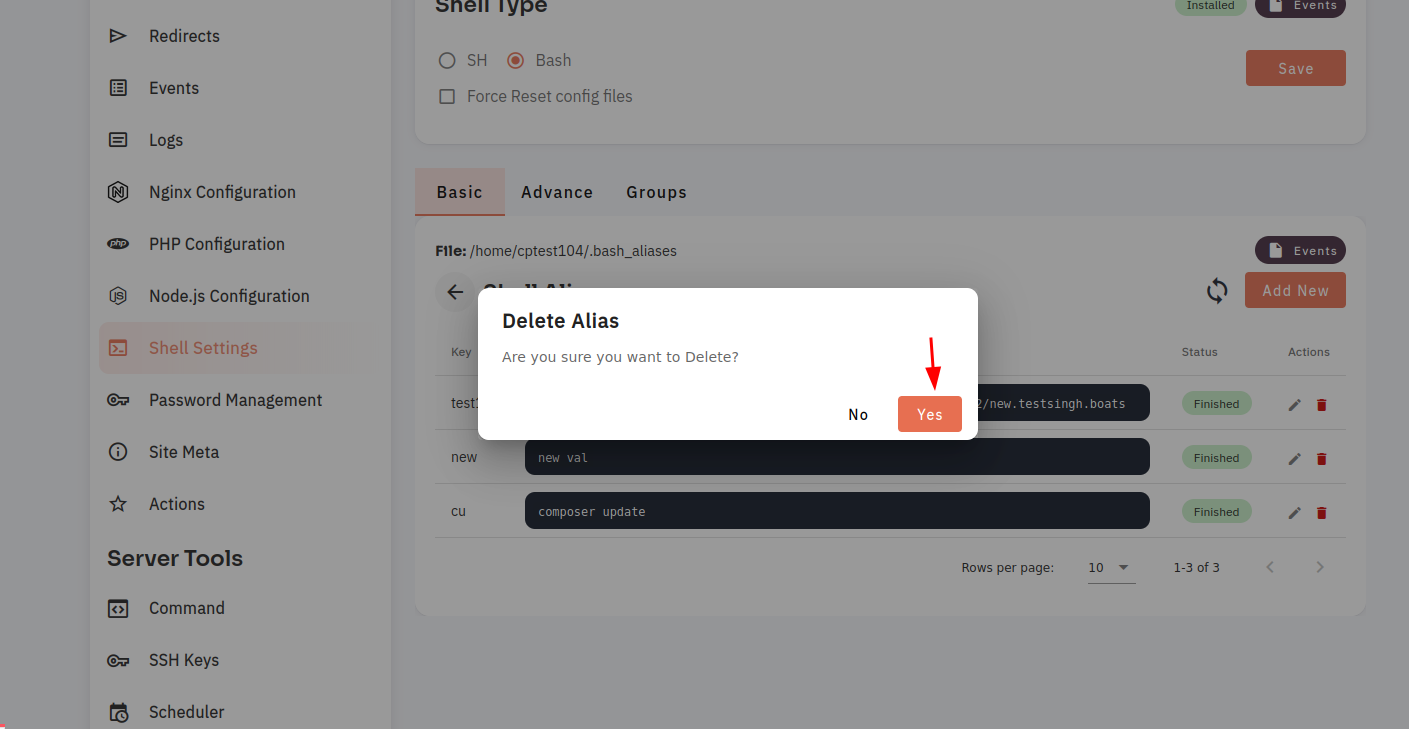
10. A dialog box will open, then click on the Yes button.
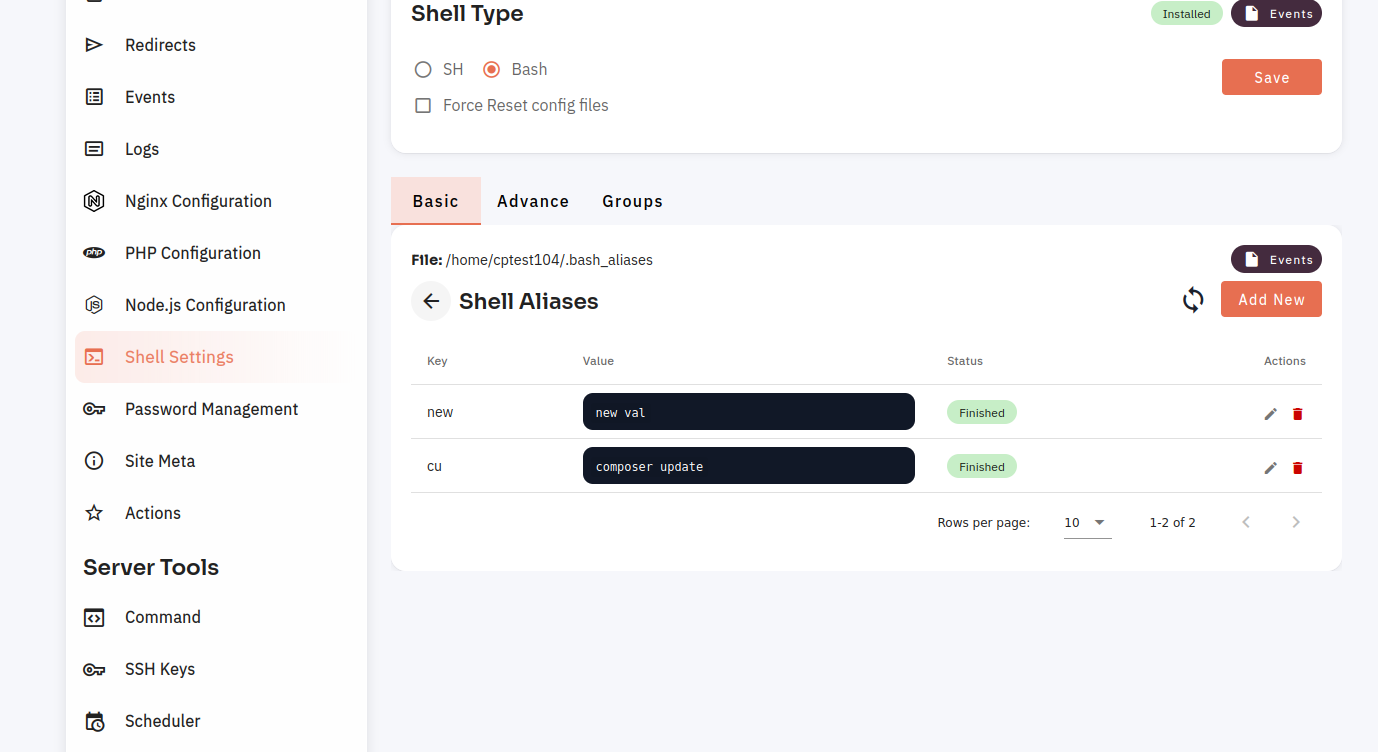
11. Here you can see the alias deleted successfully.
How to push commands from Advance Shell Aliases on CloudPanzer?
Follow the steps below to Advance Shell Aliases push
Navigate to the Shell Aliases
Use this link to view How to Navigate
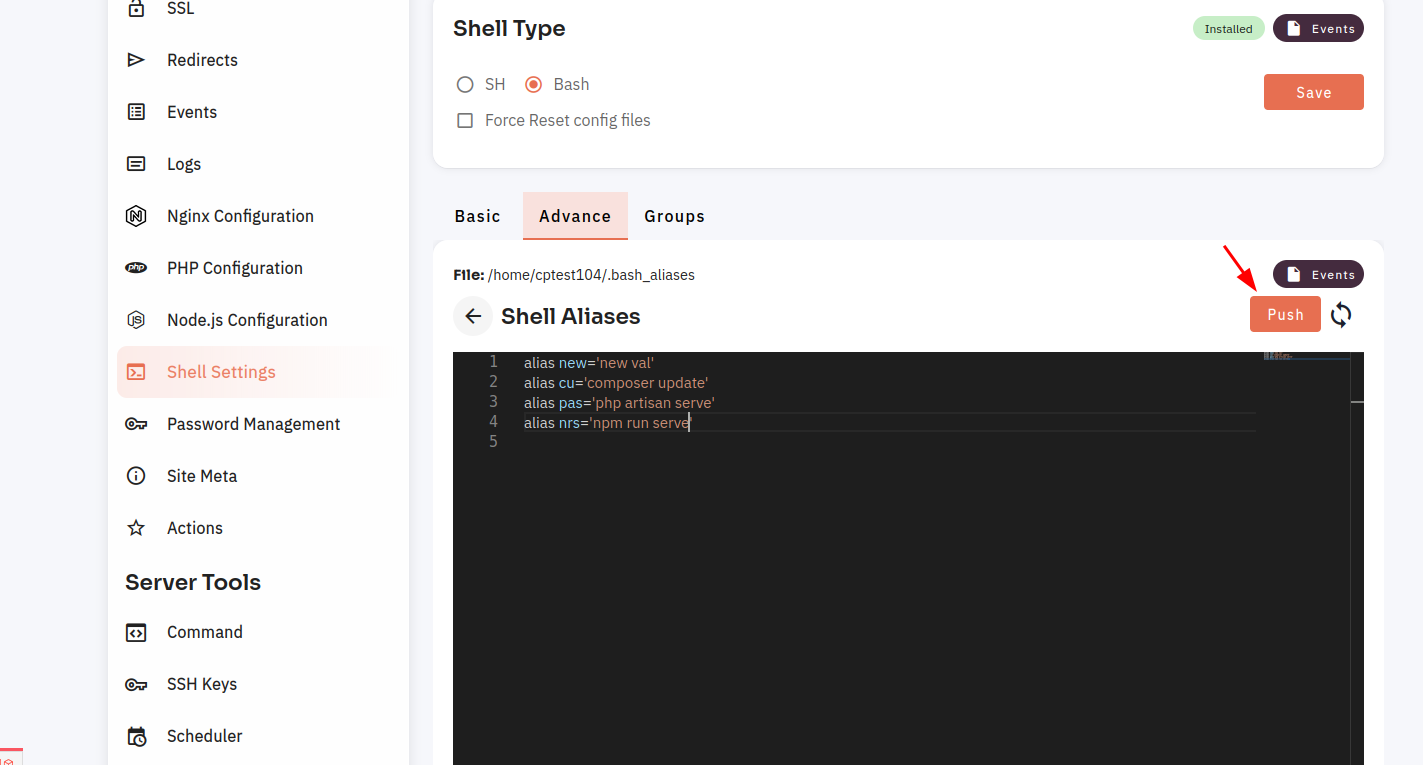
4: Click on the Advance Tab.
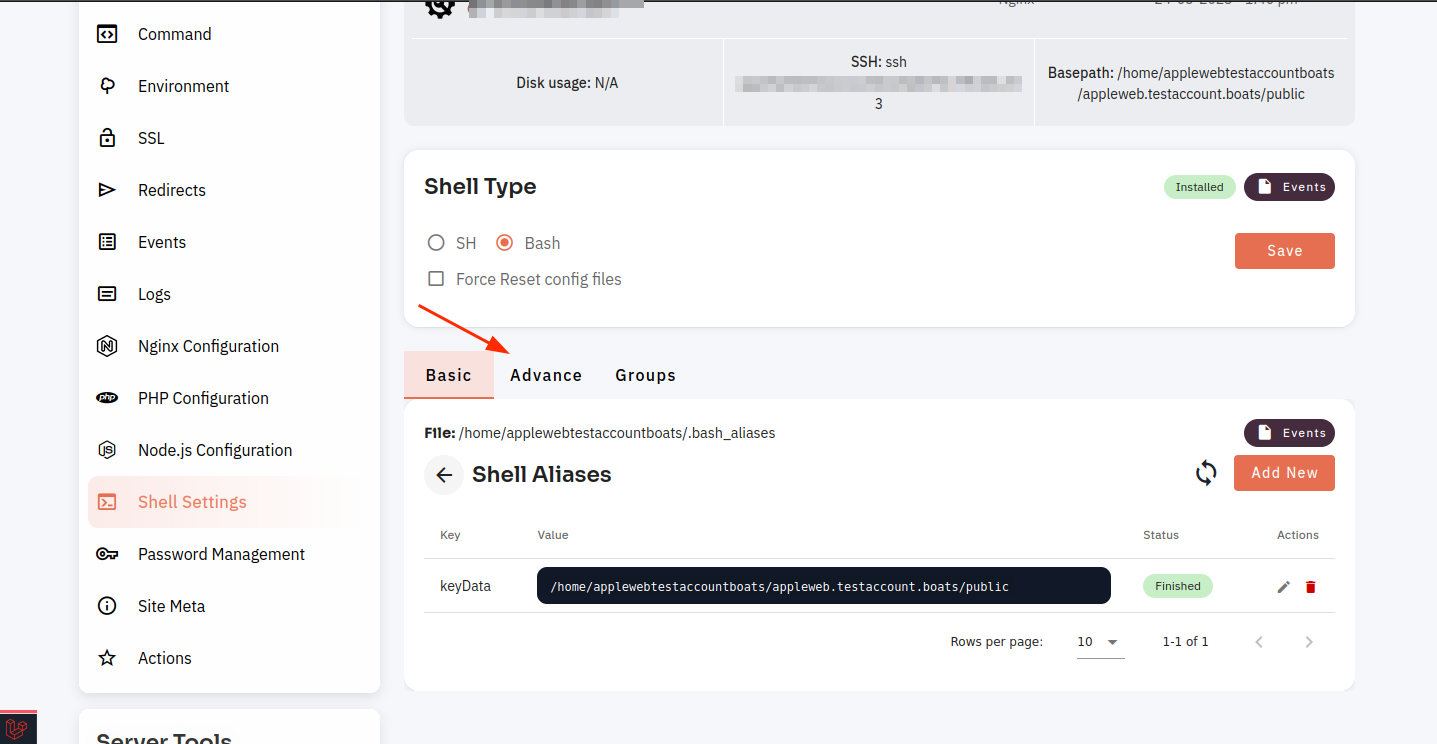
5: Here, a list of aliases will show. You can add more aliases from here and then click on the Push Button.
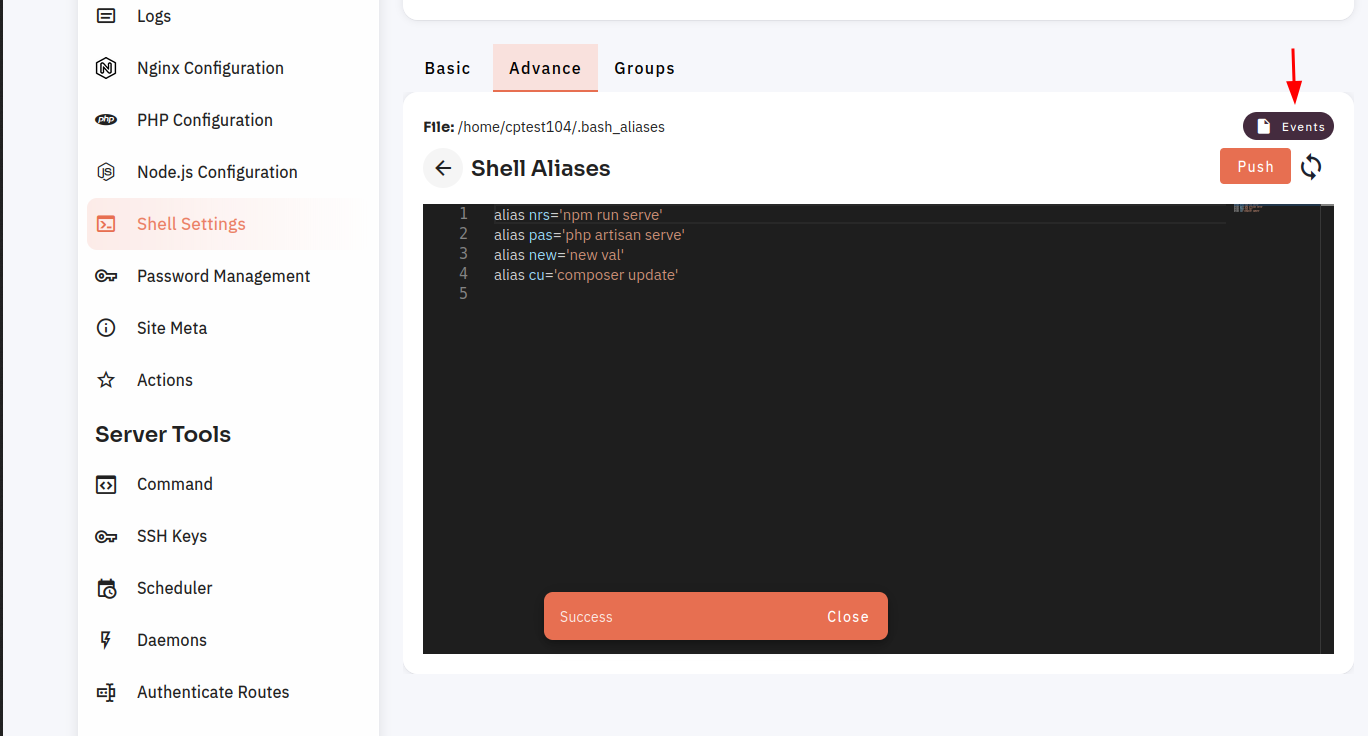
6. Here you can see aliases pushed successfully. You can also check events by clicking on the Events button.
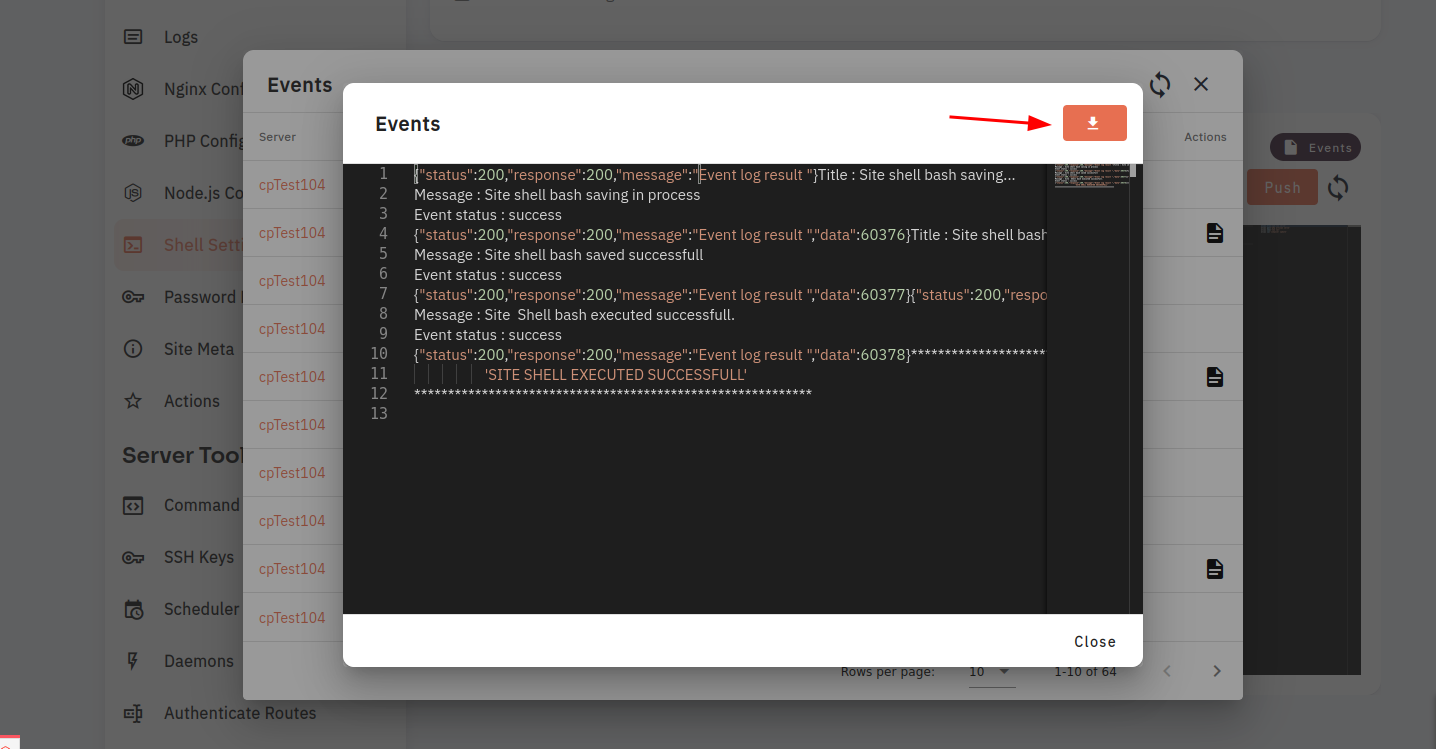
7. Here, a list of events will show. You can also check logs by clicking on the event file icon.
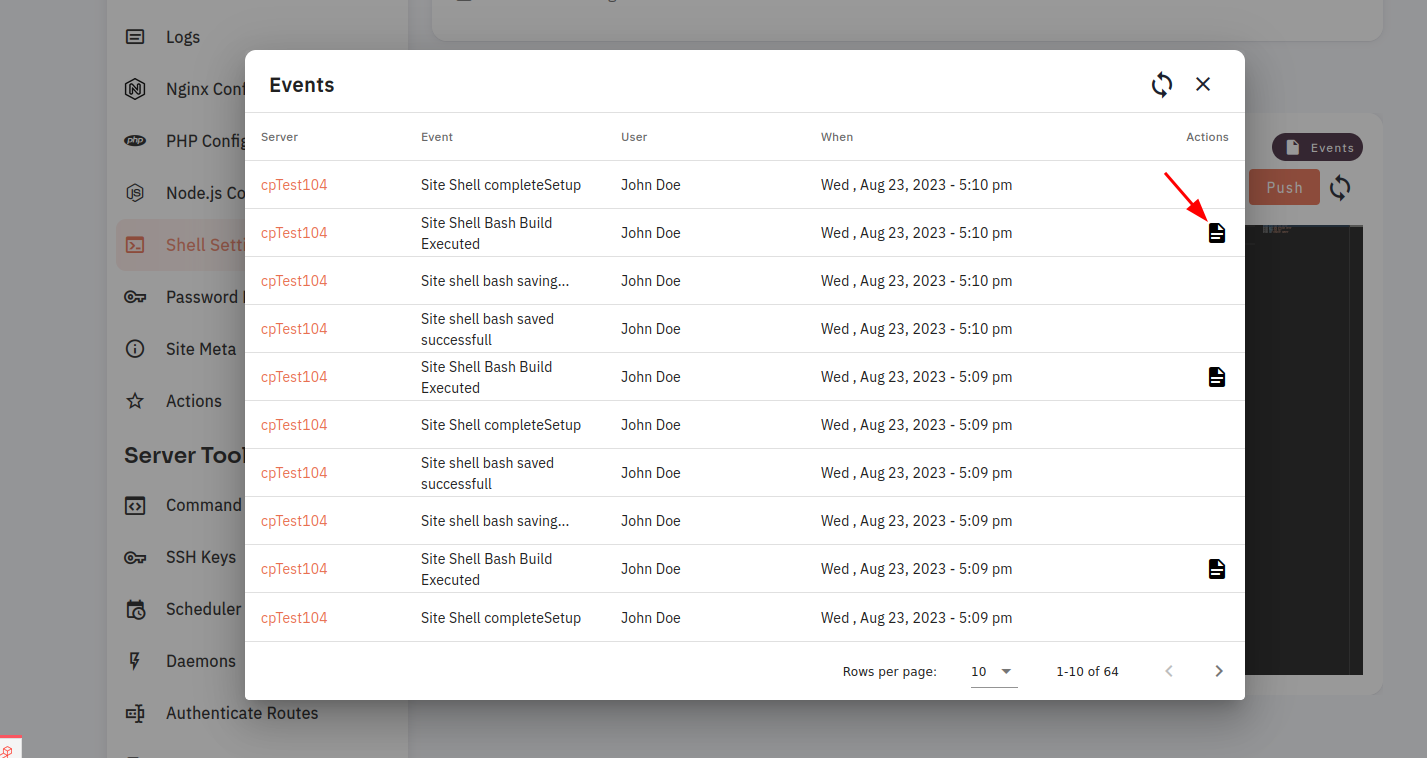
8. Here, logs will display. You can download them by clicking on the download button.