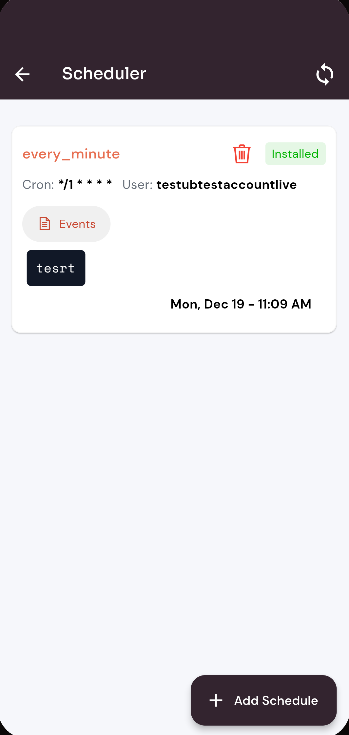
Scheduler Mobile App
Follow the step to create a new Scheduler.
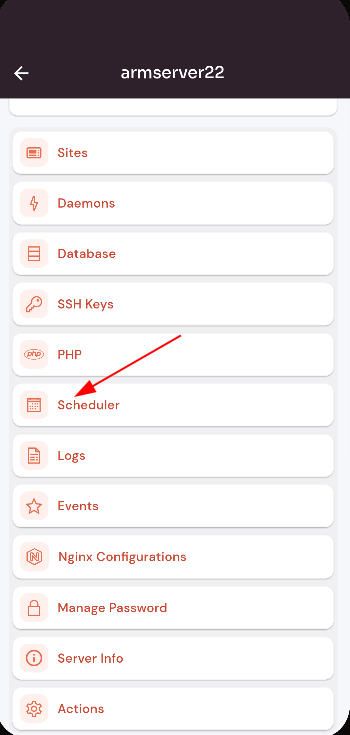
Click on the Server.

2. Click on the scheduler
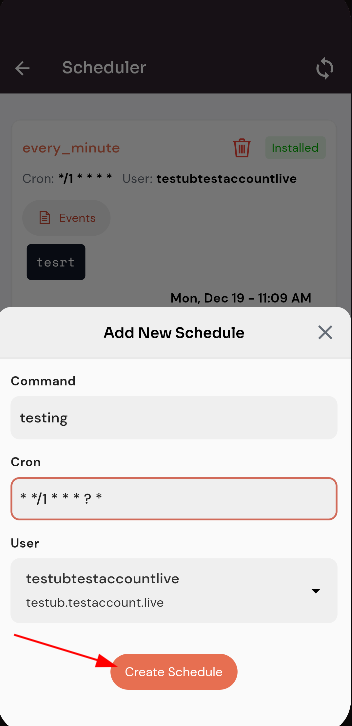
3. Click on the Add New button.

4. Fill in the data and click on Create Schedule button.
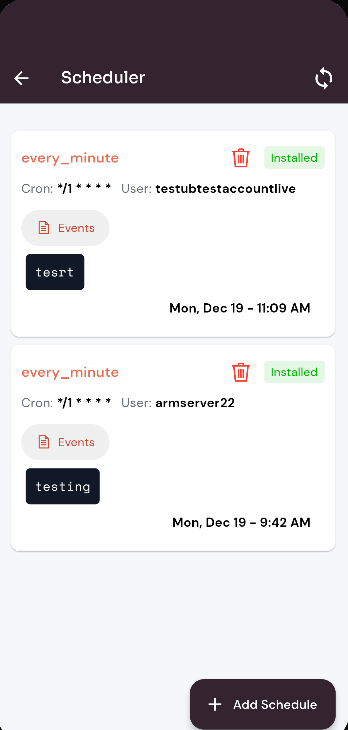
Here, you can see the Scheduler added successfully.
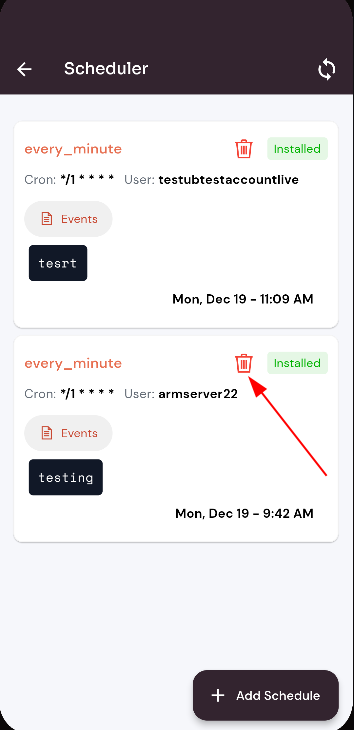
Delete Scheduler.
5. Click on the Delete Icon.
 6. Click on the Yes Button.

Here, you can see the delete Scheduler Successfully.