How to use an Older Version Of PHP ?
You may encounter situations where you need to use an older version of PHP for compatibility reasons or to support legacy applications. Depending on your operating system and package manager, the process for installing PHP may vary.
Tutorial :
You can watch the Video or Continue reading the post.
Follow the steps below to use an Older Version Of PHP
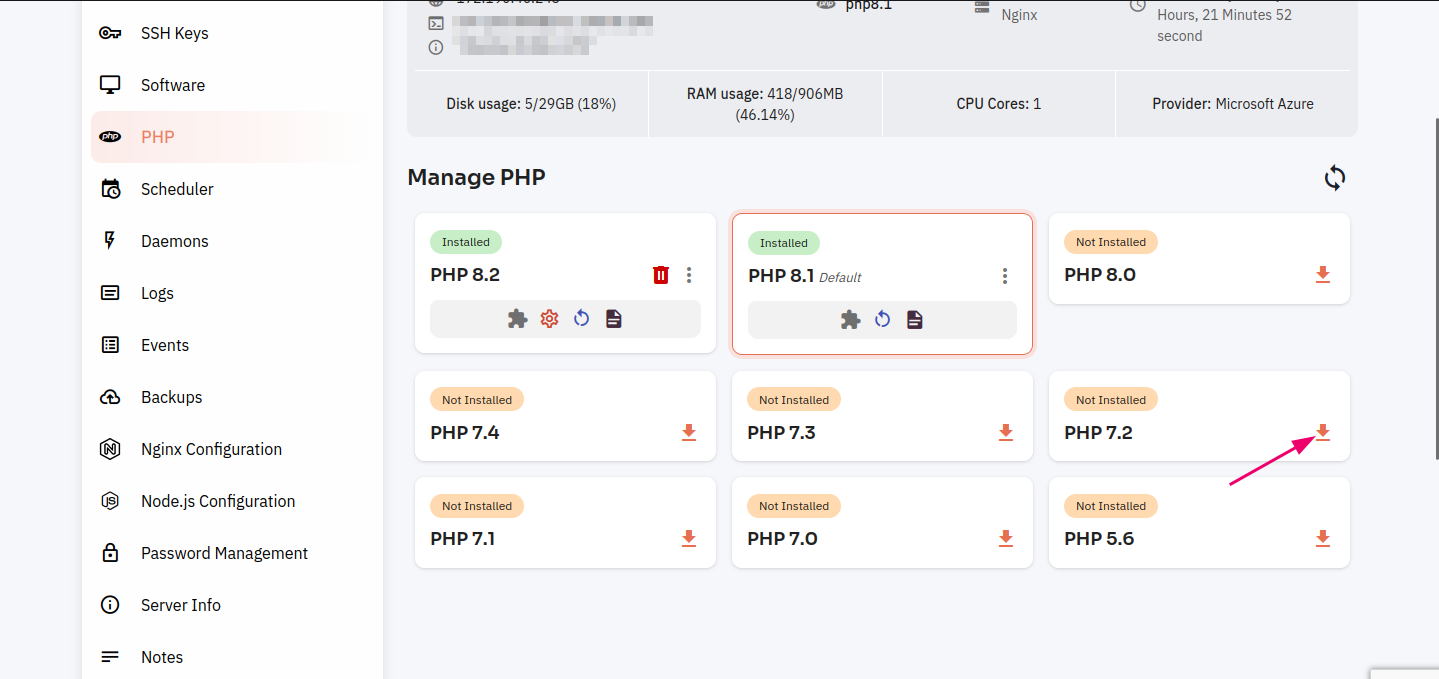
Navigate to the PHP
Use this link to view How to Navigate
3. Click on the download button.
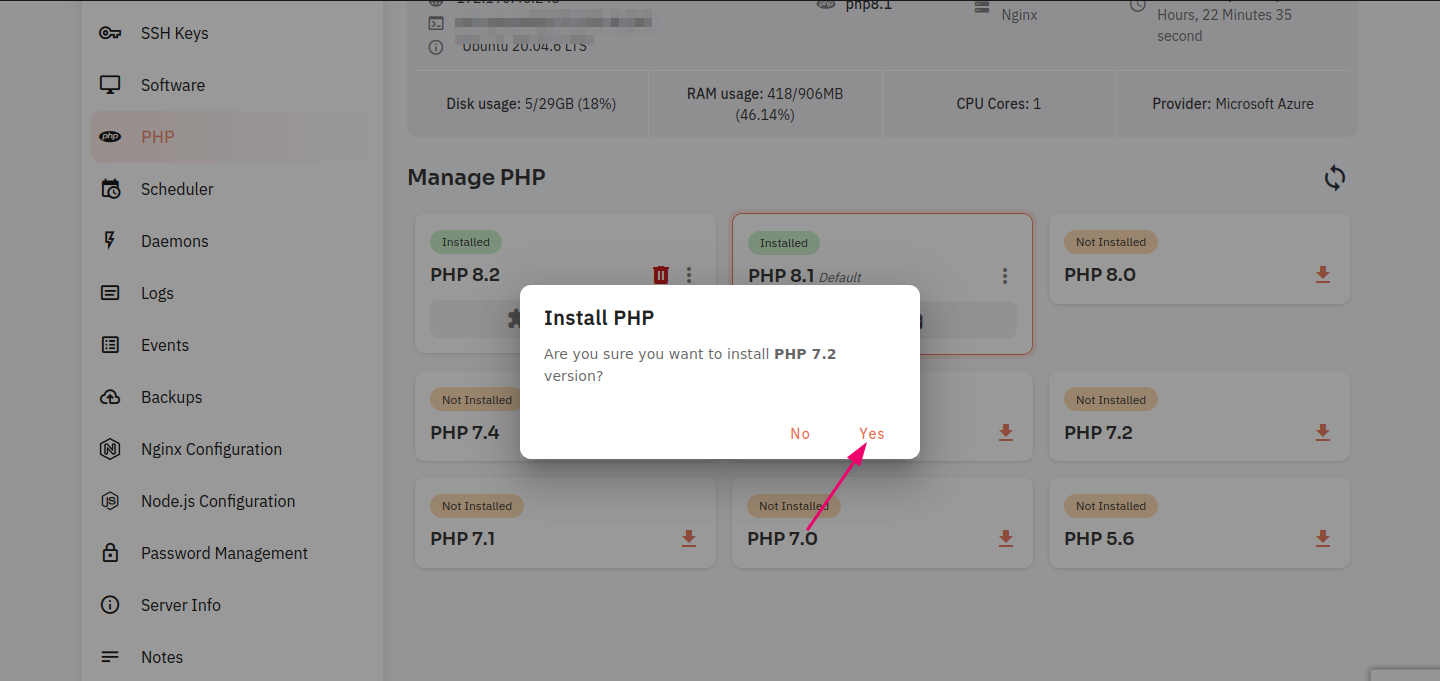
4. Click on the Yes Button.
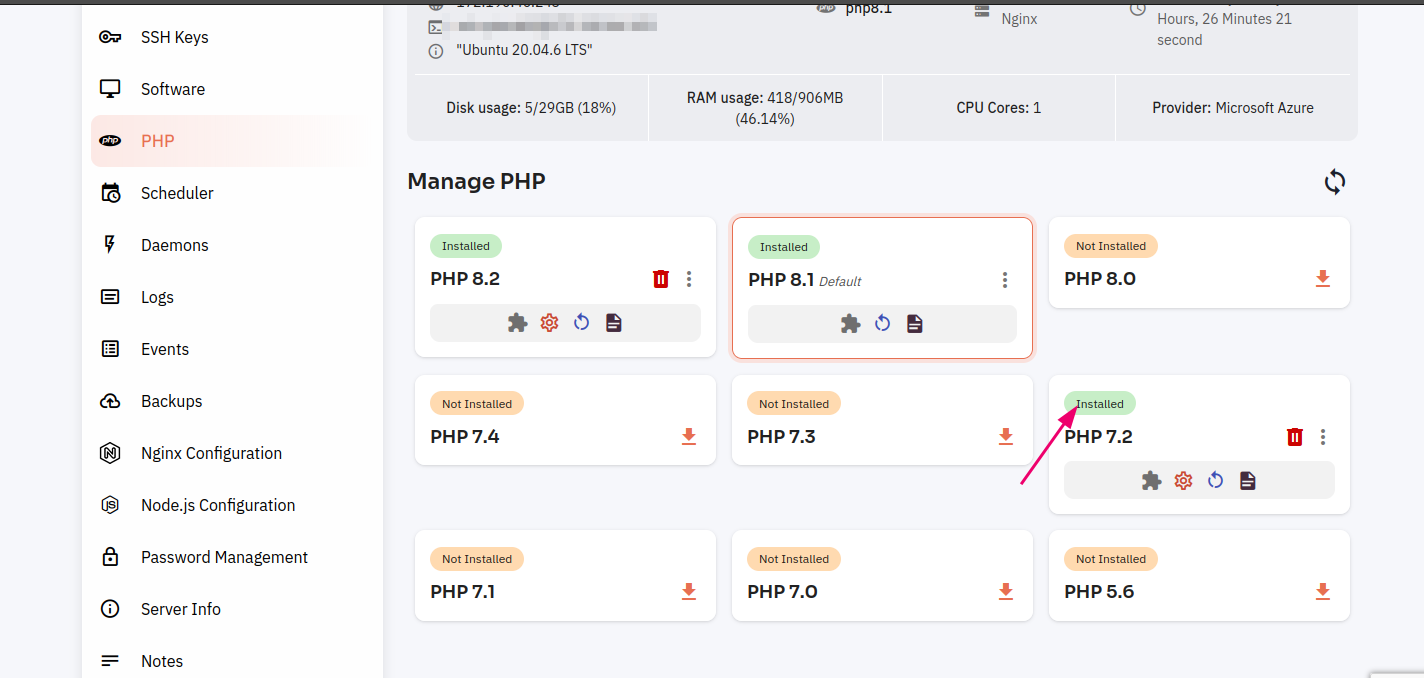
5. Here you can see PHP old version installed successfully.
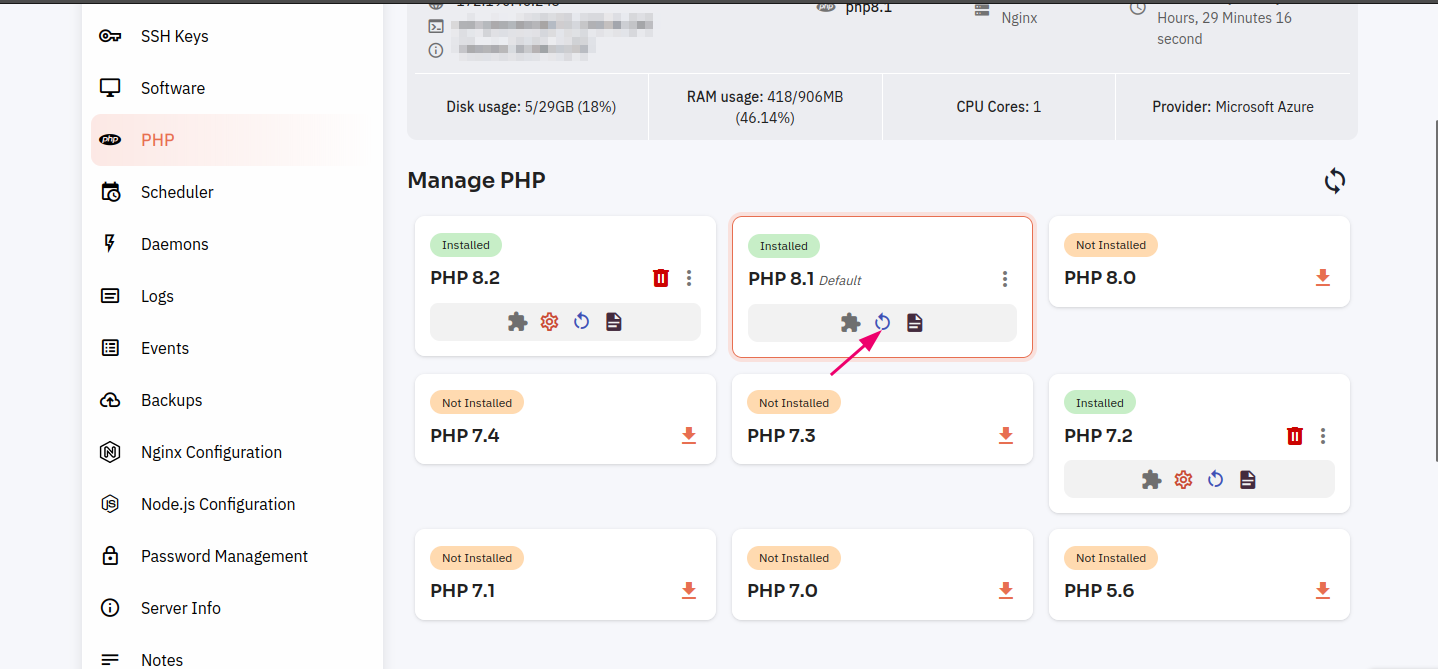
Restart PHP Version :
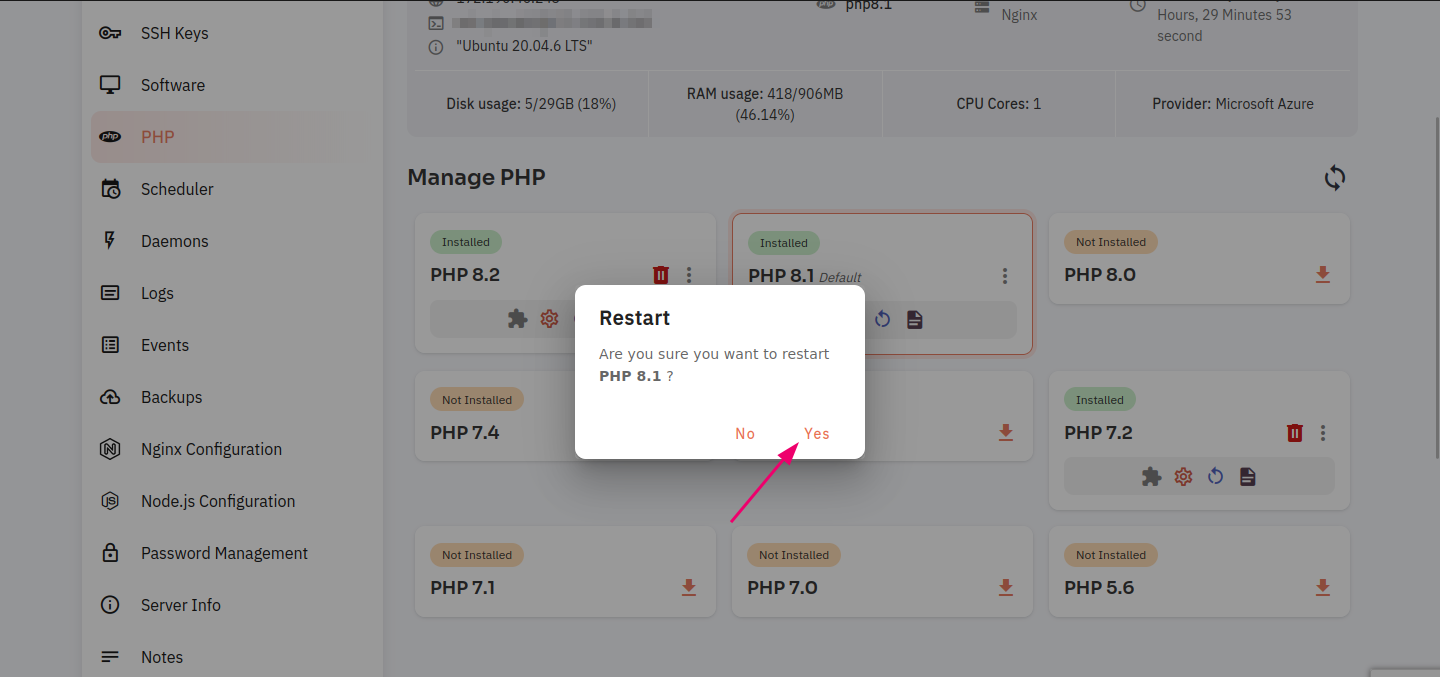
6 Click on the Restart icon.
7. Click on the yes button to restart the PHP version.
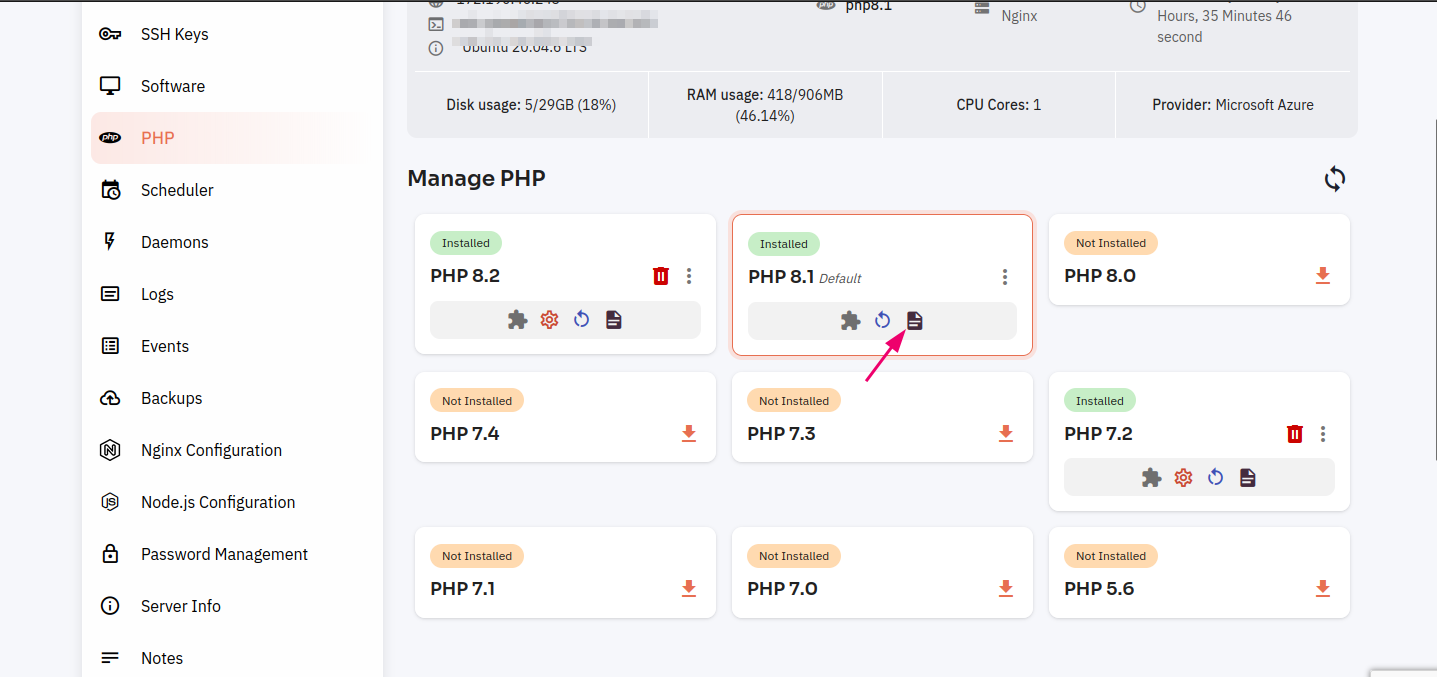
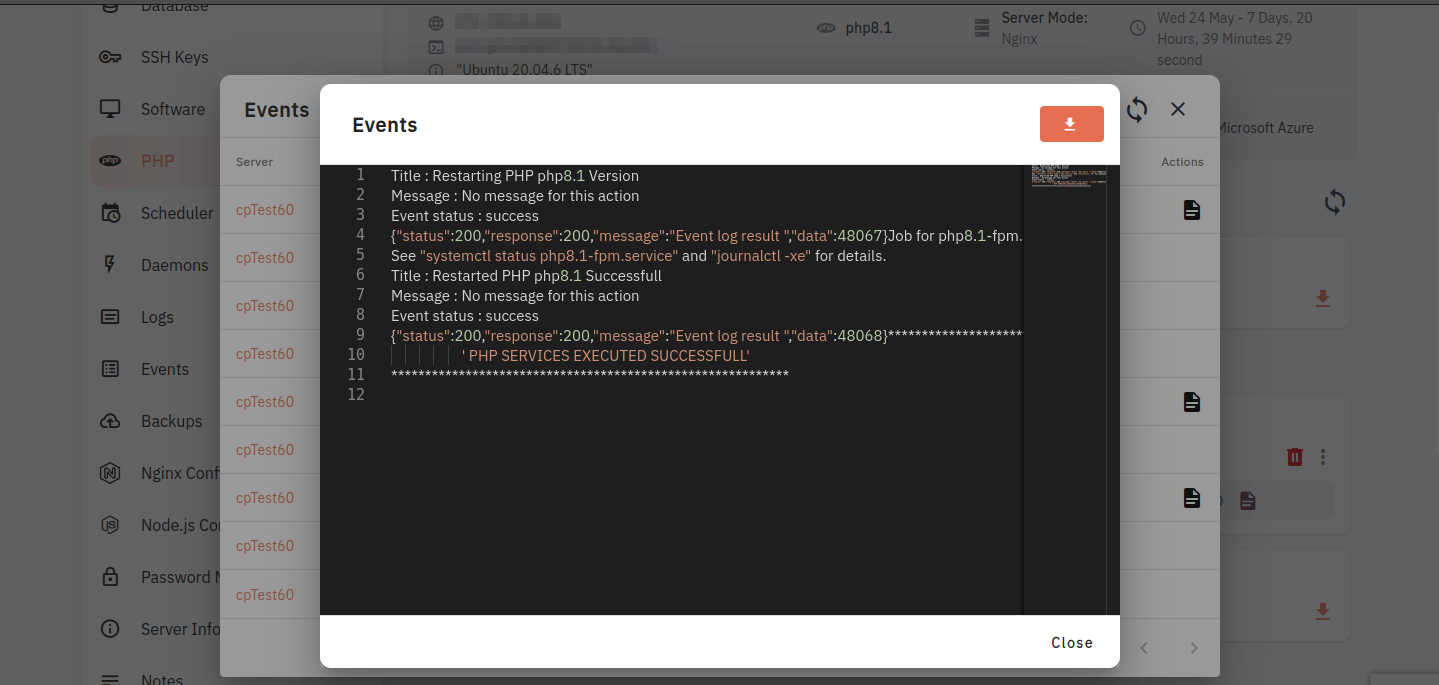
View PHP Events :
8. Click on the events icon.
9. Show Event Dialog and click on the Event FIle icon.
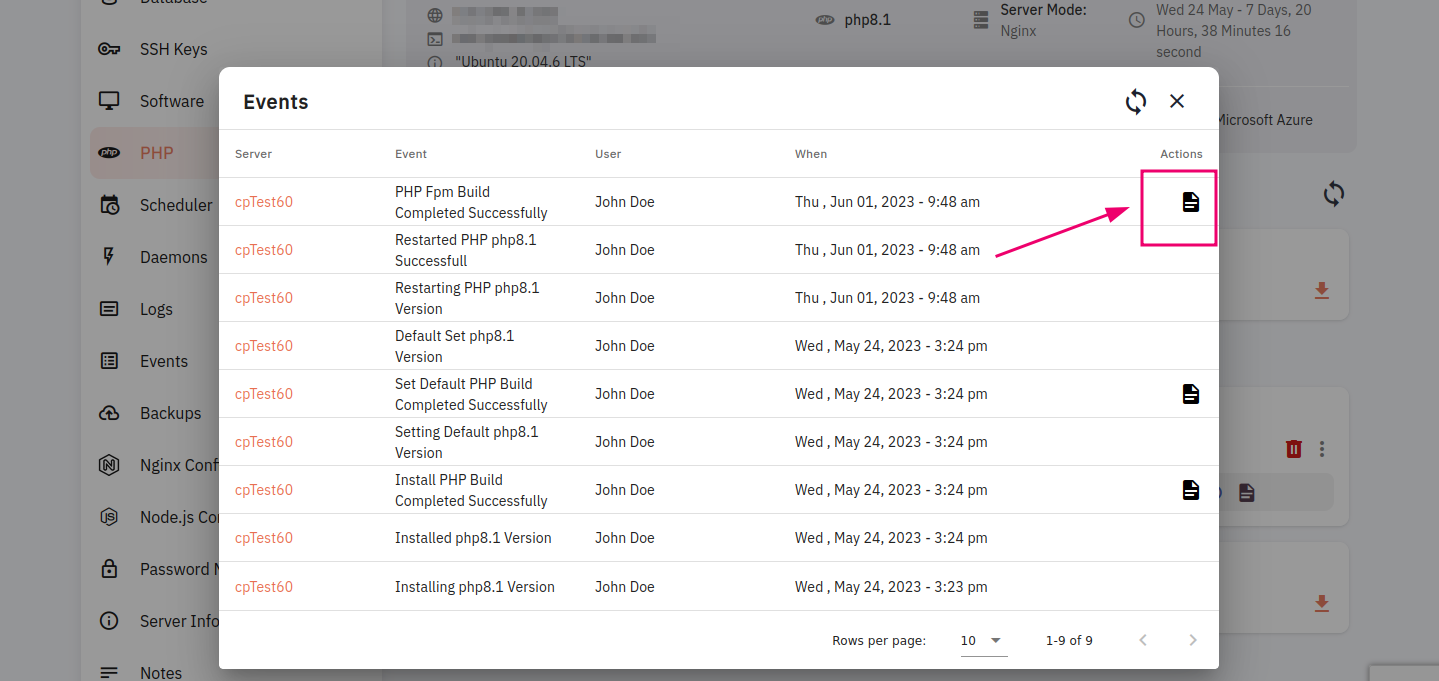
10. Here you can see show php events are successful.
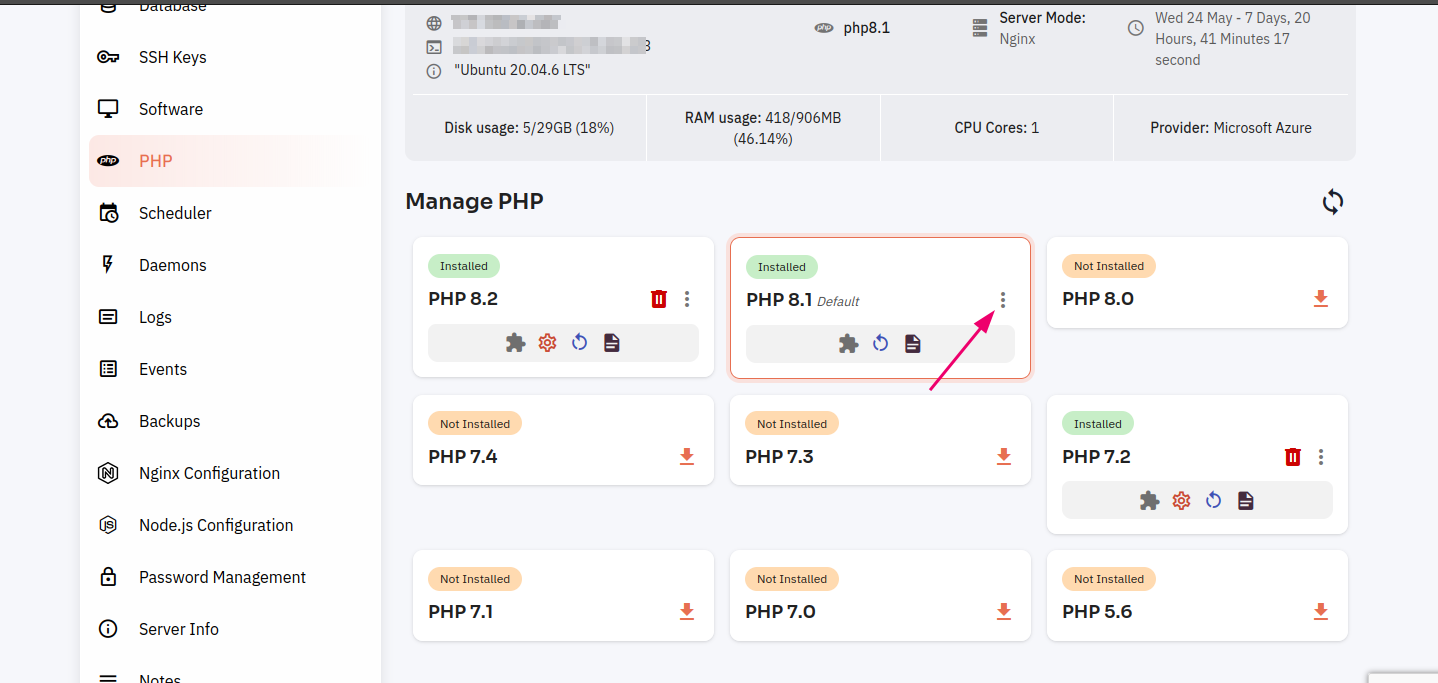
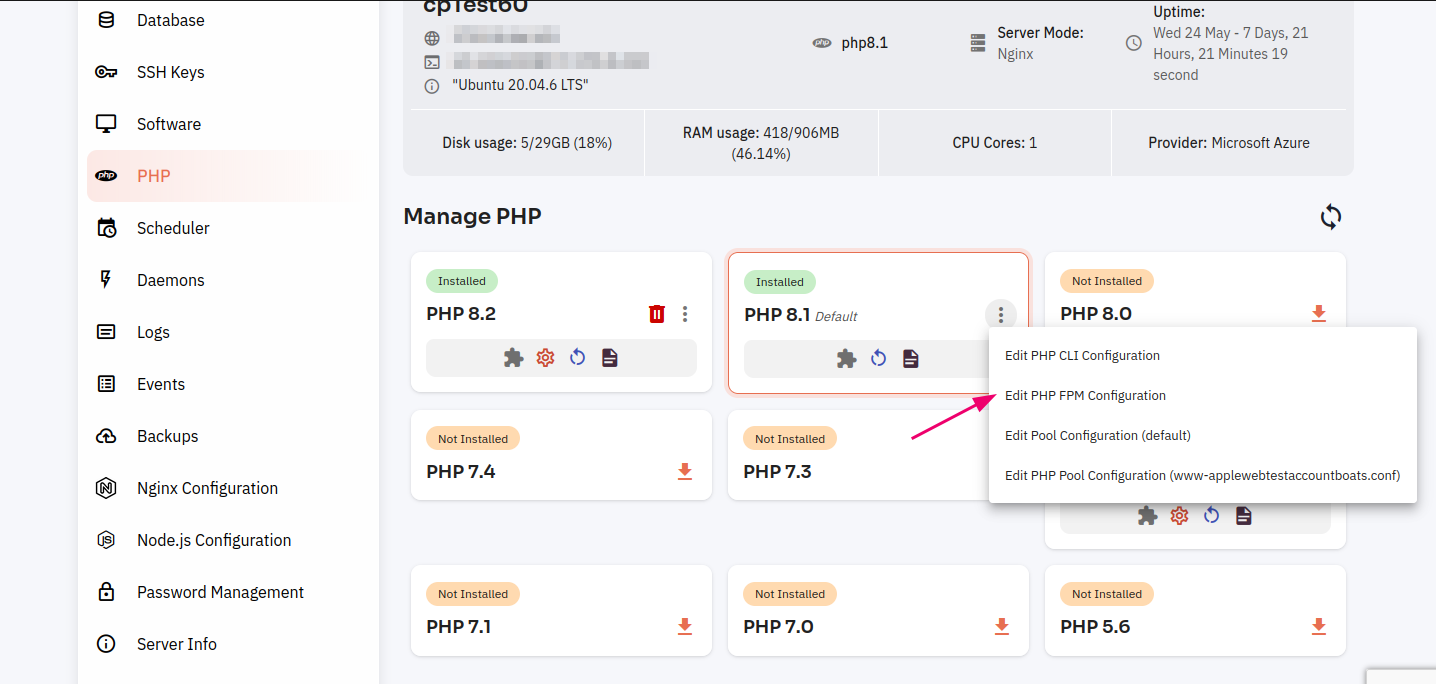
11. Click on the Poppup menu icon.
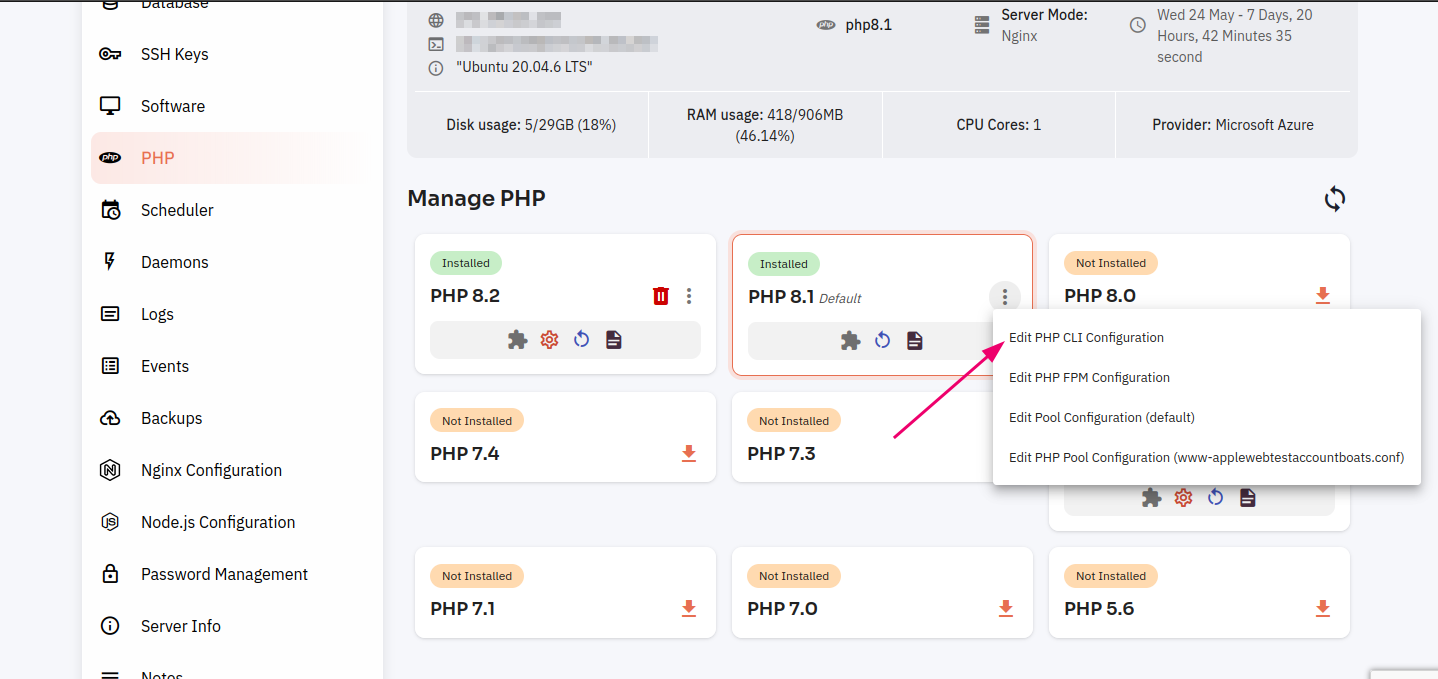
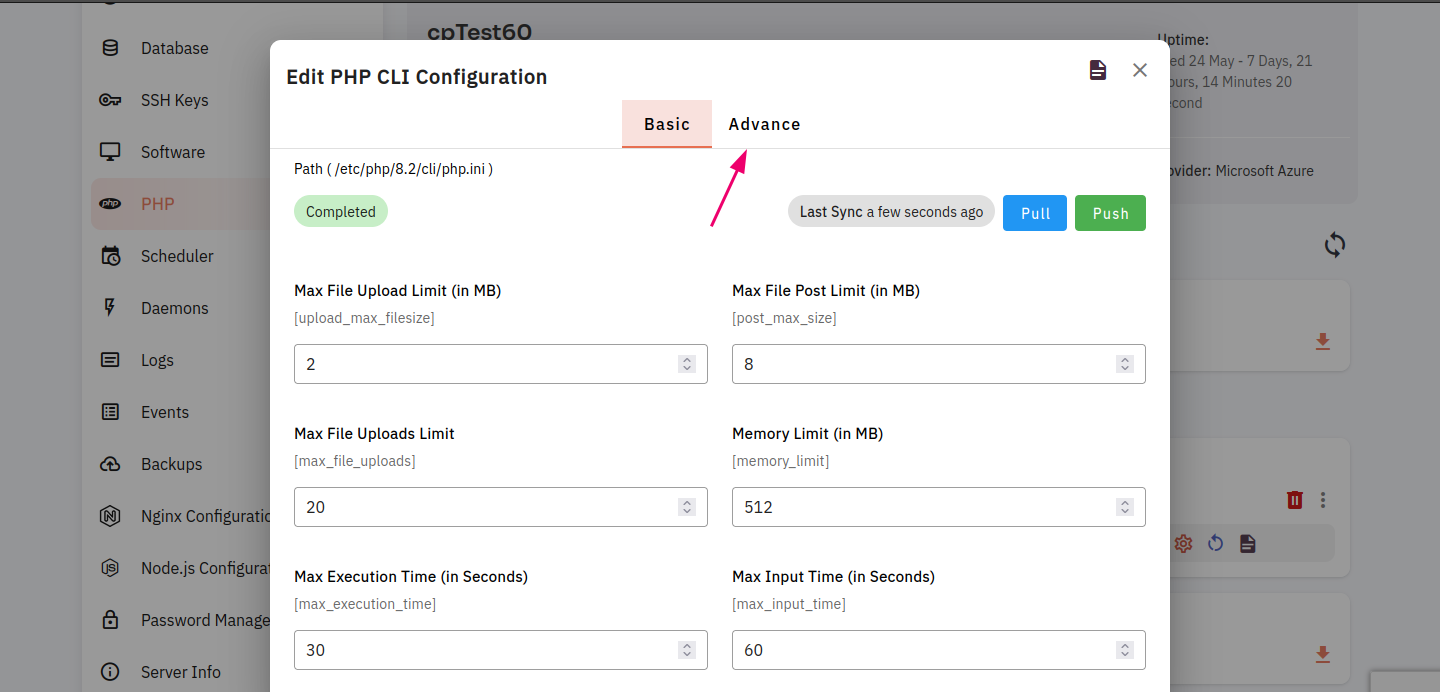
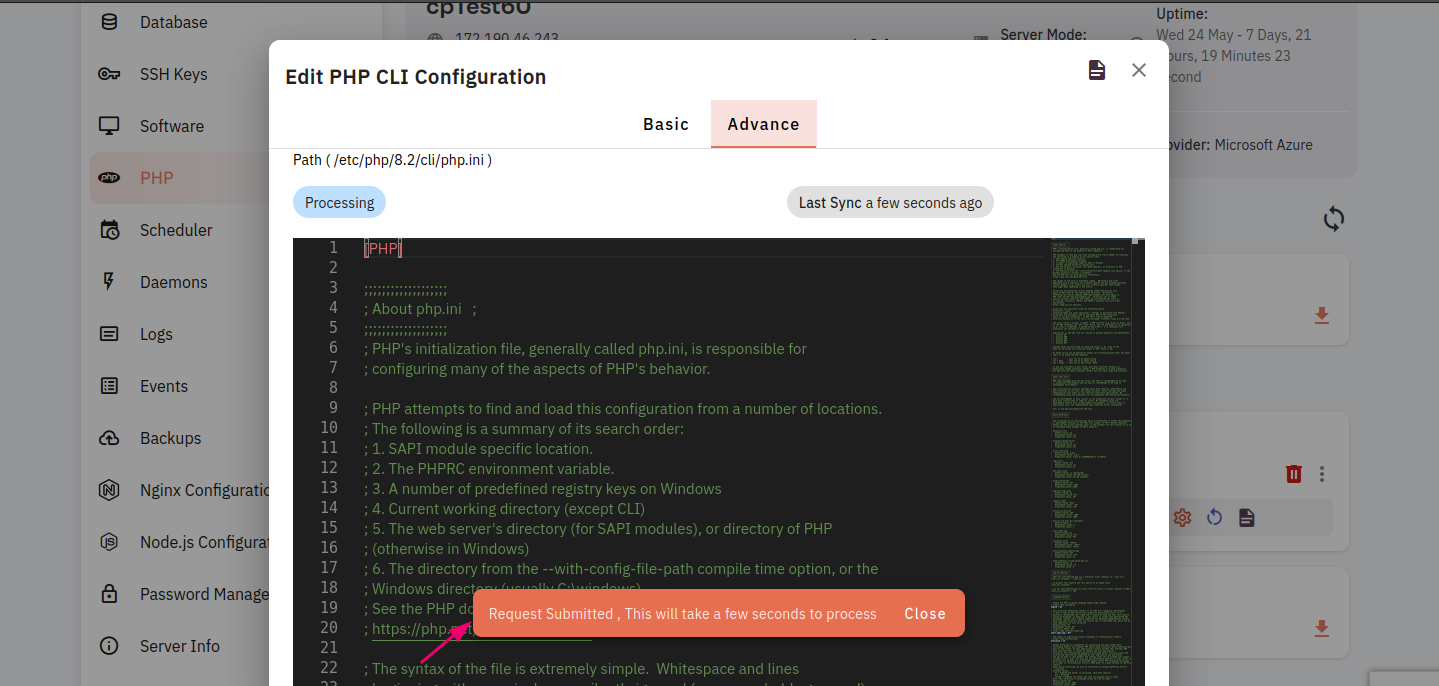
Edit PHP CLI config :
10. Click on Edit PHP CLI Configuration.
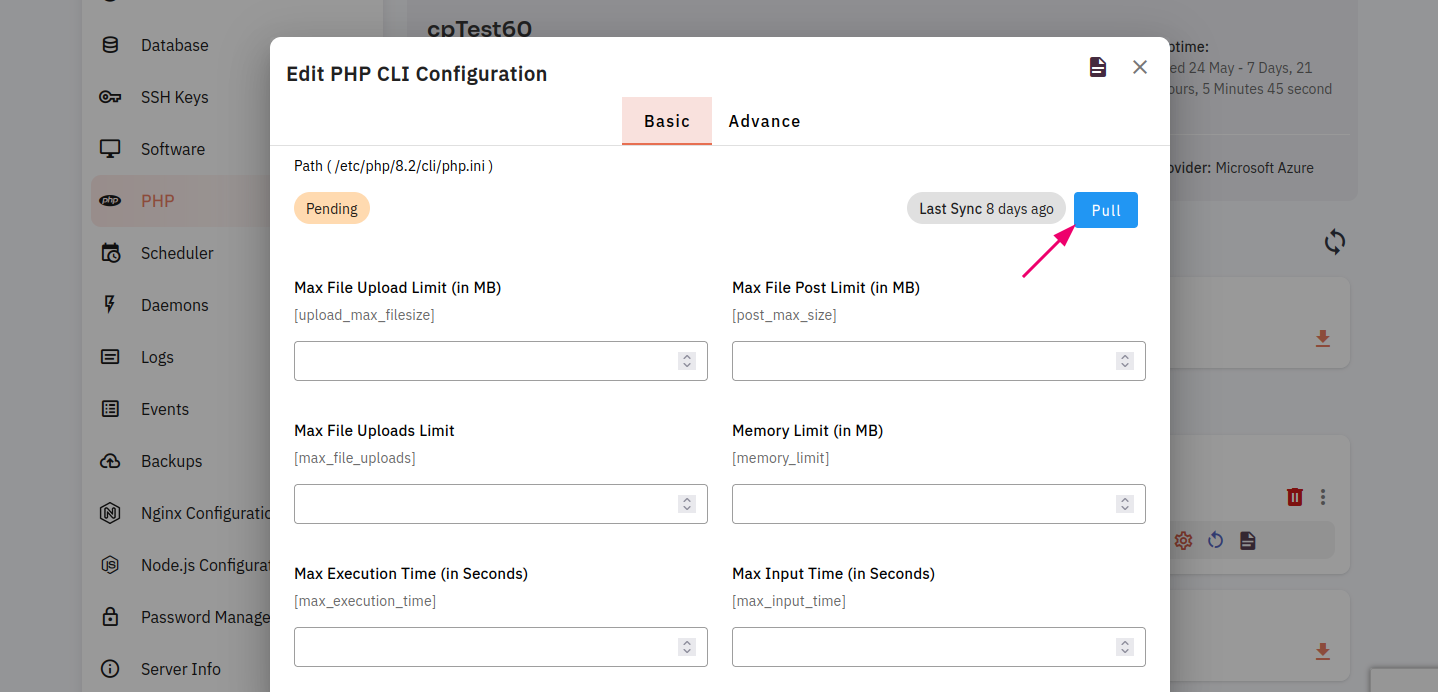
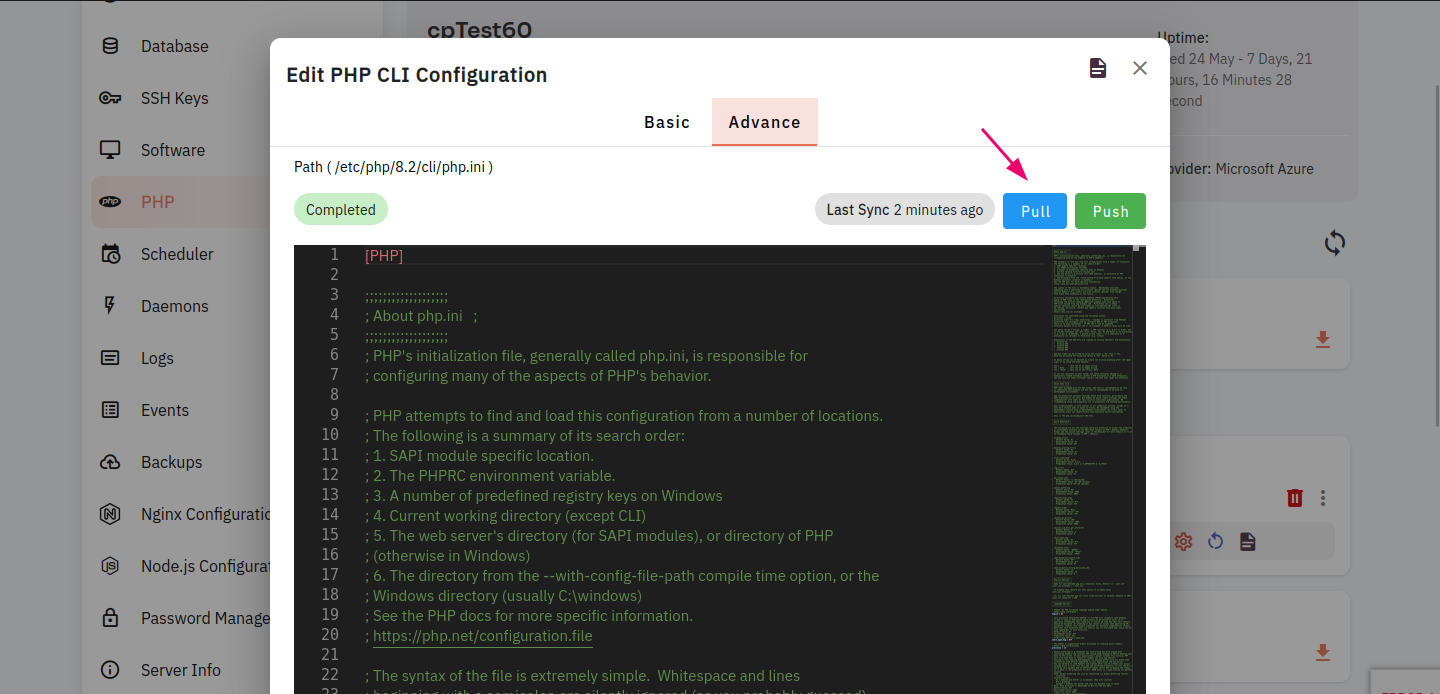
PHP pull data :
11. Click on the Pull button.
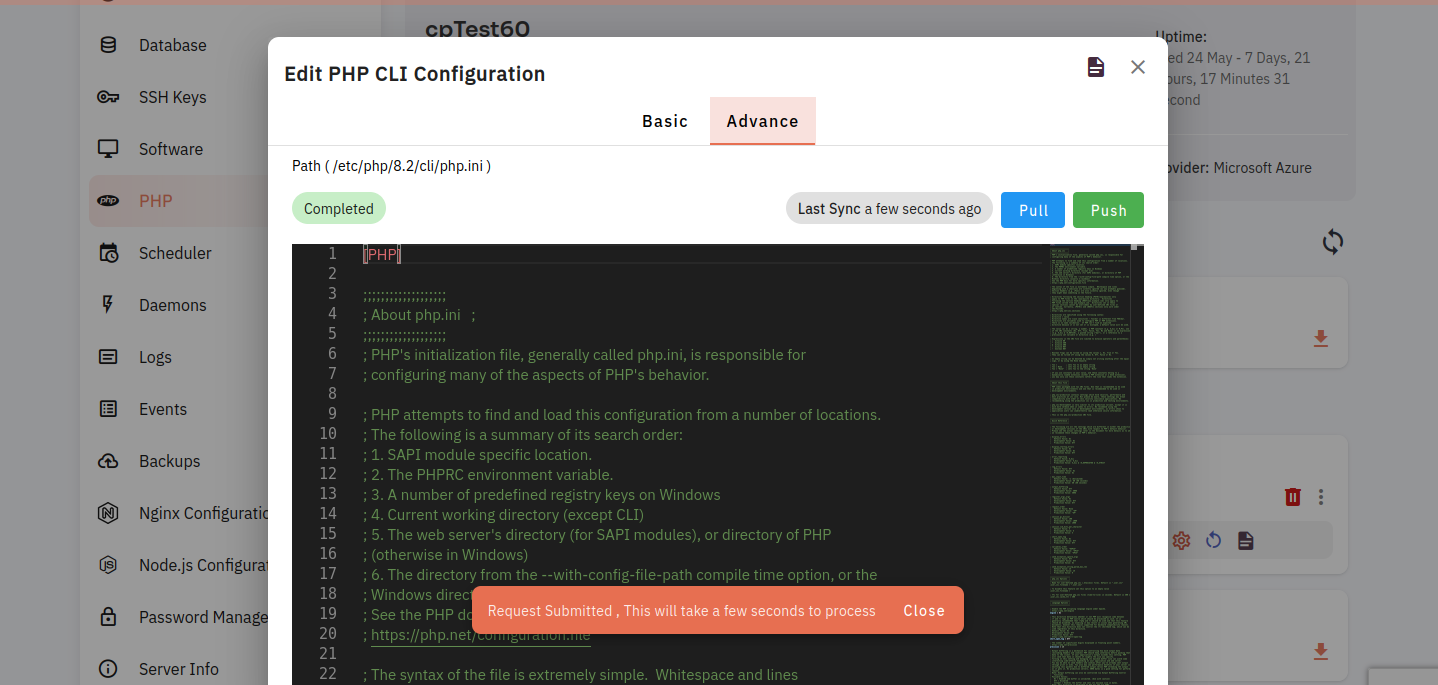
12. Show Pull data successfully.

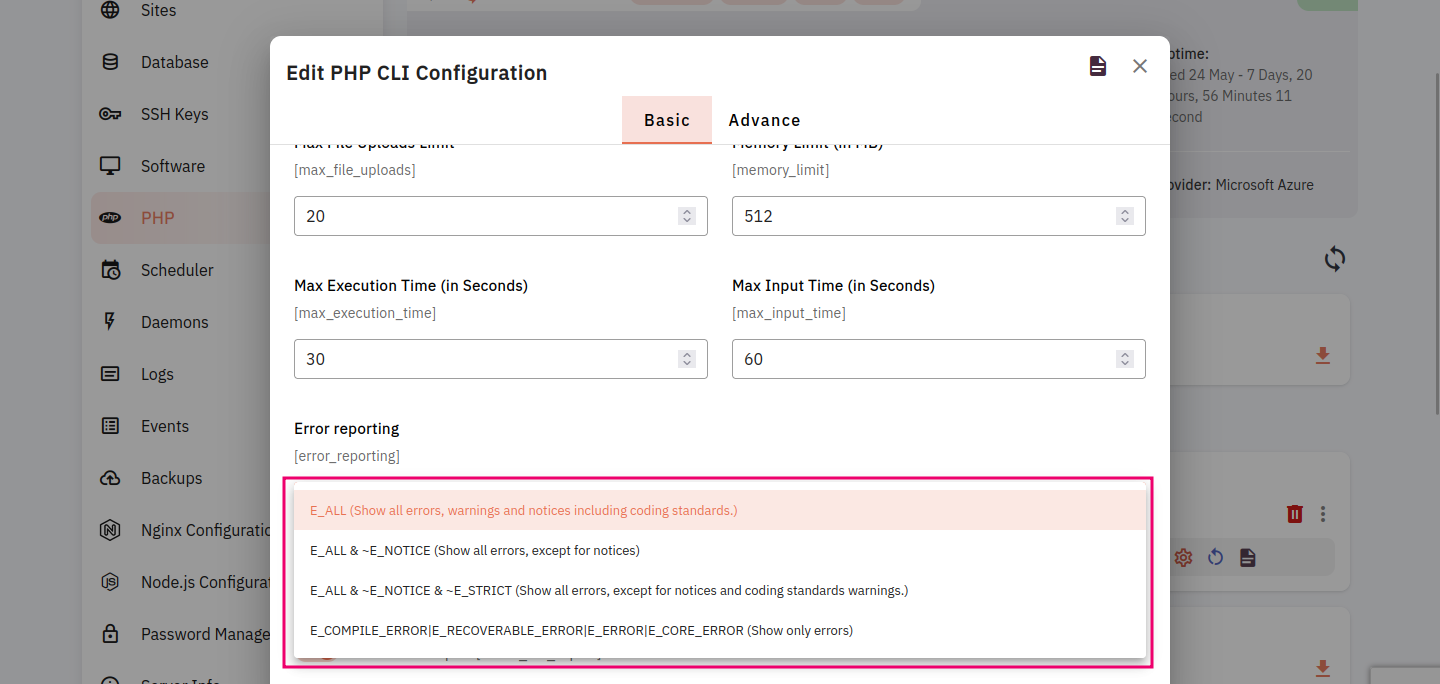
13. Click on the dropdown error reporting.
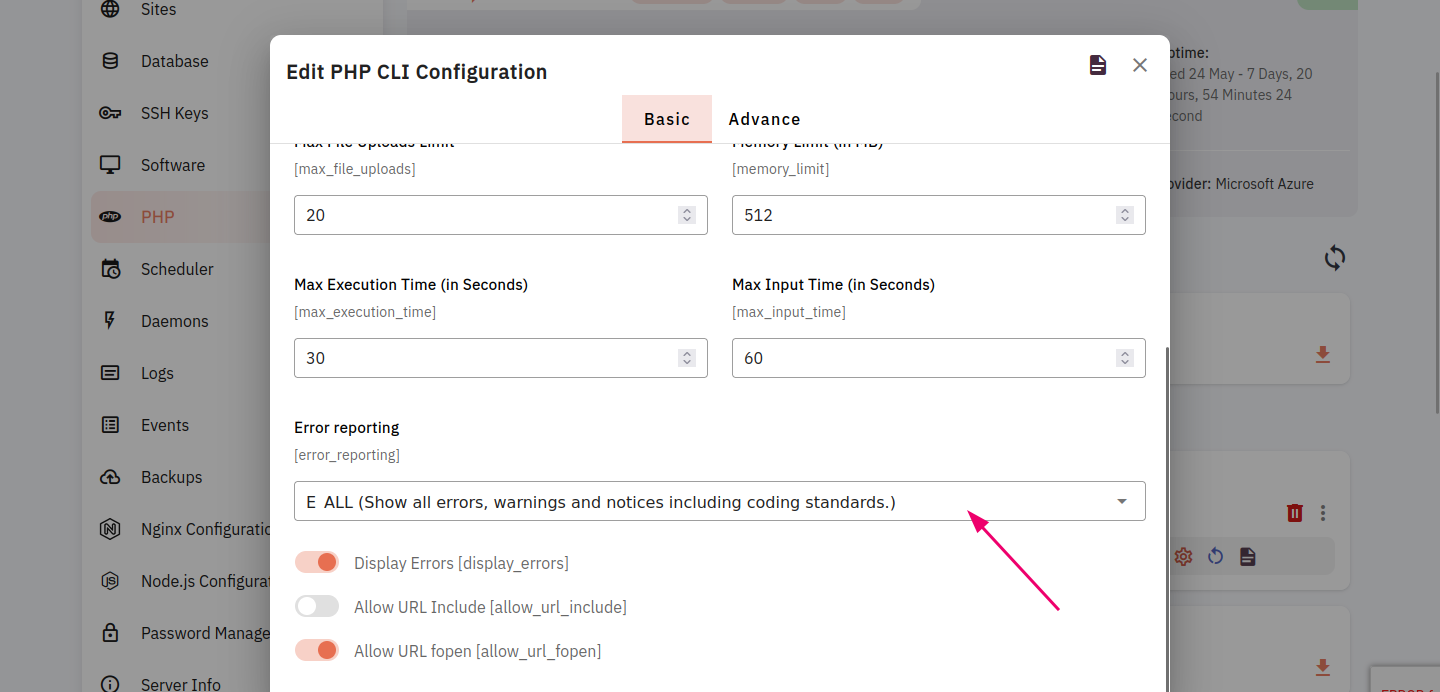
14. Select an Error
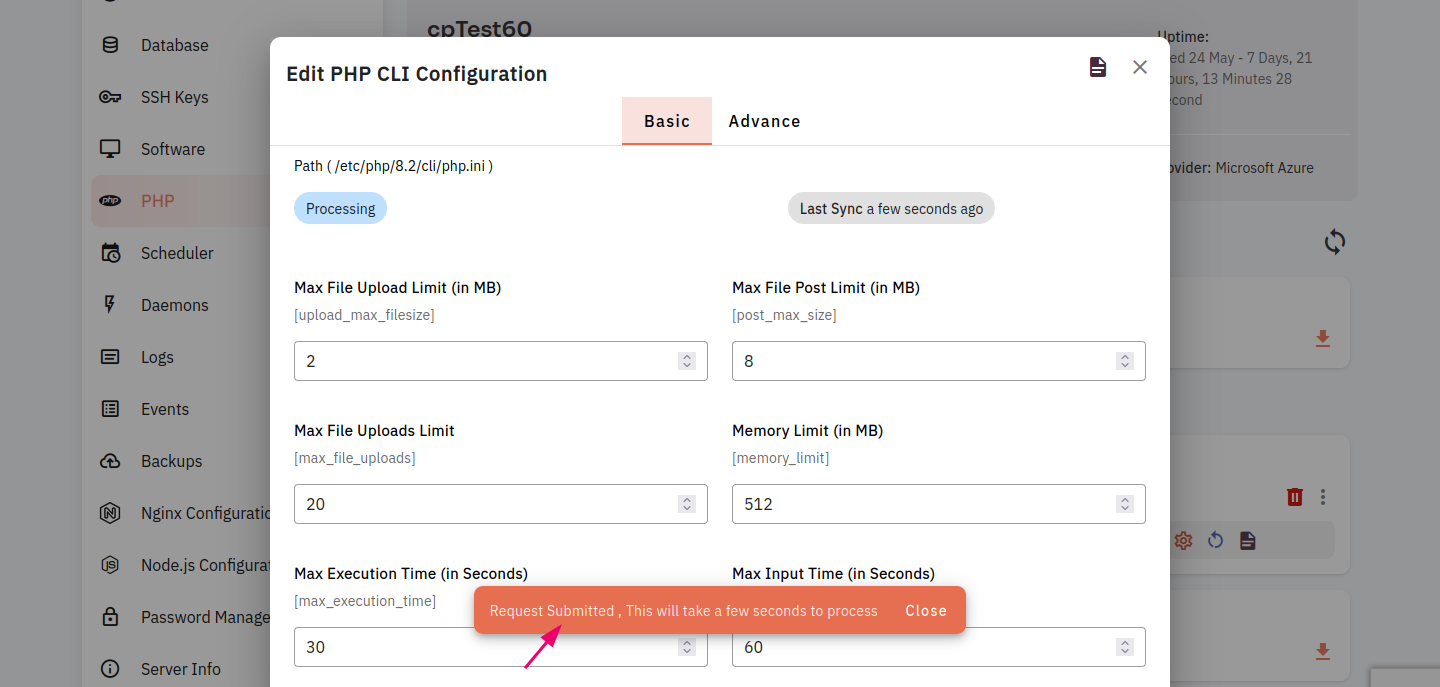
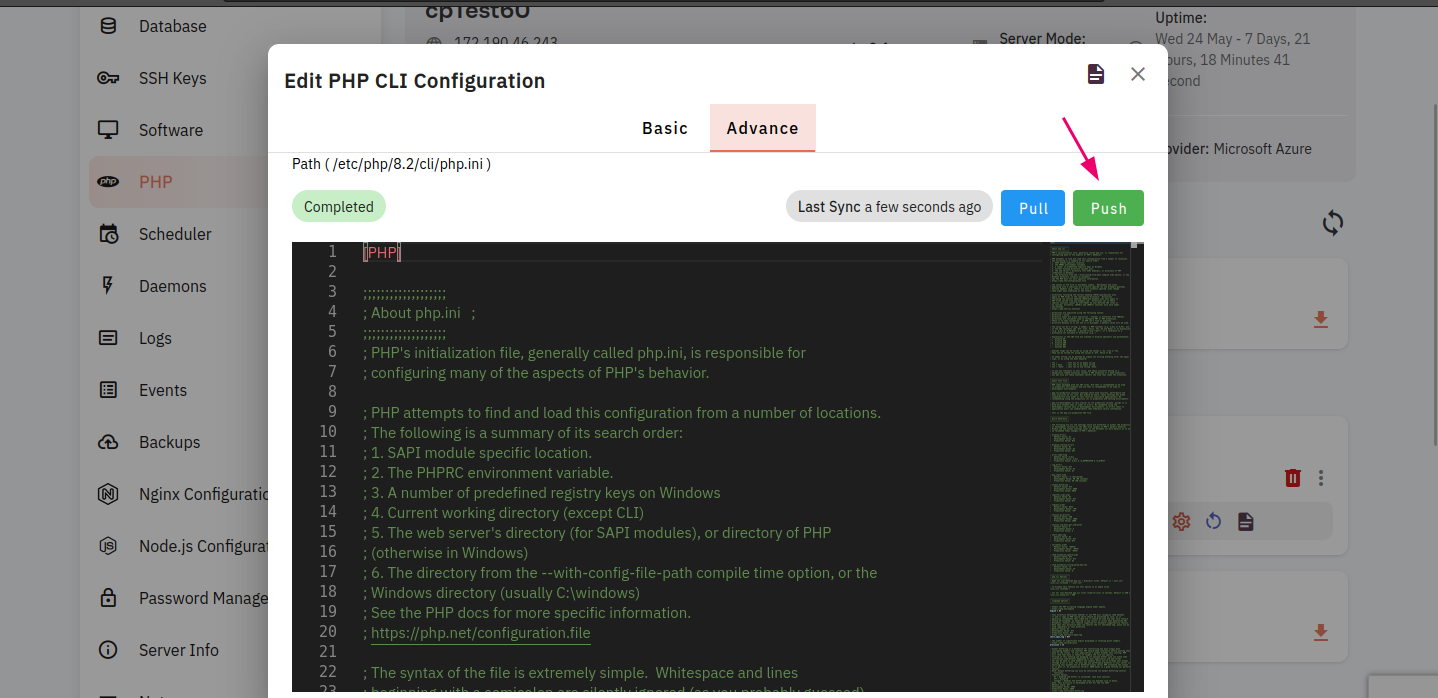
15. Click on the push button.
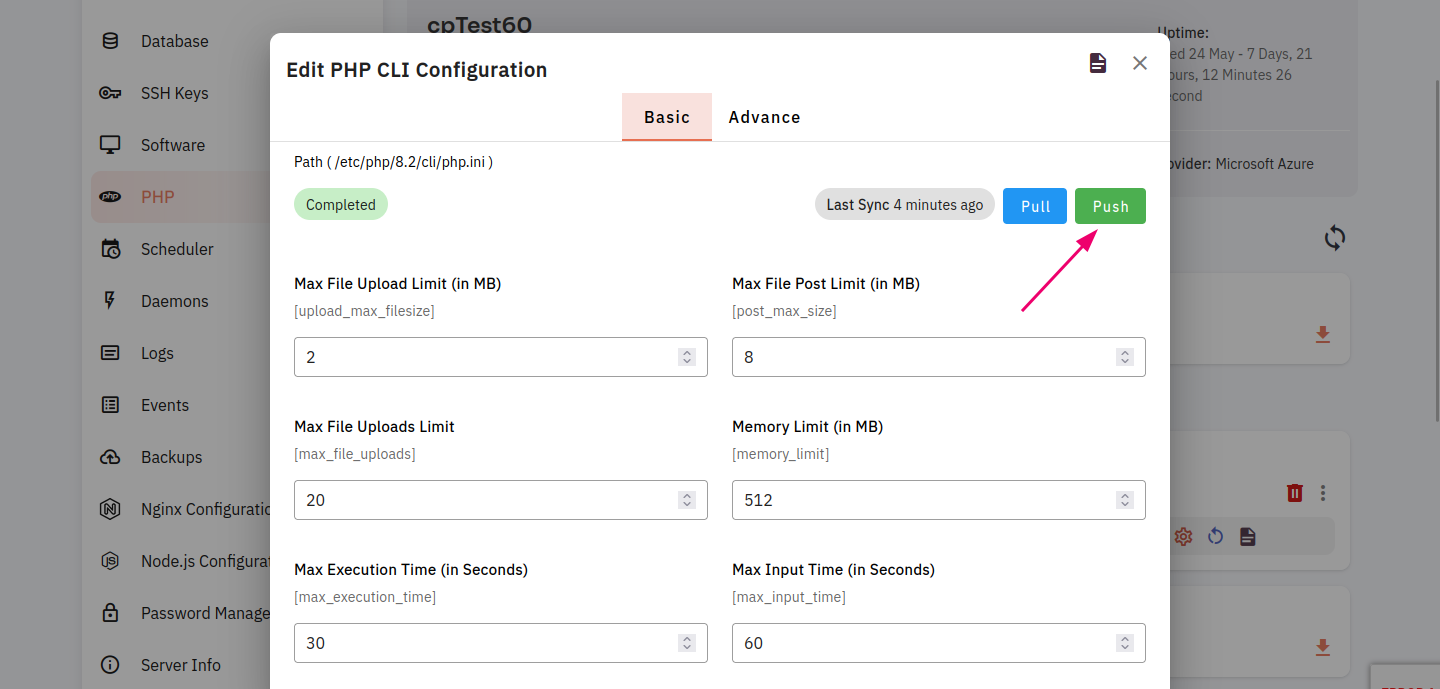
Here, you can see PHP CLI Configuration Push Successfully.
16. Click on the Advance tab button.
17 Click on the pull button.
Here, you can see PHP CLI Configuration Pull Successfully.
18. Click on the push button
Here, you can see PHP CLI Configuration Push Successfully.
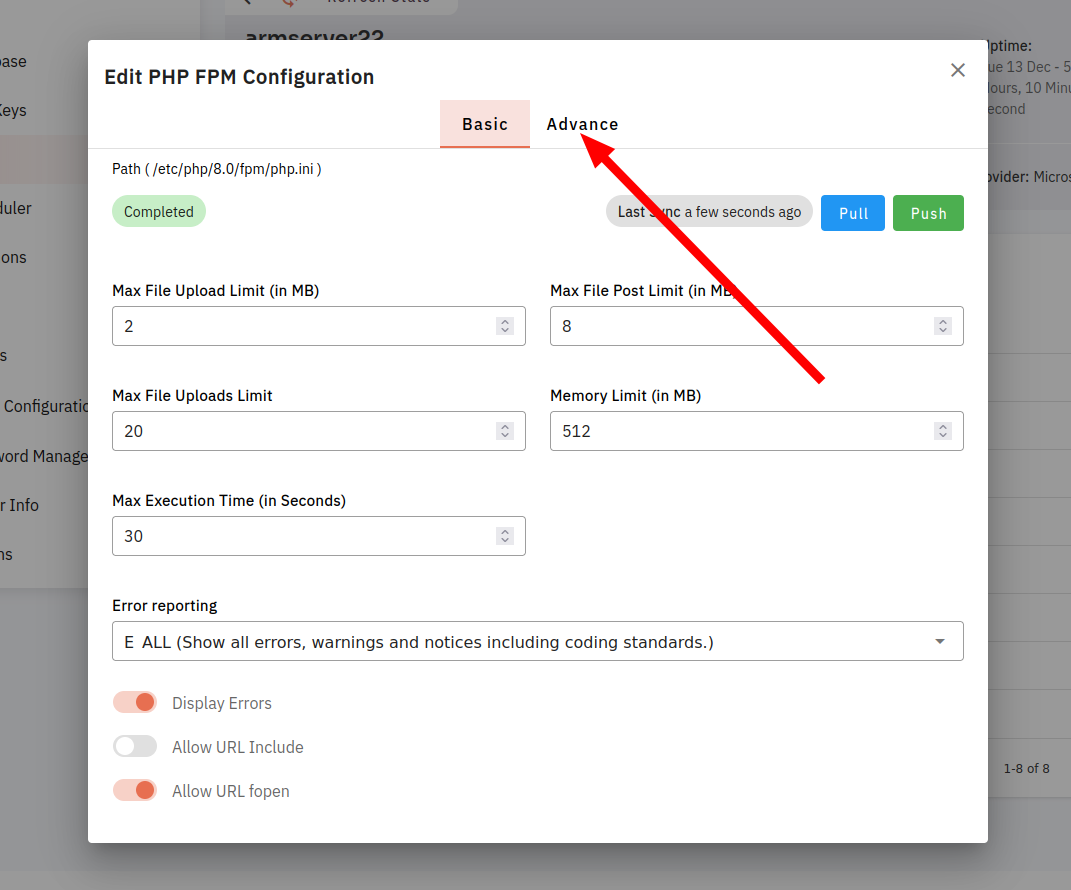
Edit PHP FPM Config :
19. Click on Edit PHP FPM Configuration.
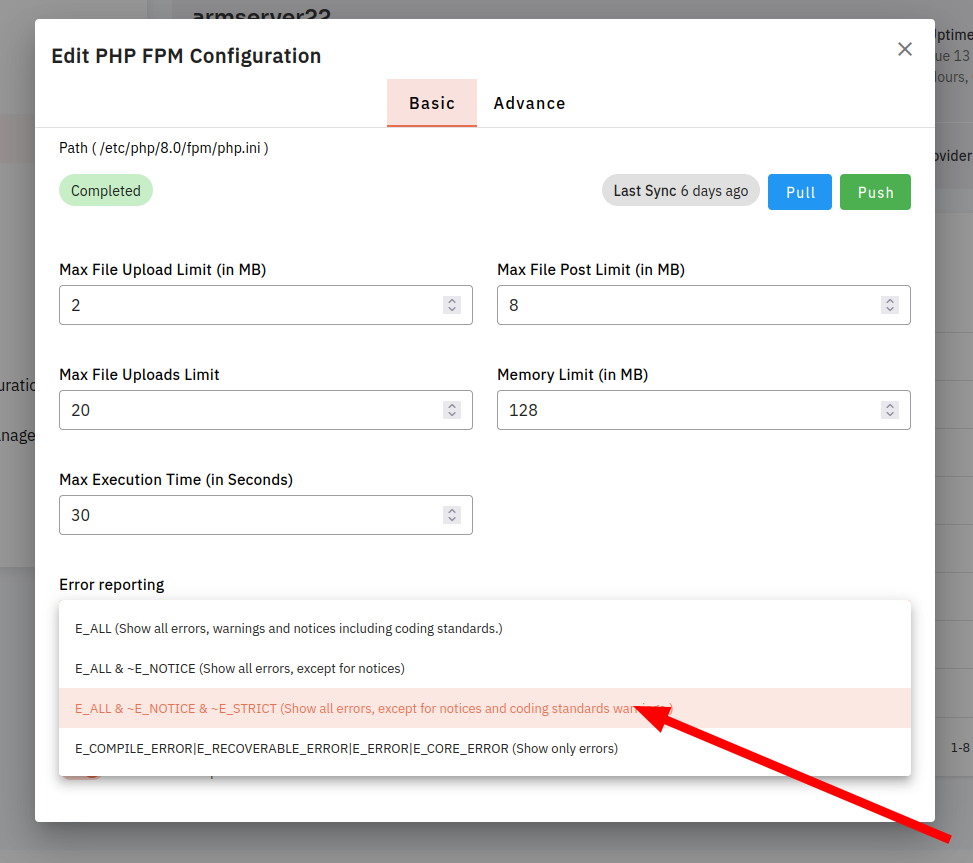
20. Click on the dropdown Error Reporting.
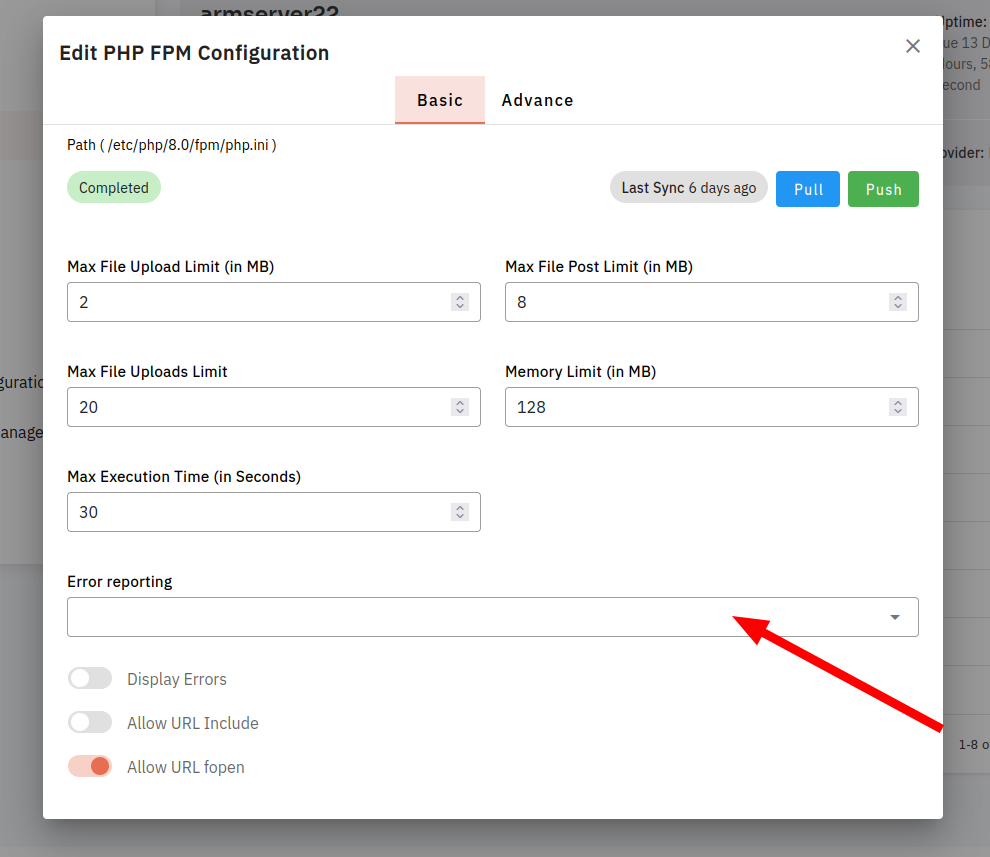
21. Select an Error
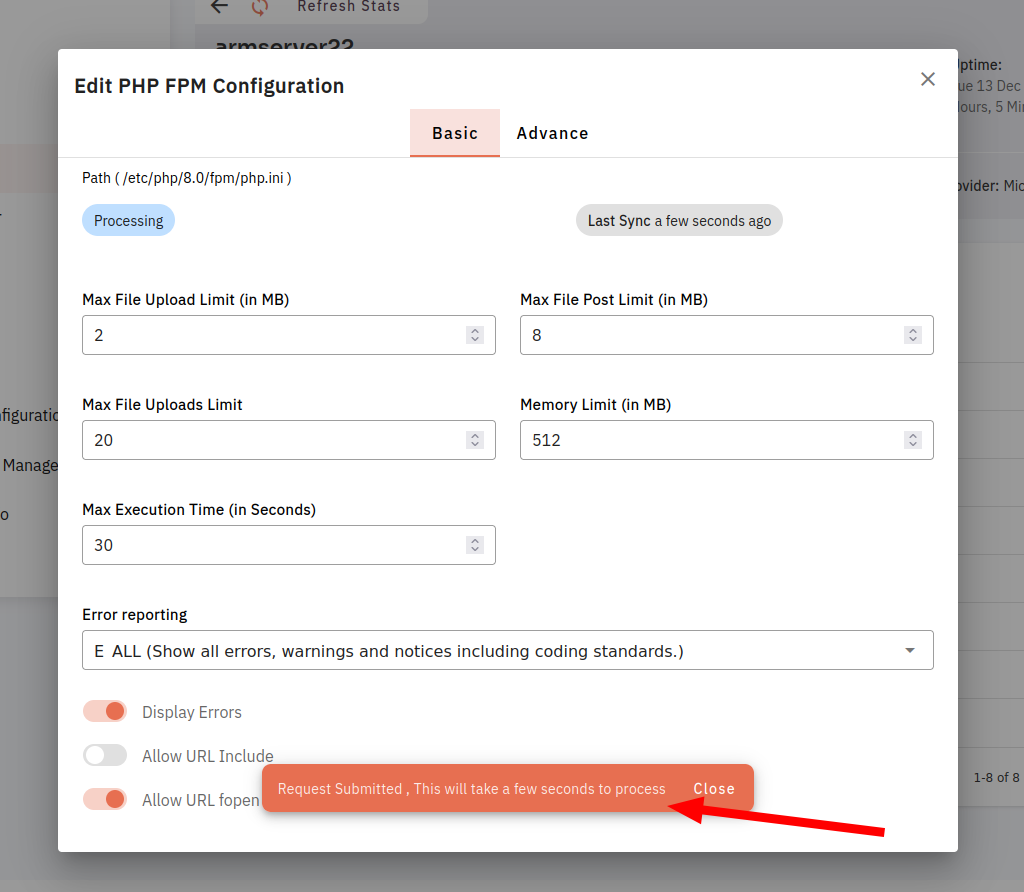
22. Click on the Pull button.
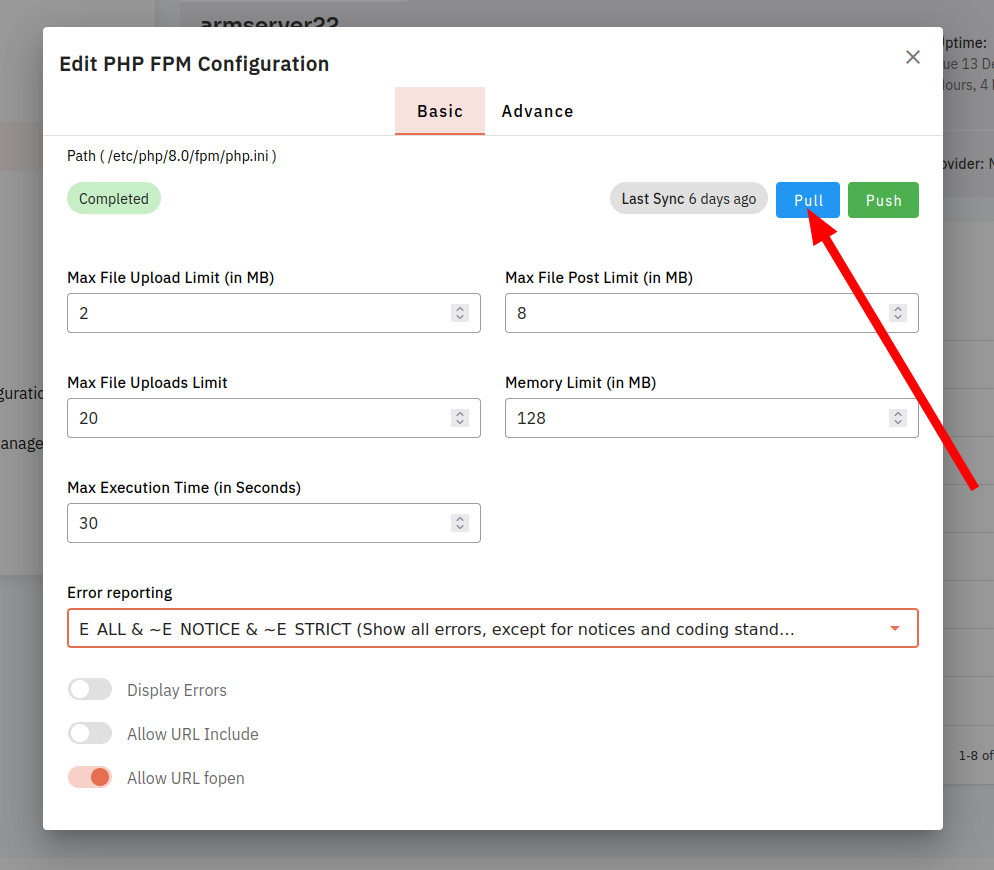
Here, you can see PHP FPM Configuration Pull Successfully.
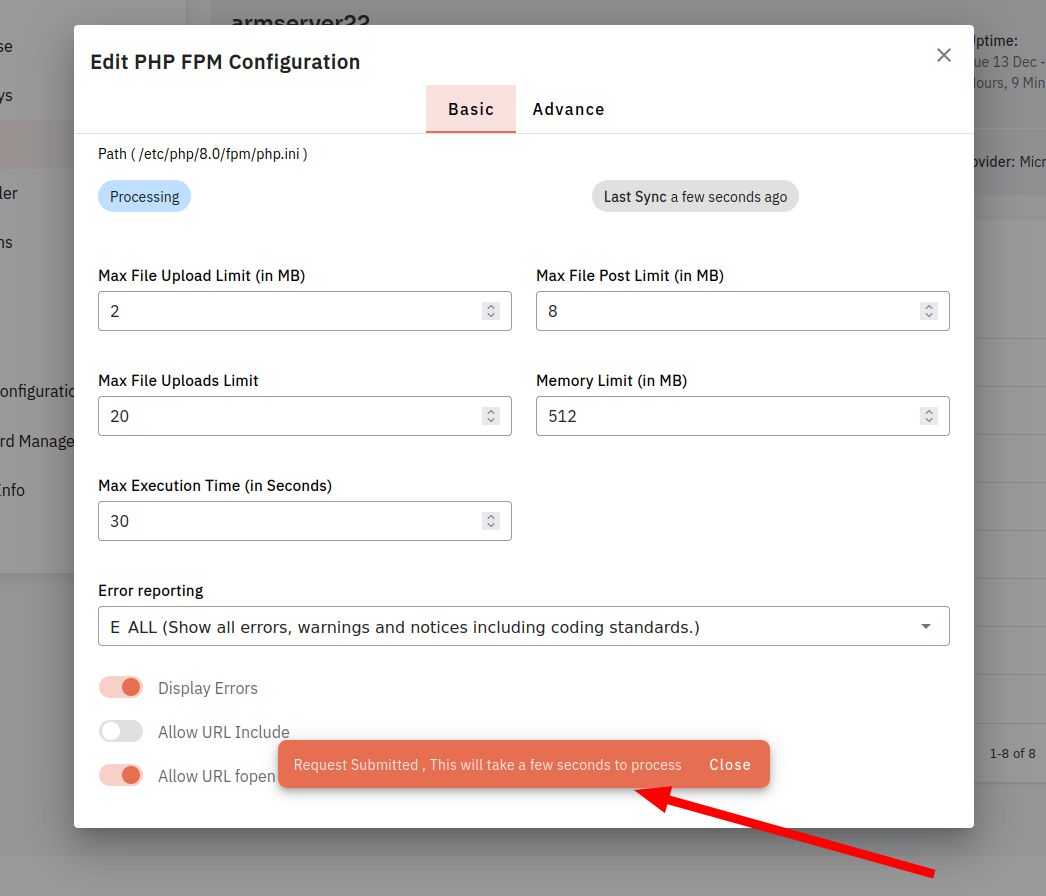
23. Click on the Push button.
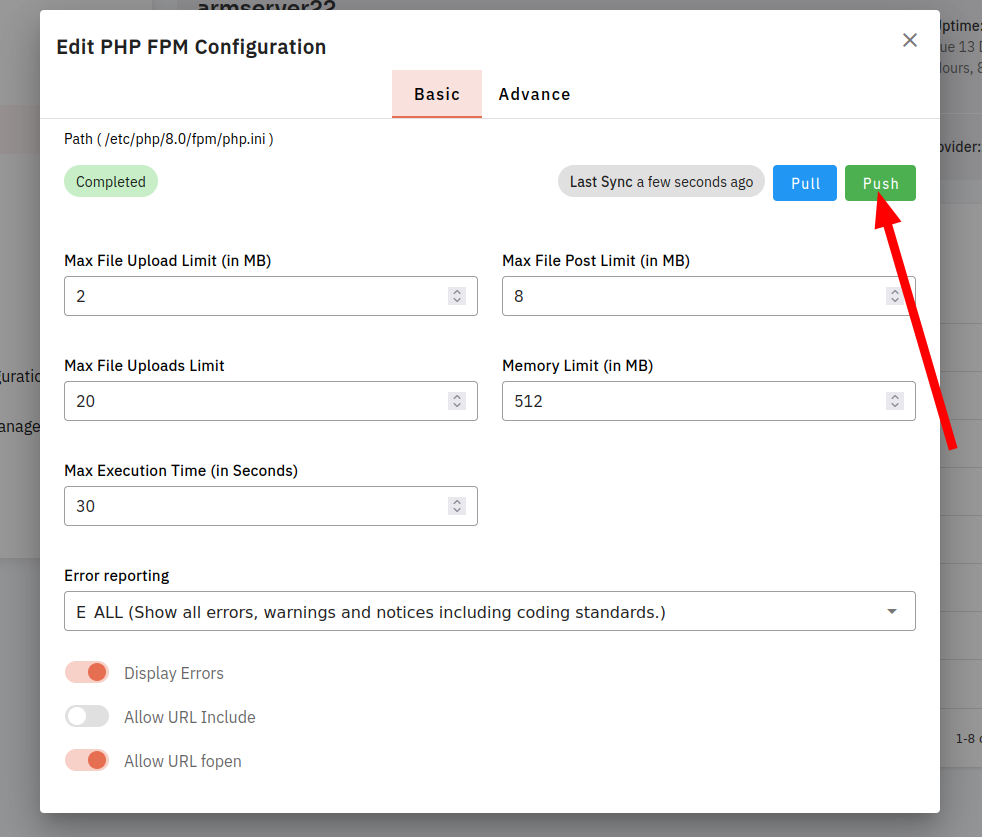
Here, you can see PHP FPM Configuration push Successfully.
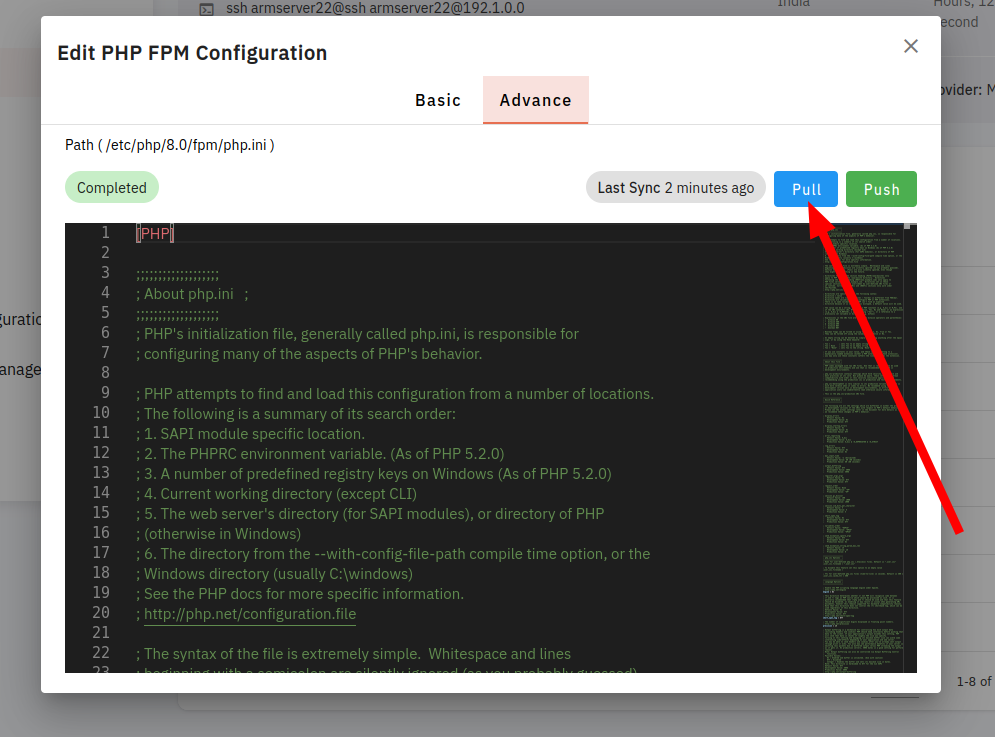
24. Click on the tab bar in the Advance button.
25. Click on the PushPull button.
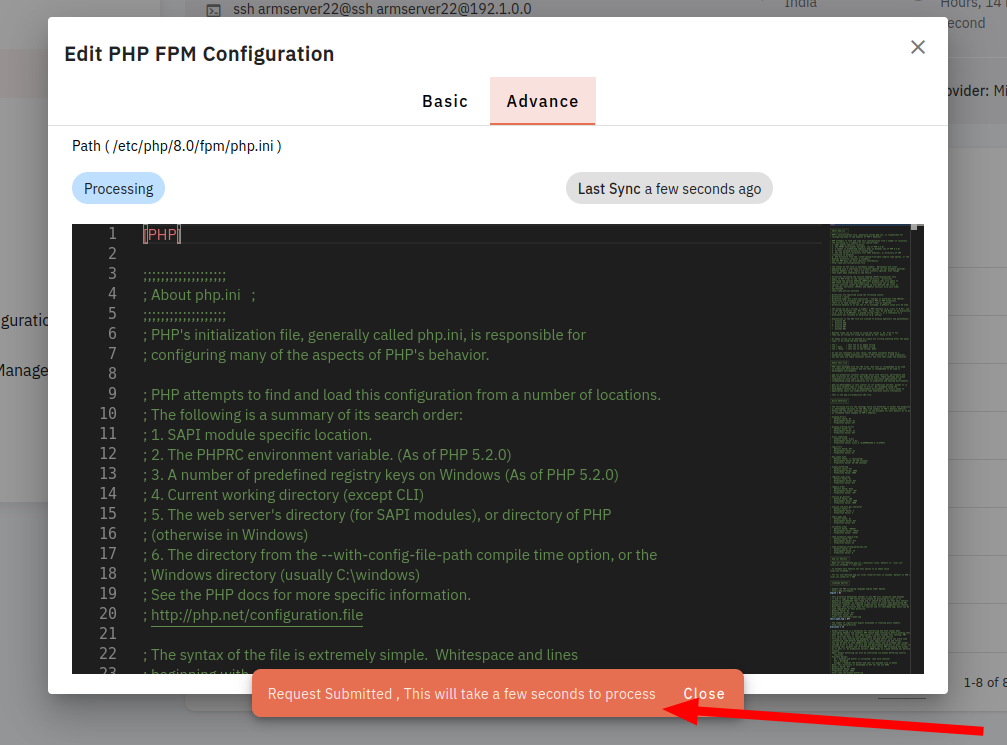
Here, you can see PHP FPM Configuration Pull Successfully.
26. Click on the Push button.
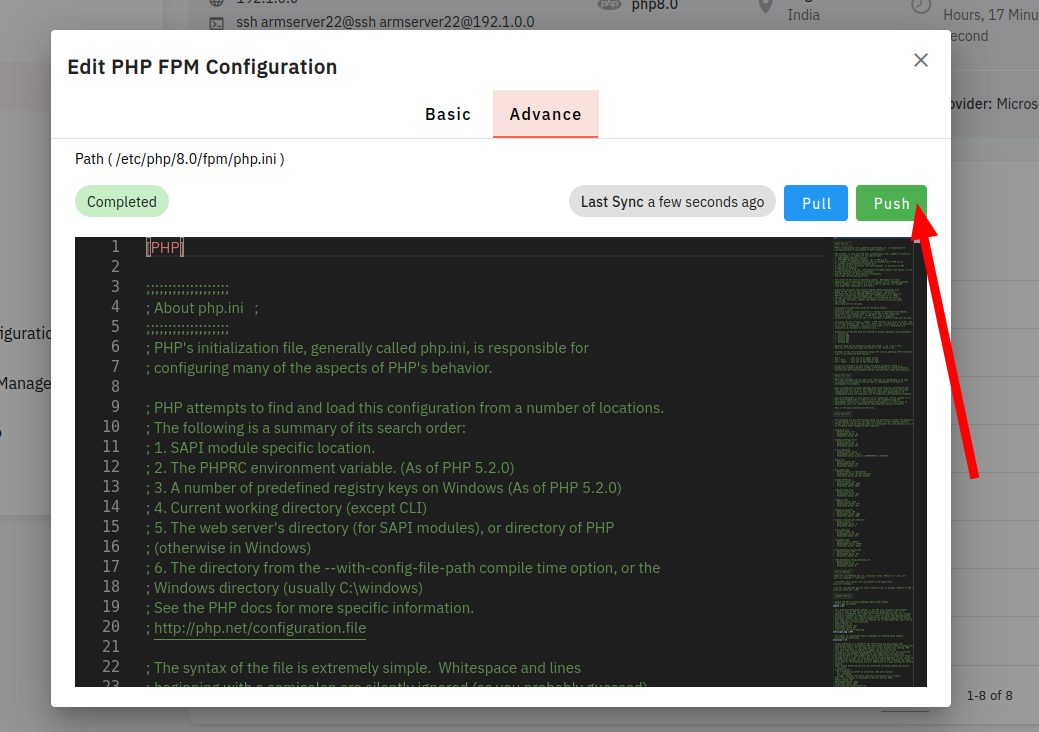
Here, you can see PHP FPM Configuration push Successfully.
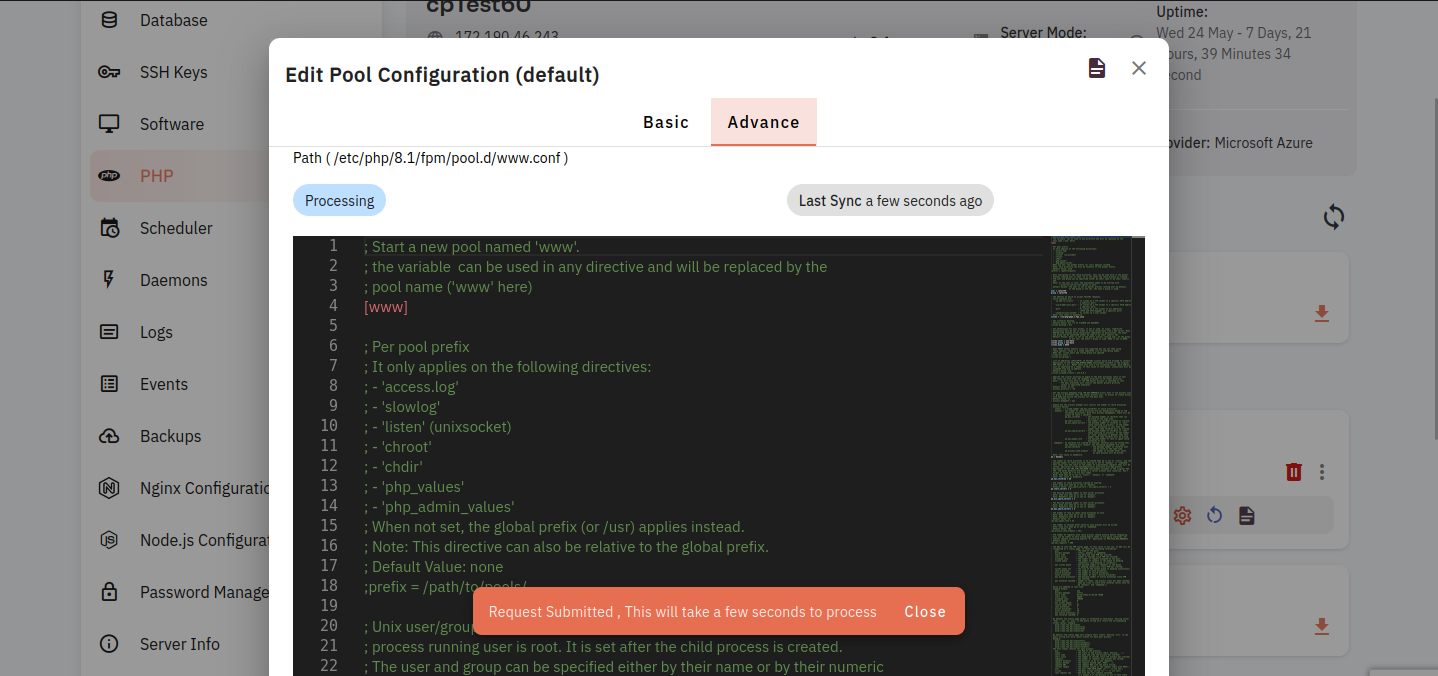
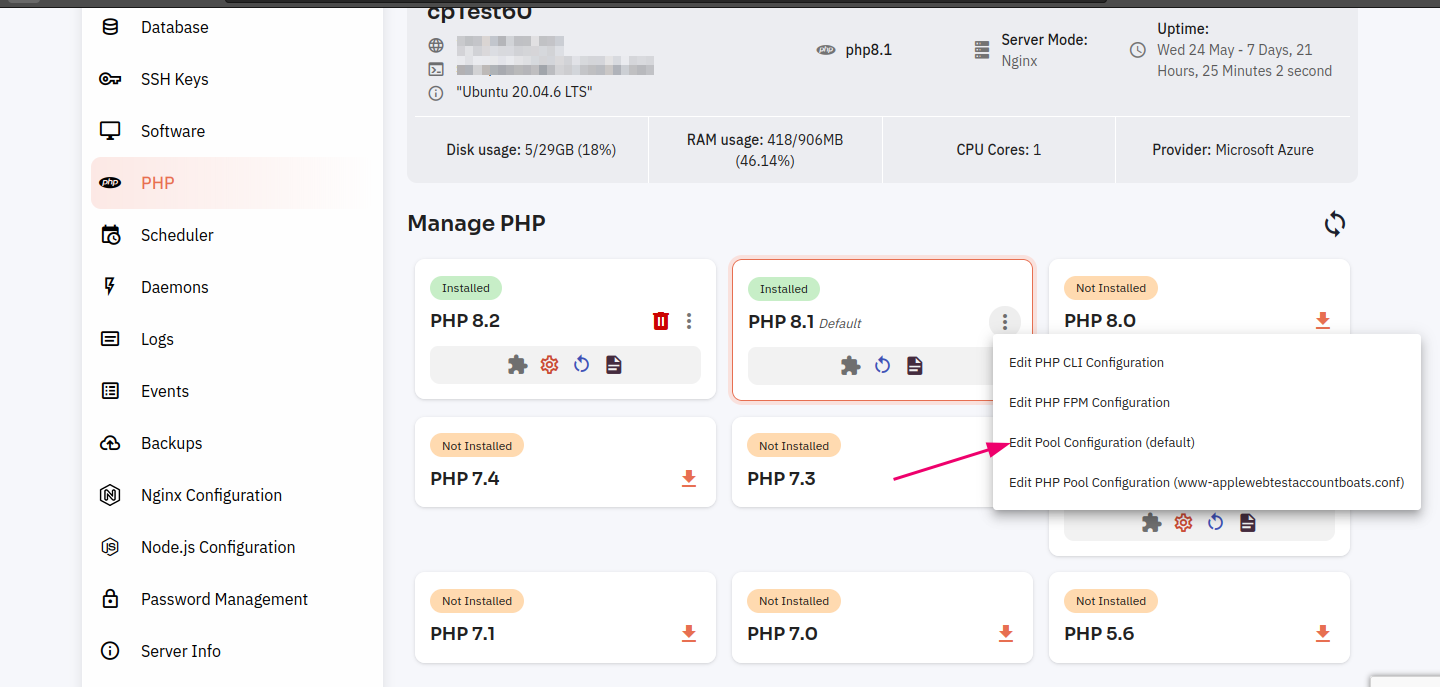
Edit Pool Config (default) :
27. Click on Edit Pool Configuration (default).
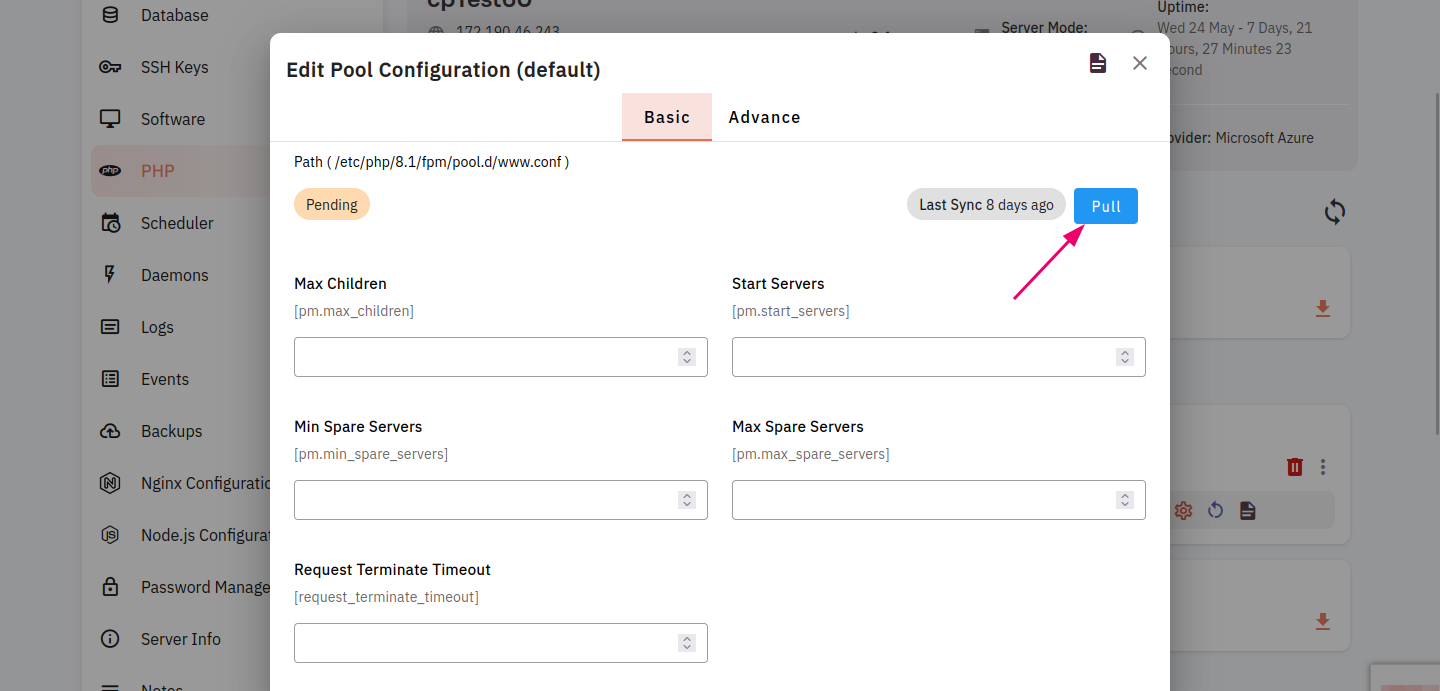
28. Click on the Pull button.
29. Here you can see pull data successfully.
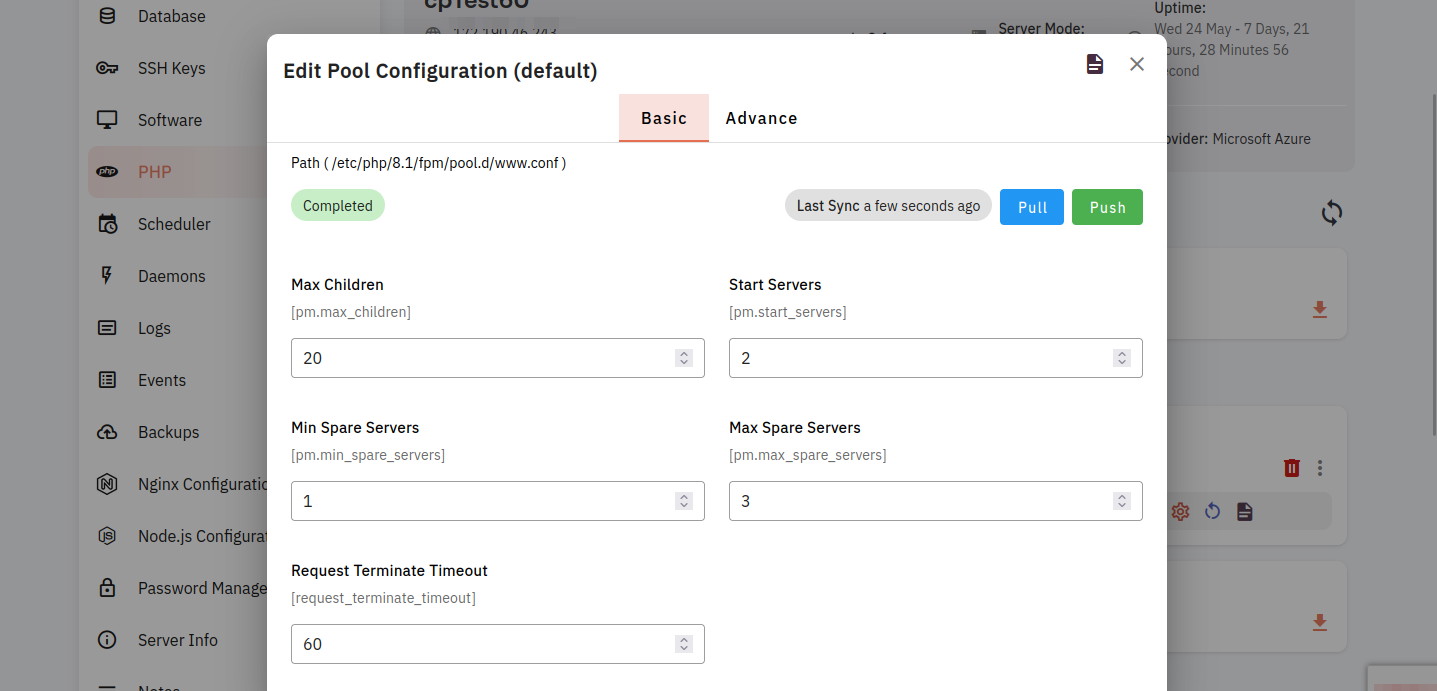
30. Click on the Push button.
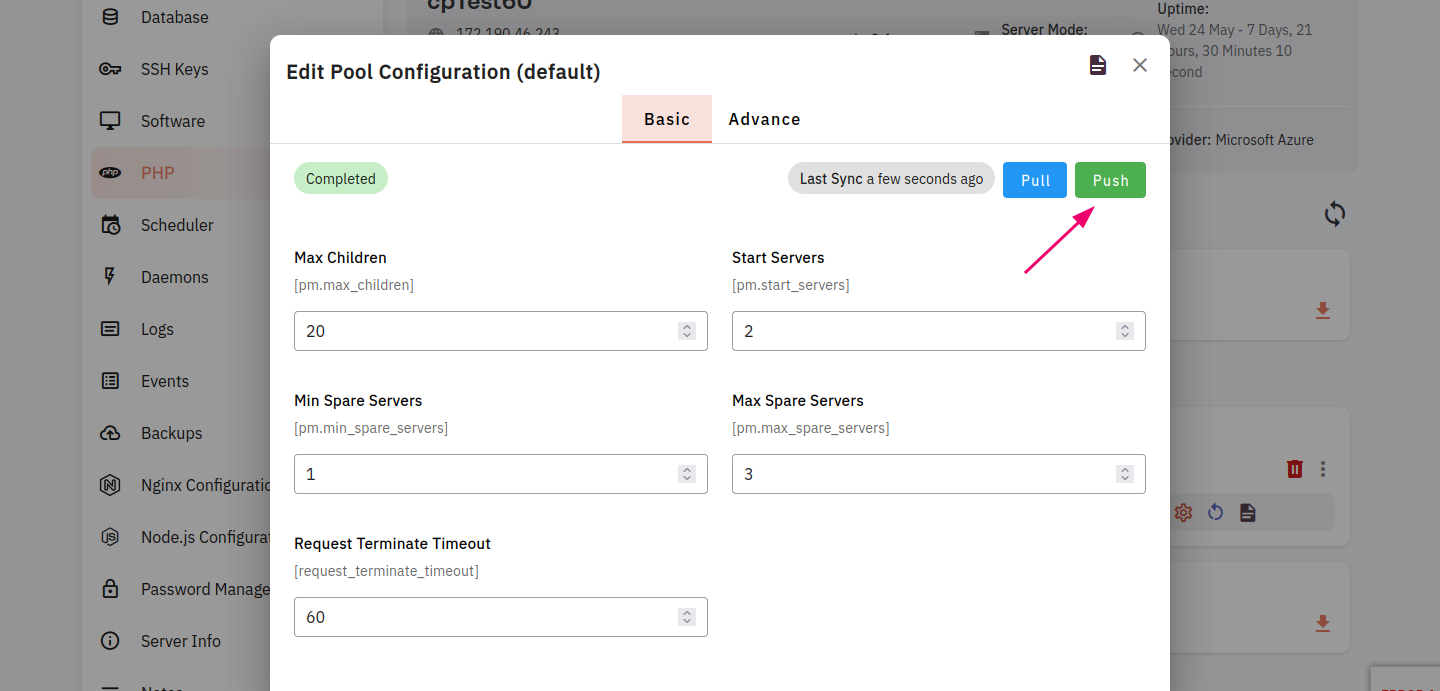
31. Here you can see push data successfully.

31. Selected the Advance tab.

Pull Data :
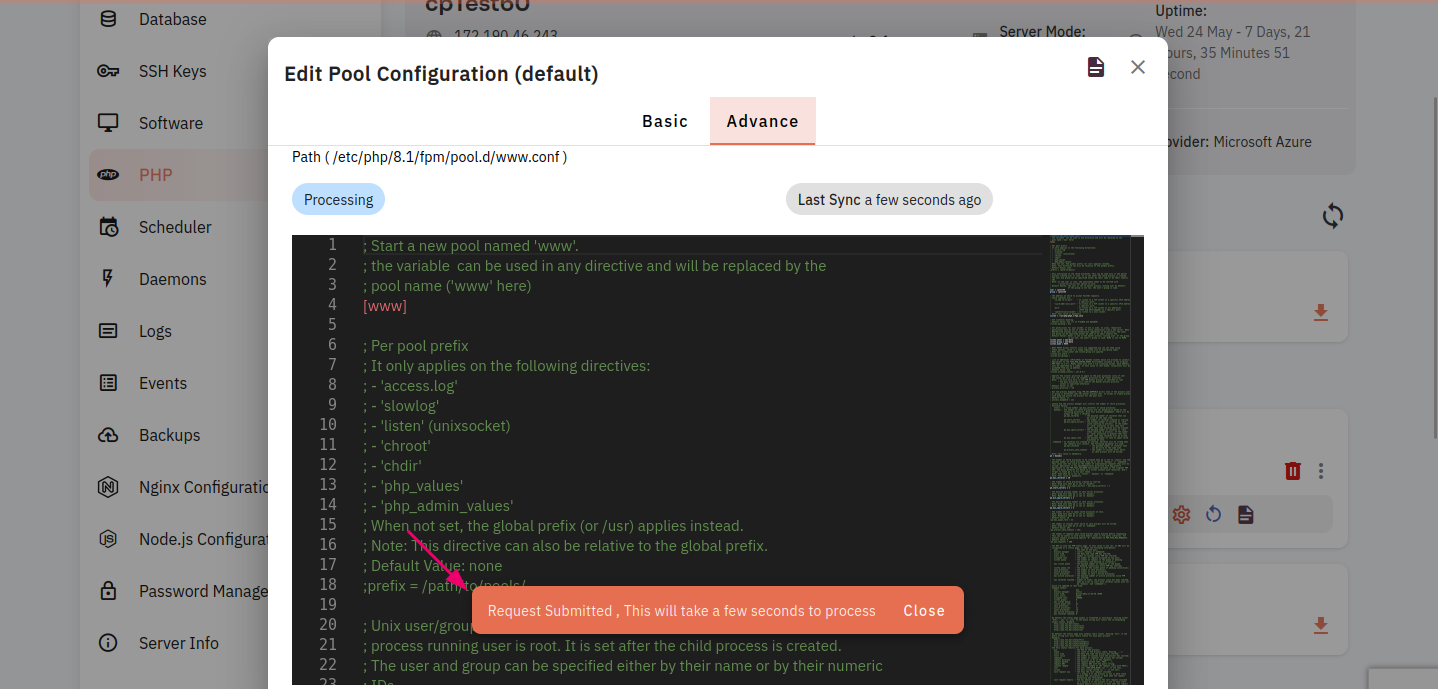
32. Click on the pull button.
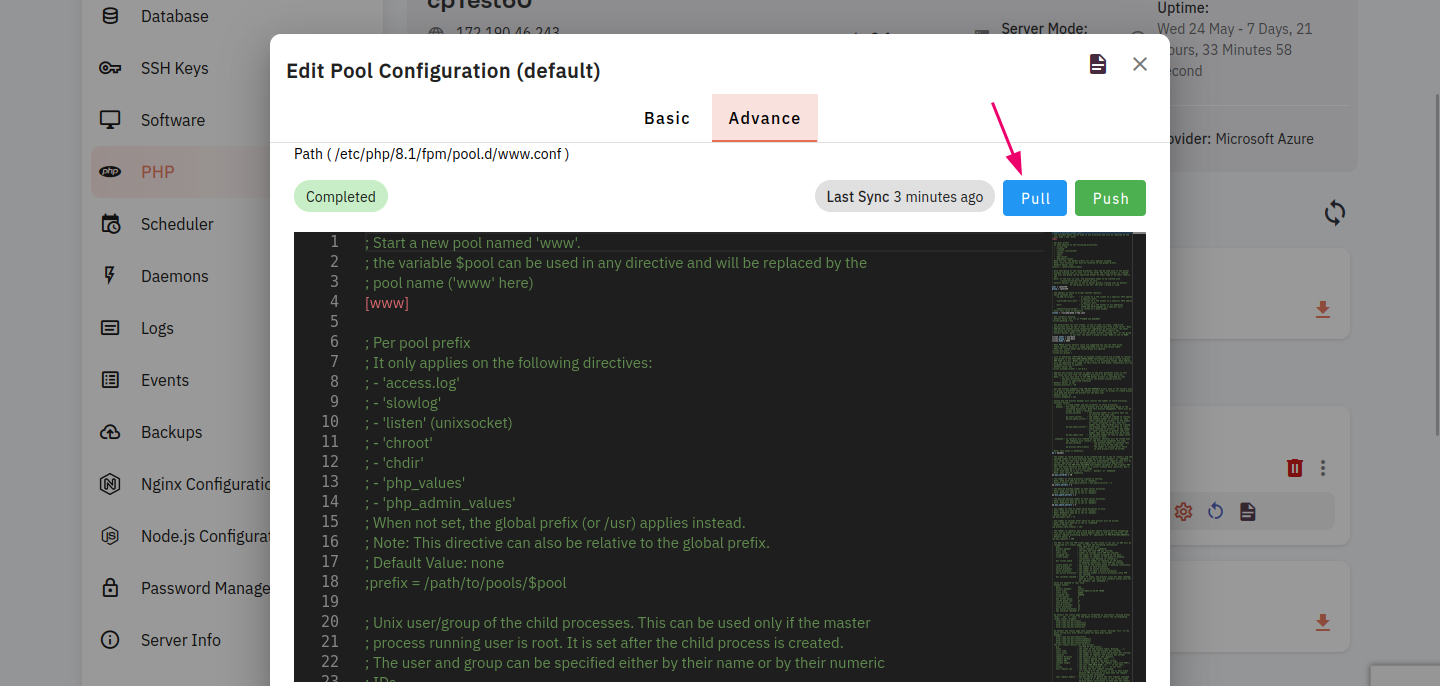
Here you can see the pull data successfully.
Push Data :
33. Click on the Push button.
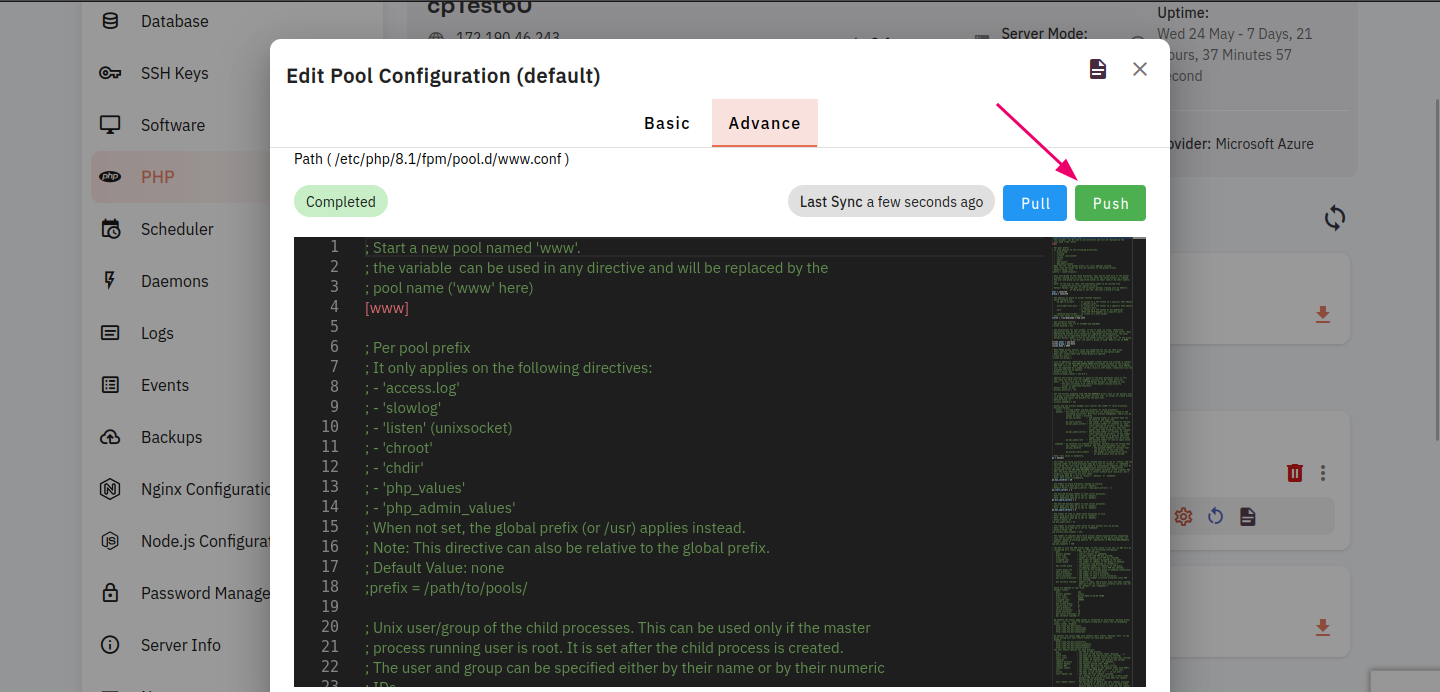
Here you can see push aredata successful.successfully.