How to install and configure PHP on server in CloudPanzer?
To install PHP on a server, you'll need to follow a series of steps depending on the server's operating system. You may encounter situations where you need to use an older version of PHP for compatibility reasons or to support legacy applications. Here, you can choose the PHP version according to your requirements.
Tutorial :
You can watch the Video or Continue reading the post.
Follow the steps below to install the PHP
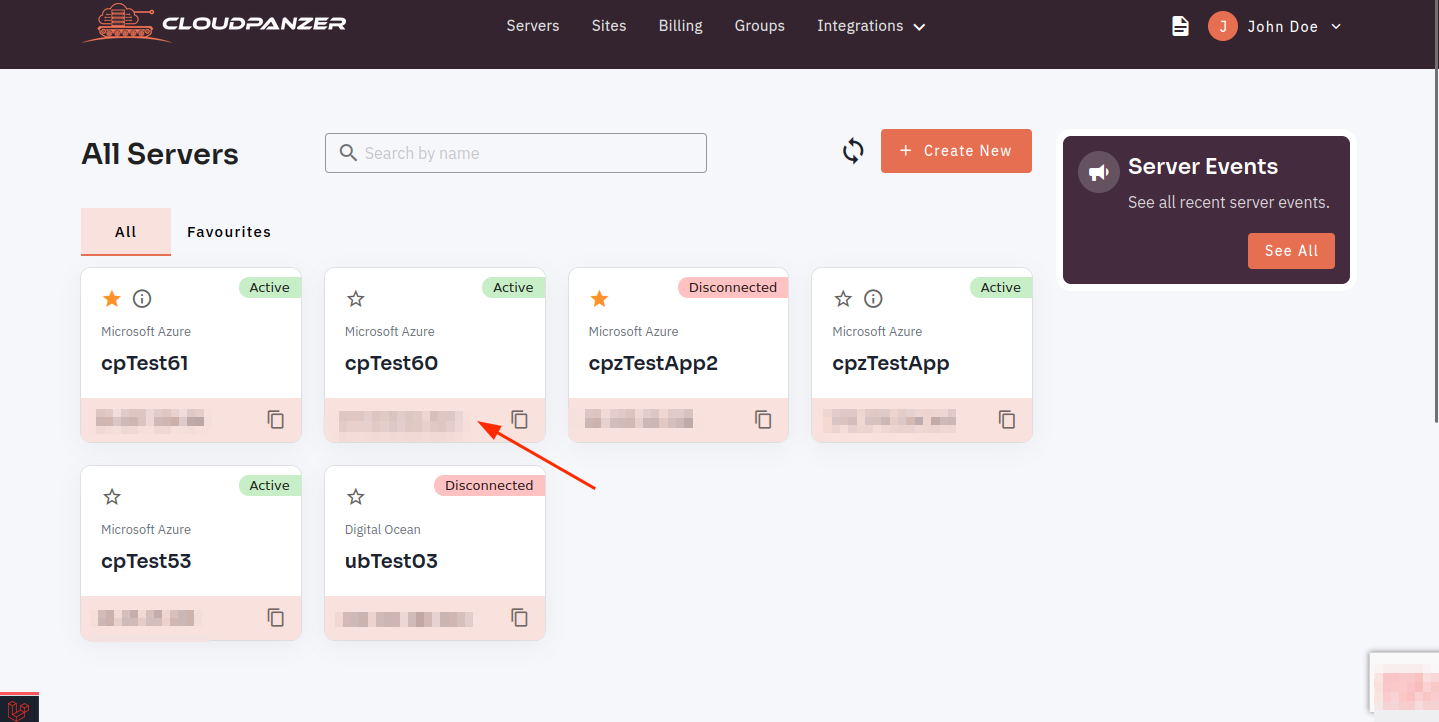
1:1.1 Once you are logged in, look for a "Server" and click on it.
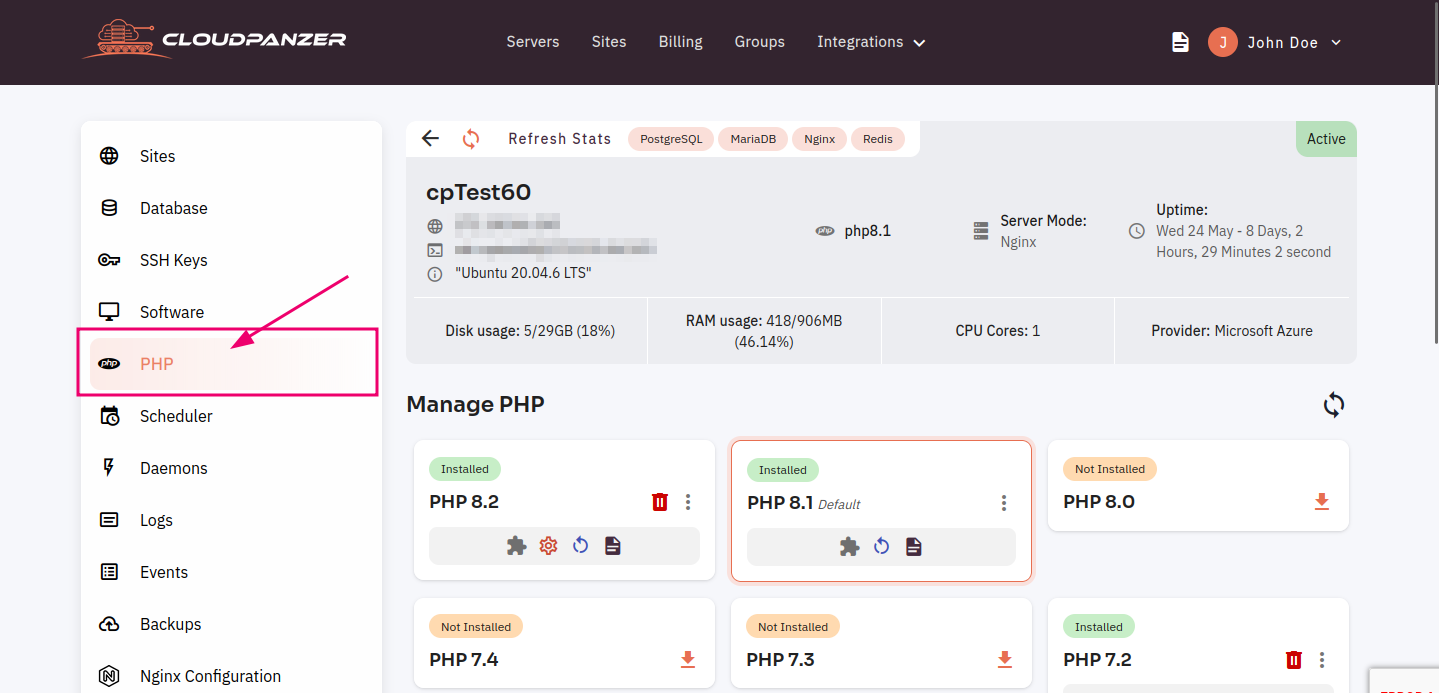
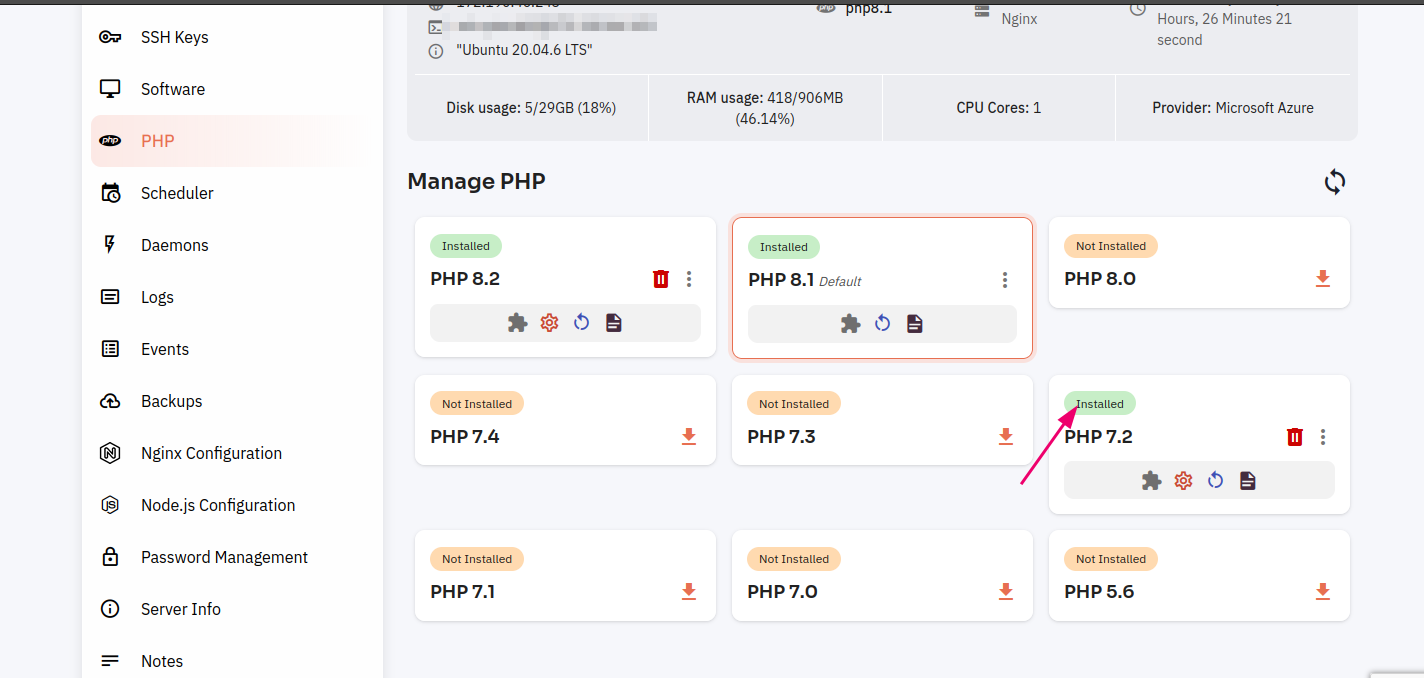
2.1.2 Click on the PHP option.
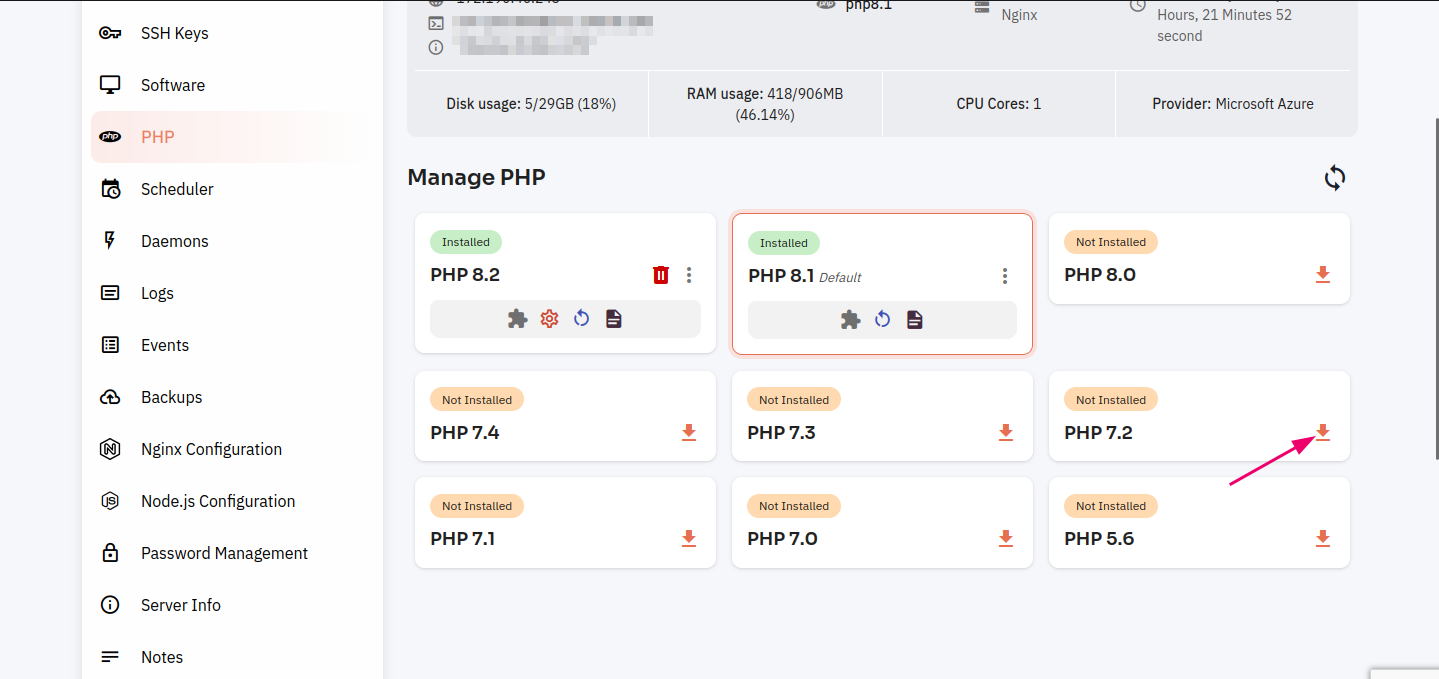
3.1.3 Click on the download button.
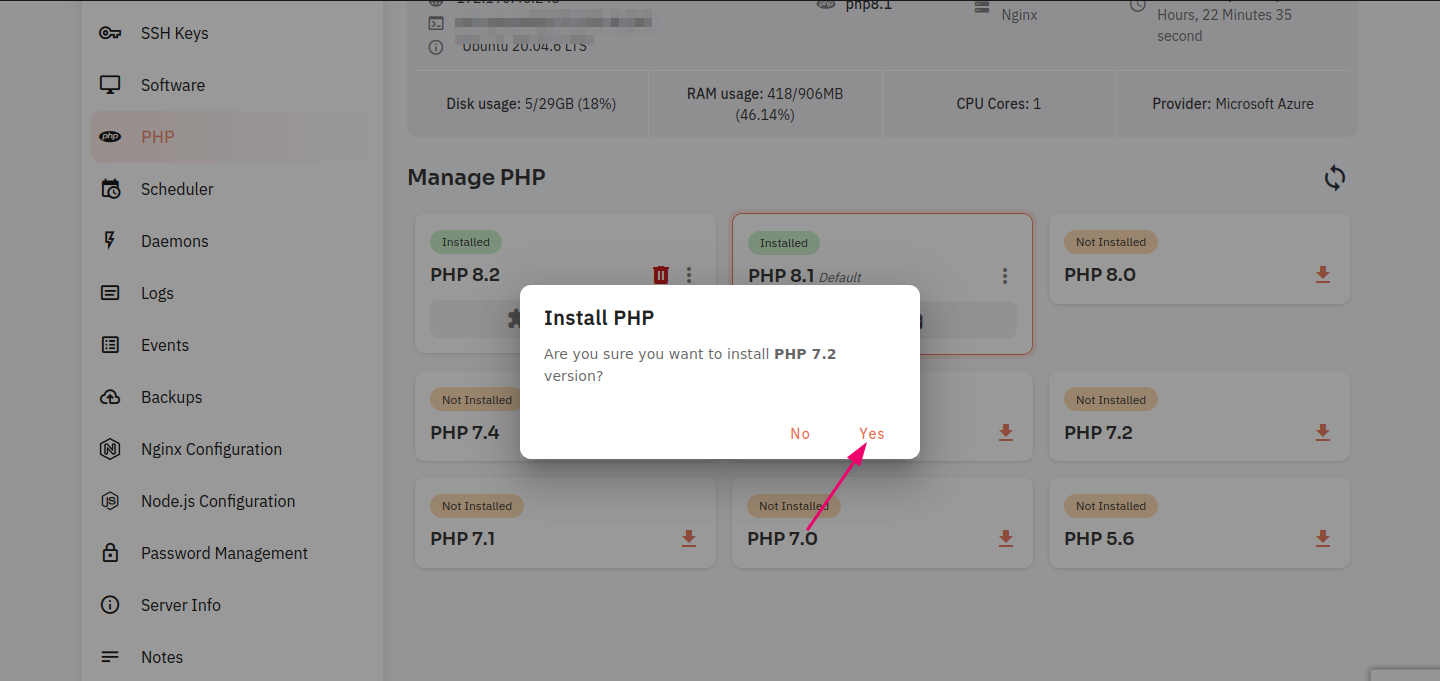
4.1.4 Click on the Yes Button.
5.1.5 Here you can see thewithin a few seconds PHP has been installed successfully.
RestartOther PHP VersionOptions :
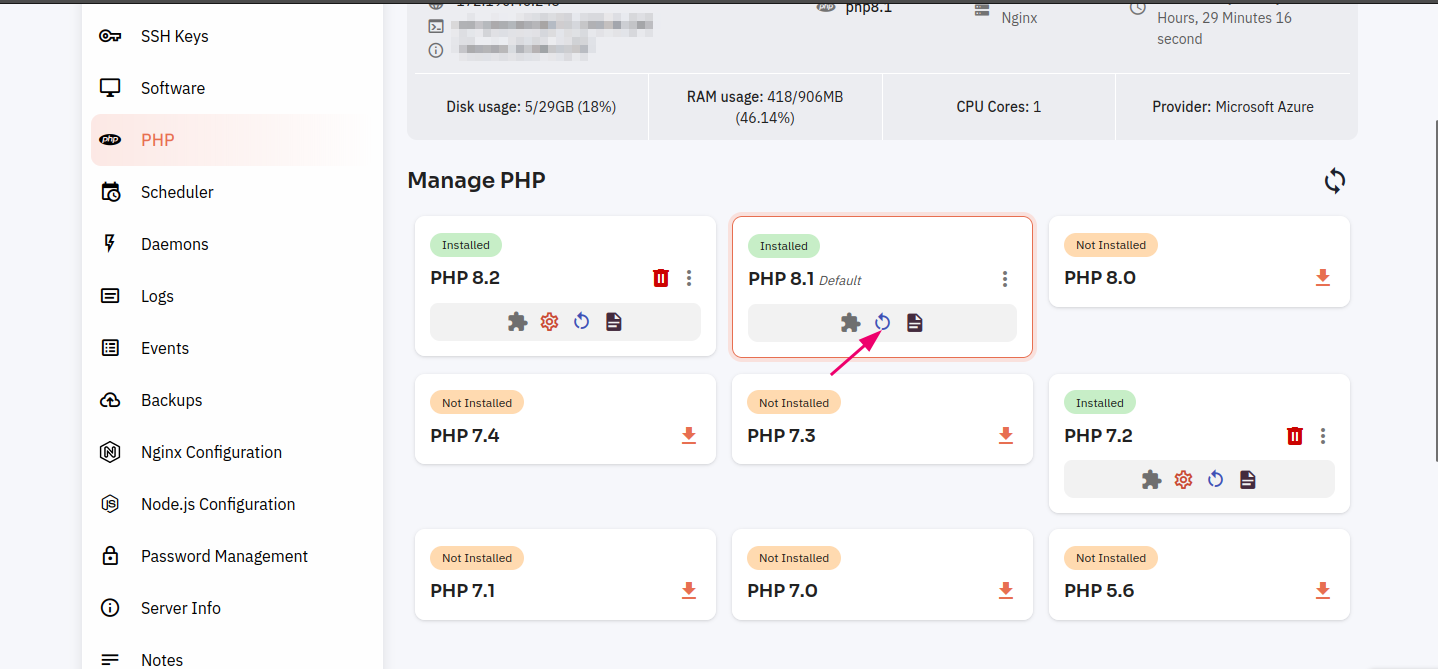
62.1 Click on the Restart icon.
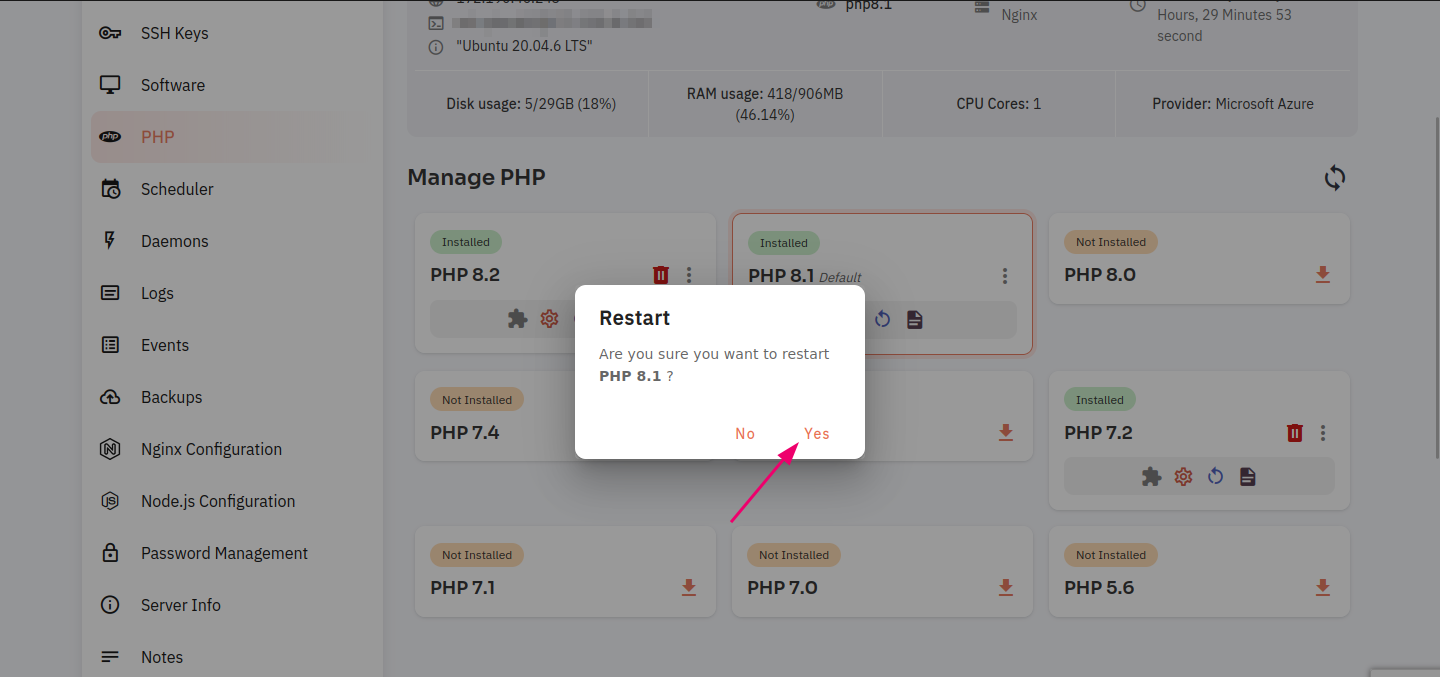
7.2.2 Click on the yes button to restart the PHP version.
View2.3 PHPYou Eventscan :
check 8.events Clickby clicking on the eventsfile icon.
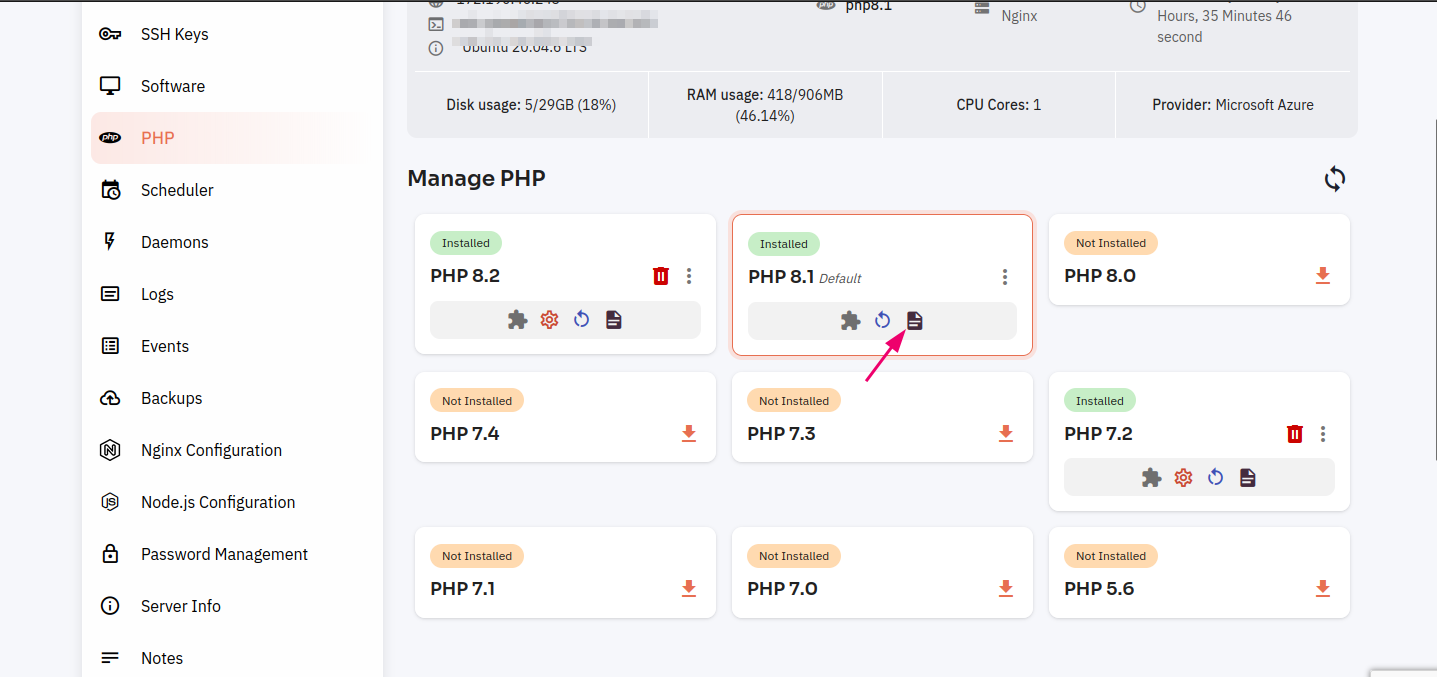
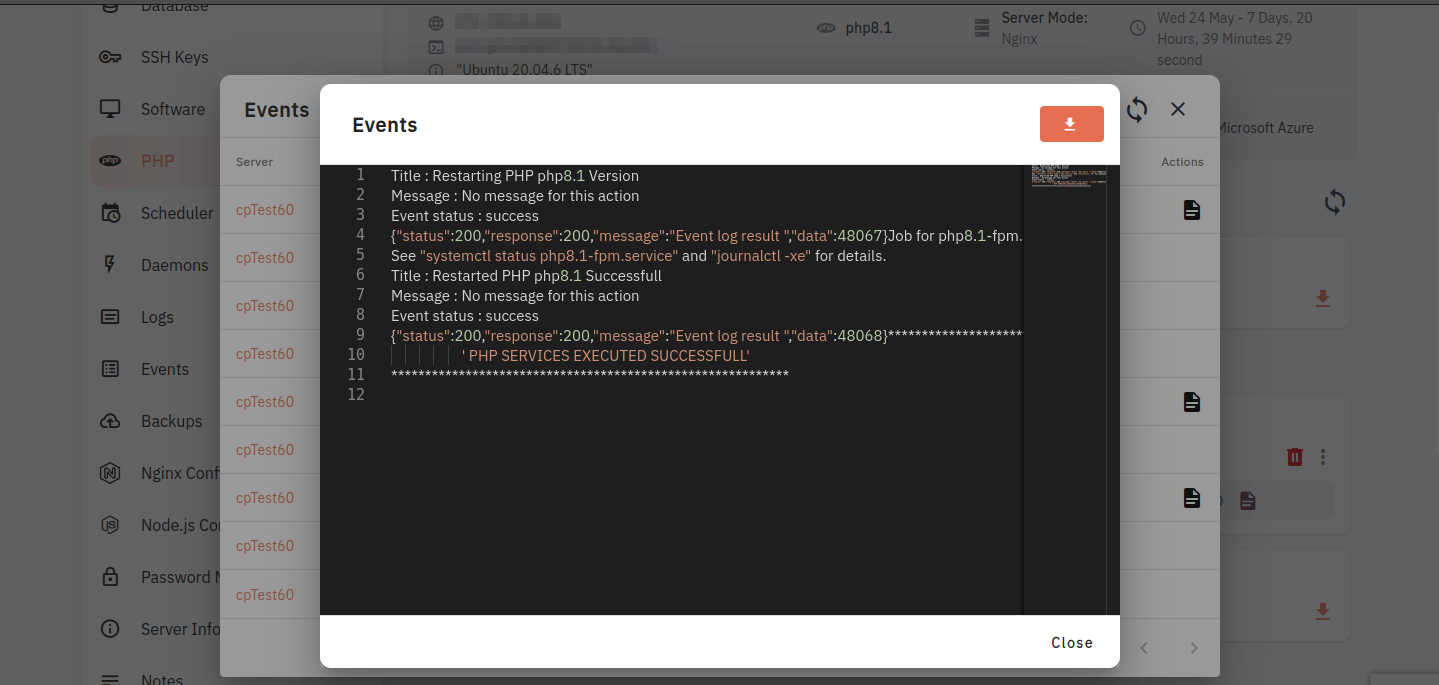
9.2.4 The Event Dialog box will show and then click on the Event FIle icon.
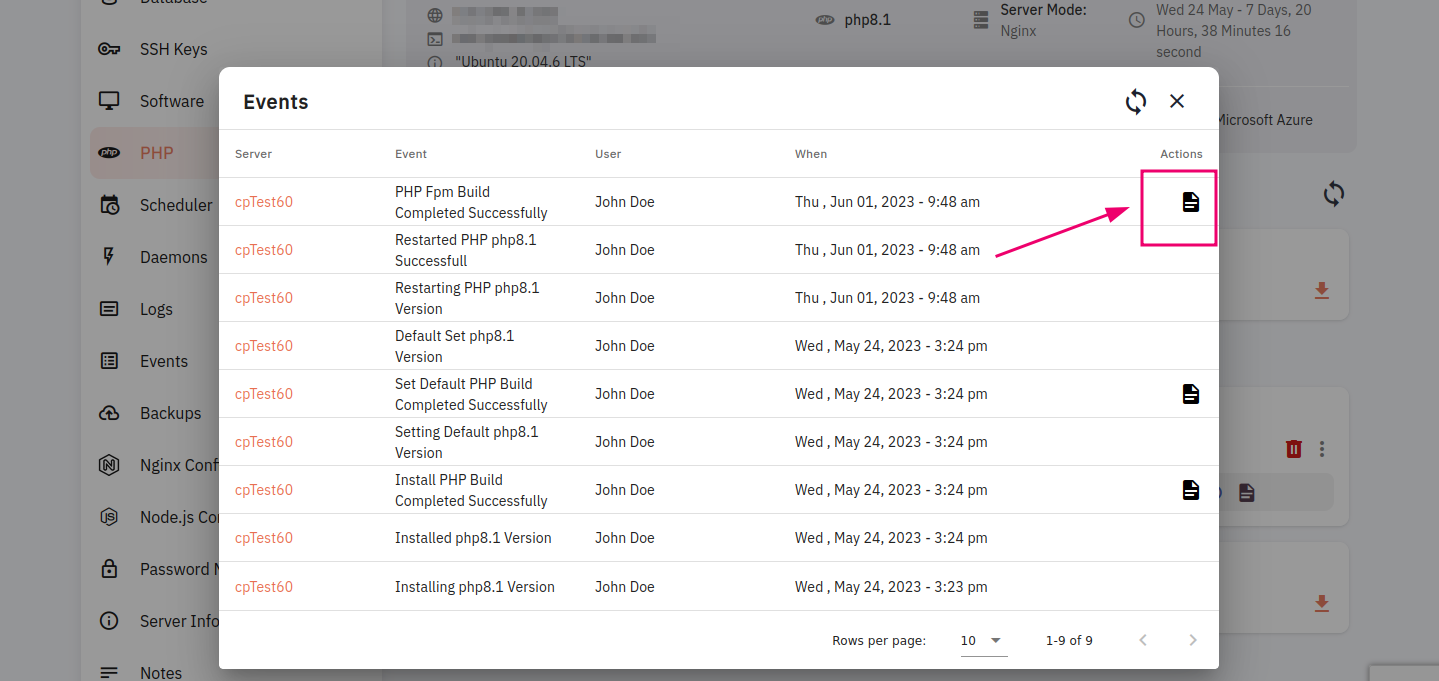
10.2.5 Here you can see phpPHP events have shown successfully.
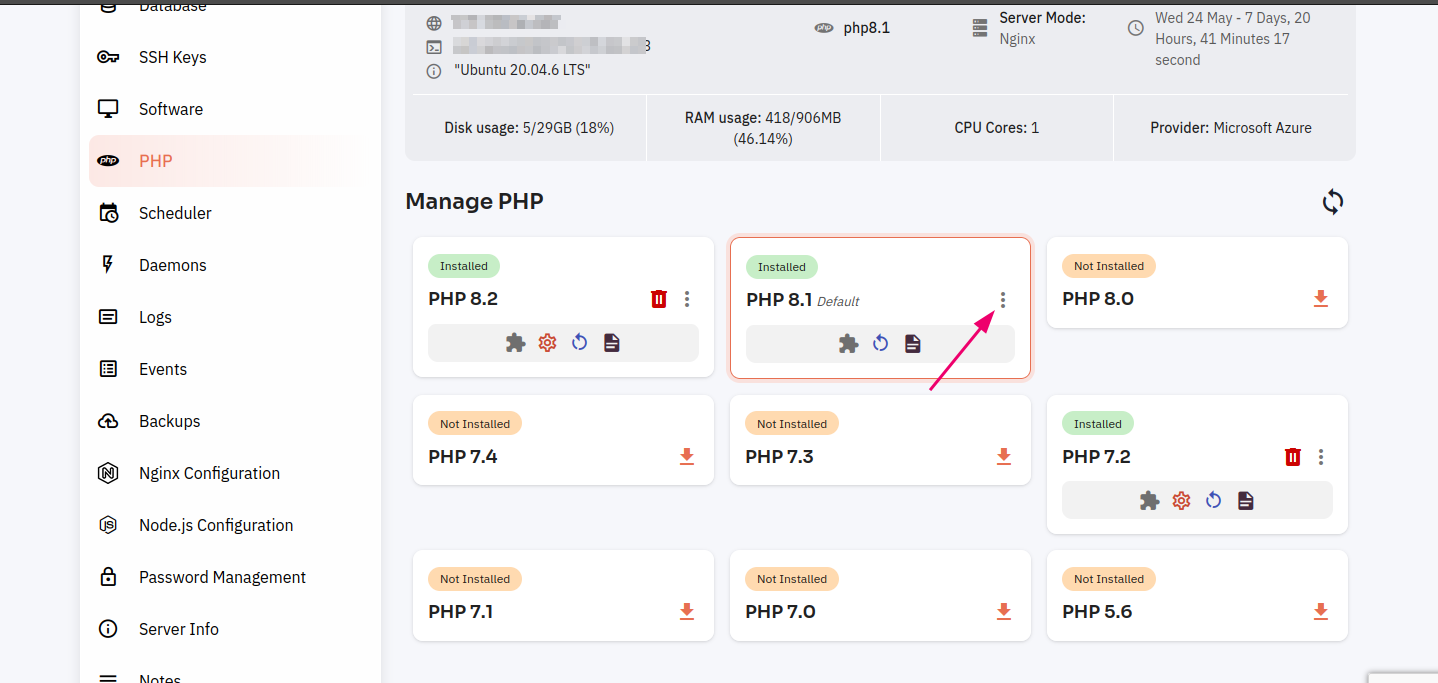
PHP CLI configuration :
11.3.1 Click on the Poppup menu icon.
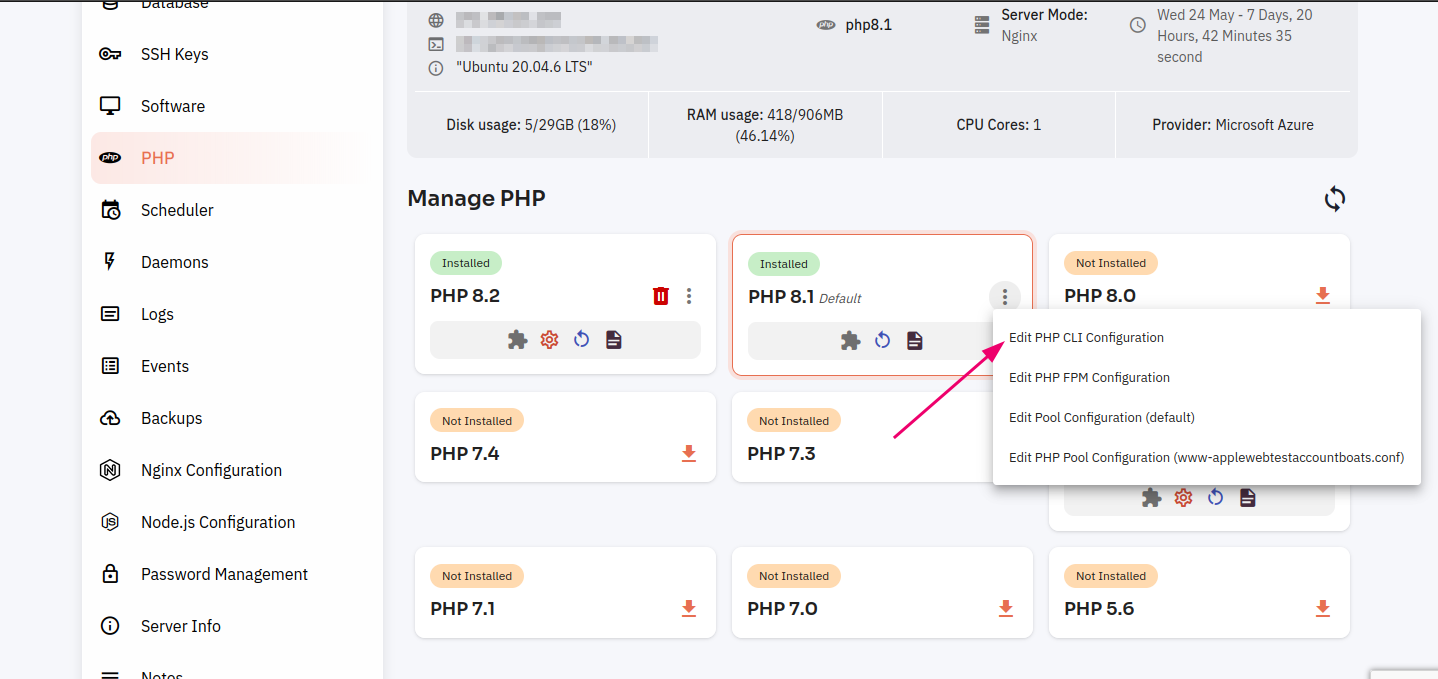
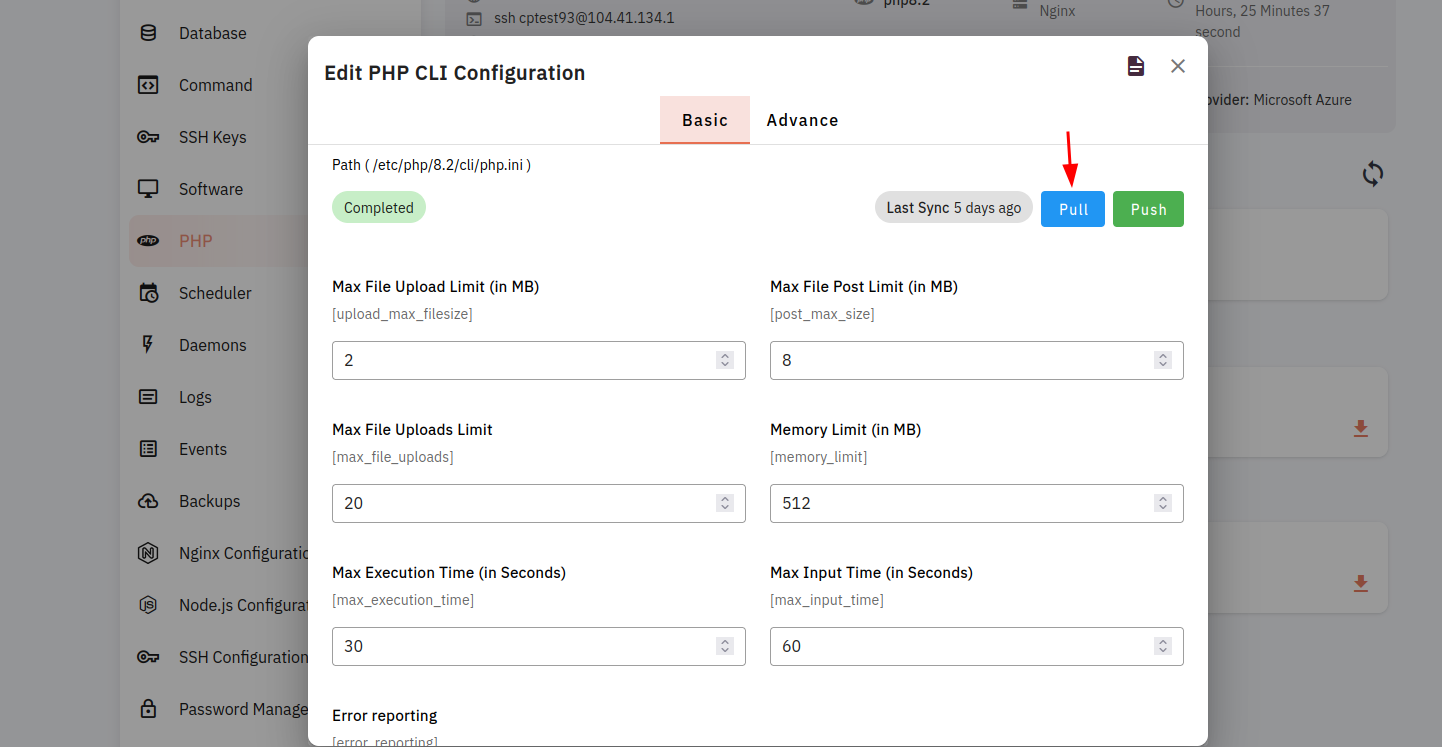
Edit PHP CLI config :
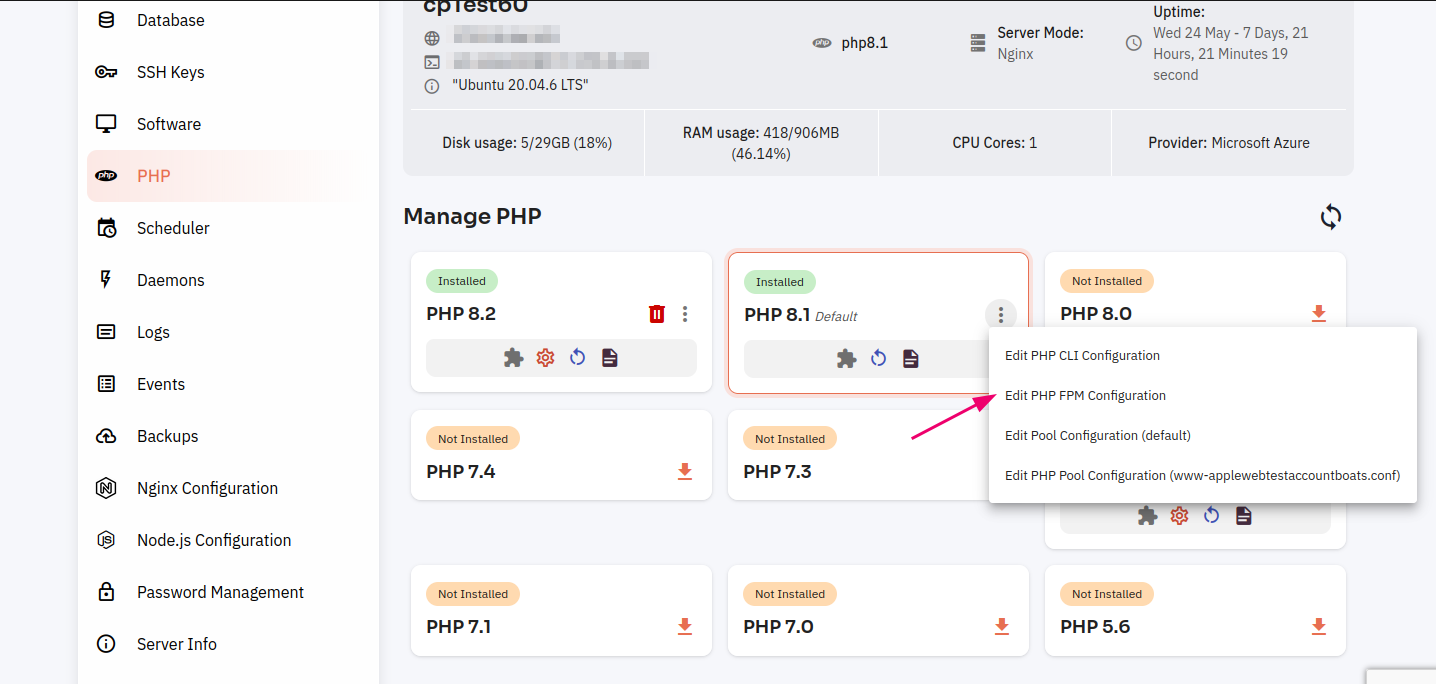
10.3.2 Click on Edit PHP CLI Configuration. PHP CLI refers to the Command Line Interface version of the PHP interpreter. It allows you to execute PHP scripts directly from the command line.
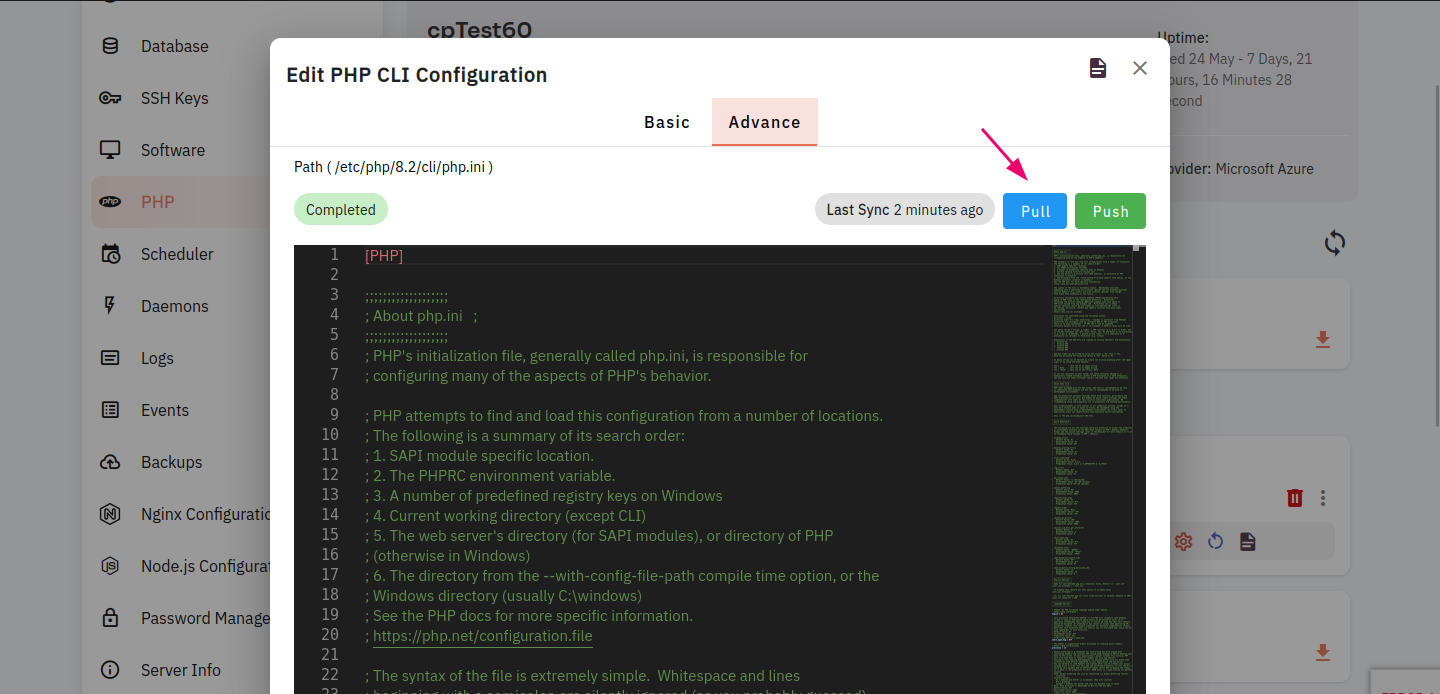
PHP3.3 pullA datadialog :
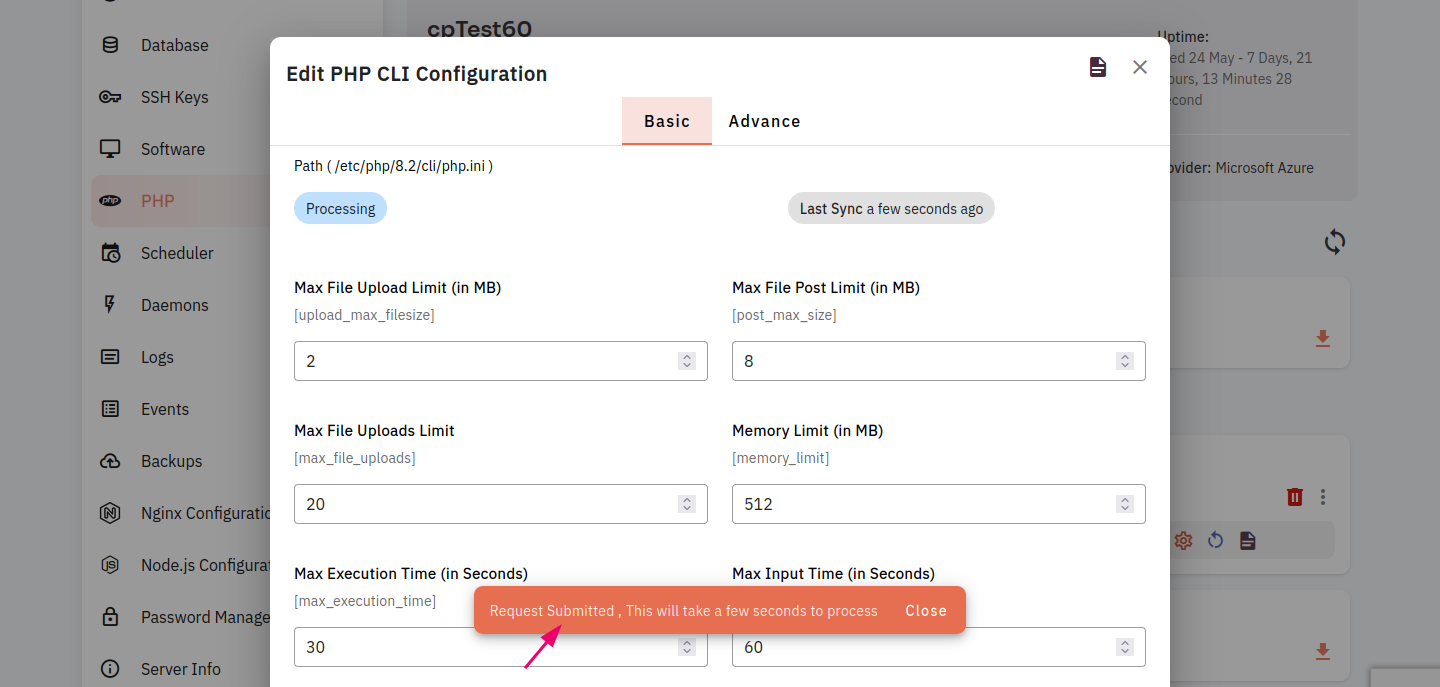
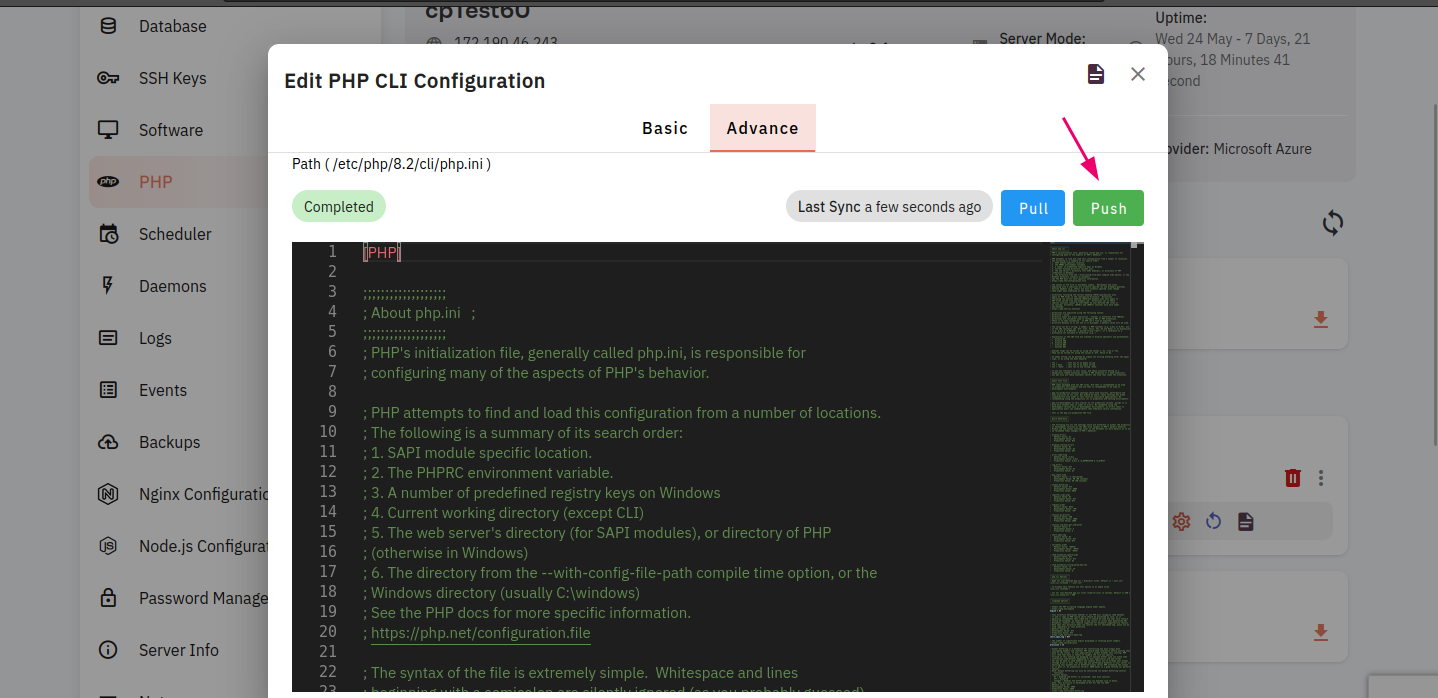
box will open with the Basic and Advance tab. By clicking on the Pull button, you can fetch details and you can change any value. You can save these changes by clicking on the push button.
11.
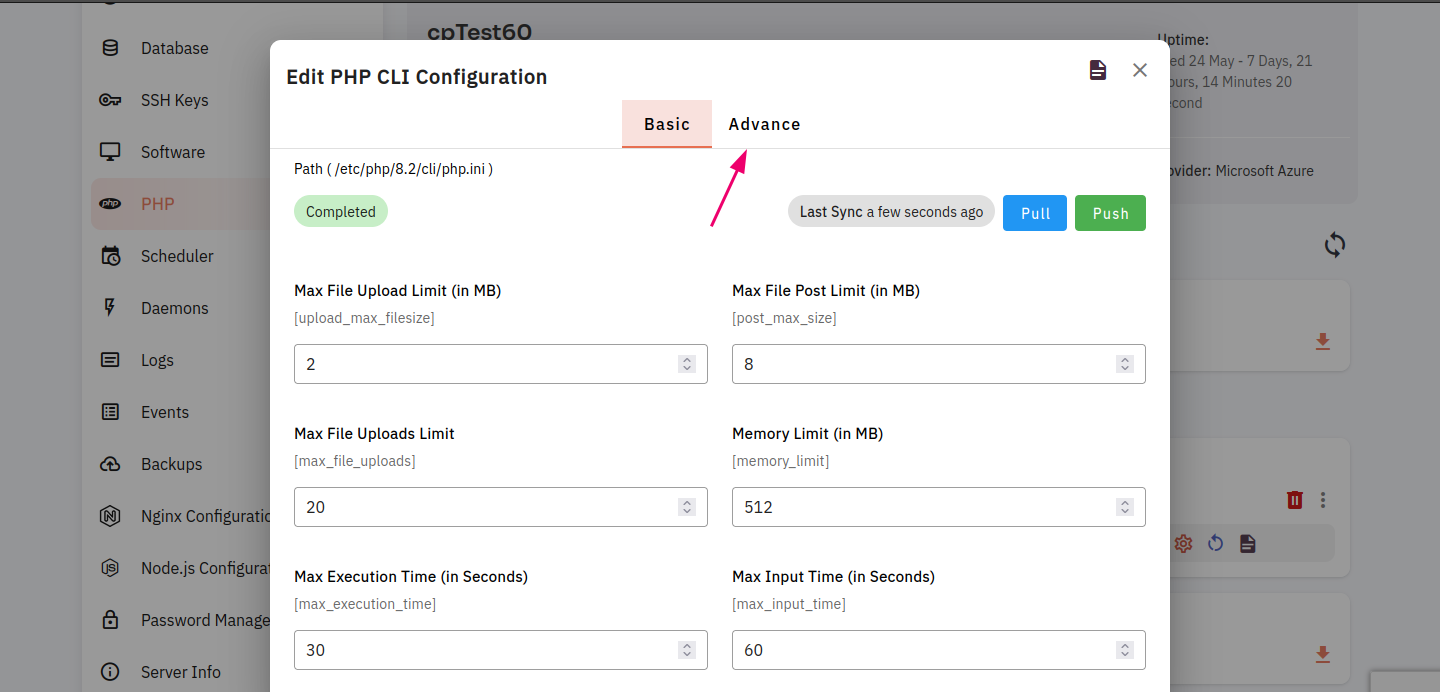
3.4 Click on the PullAdvance tab button.
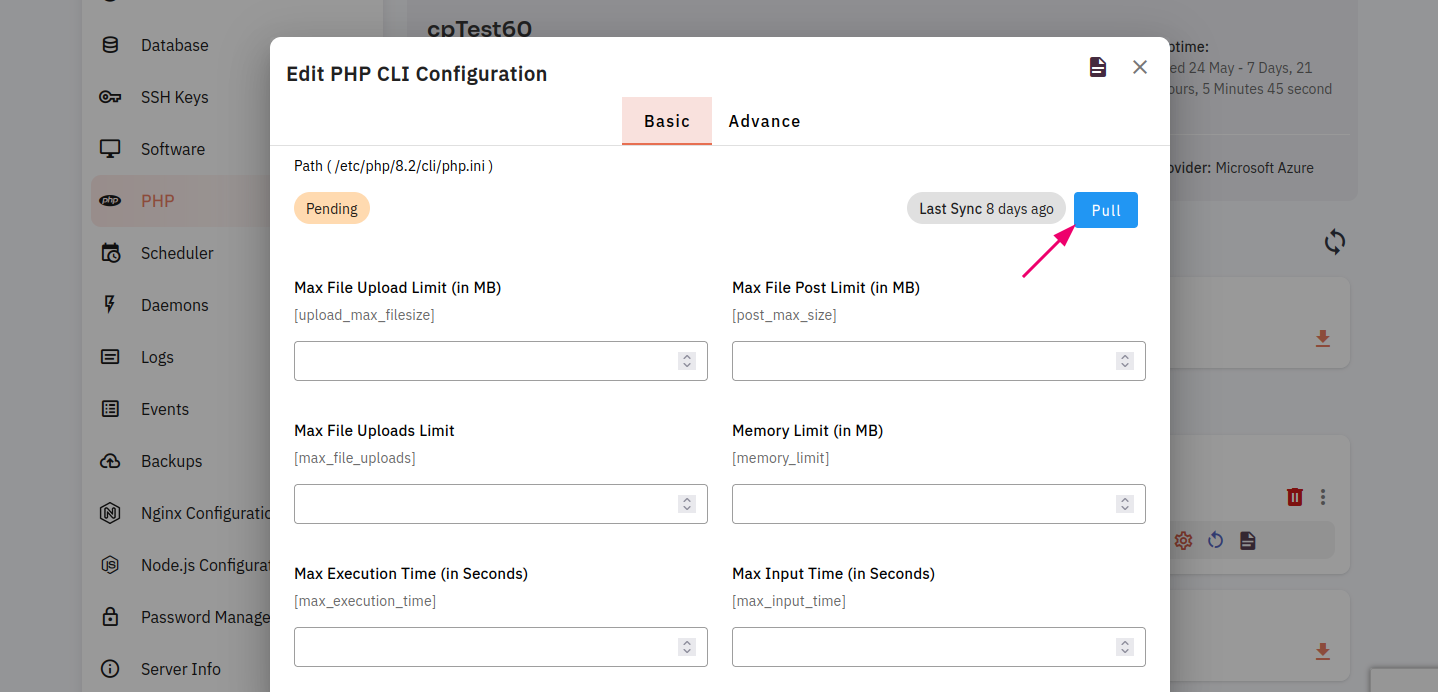
12.you Showcan Pullsee datathe successfully.

13.configuration Clickby clicking on the dropdownpull errorbutton reporting.
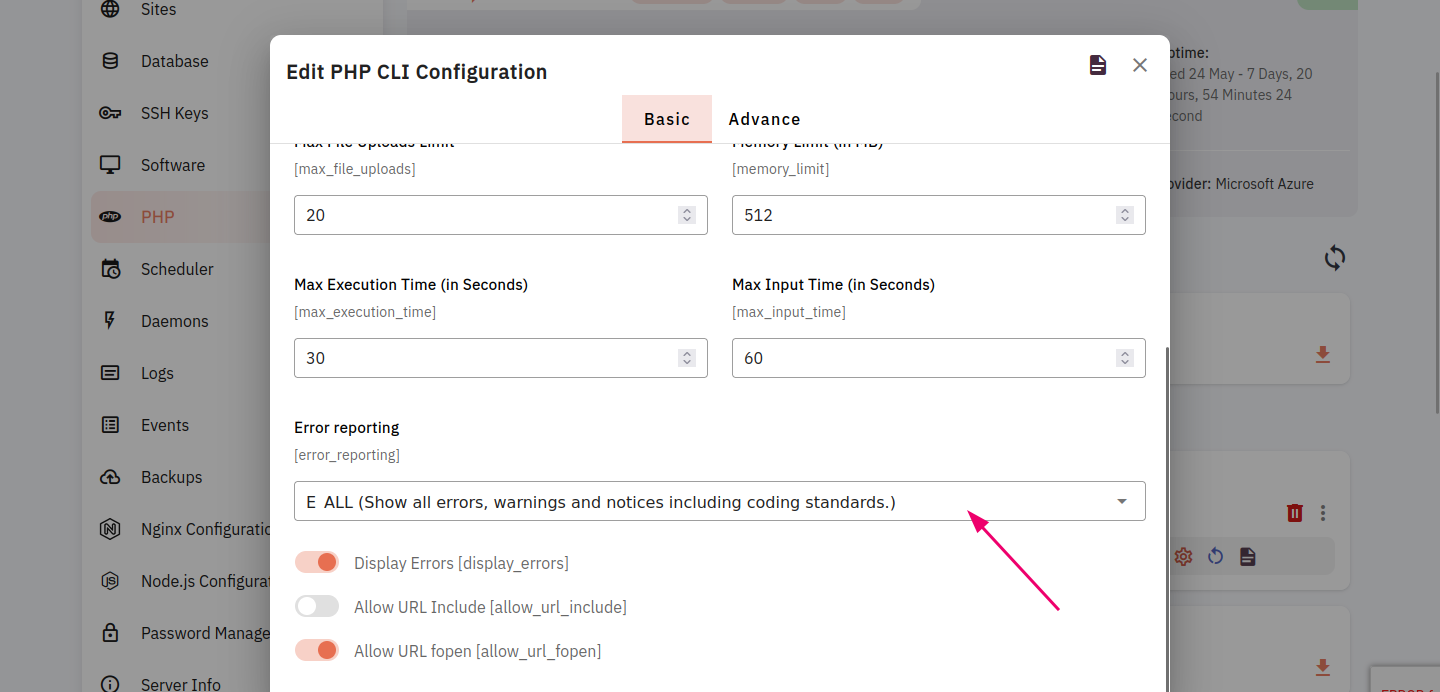
14.changes Selectby an Error
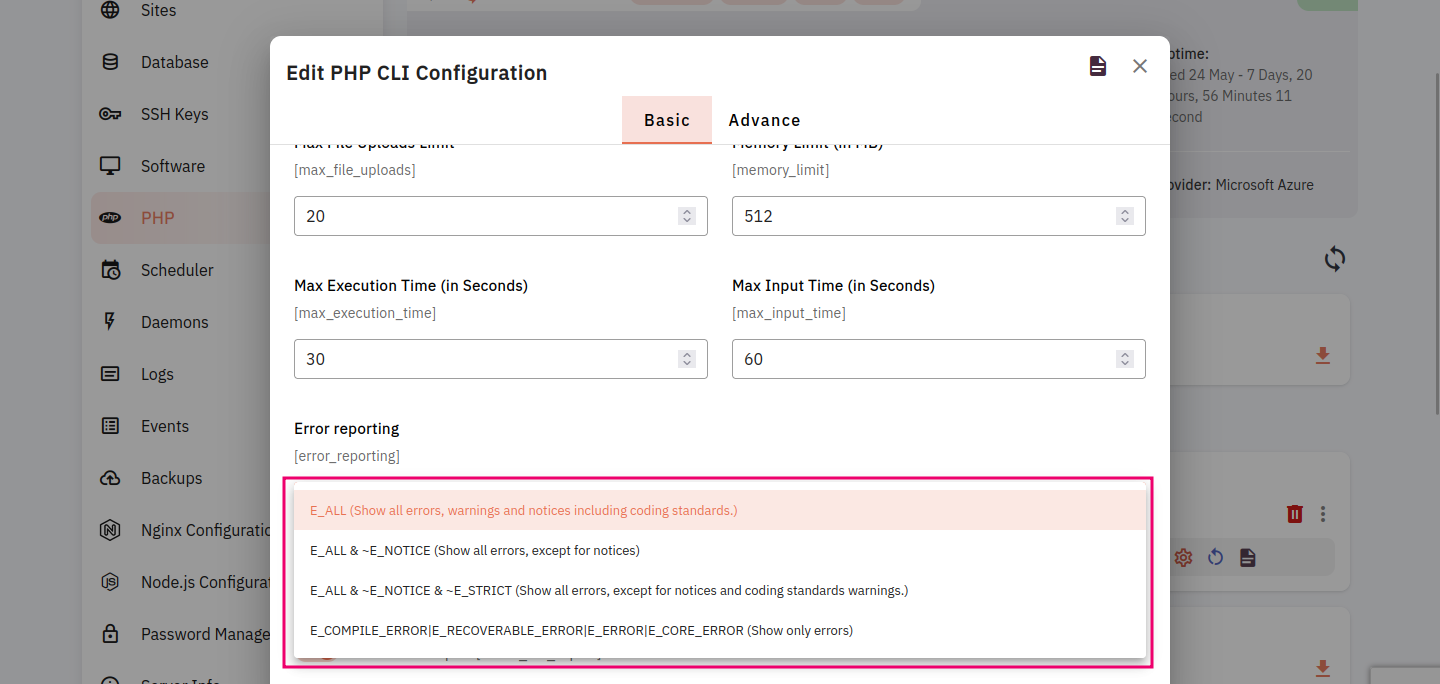
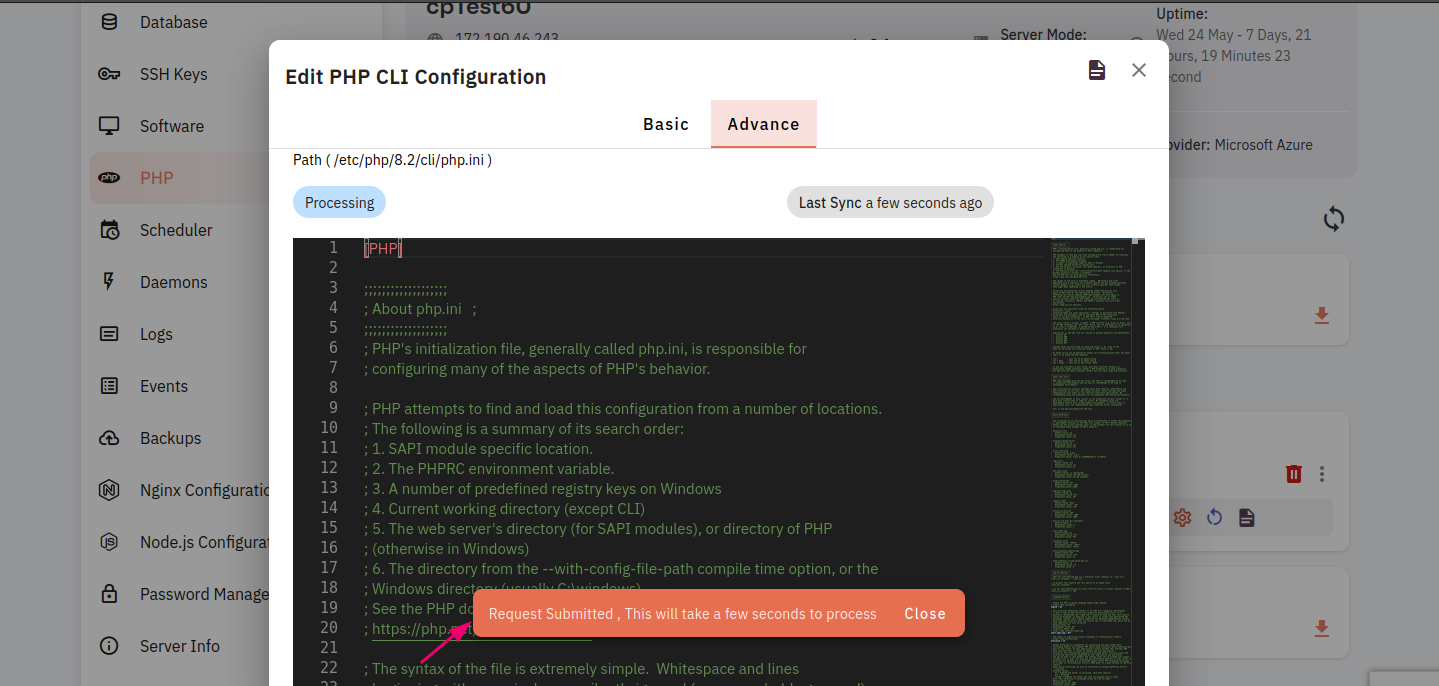
15. Clickclicking on the push button.
Here, you can see PHP CLI Configuration Push Successfully.
16. Click on the Advance tab button.
17 Click on the pull button.
Here, you can see PHP CLI Configuration has been Pulled successfully.
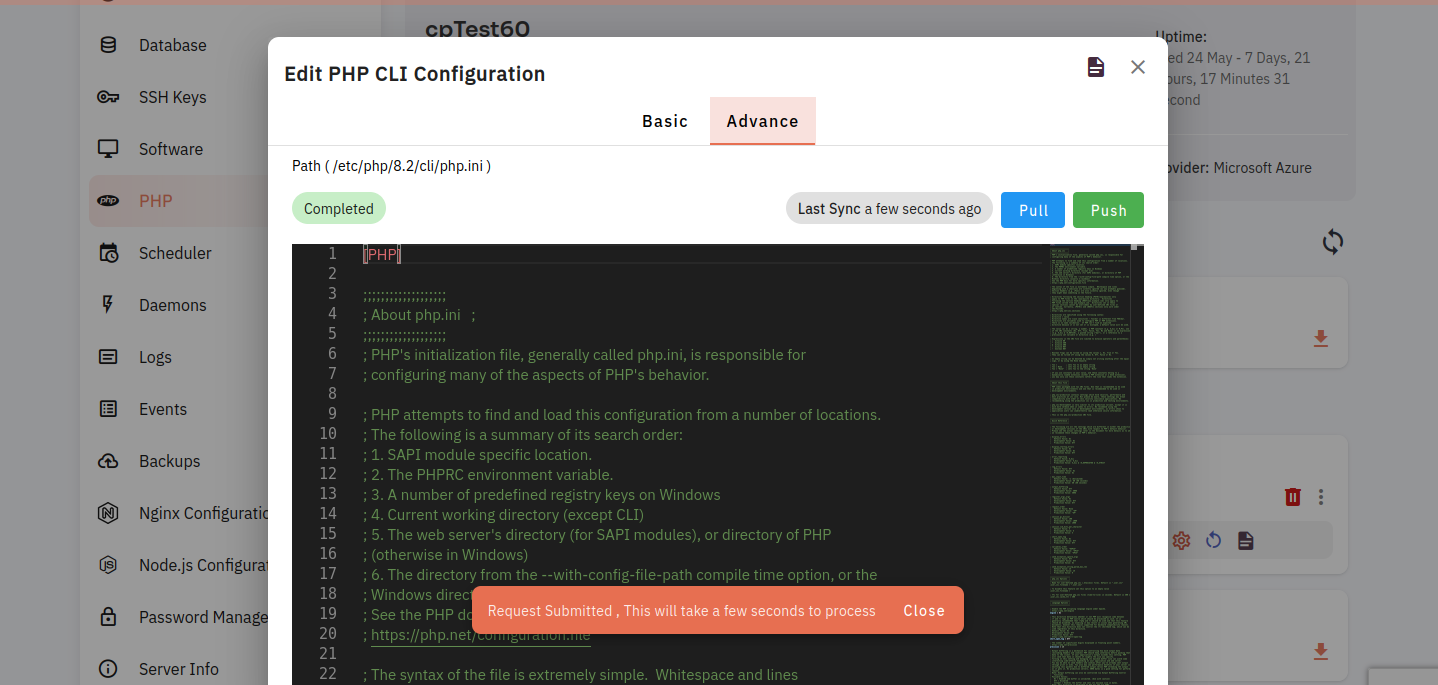
18. Click on the push button
Here, you can see PHP CLI Configuration Push Successfully.
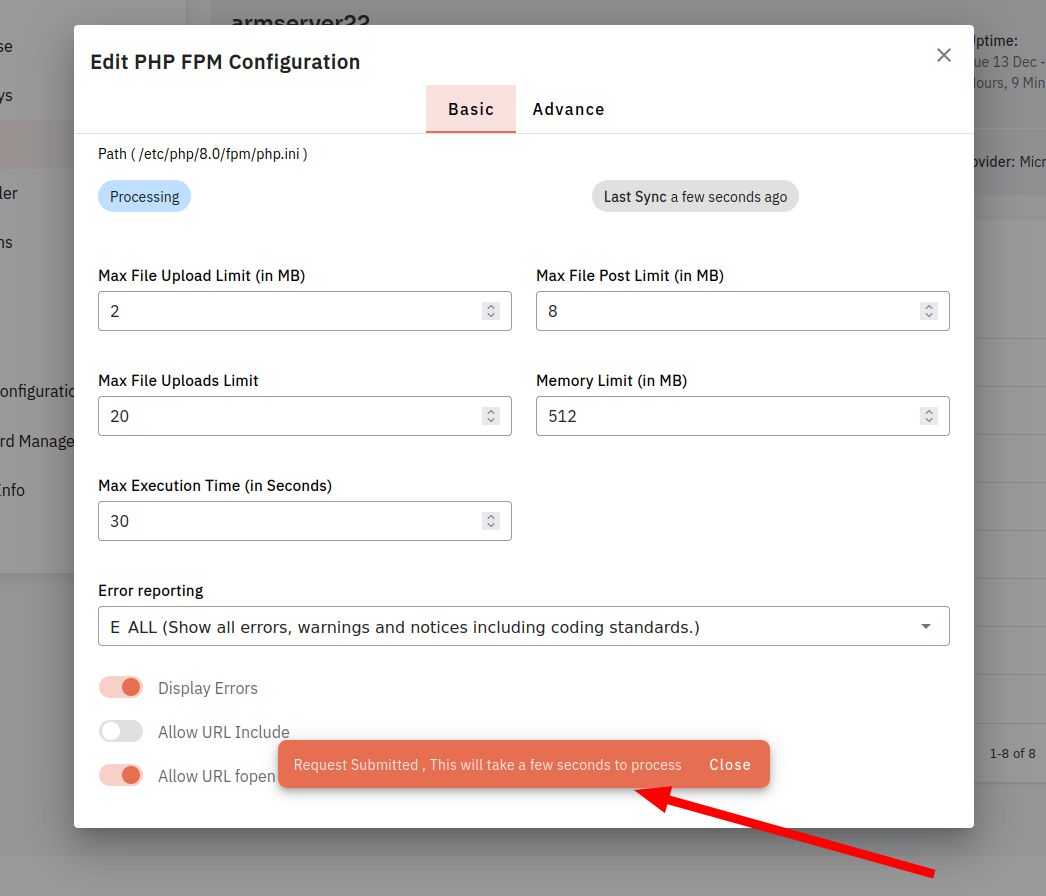
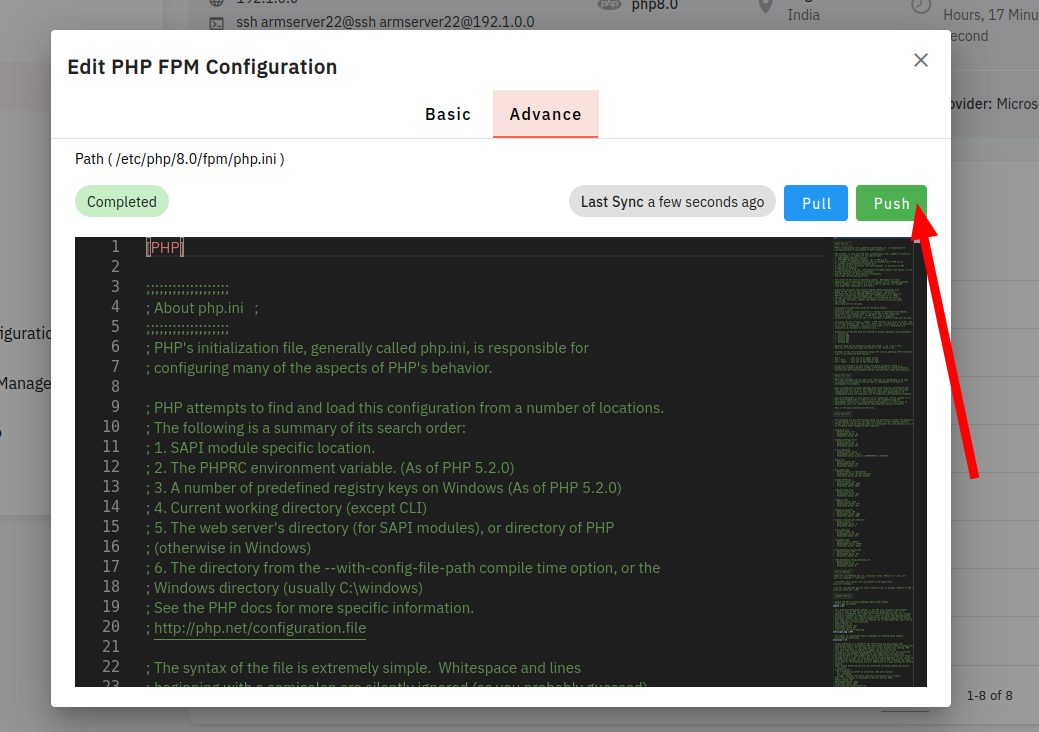
Edit PHP FPM Config :
19.4.1 Click on Edit PHP FPM Configuration. PHP FPM is a PHP FastCGI(Common Gateway Interface) implementation with some additional features, designed primarily for serving PHP applications web servers. It can handle a large number of requests without consuming excessive server resources.
20.4.2 ClickFurther onsteps theare dropdownsimilar Errorto Reporting.
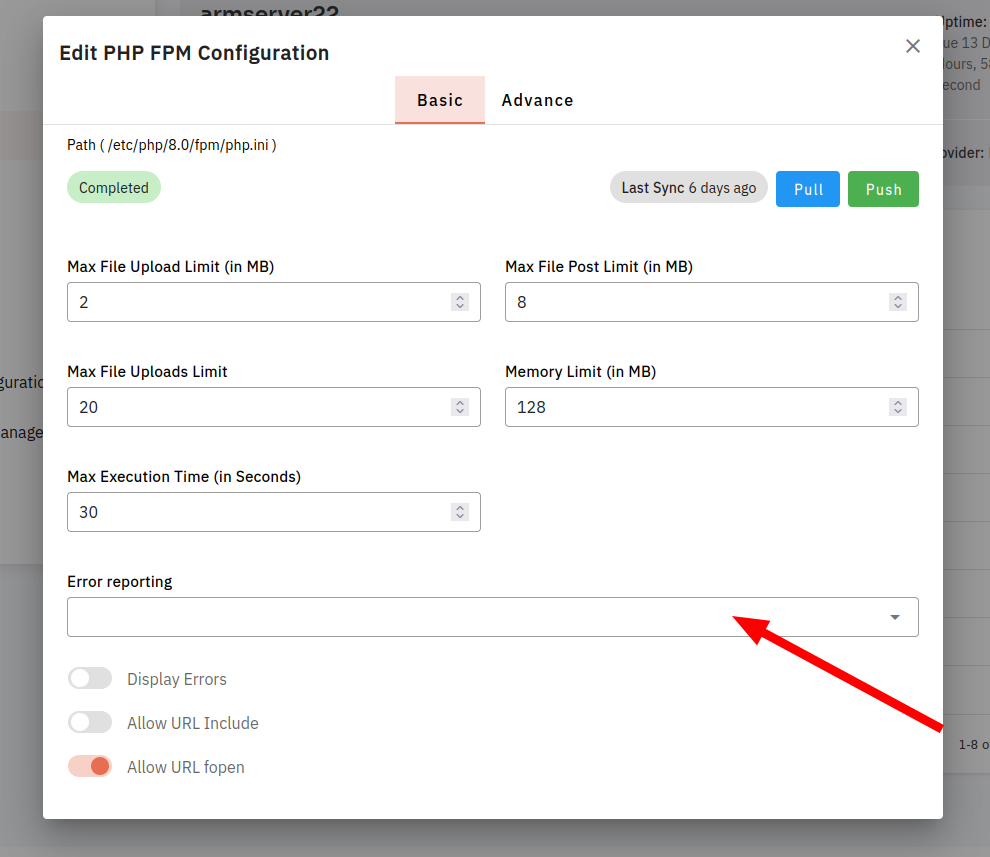
21. Select an Error
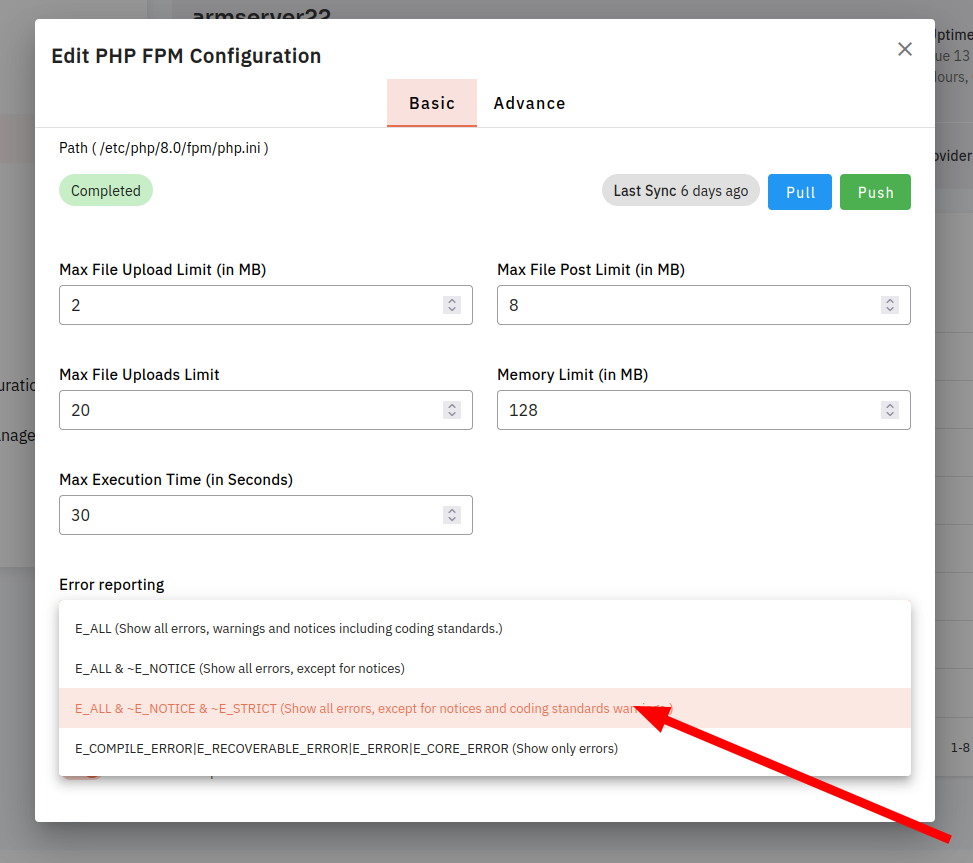
22. Click on the Pull button.
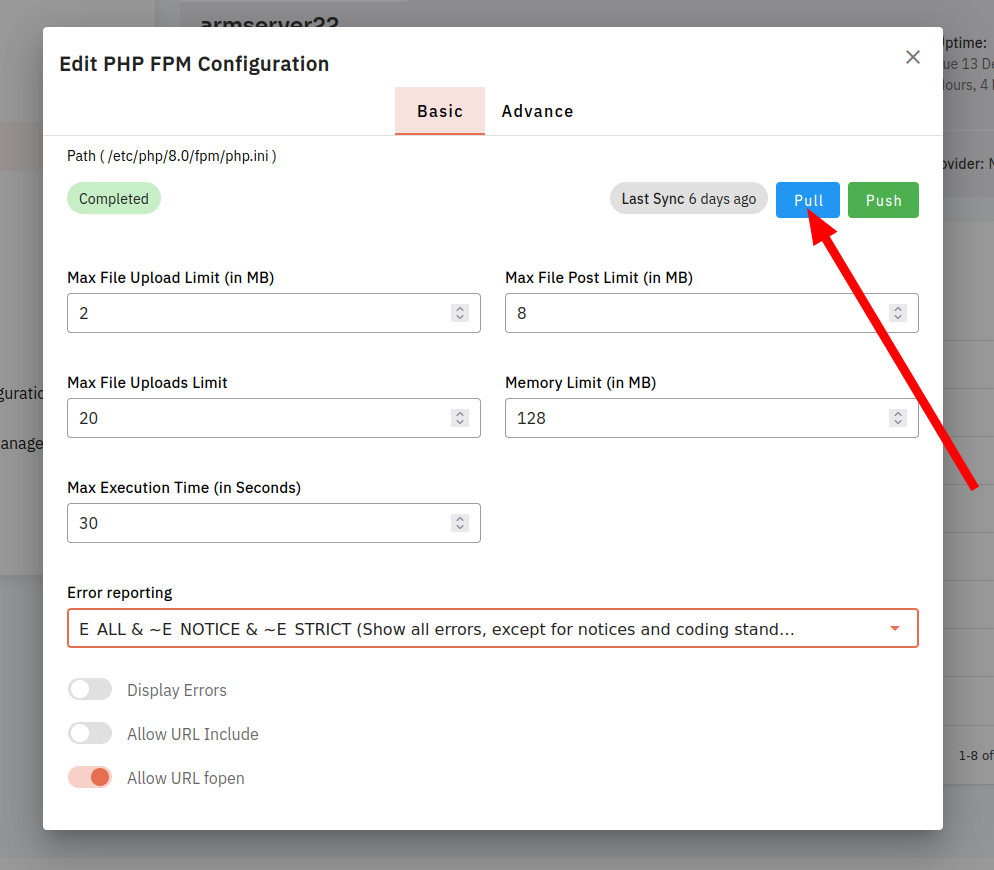
Here, you can see PHP FPM Configuration Pull Successfully.
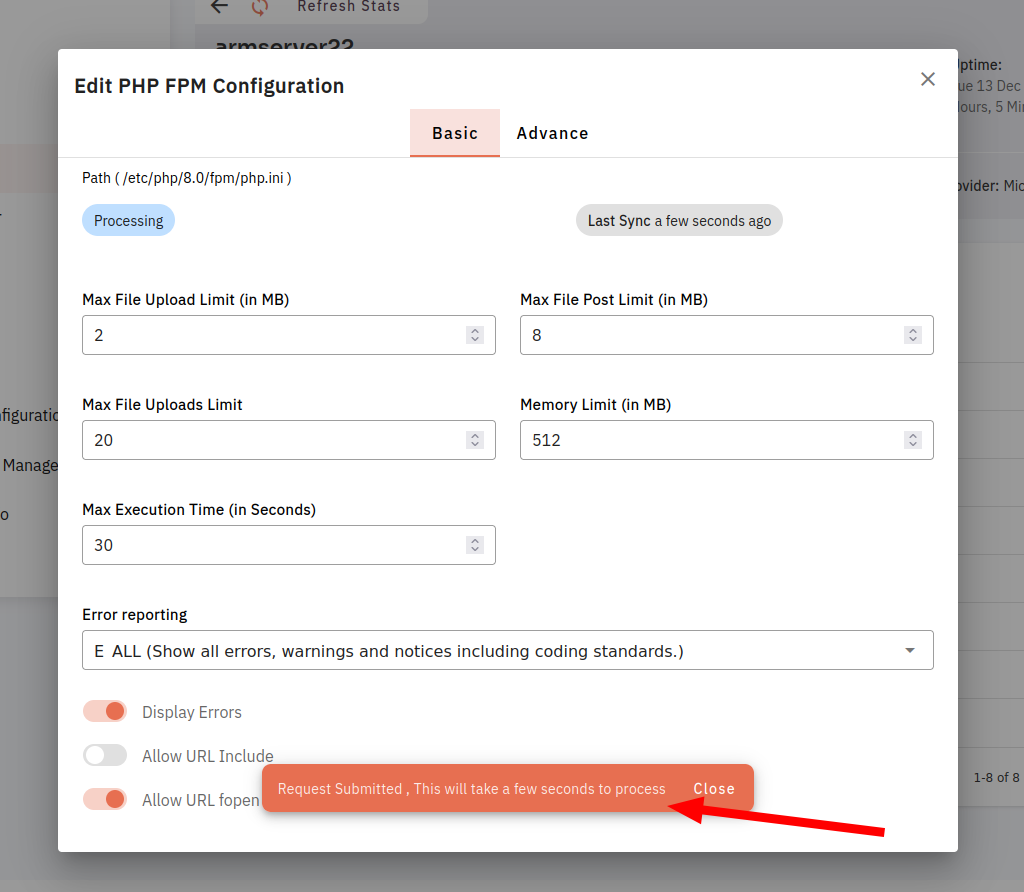
23. Click on the Push button.
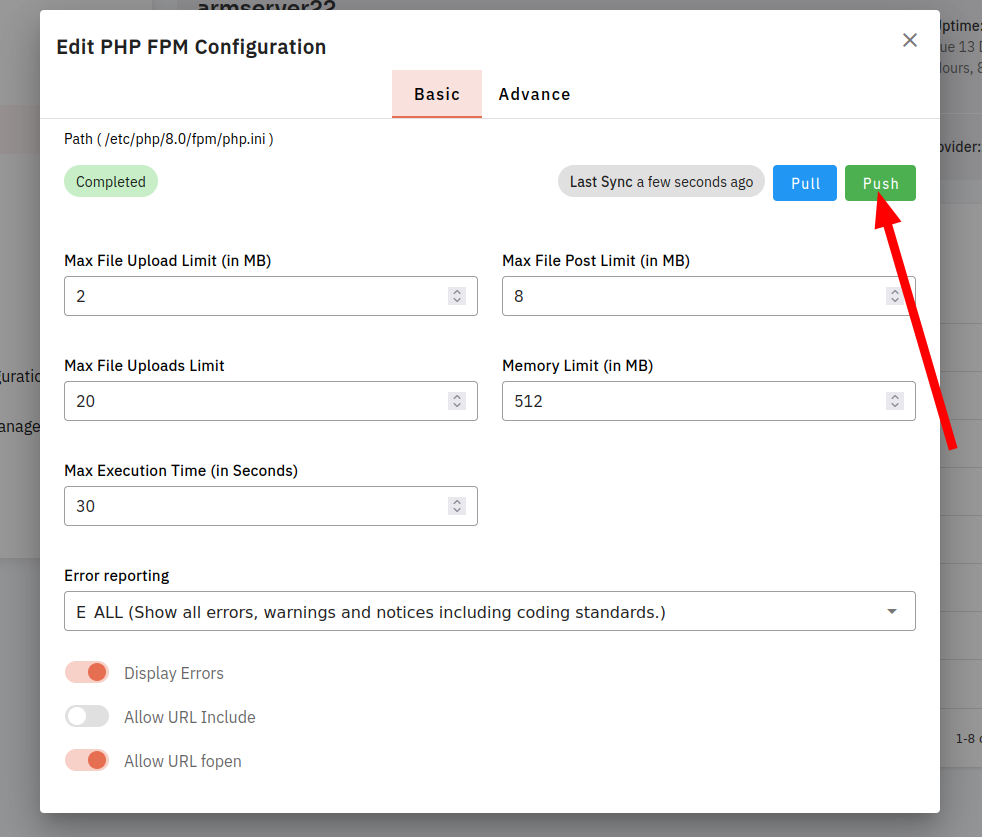
Here, you can see PHP FPM Configuration push Successfully.
24. Click on the tab bar in the Advance button.
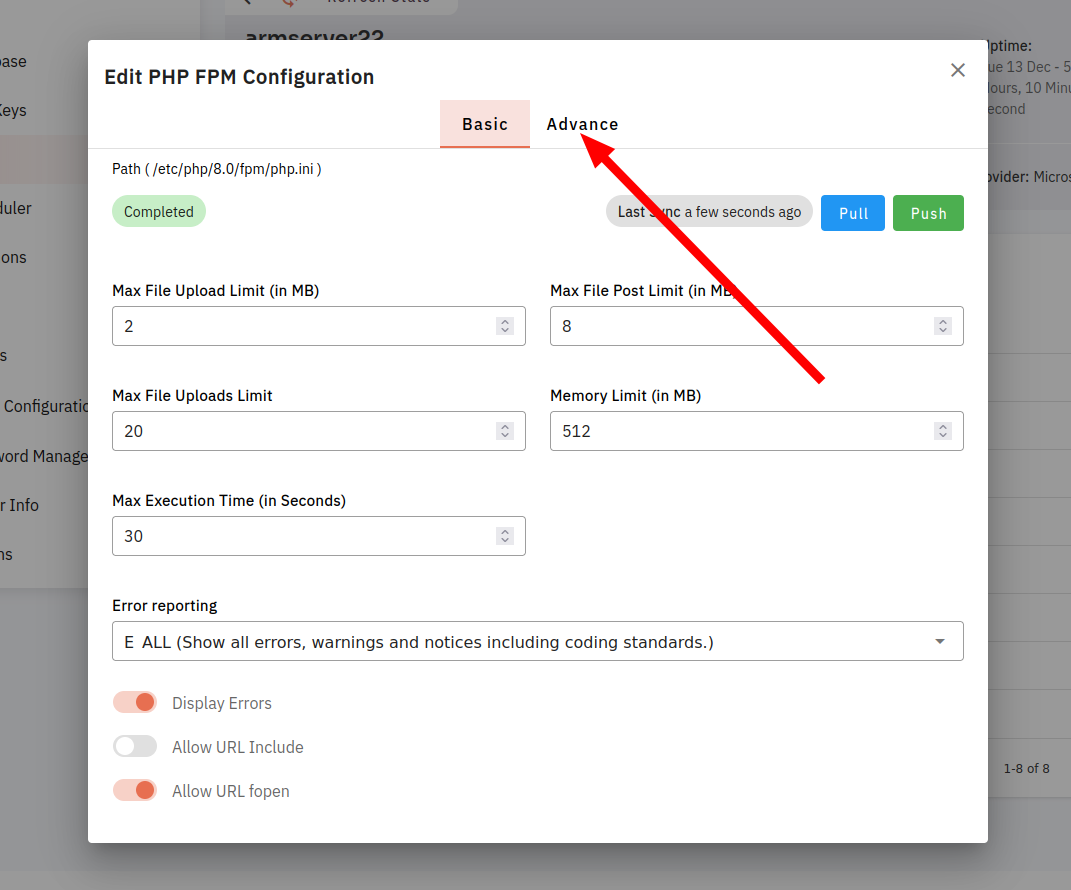
25. Click on the Pull button.
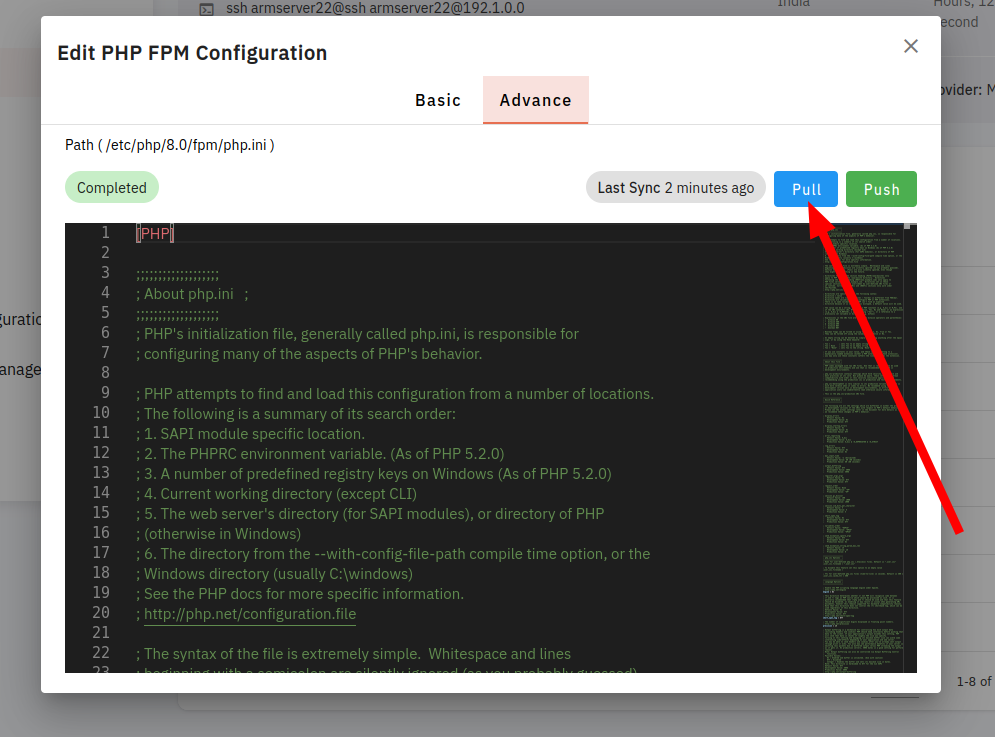
Here, you can see PHP FPM Configuration Pull Successfully.
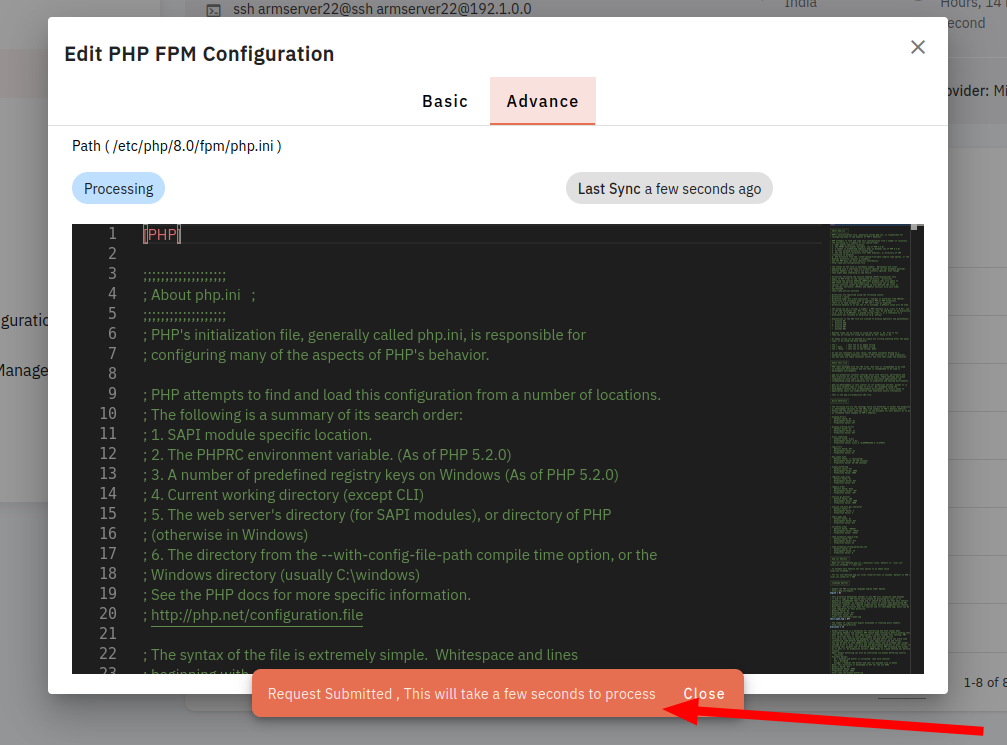
26. Click on the Push button.
Here, you can see PHP FPM Configuration push Successfully.
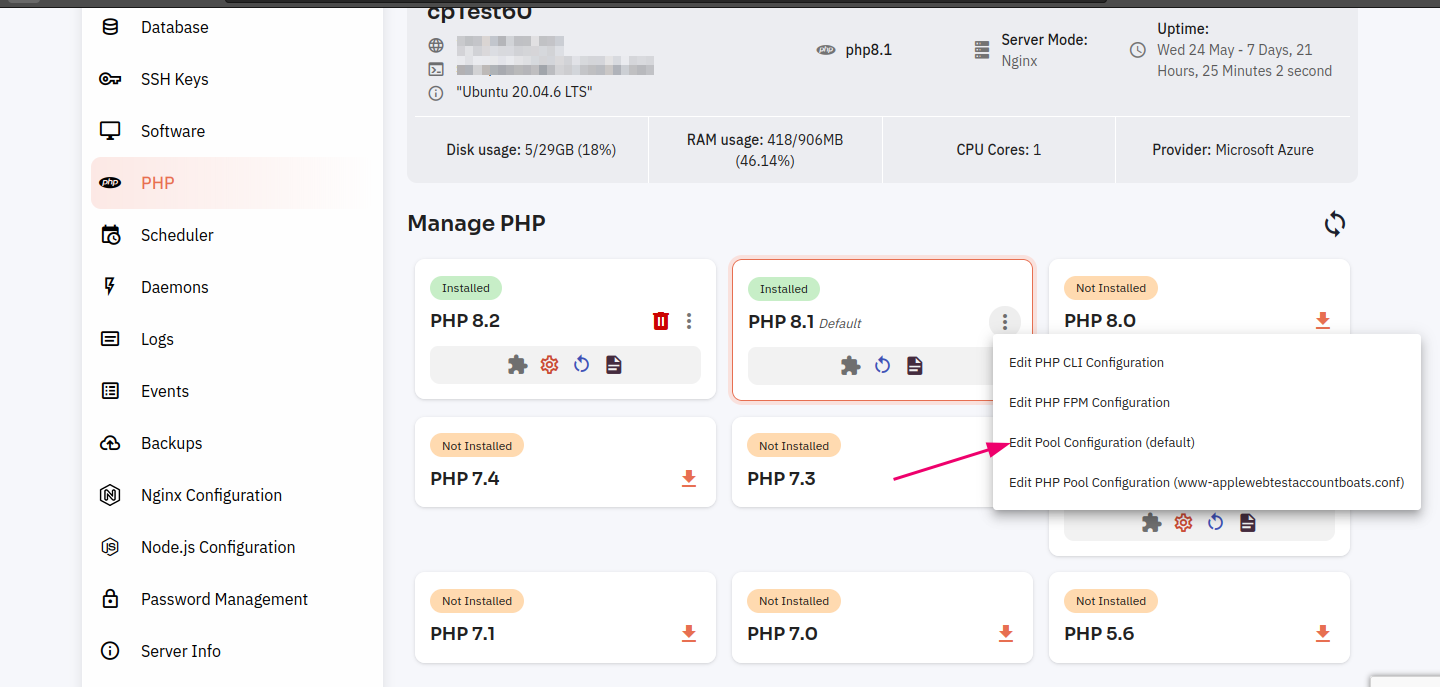
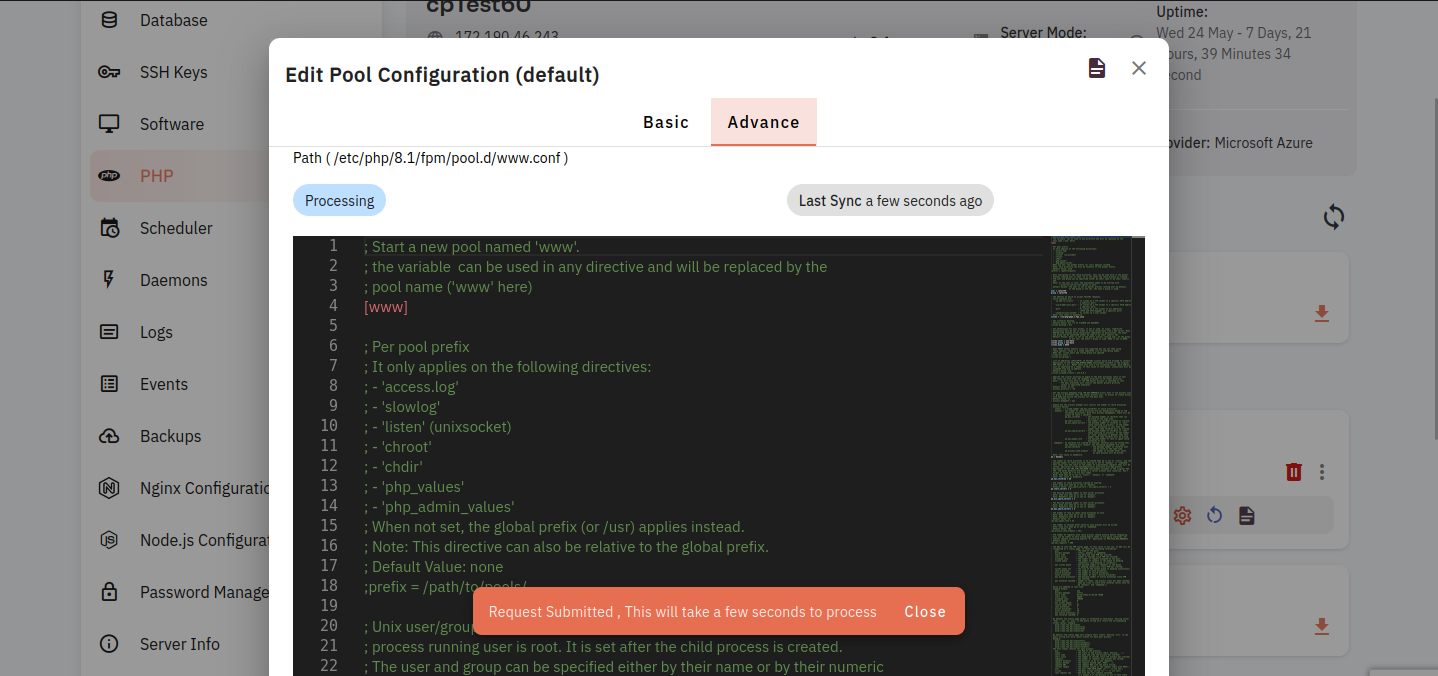
Edit Pool Config (default) :
27.5.1 Click on Edit Pool Configuration (default). You can also view the list of websites below to edit pool configuration. A PHP-FPM pool configuration defines how the PHP-FPM process manager should behave and how many worker processes it should maintain.
28.5.2 ClickFurther onsteps theare Pullsimilar button.
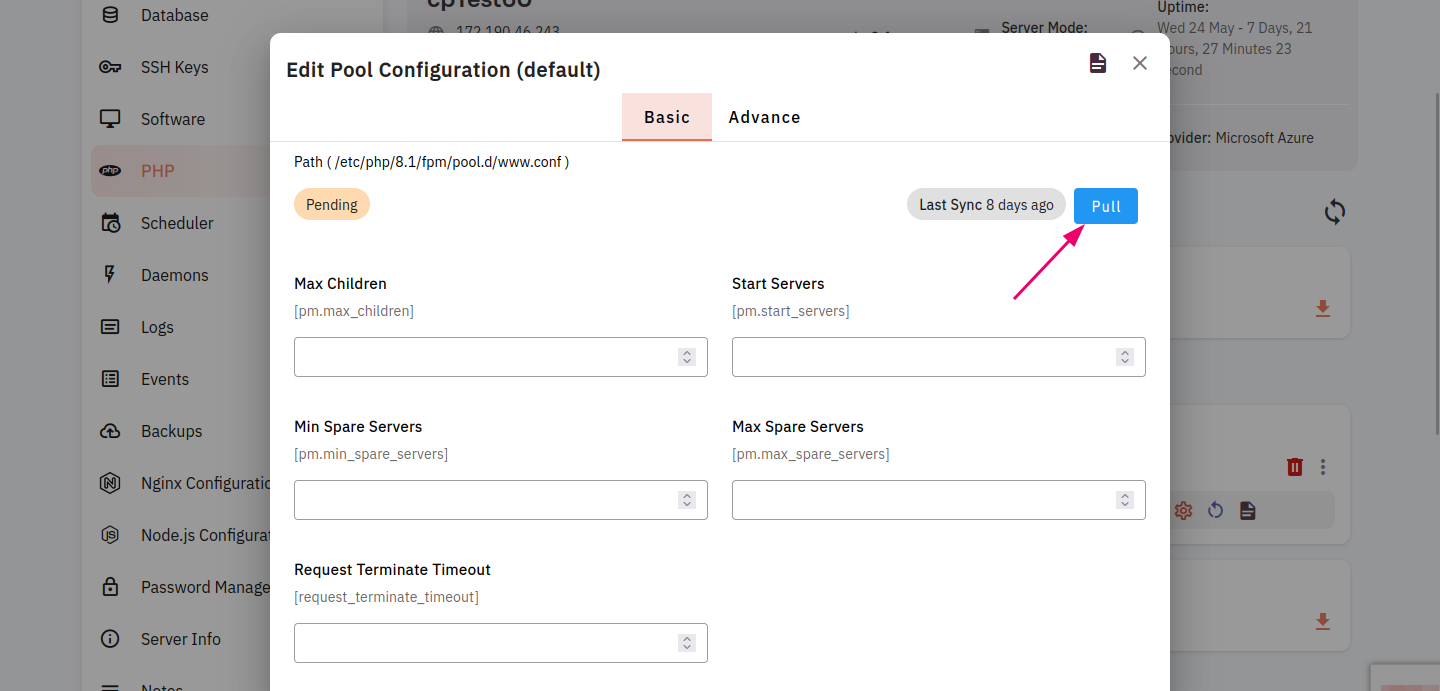
29. Here you can see pull data successfully.
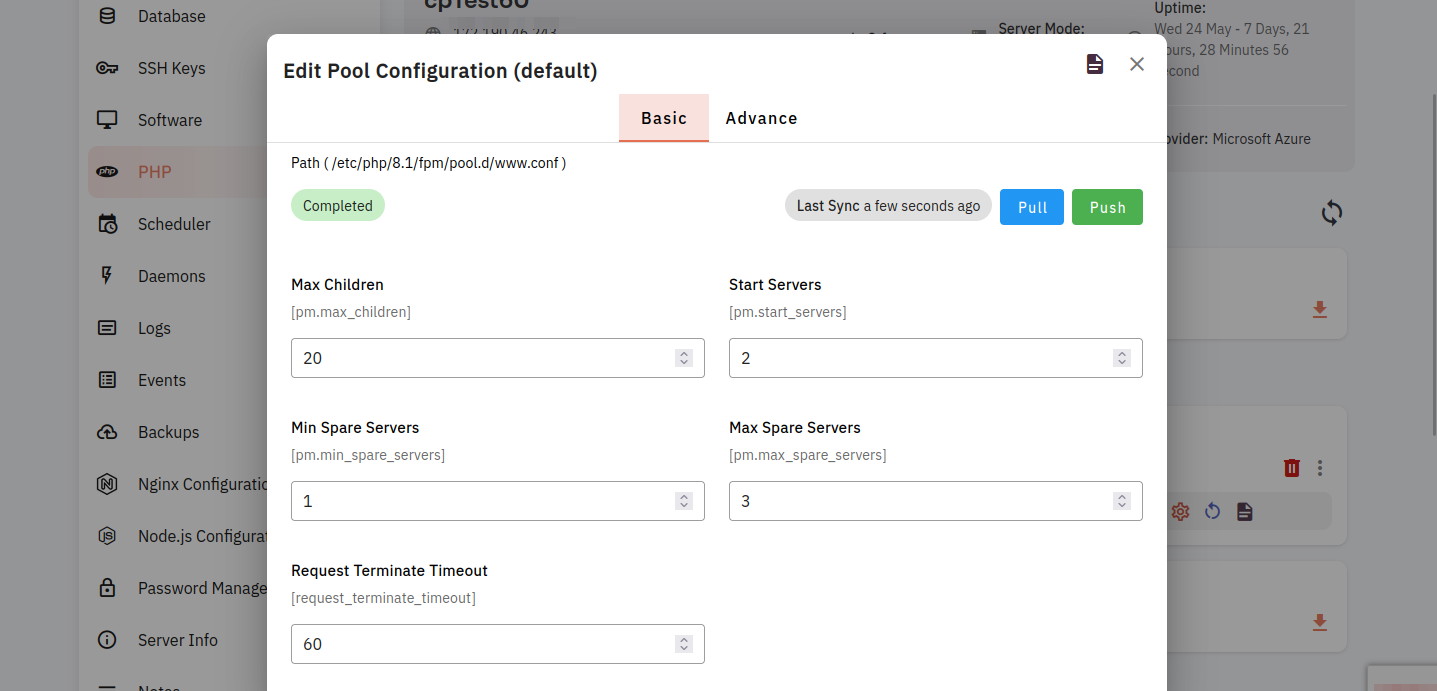
30. Click on the Push button.
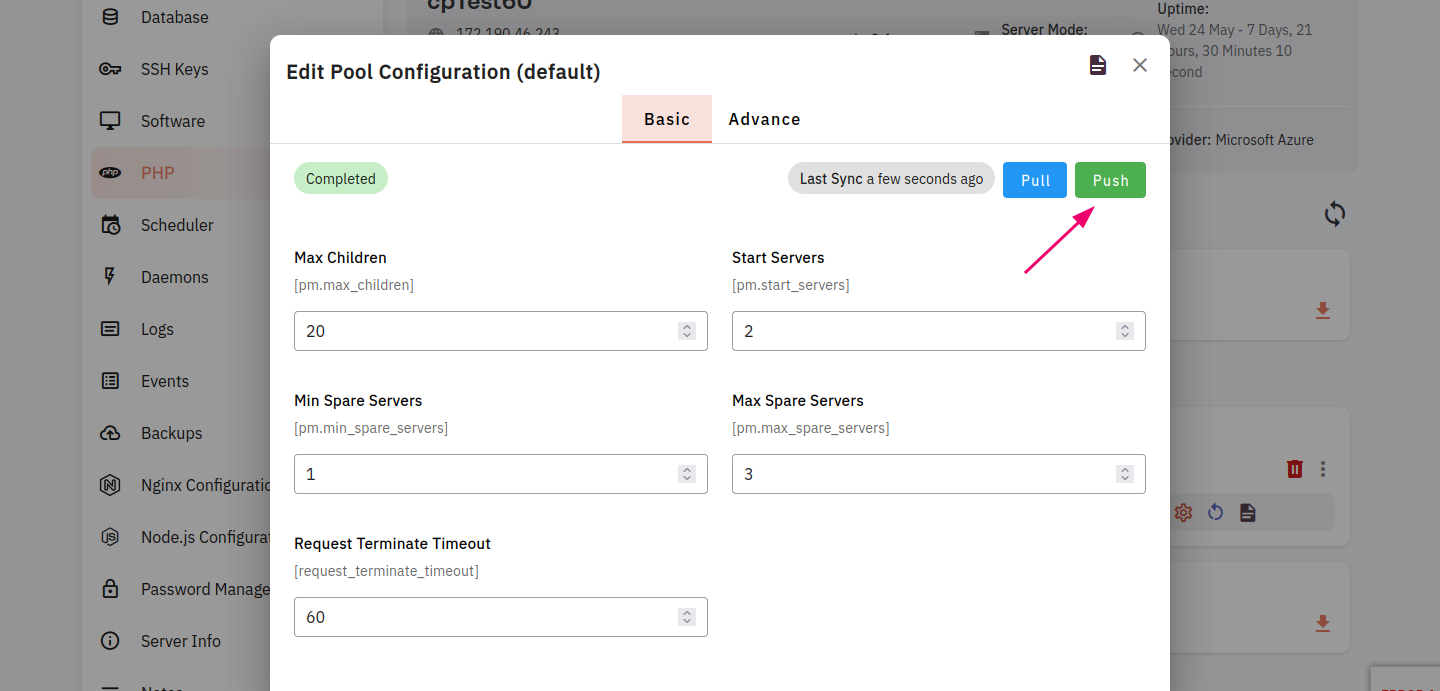
31. Here you can see push data successfully.

31. Selected the Advance tab.

Pull Data :
32. Click on the pull button.
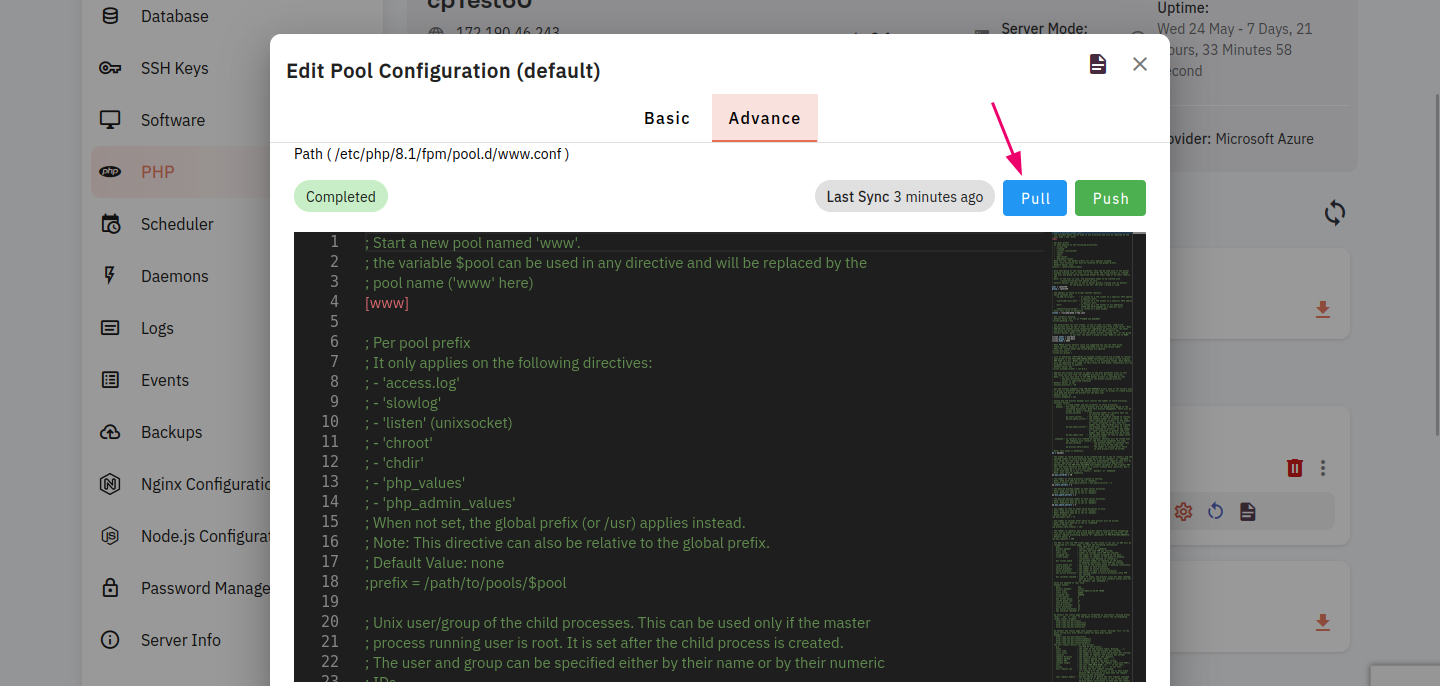
Here you can see the pull data successfully.
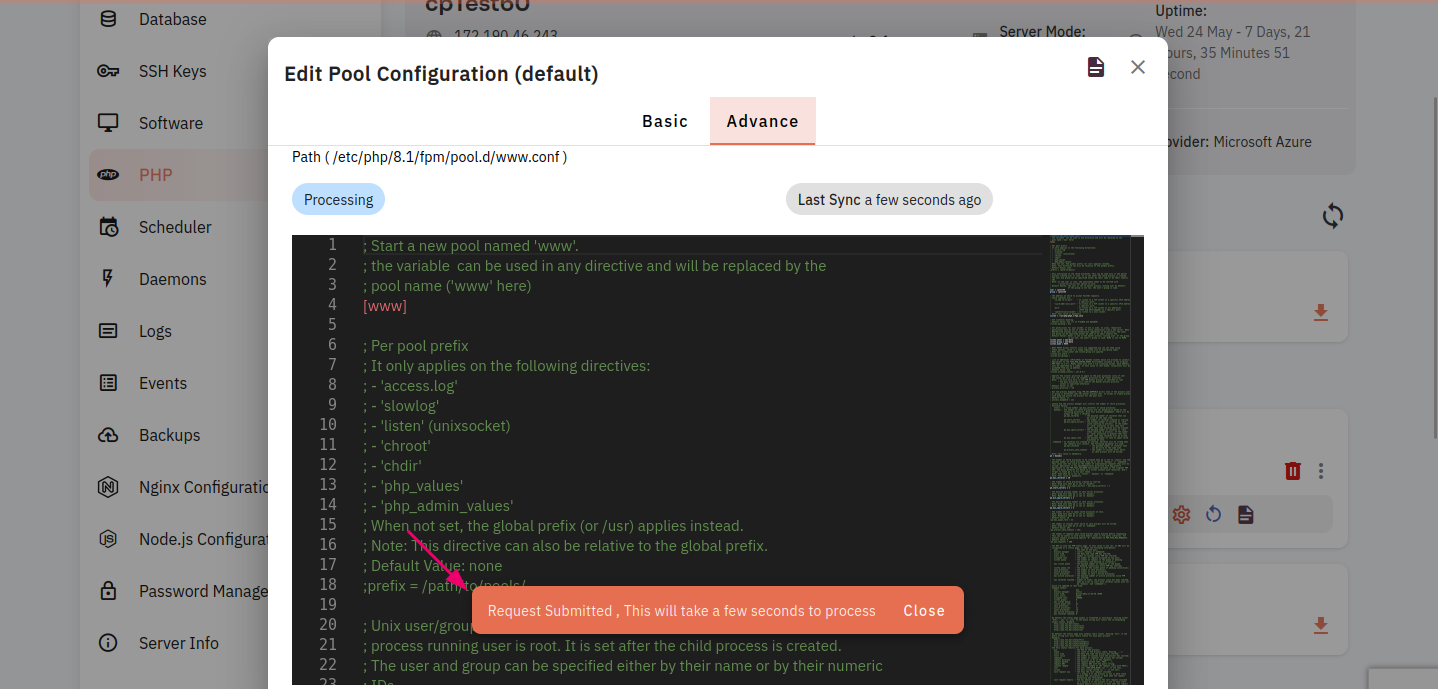
Push Data :
33. Click on the Push button.
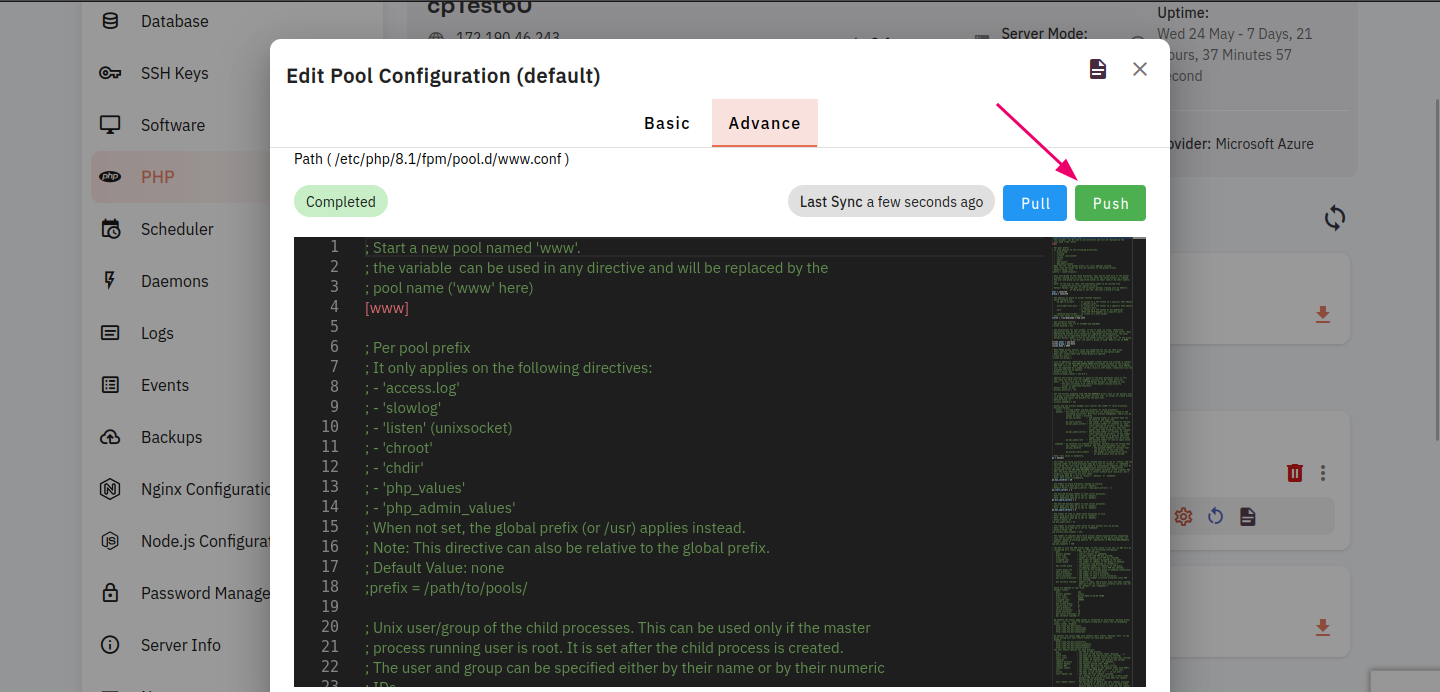
Here you can see push data successfully.
configuration.