How to add Shell Aliases in Site through the cloudpanzer mobile application?
By creating and adding shell aliases to your web server, you can streamline your workflow and work more efficiently. Whether you are a beginner or an experienced administrator, aliases can save you time and make it easier to work with the CLI. With a little bit of setup, you can customize your shell environment to suit your needs and work more effectively.
Prerequisites :
You must have an Active Server and Active site. You can jump to the tutorial section if the above conditions are proper, Or first follow the links below to set up the prerequisites.
How to install a Server
How to Setup a Site
Tutorial :
You can watch the Video or Continue reading the post.
Follow the steps below to add shell aliases to the site.
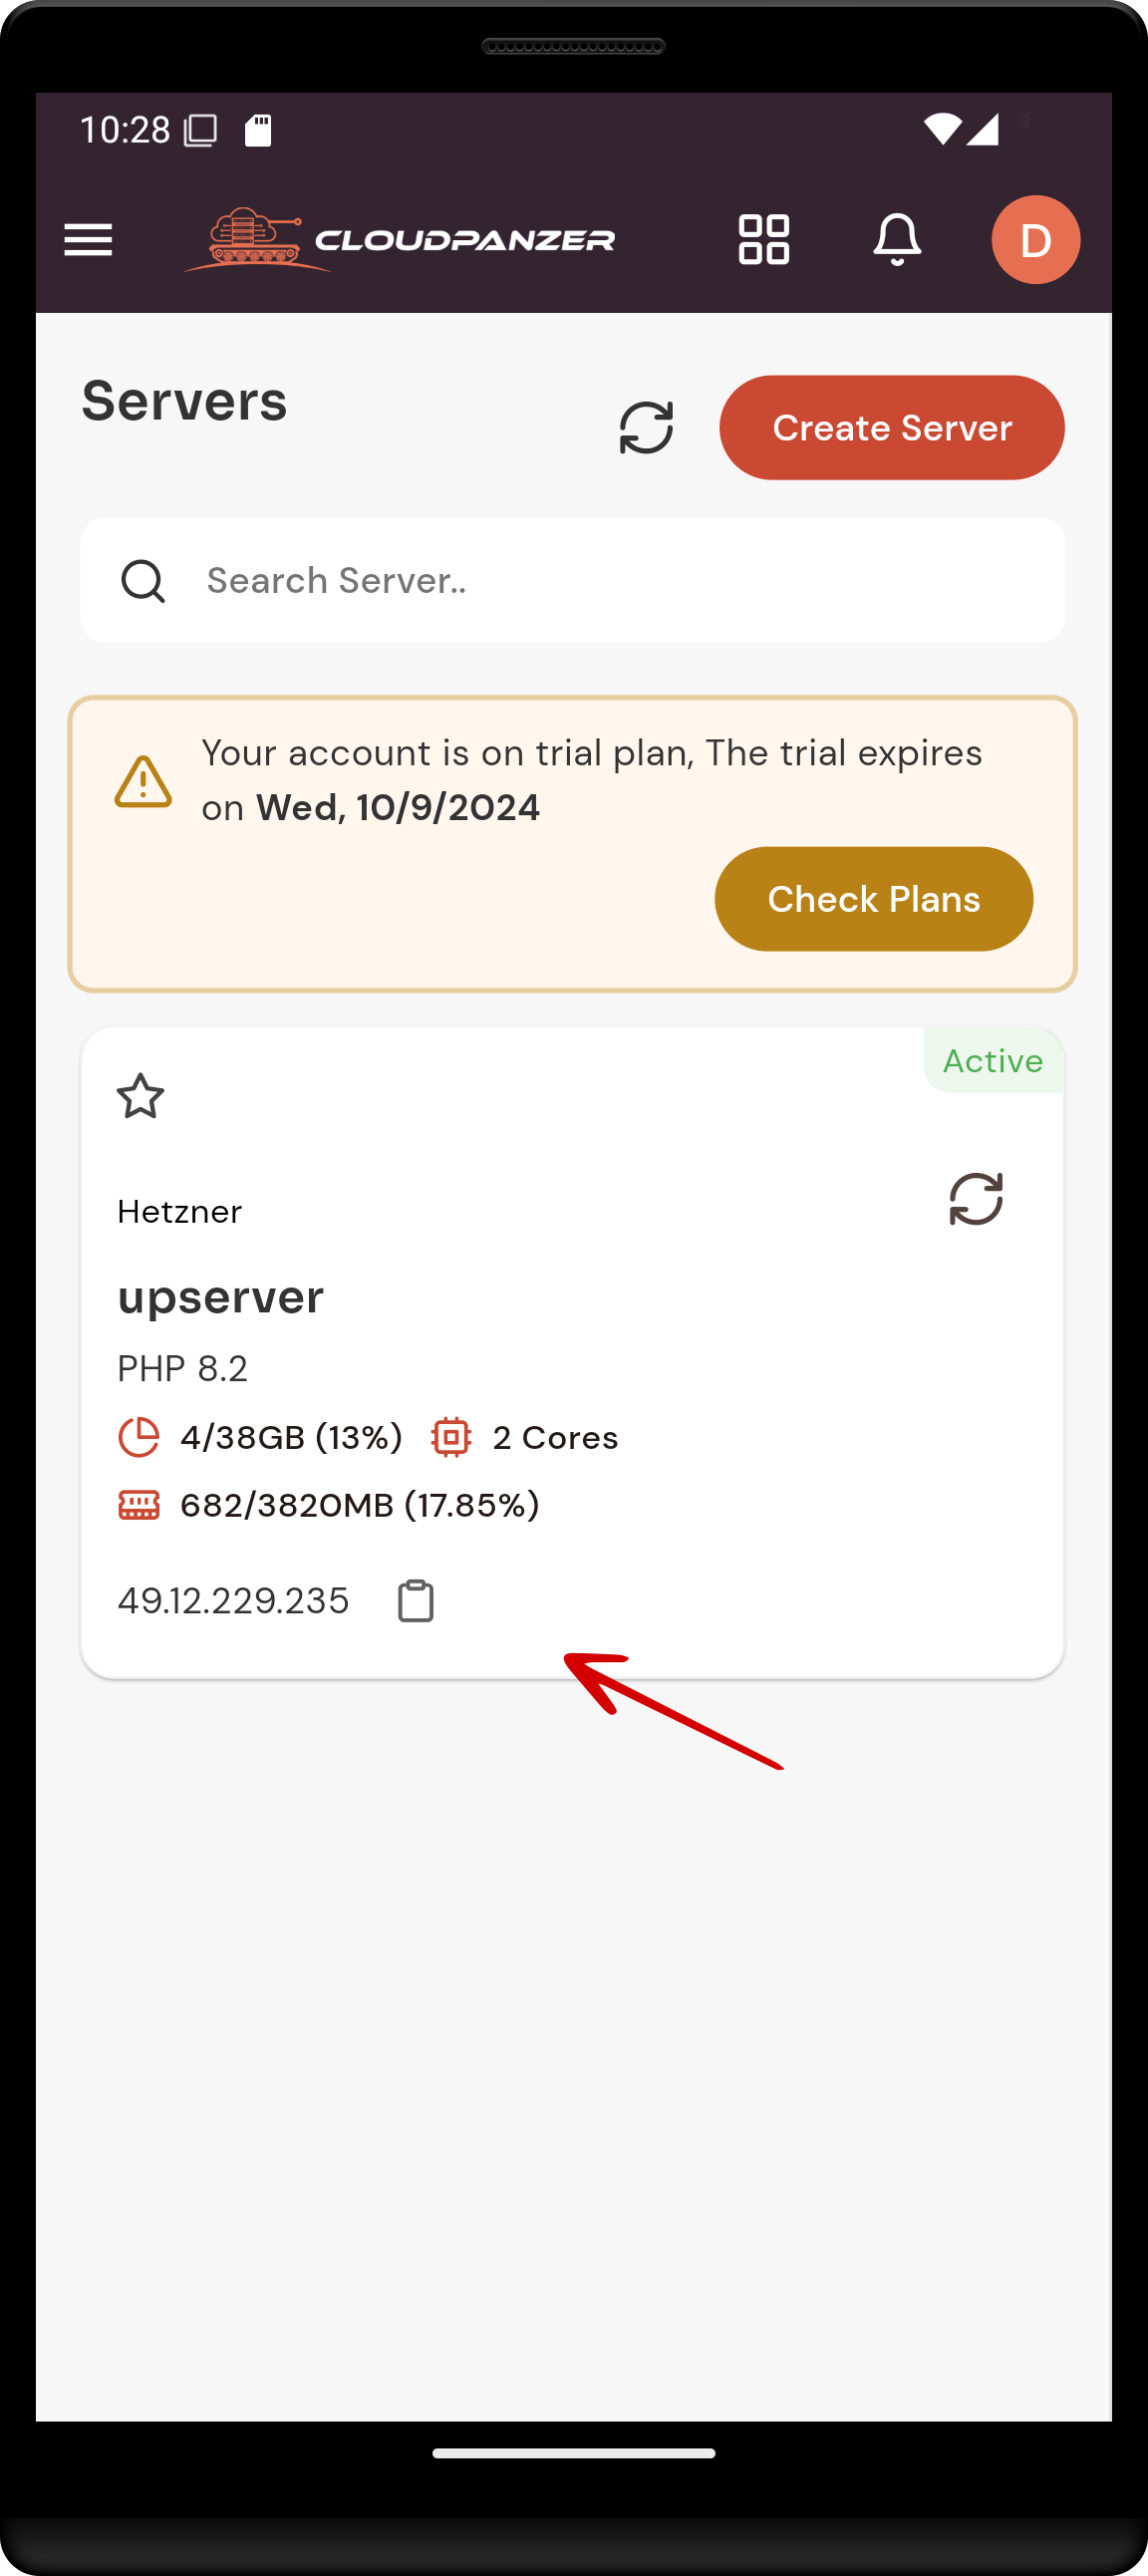
1: Firstly you are logged in, look for a "Server" and click on it.
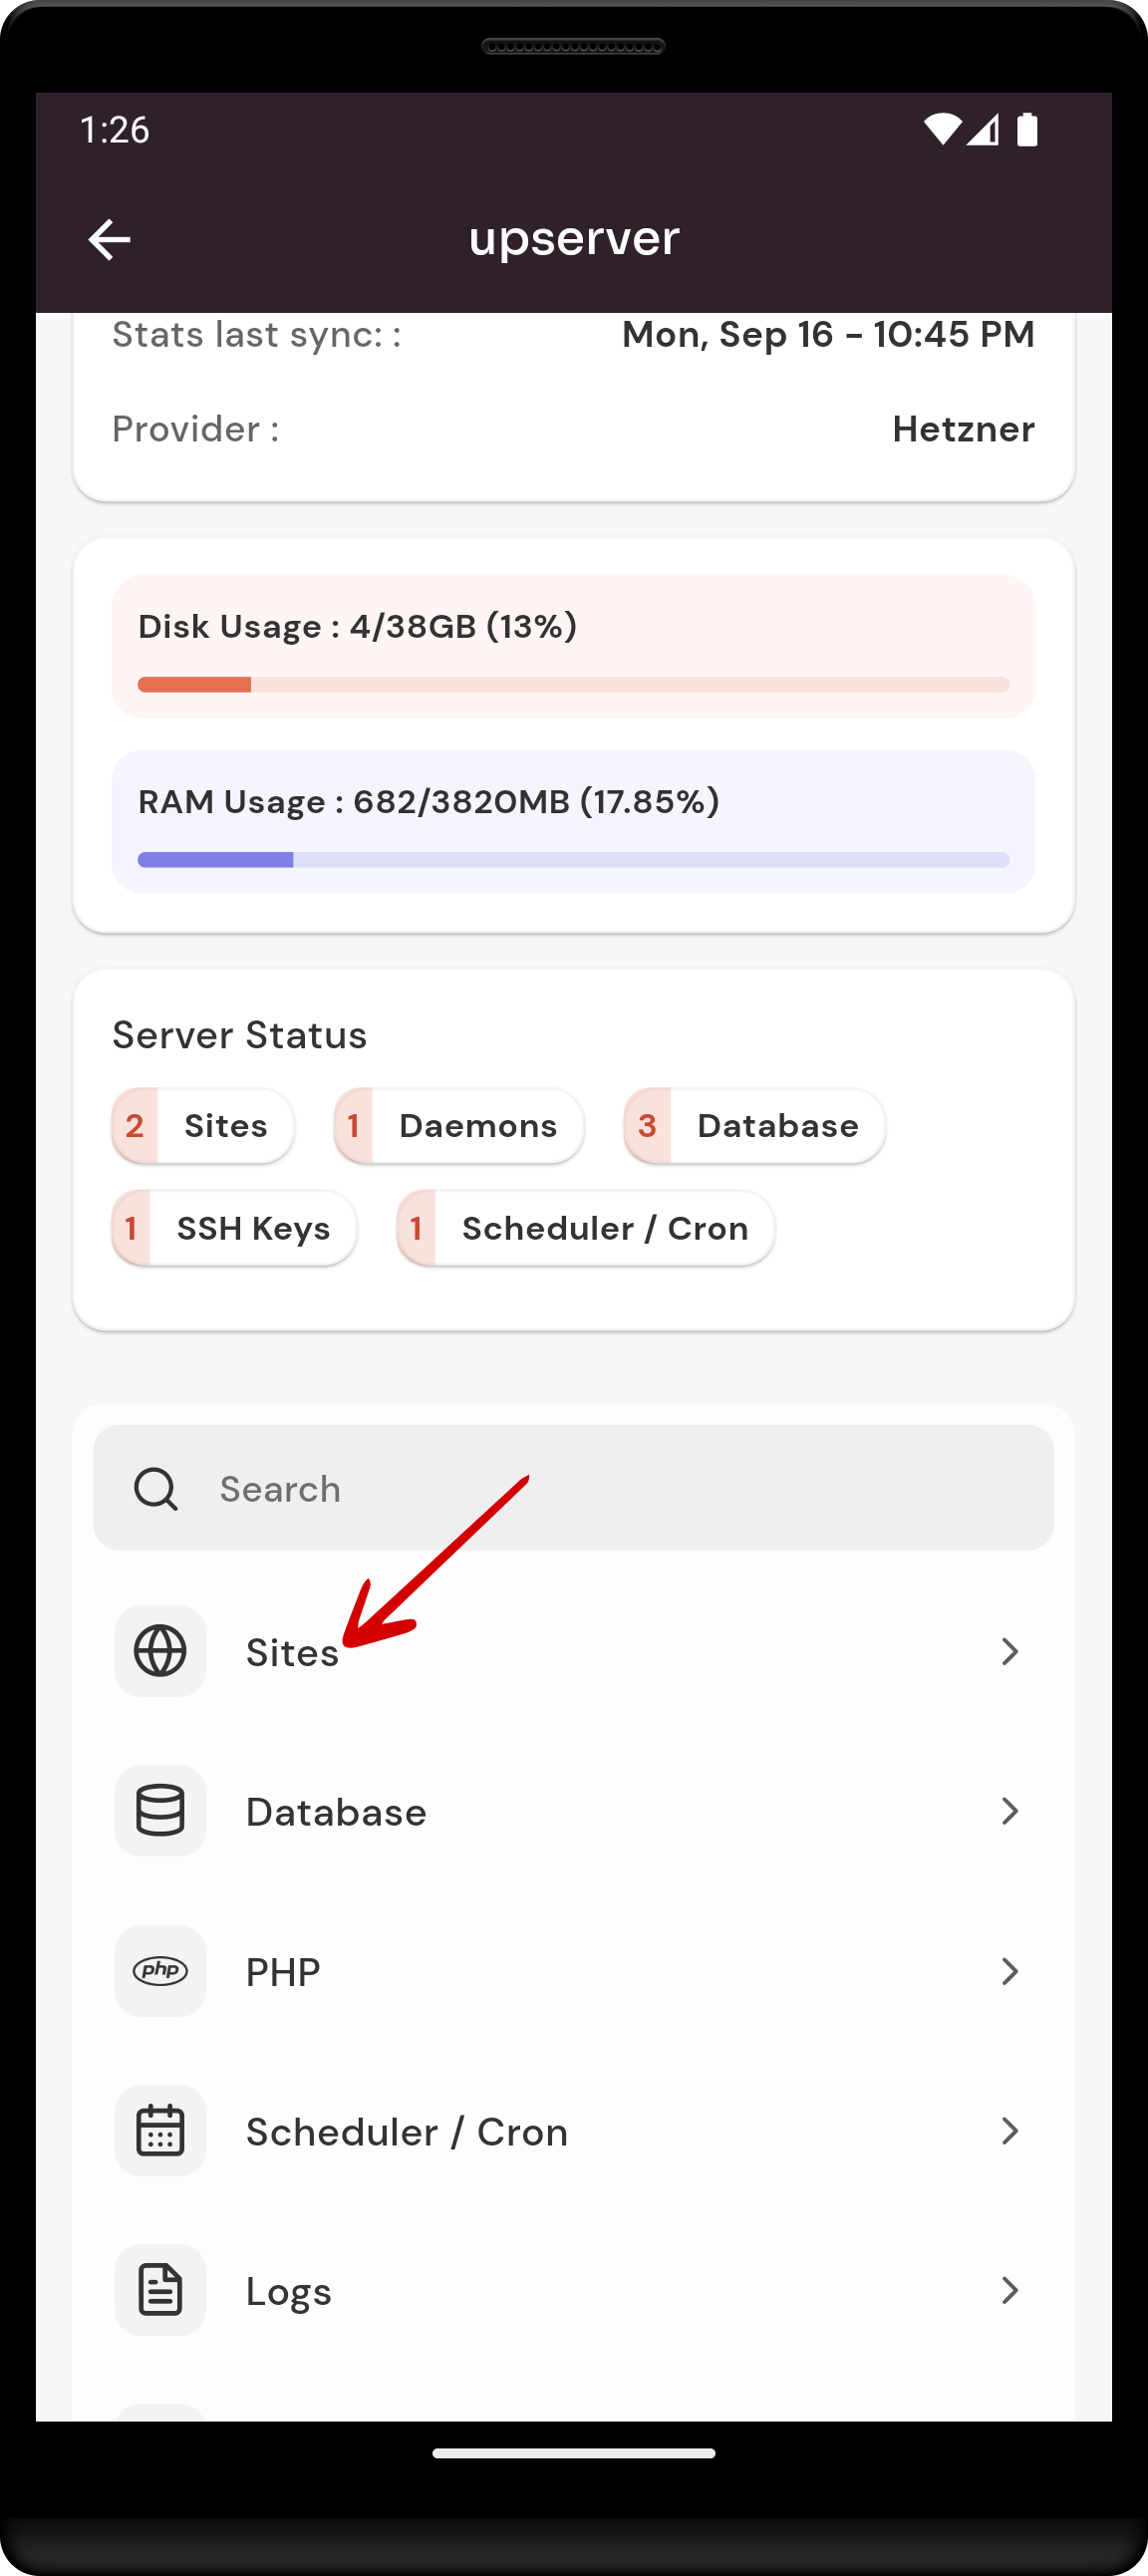
2. Click on the site option.
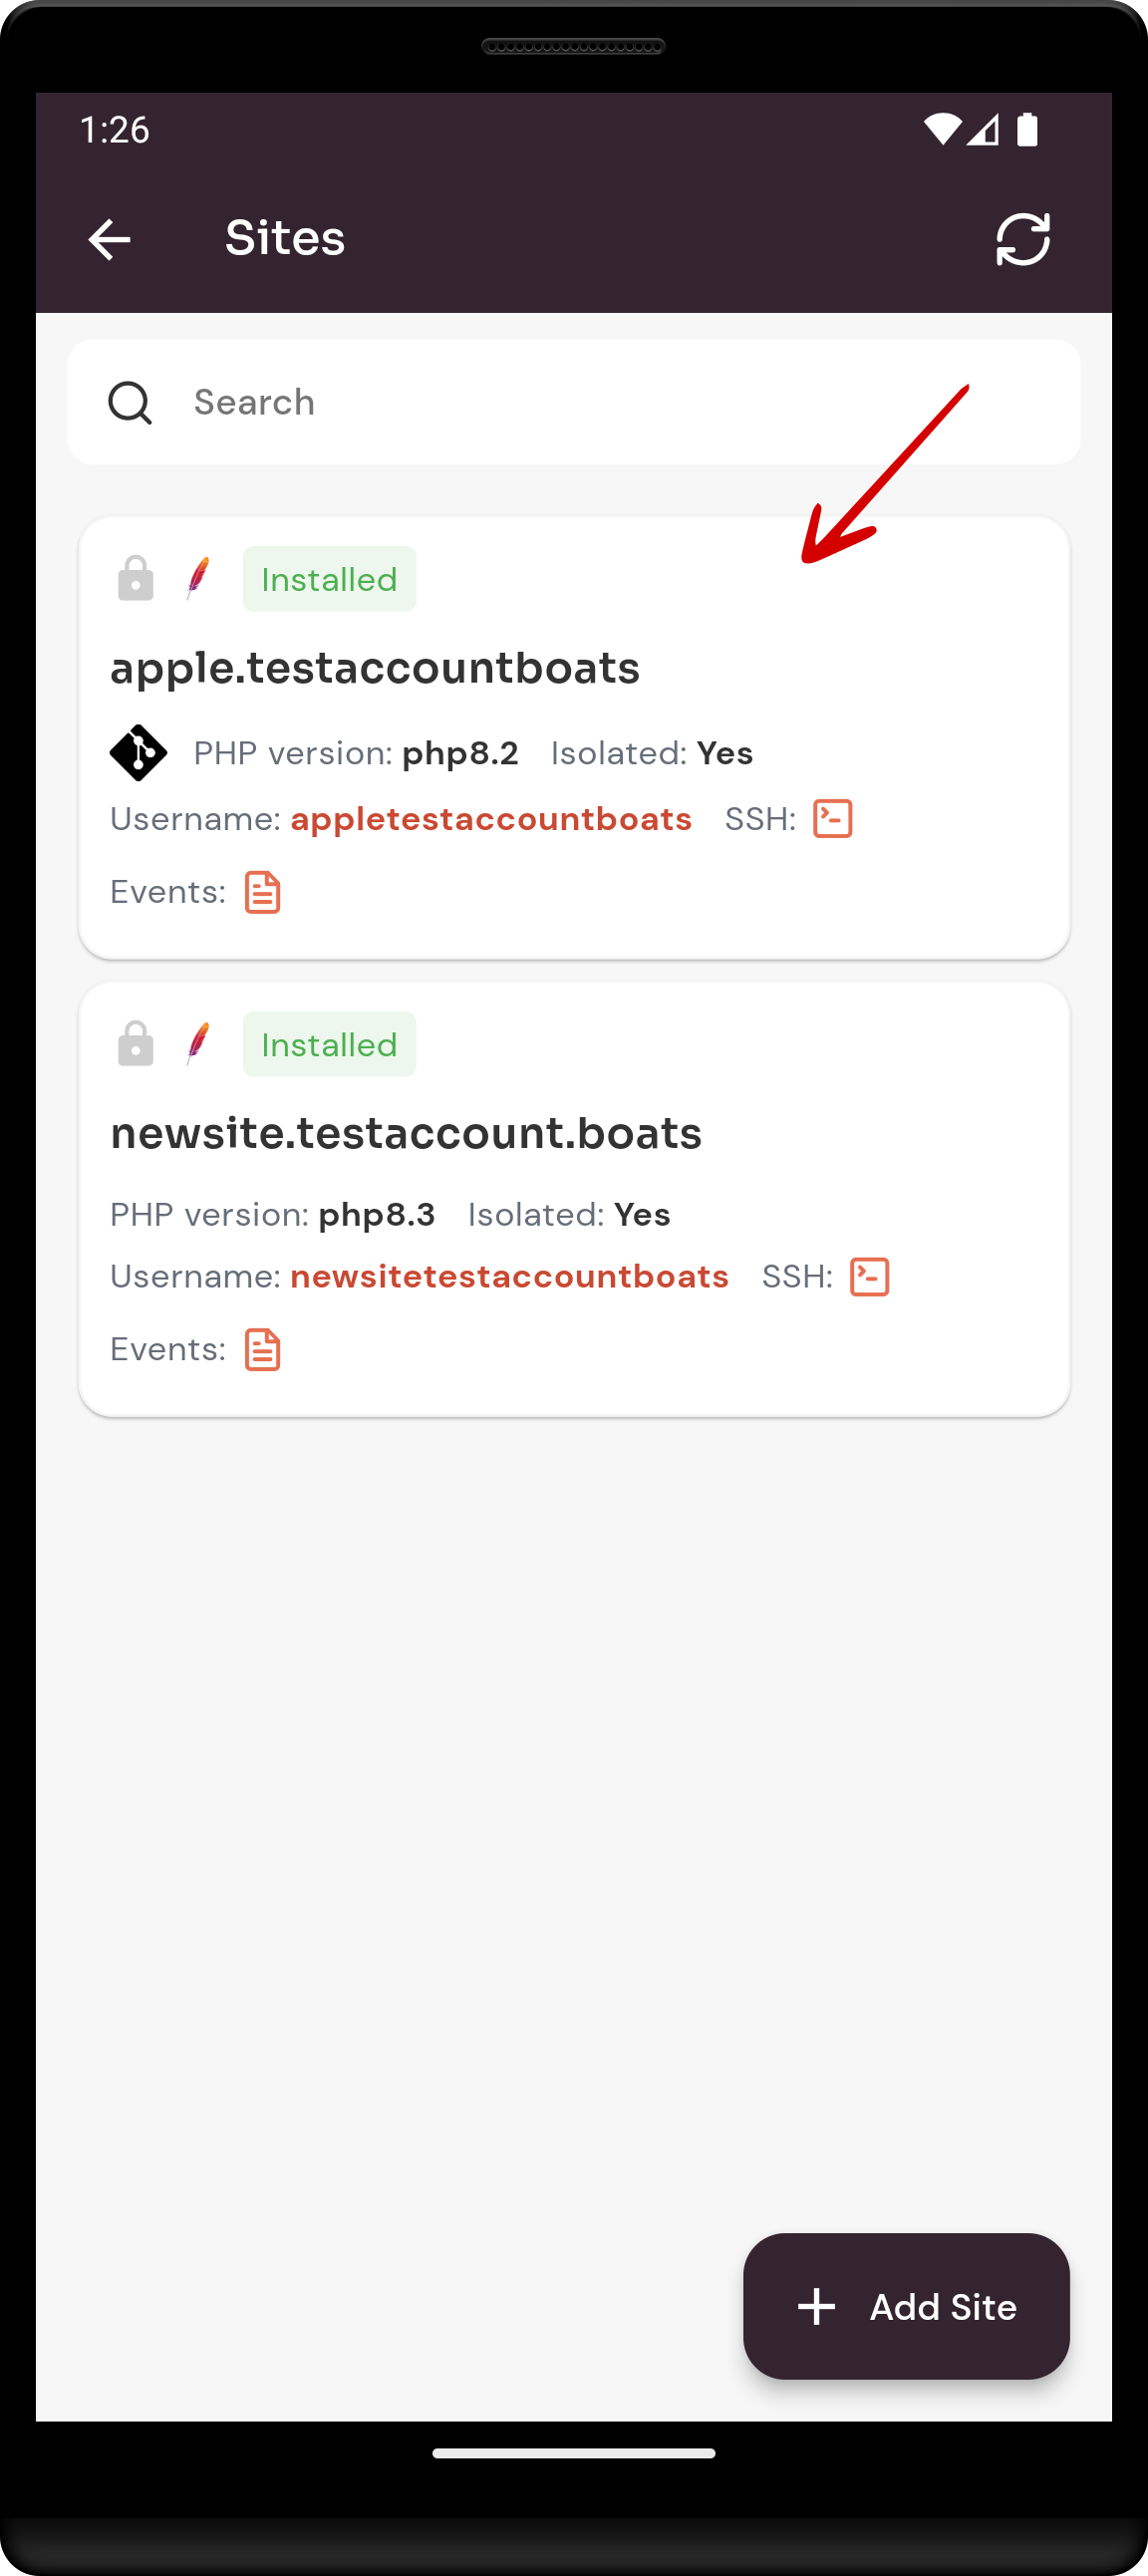
3: Select an active site.
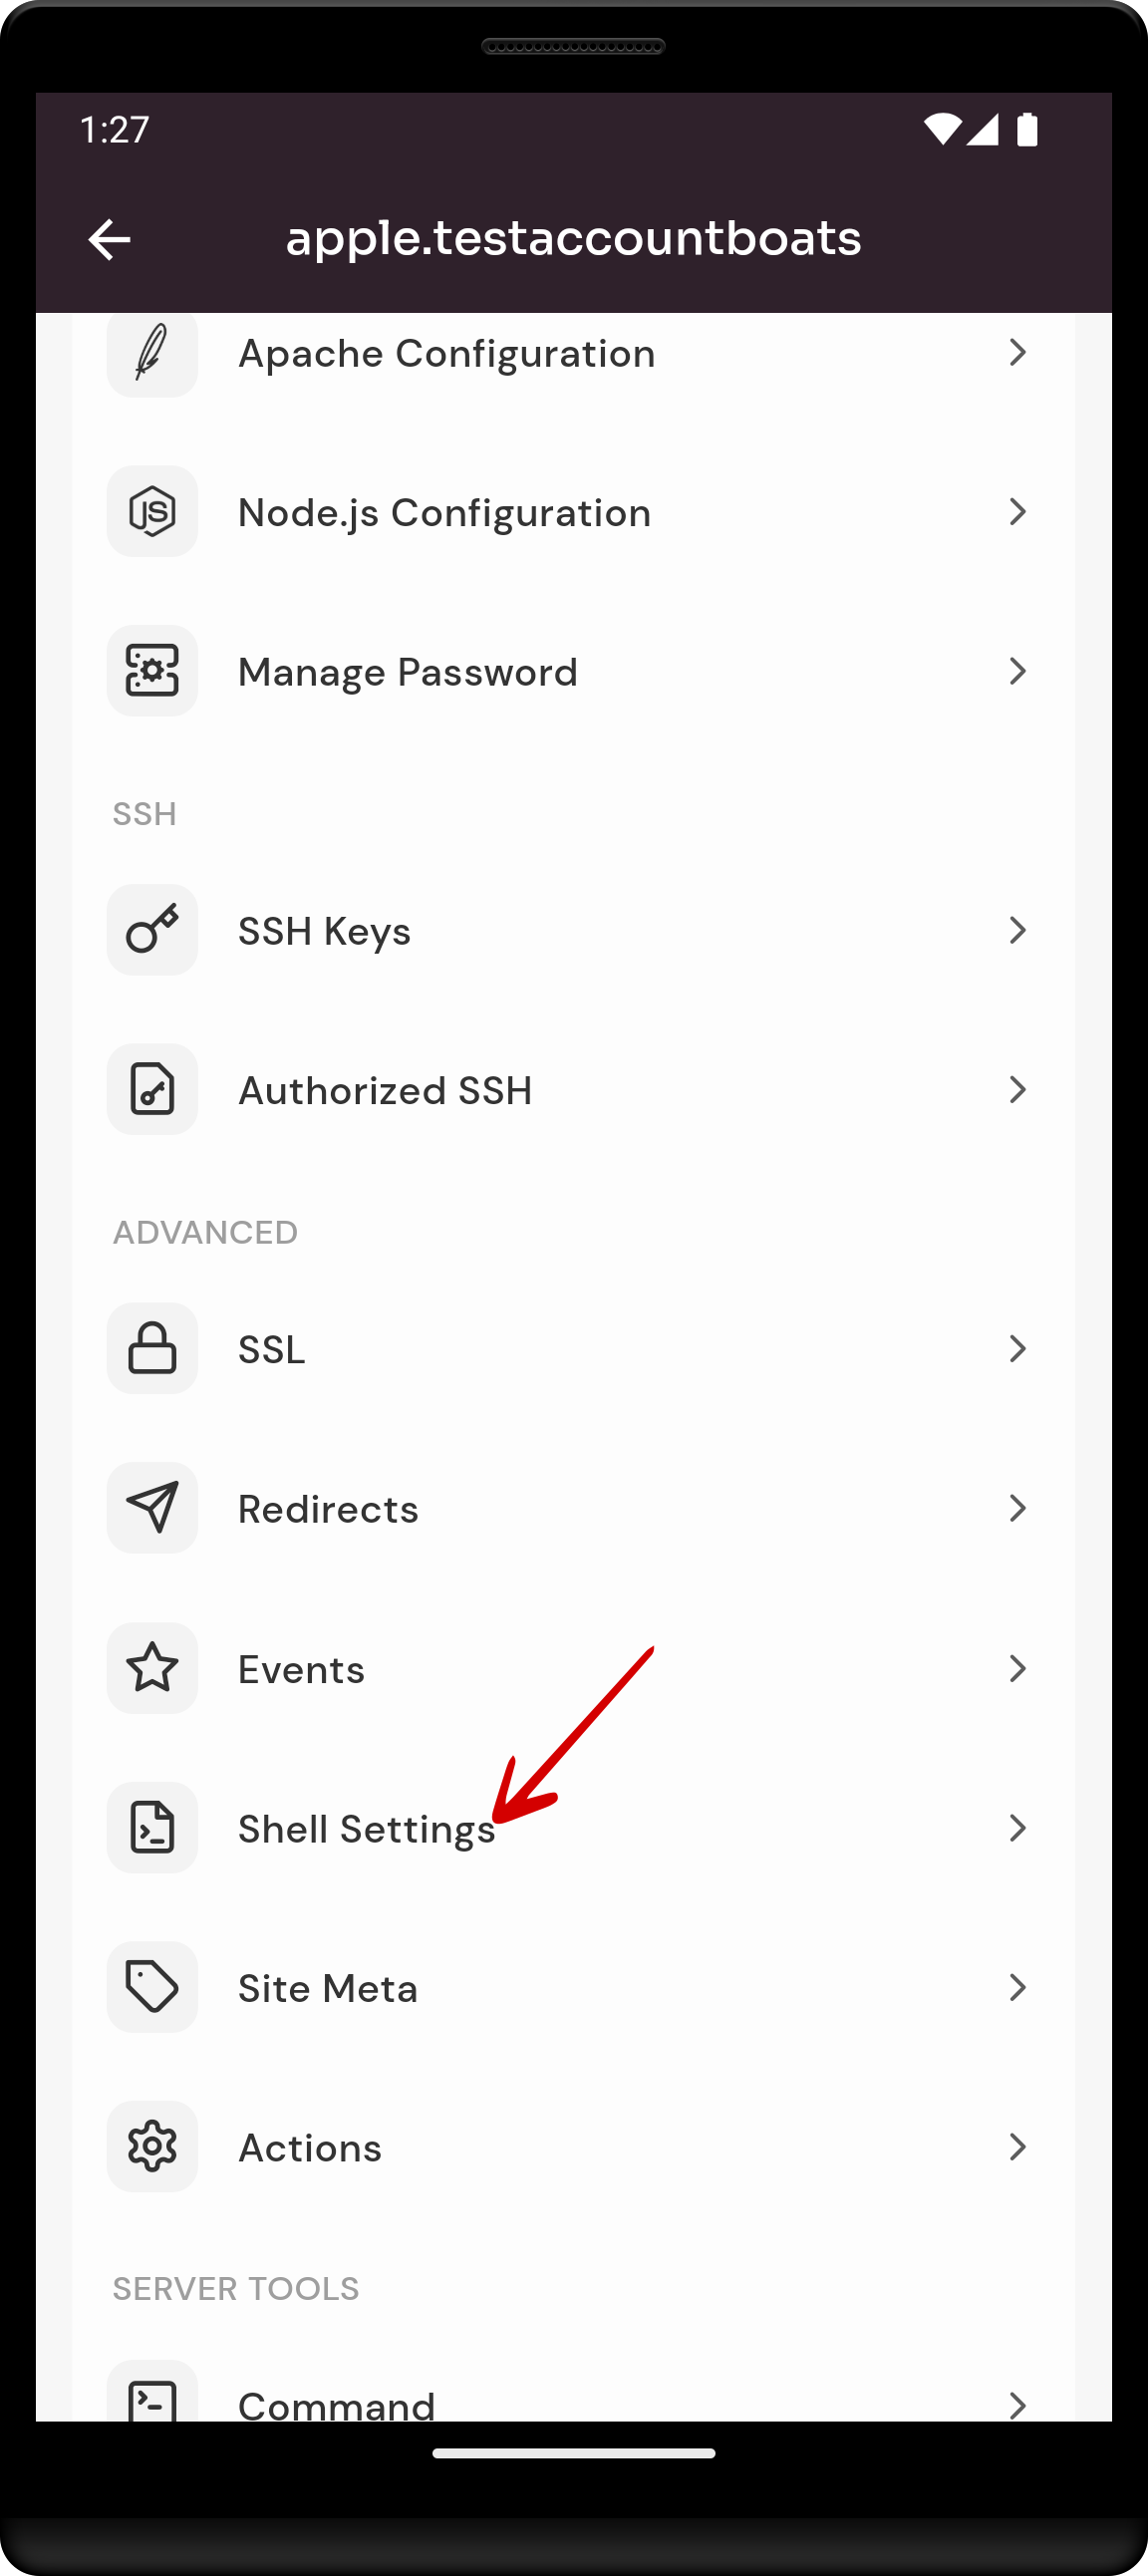
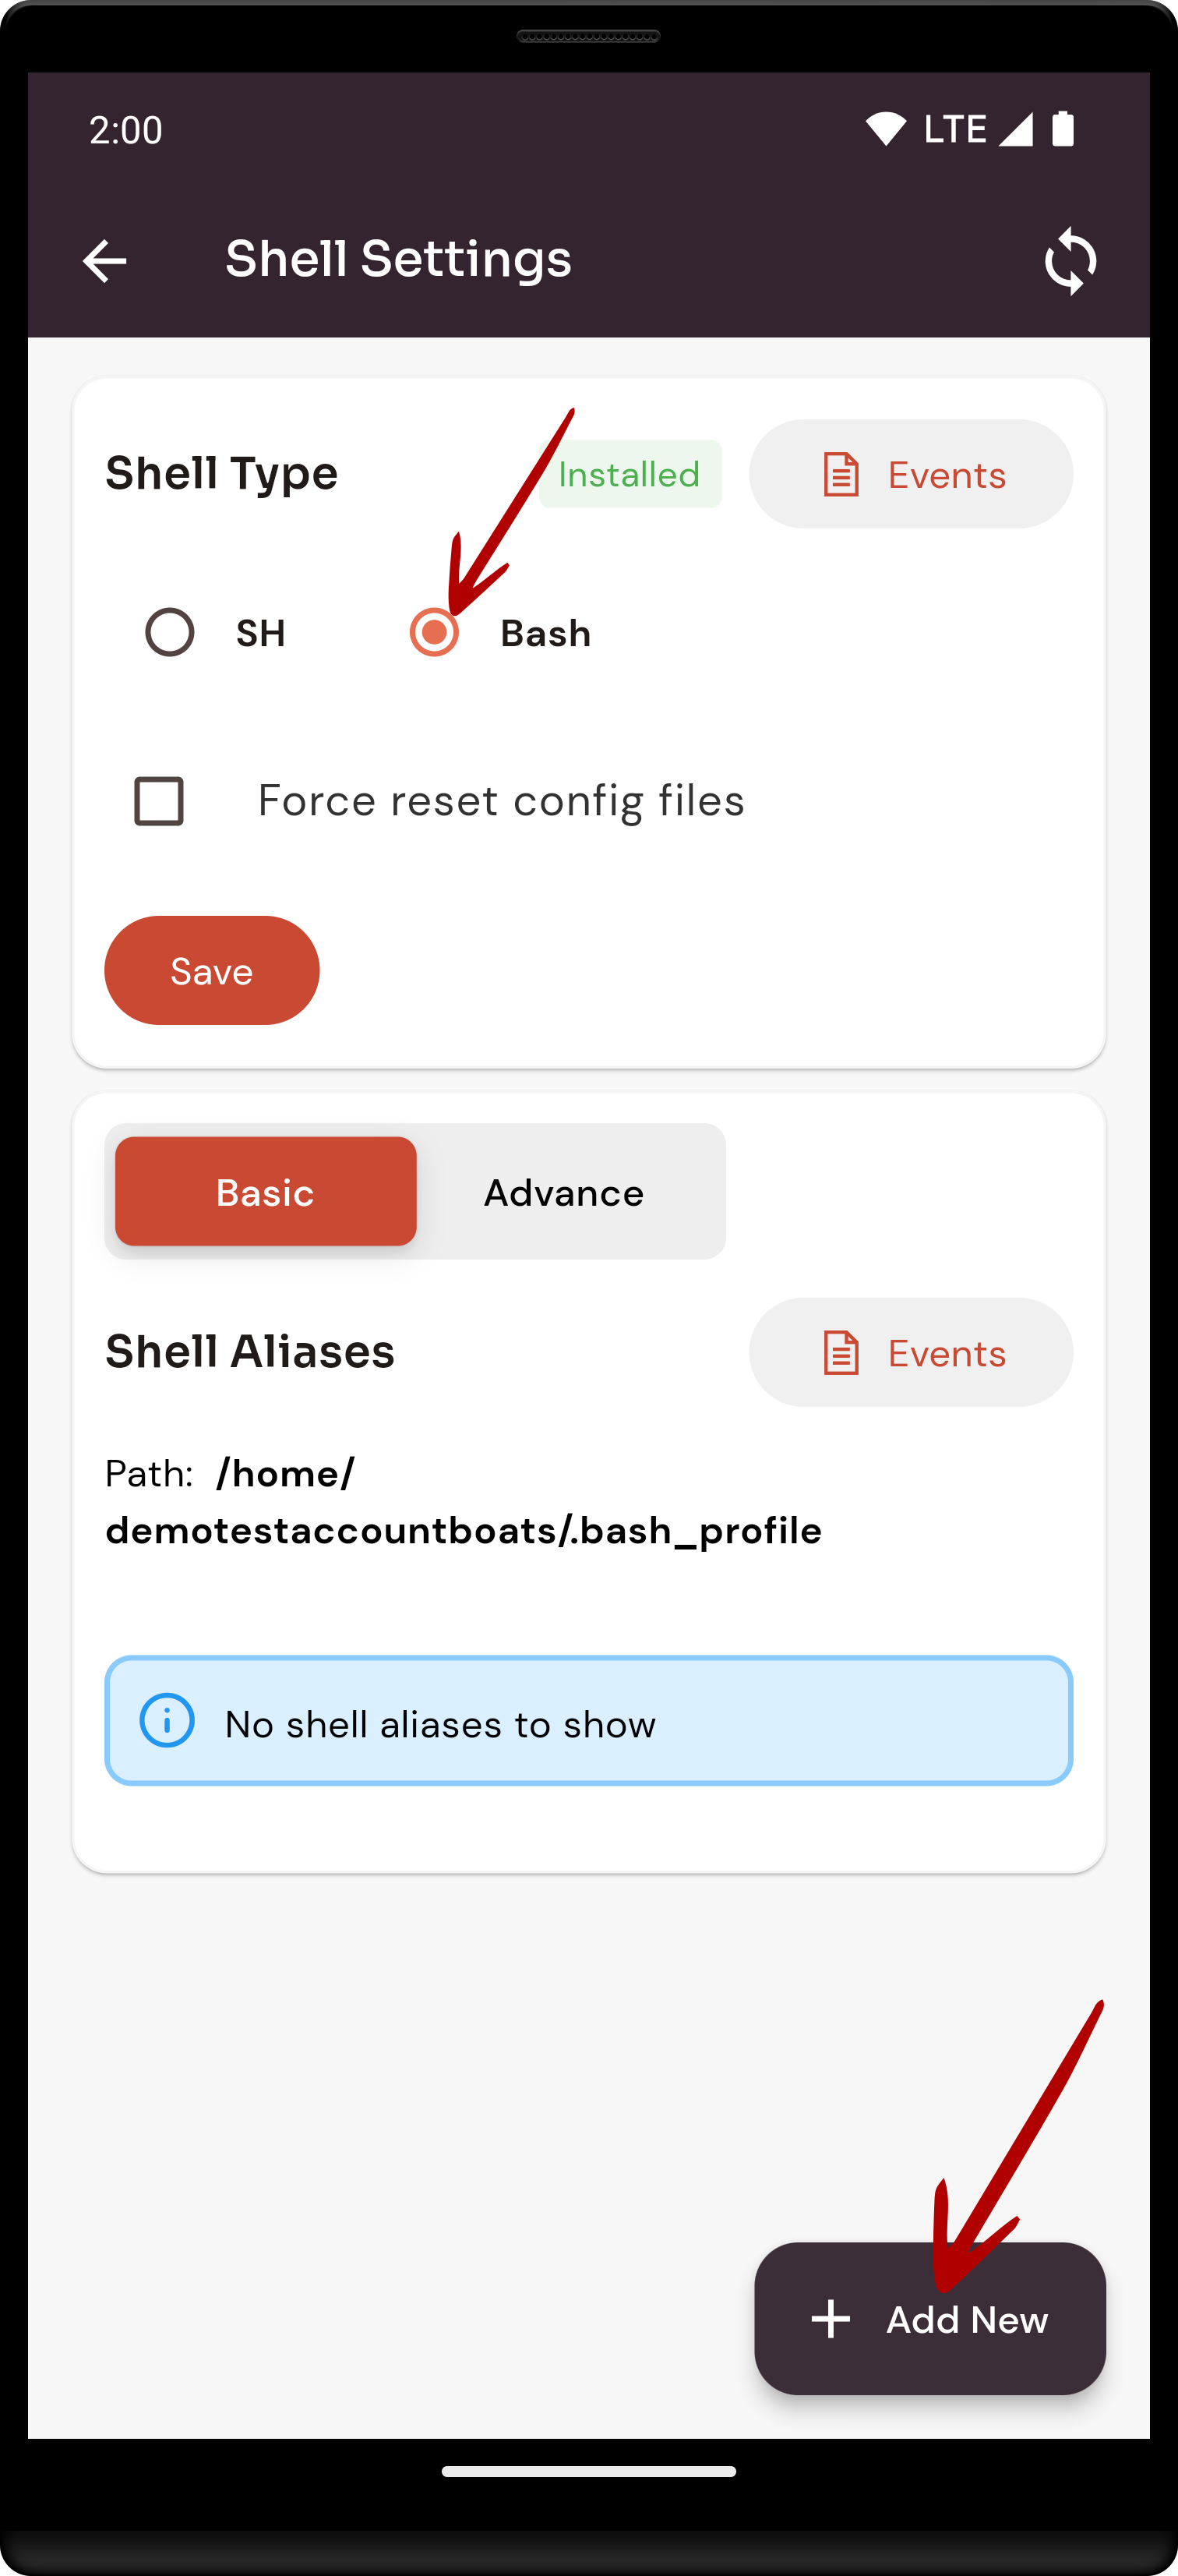
3: Click on the Shell settings option.
4: Click on the Add new button.
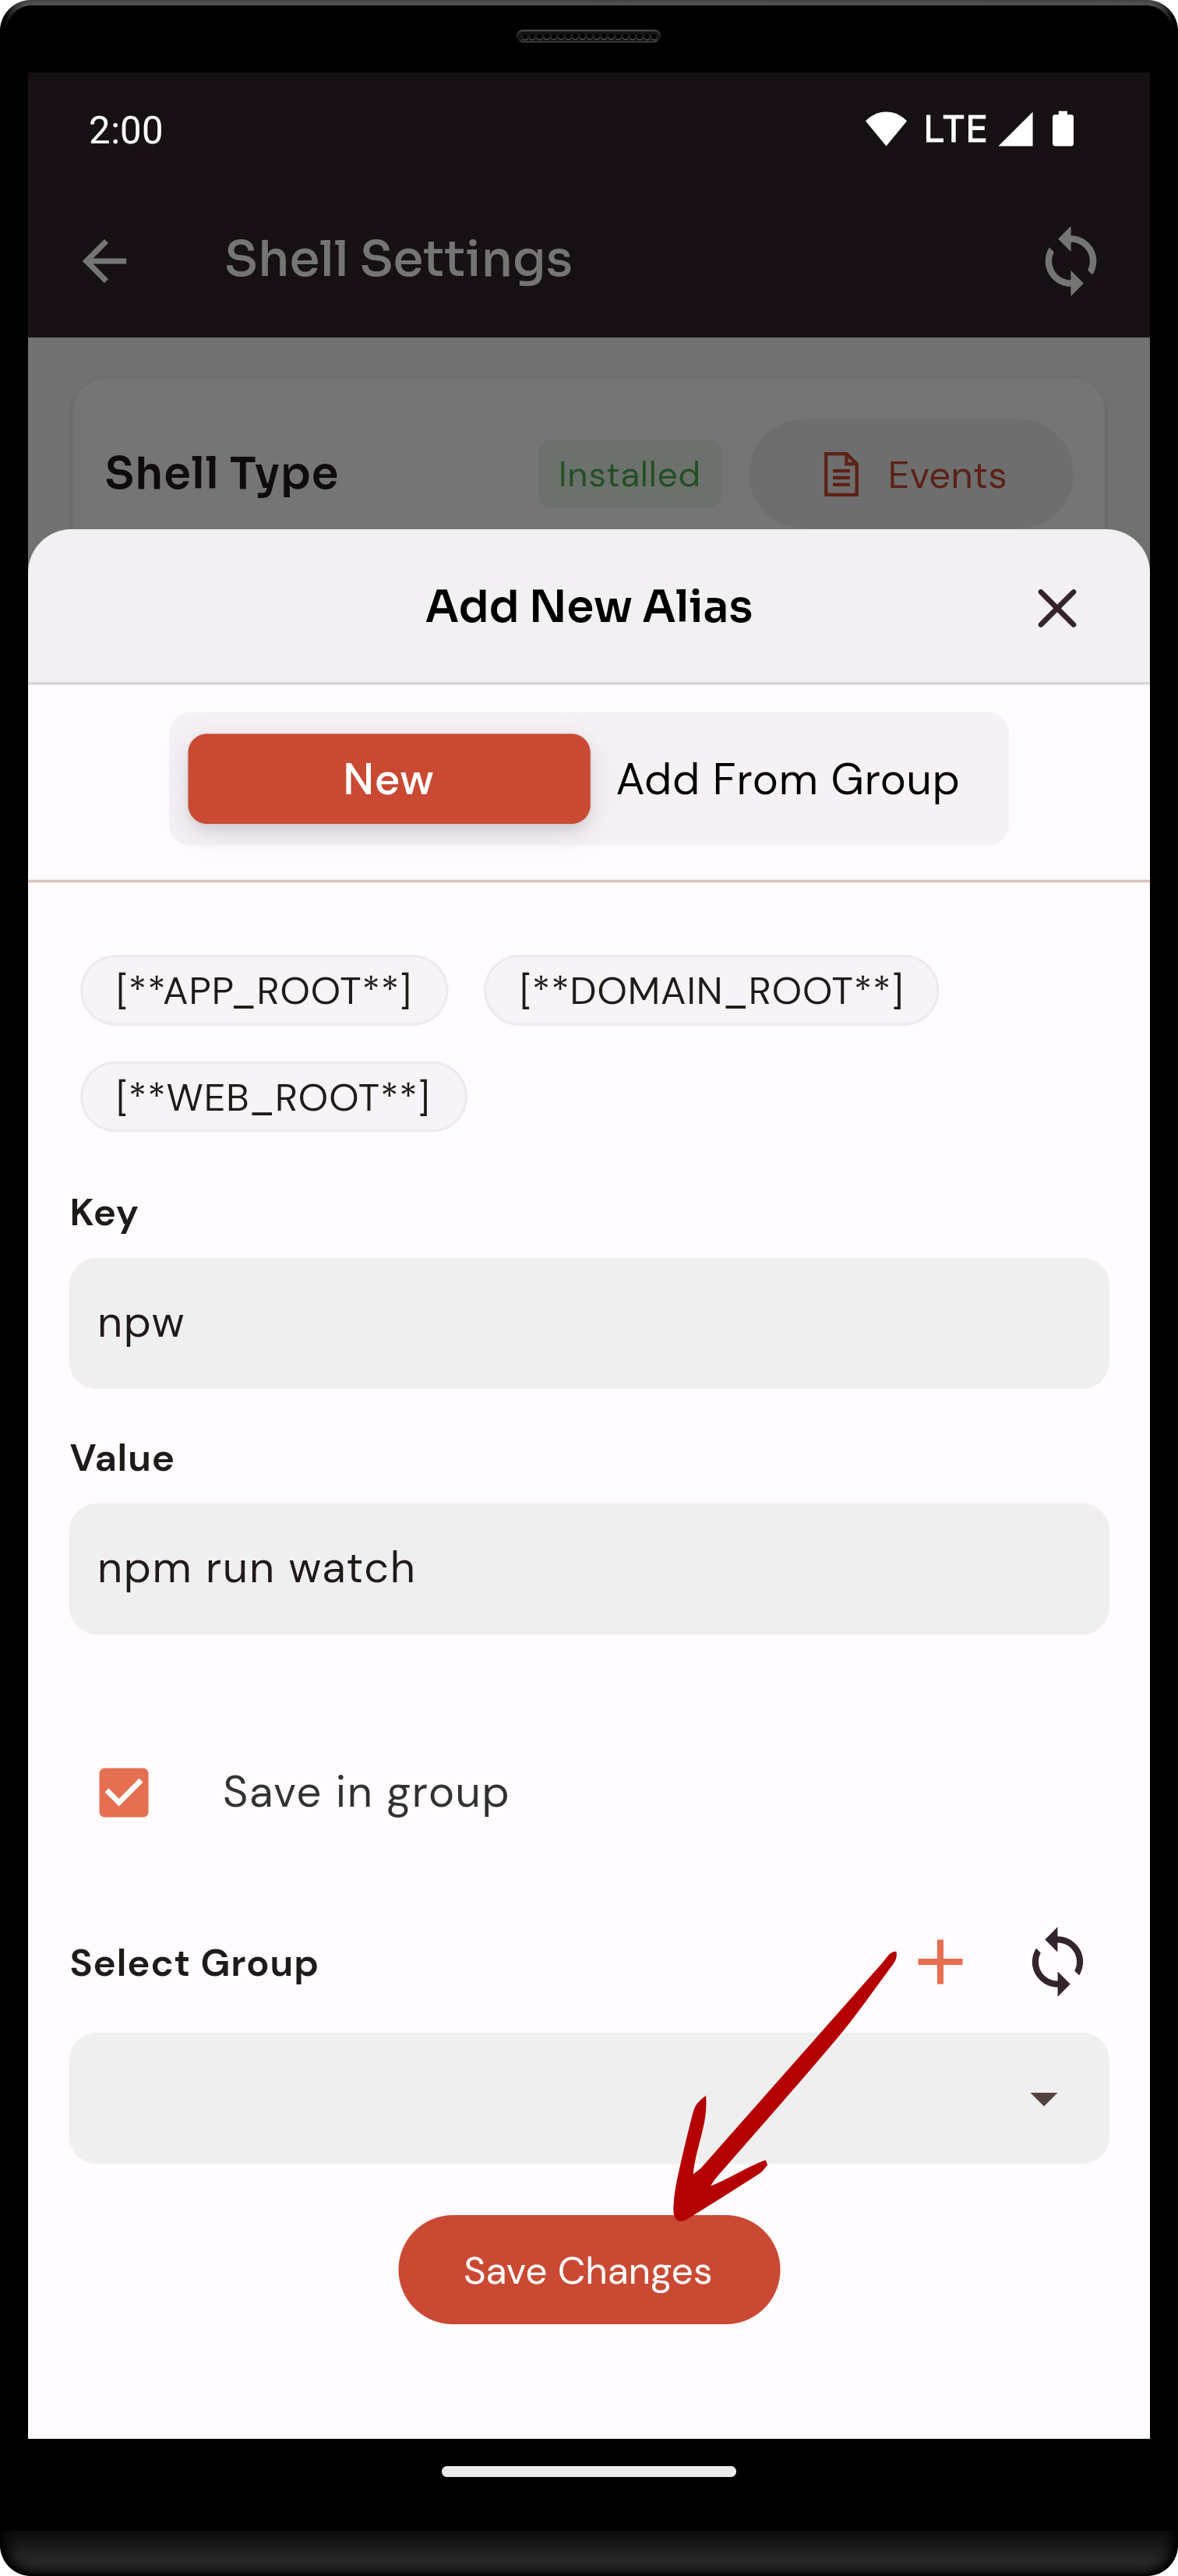
5: Fill in the all fields and click on the Save Changes Button.
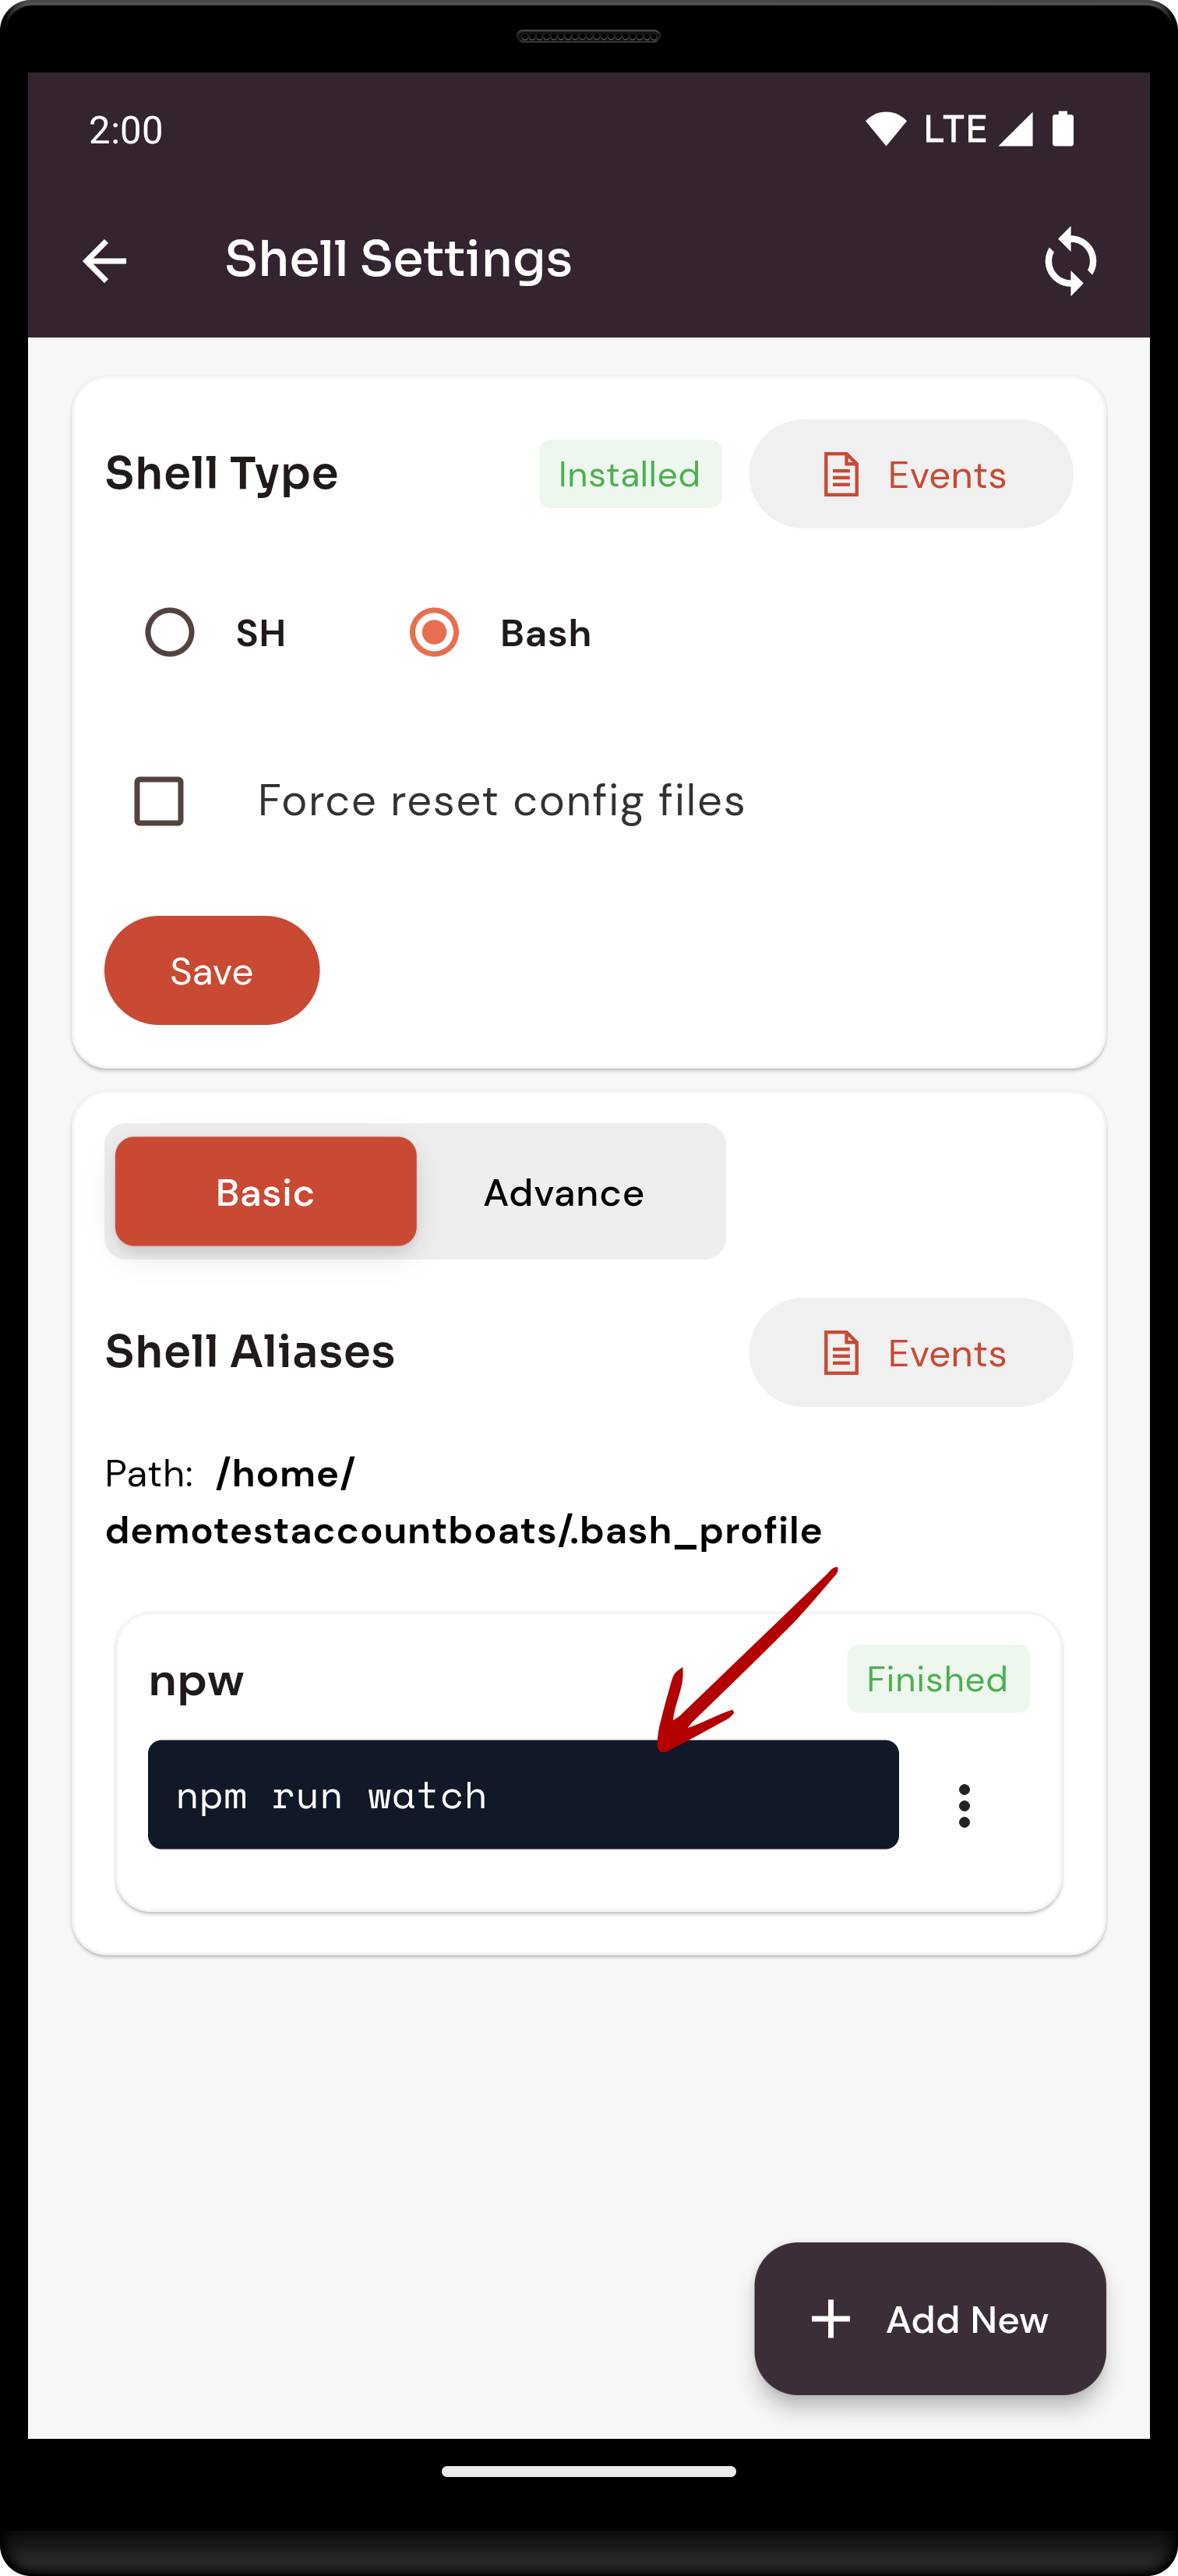
Here, you can see the alias added successfully.
No Comments