How to configure Apache Software through the cloudpanzer mobile application?
Testing, starting, and restarting the Apache HTTP Server software involves using commands to manage its operations.
Follow the steps below to configure Apache Software.
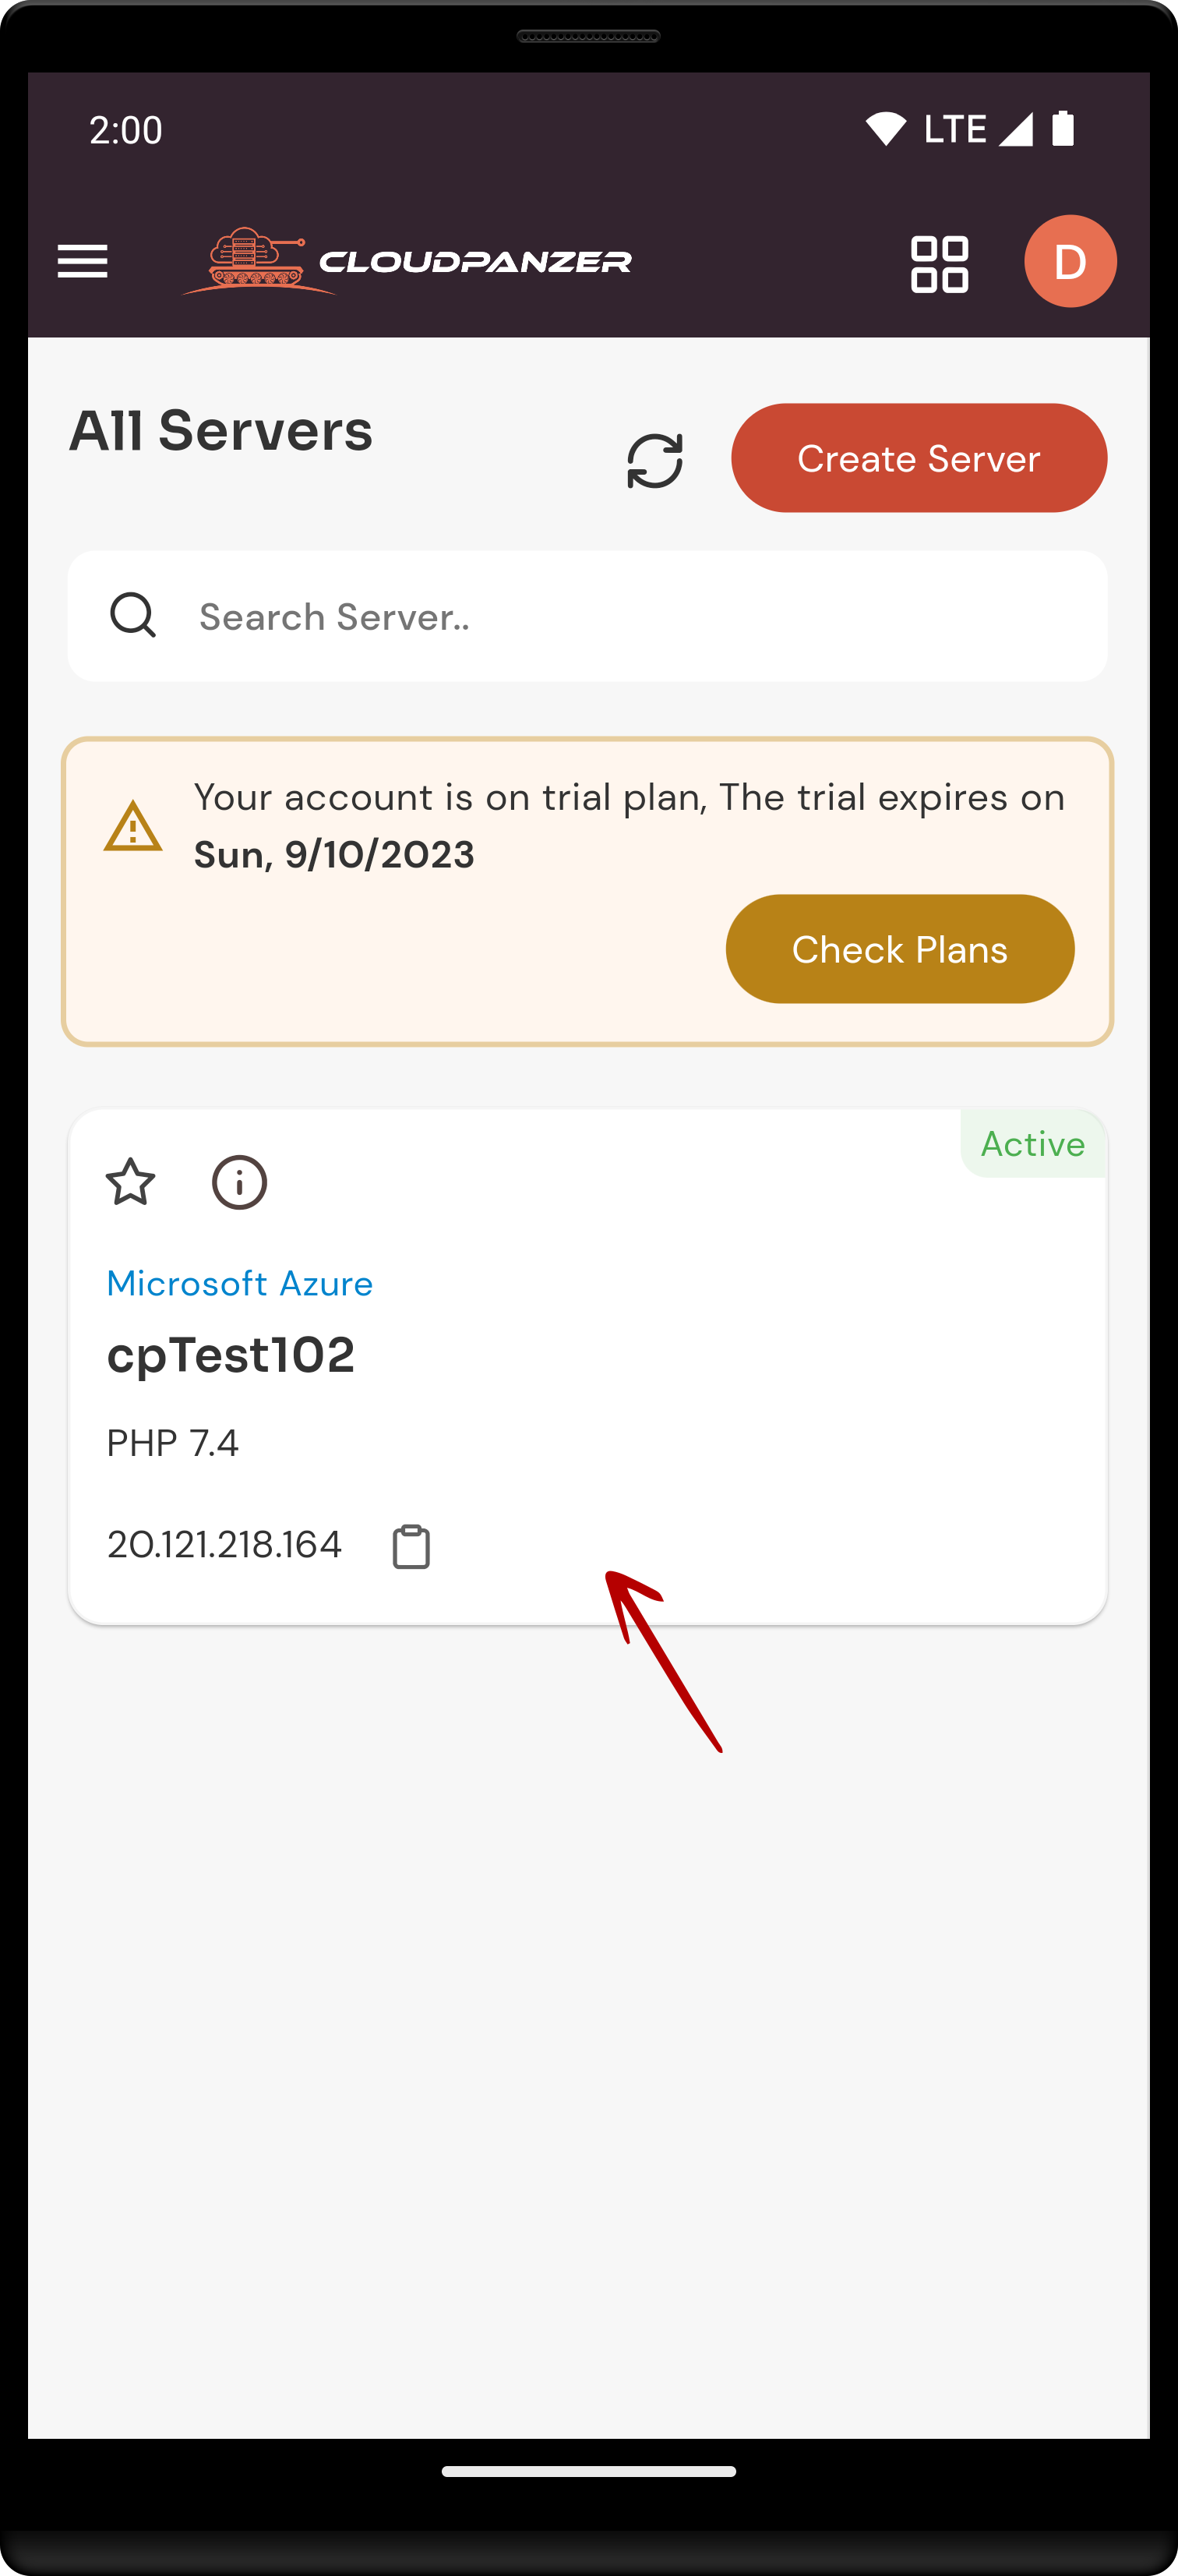
1: Once logged in, look for a "Server" and click on it.
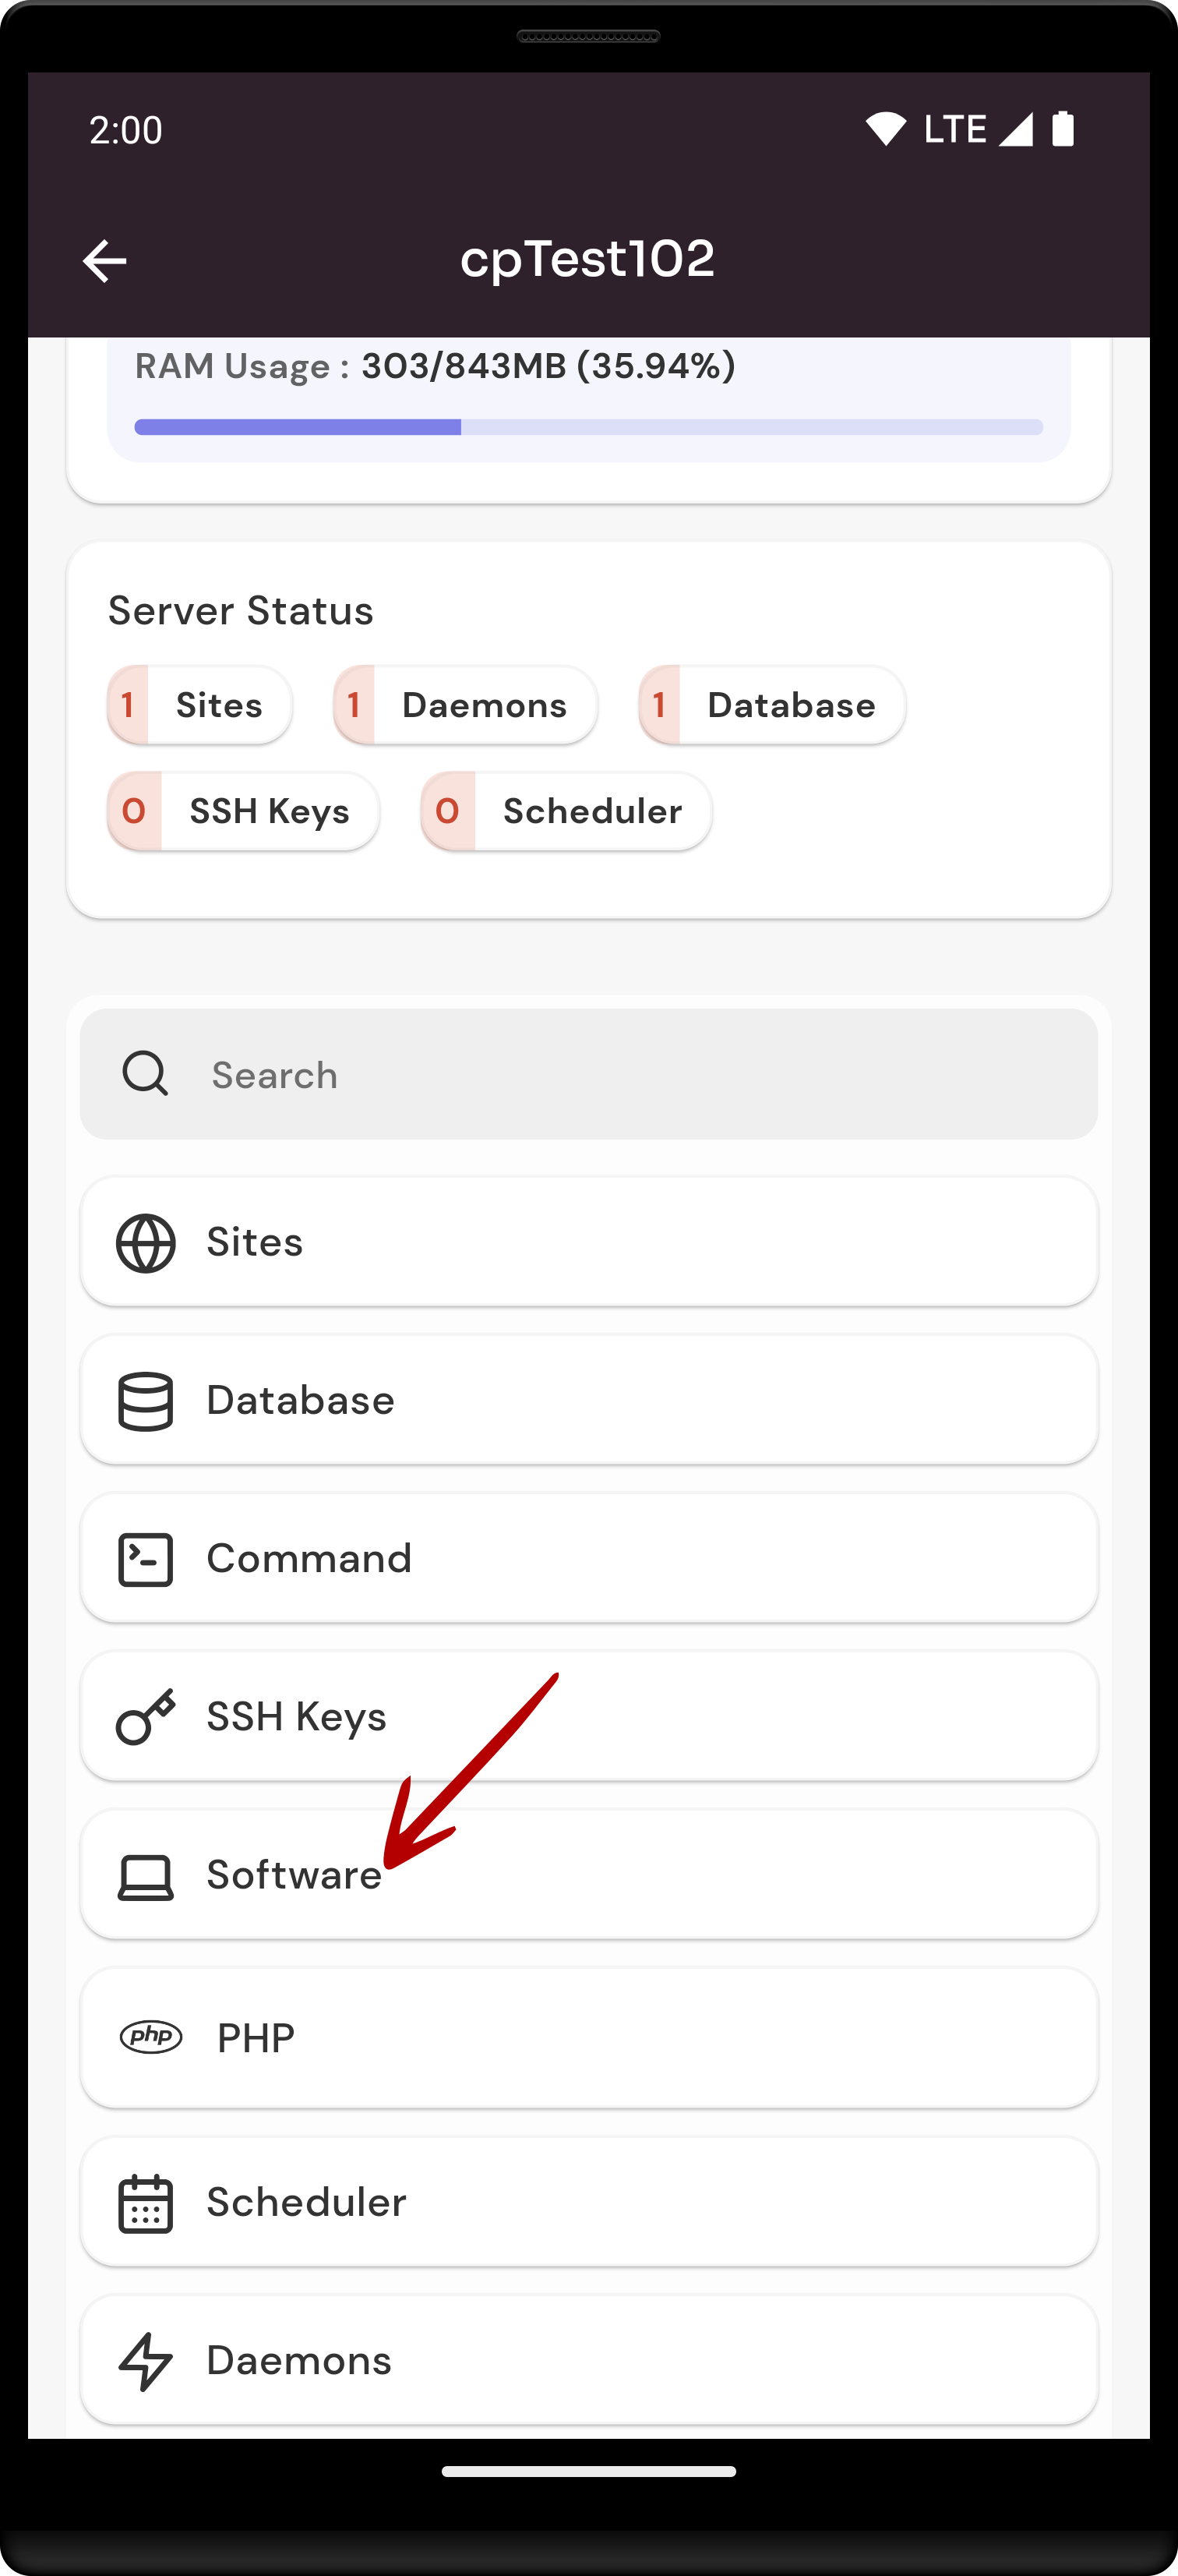
2. Select the Software Option.
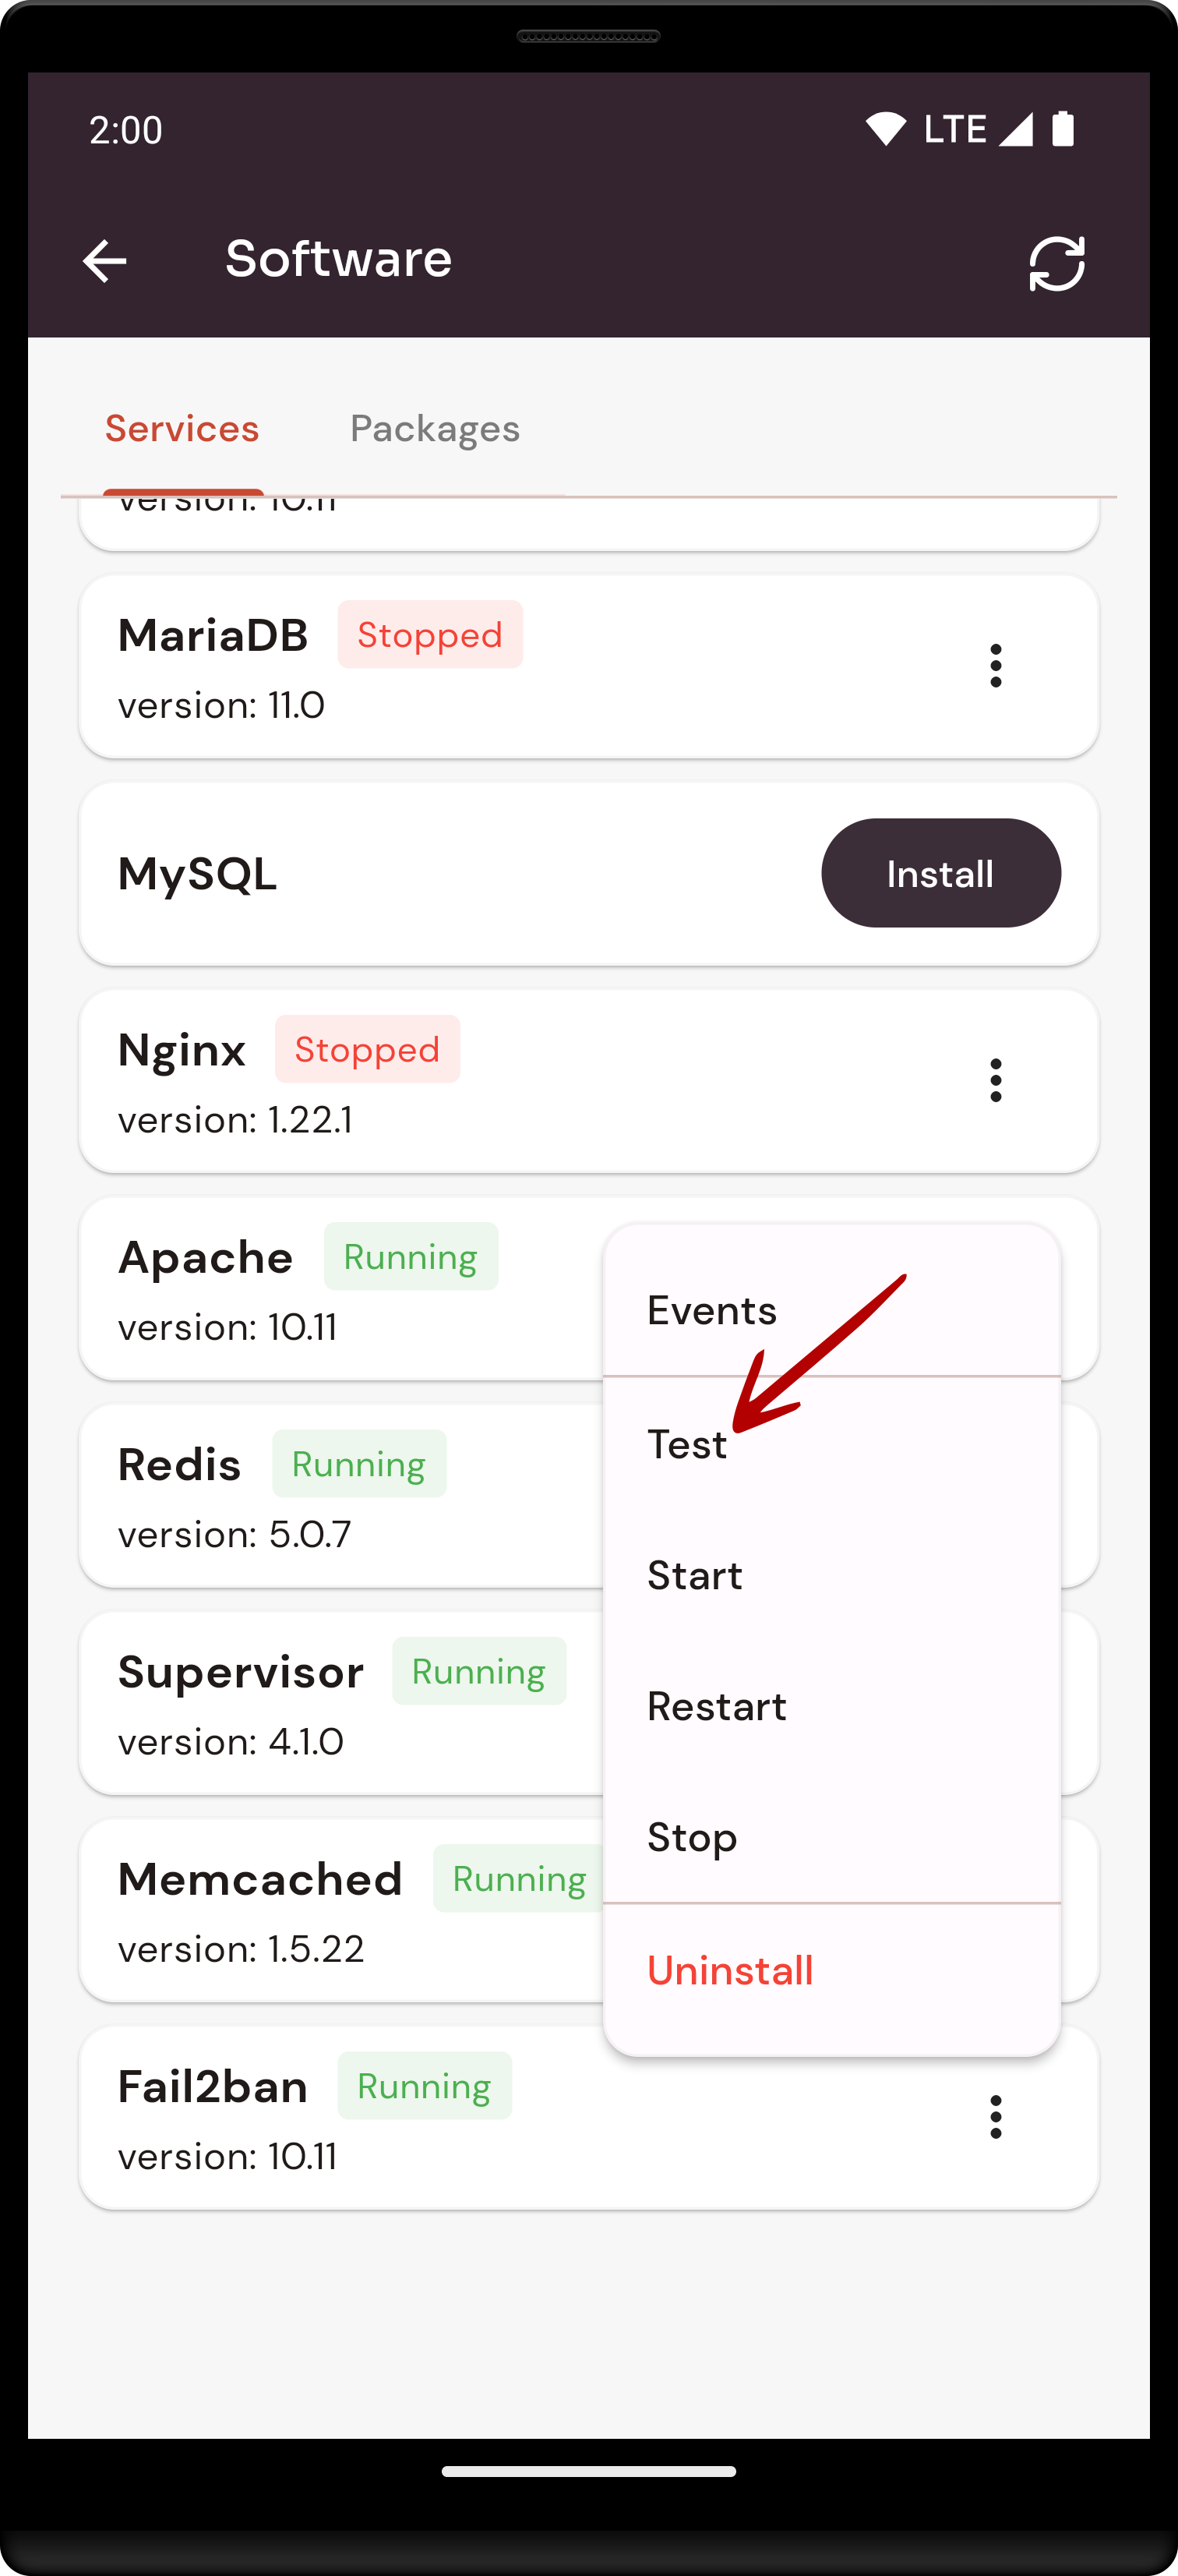
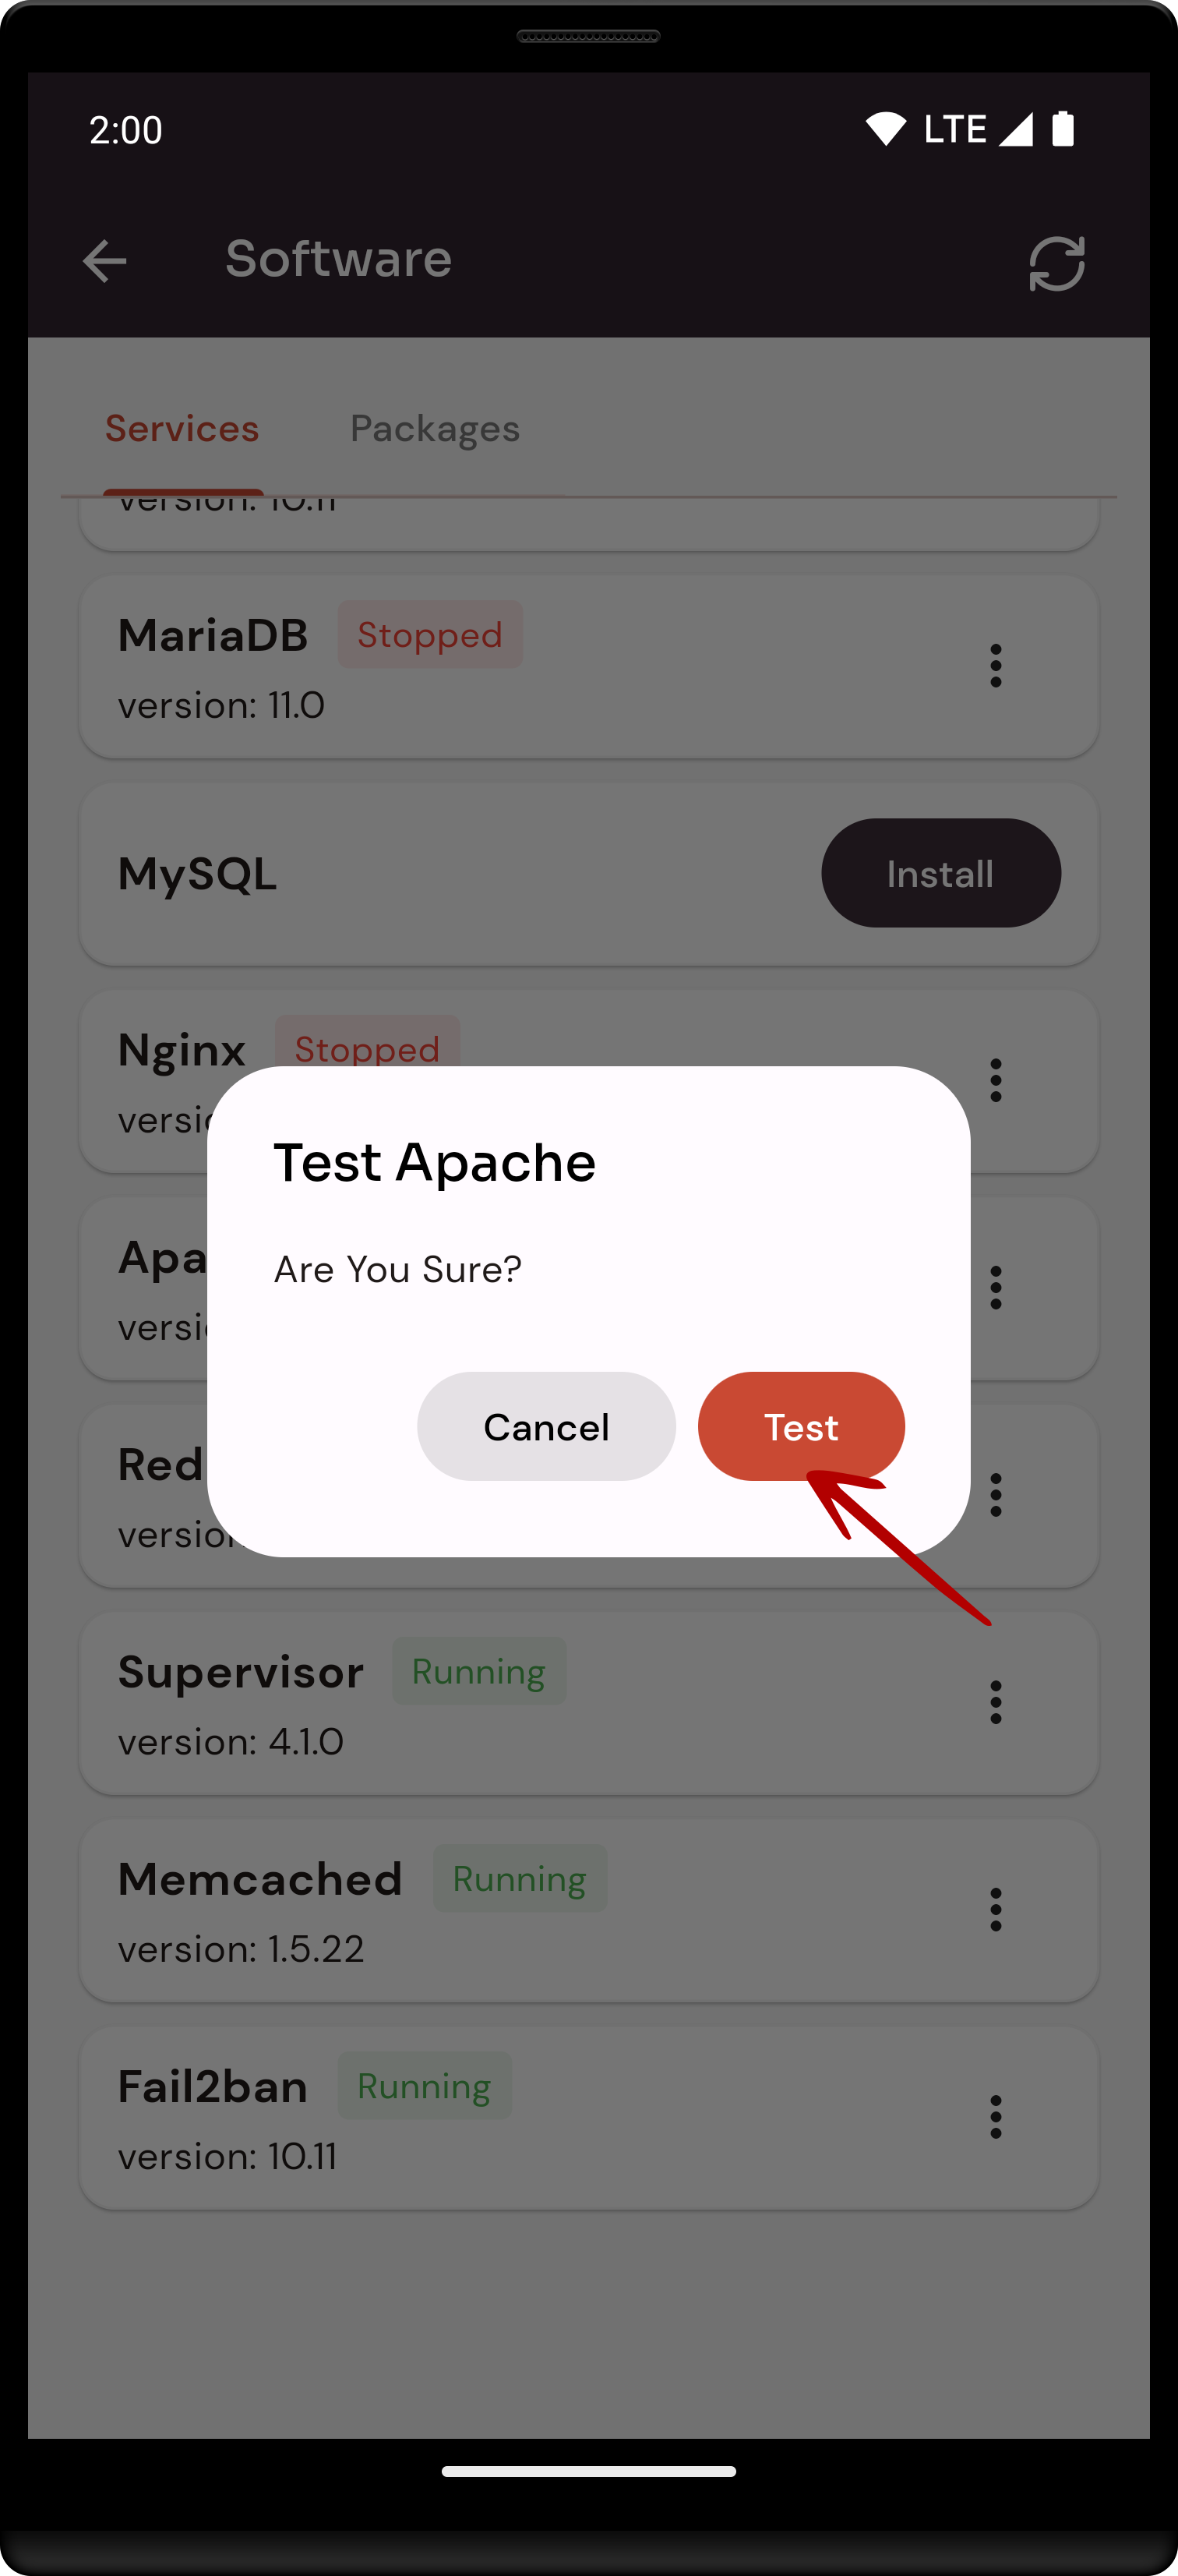
4. Open a dialog and click the "Text" button to test the Apache software.
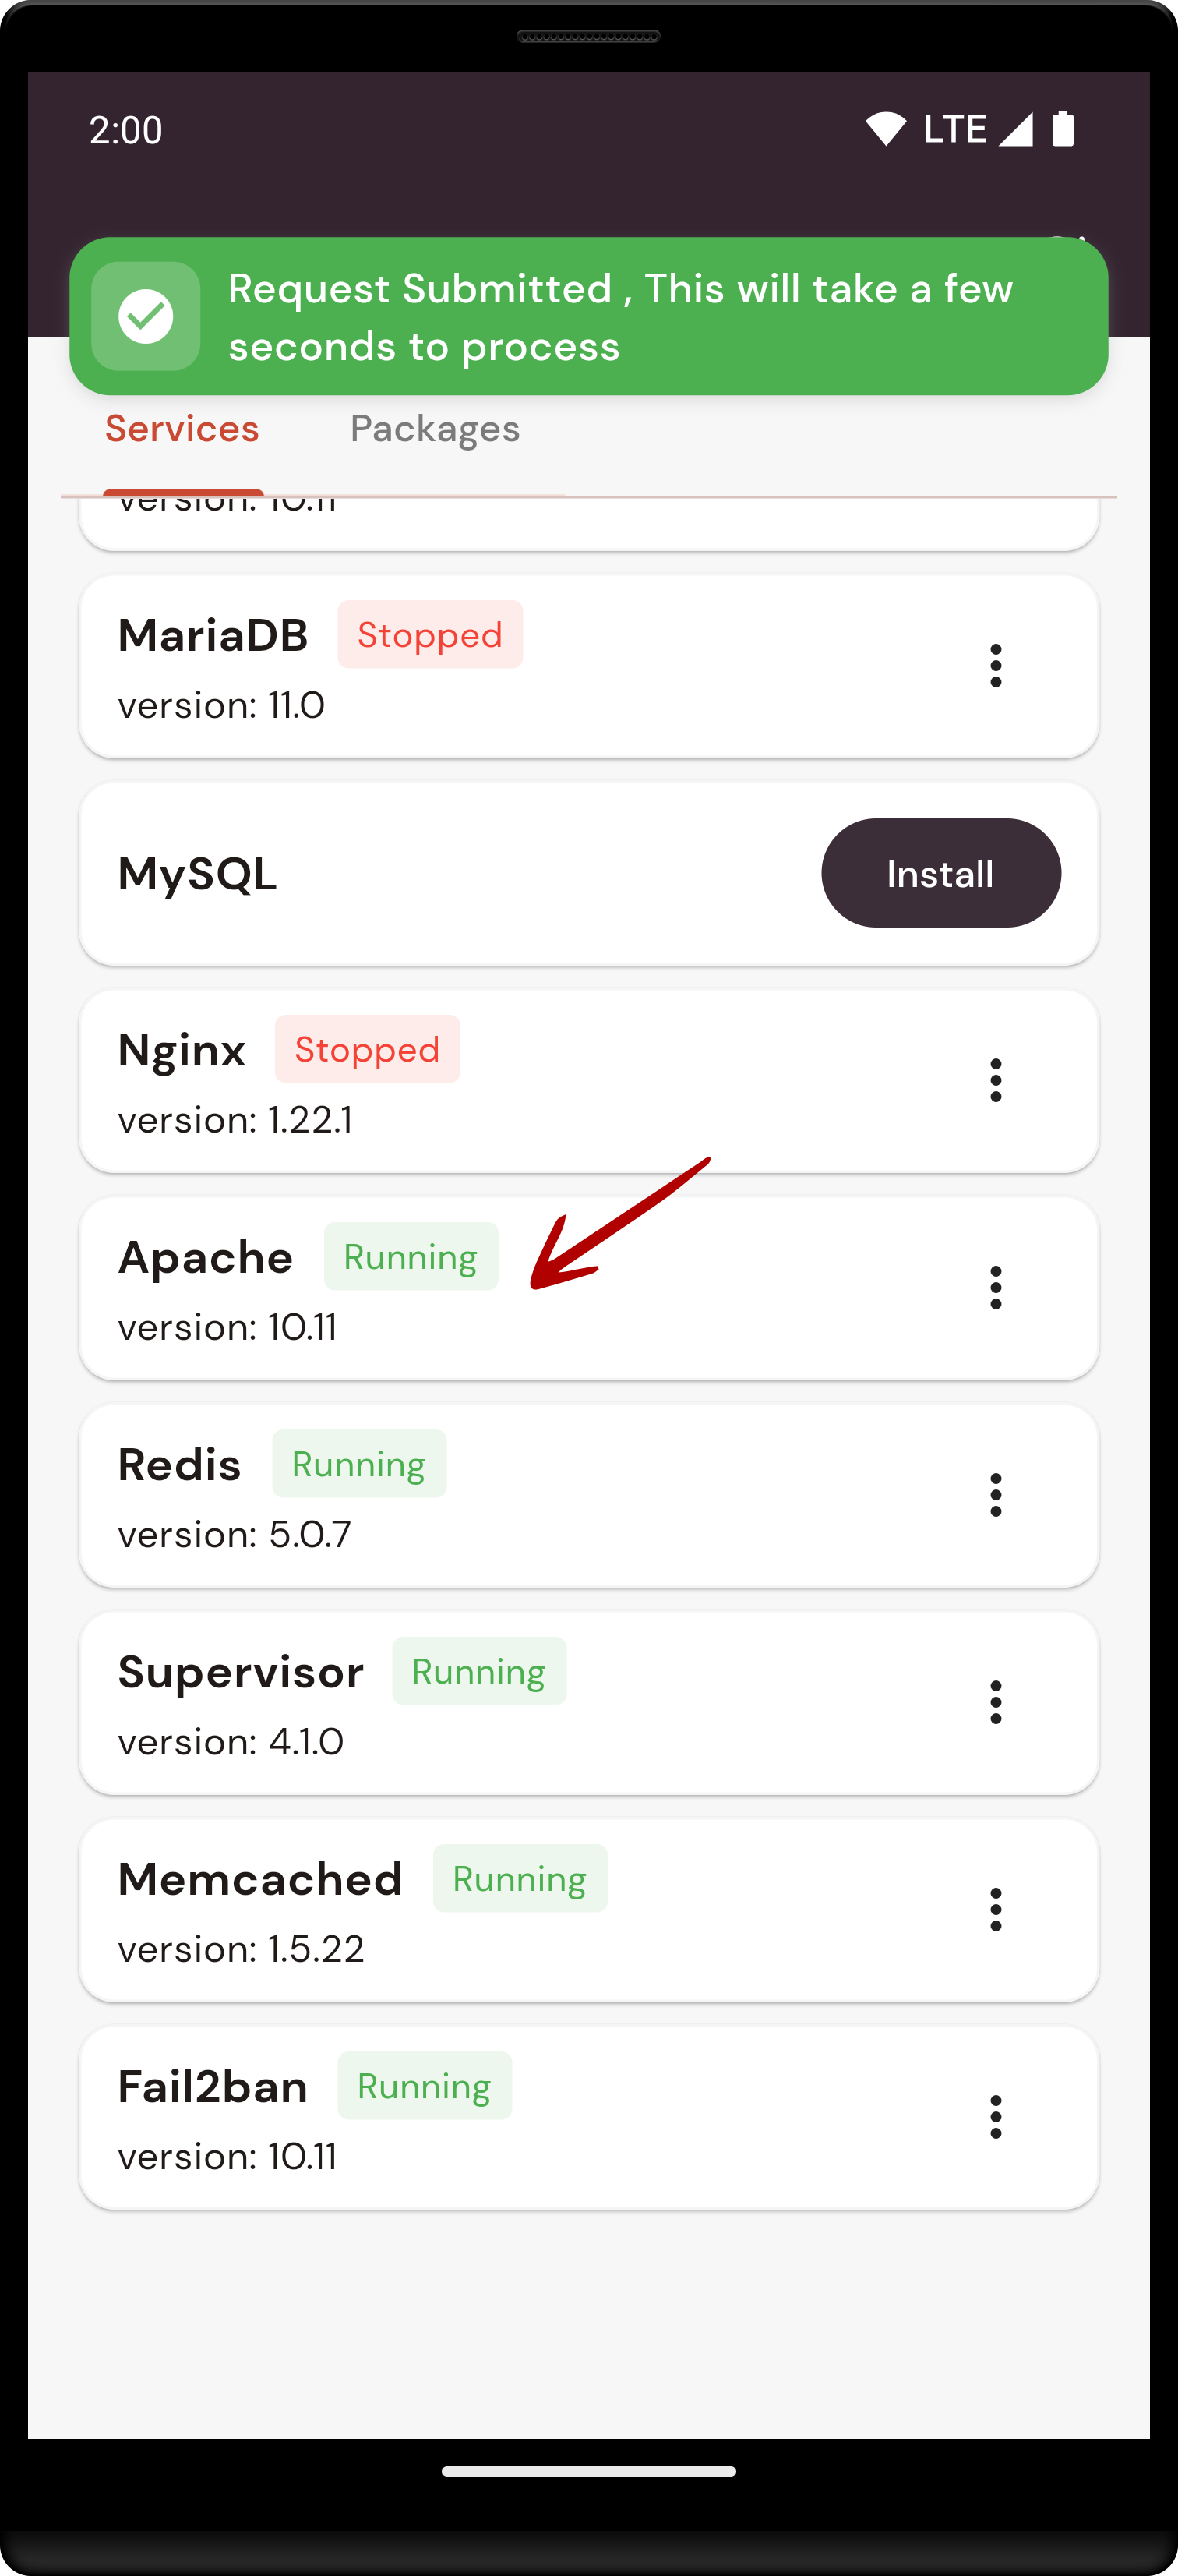
Here, you can see the Apache Test successfully.
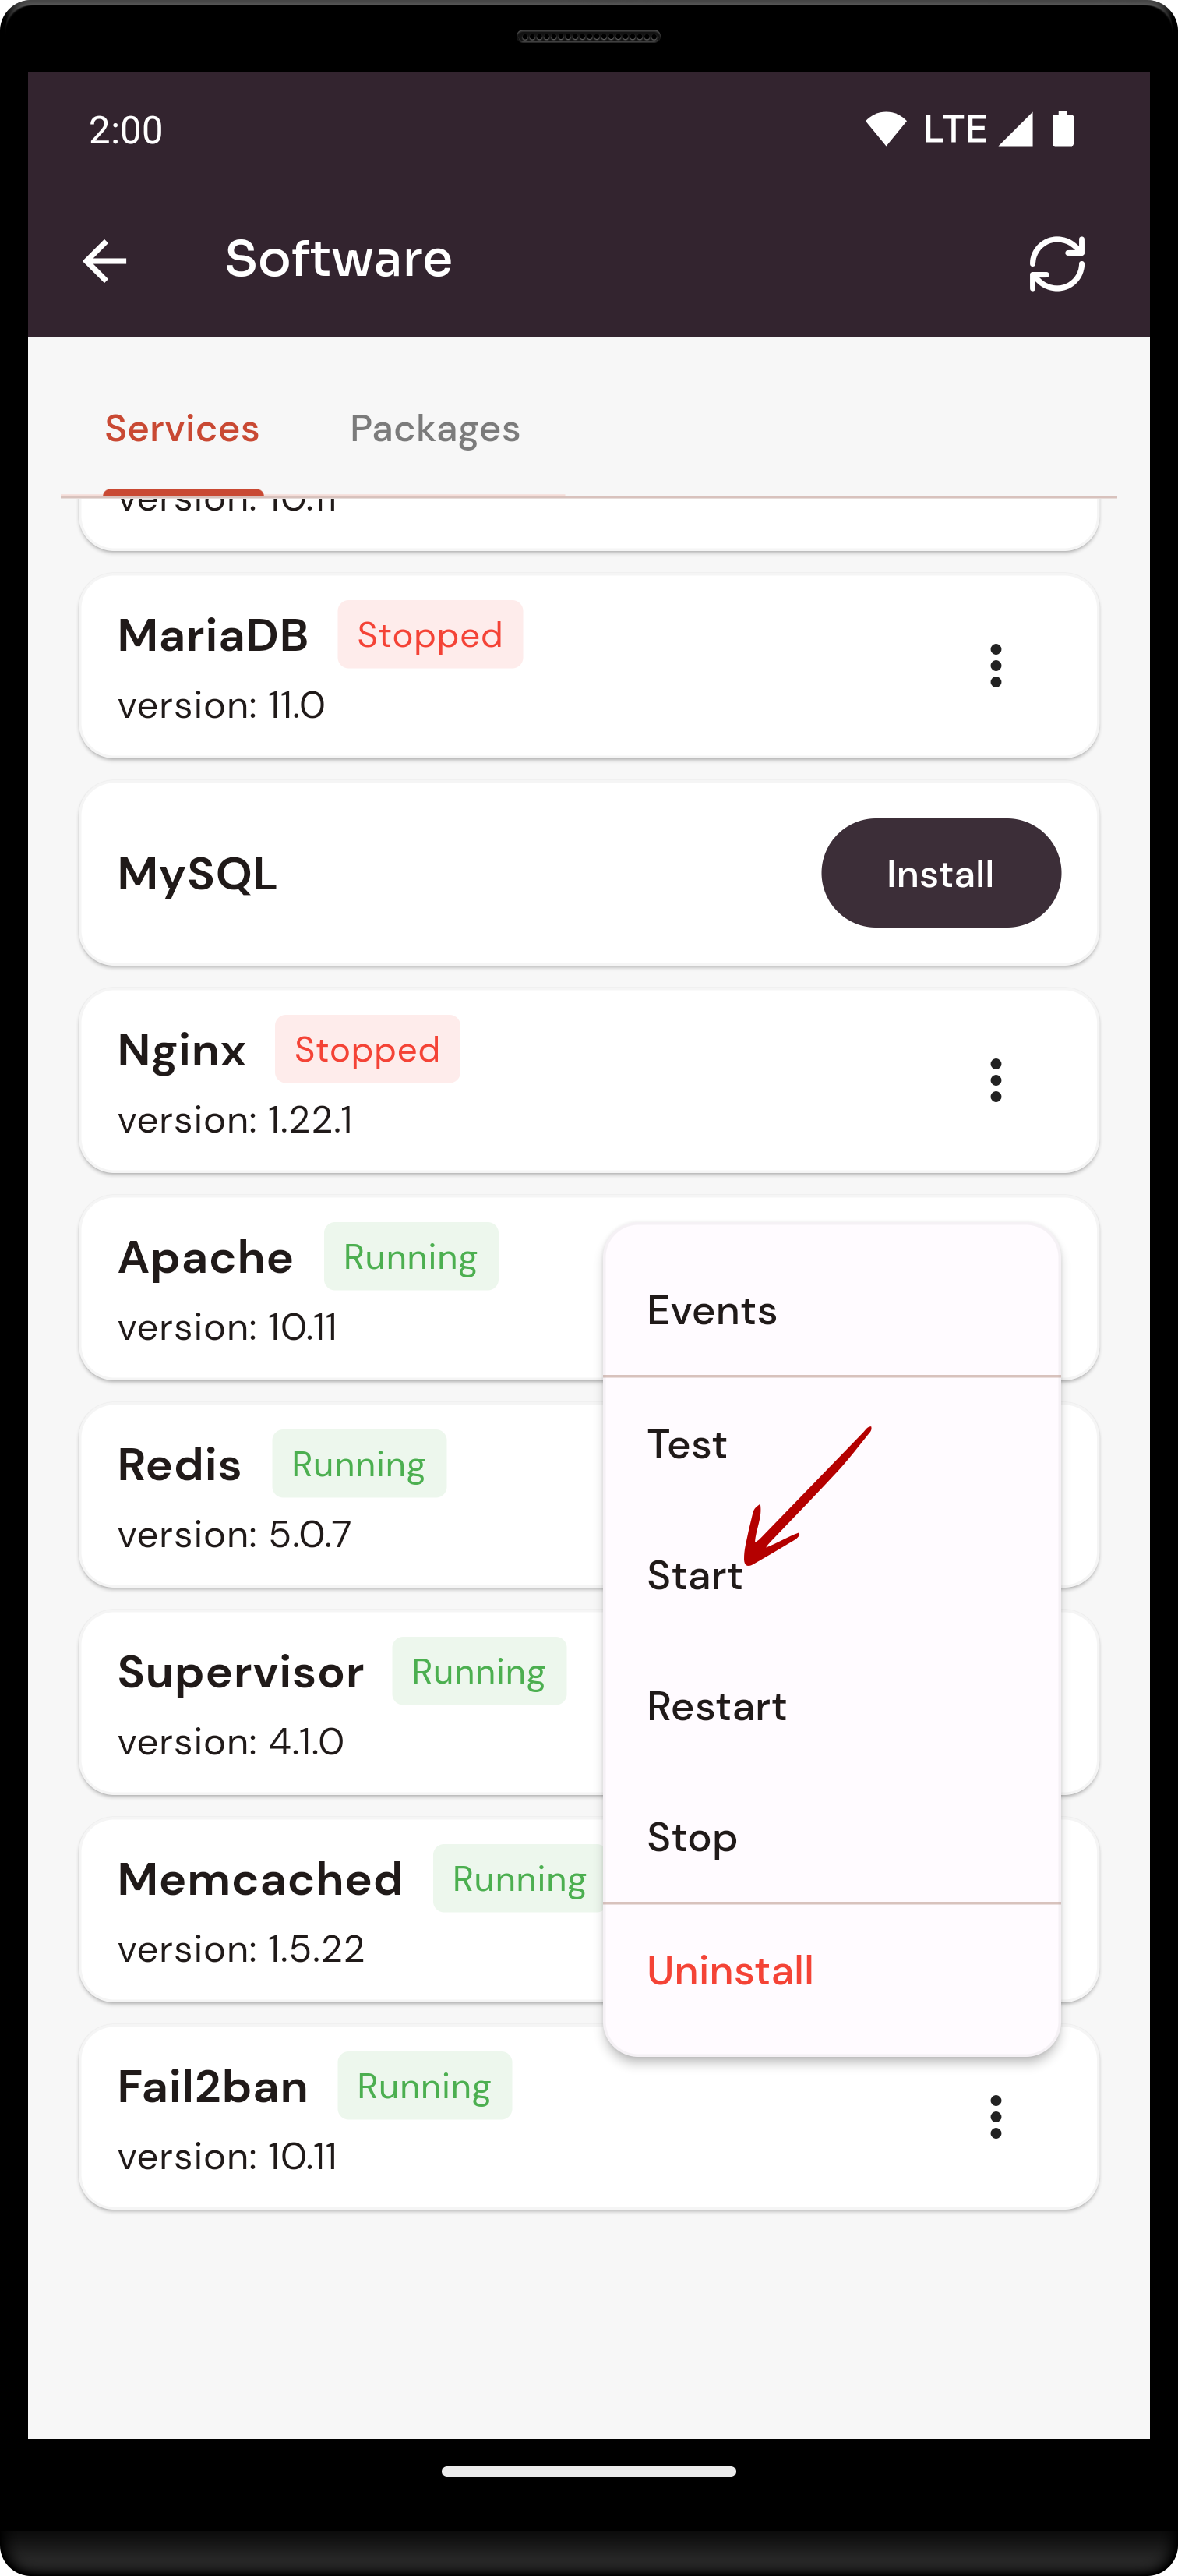
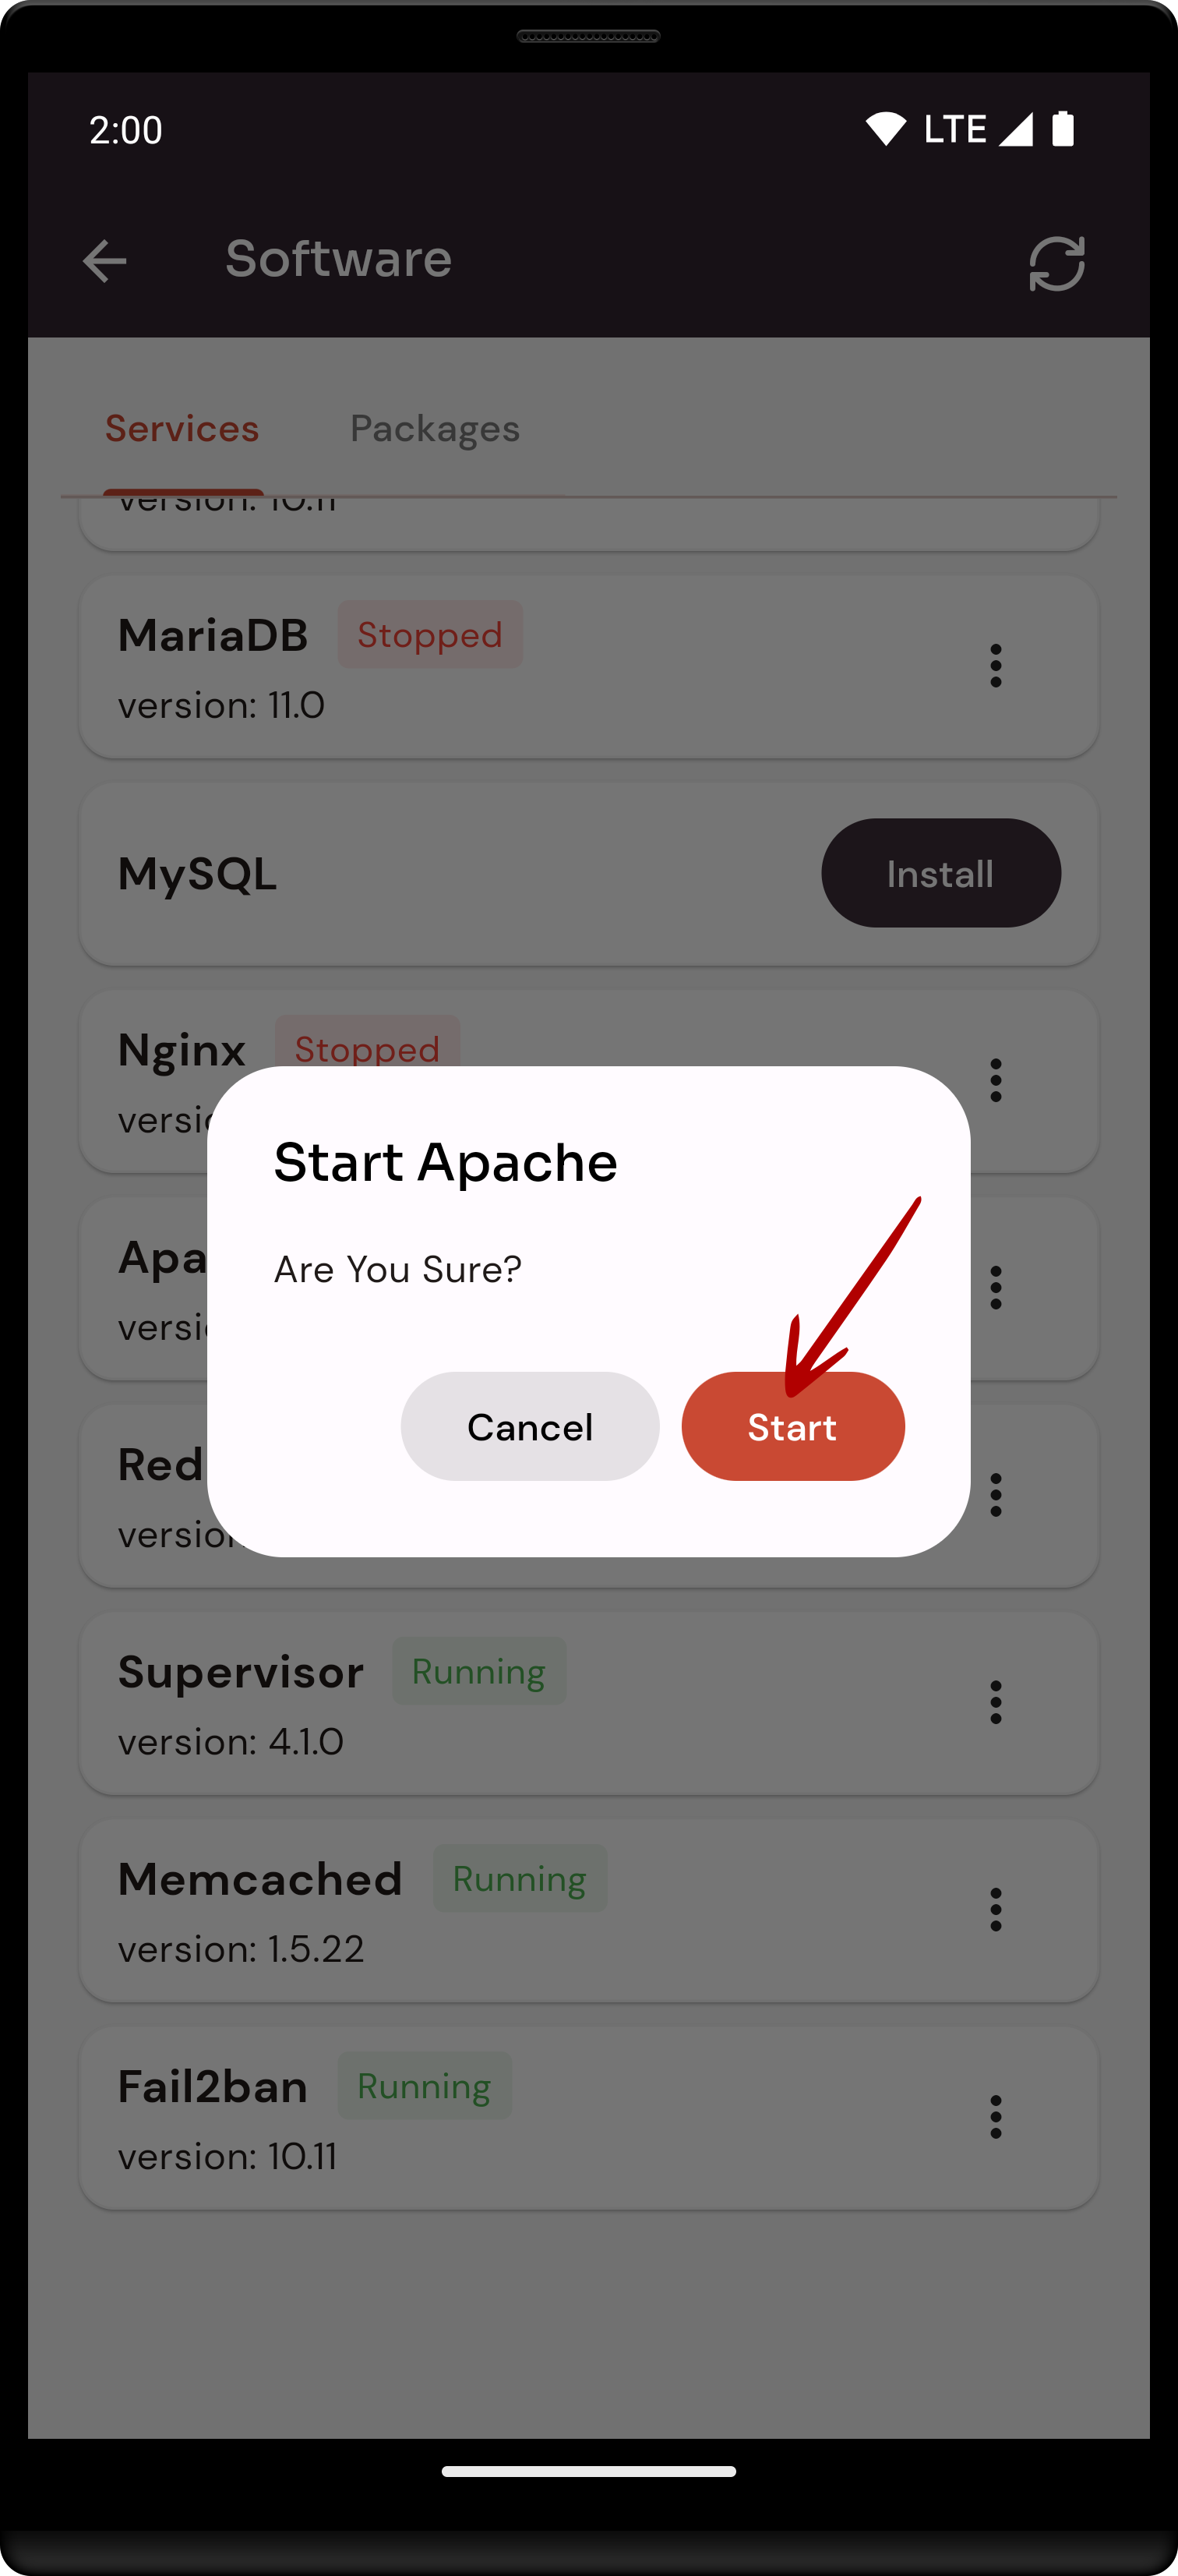
6. Open a Dialog and Click on the Start Button to start Apache software.
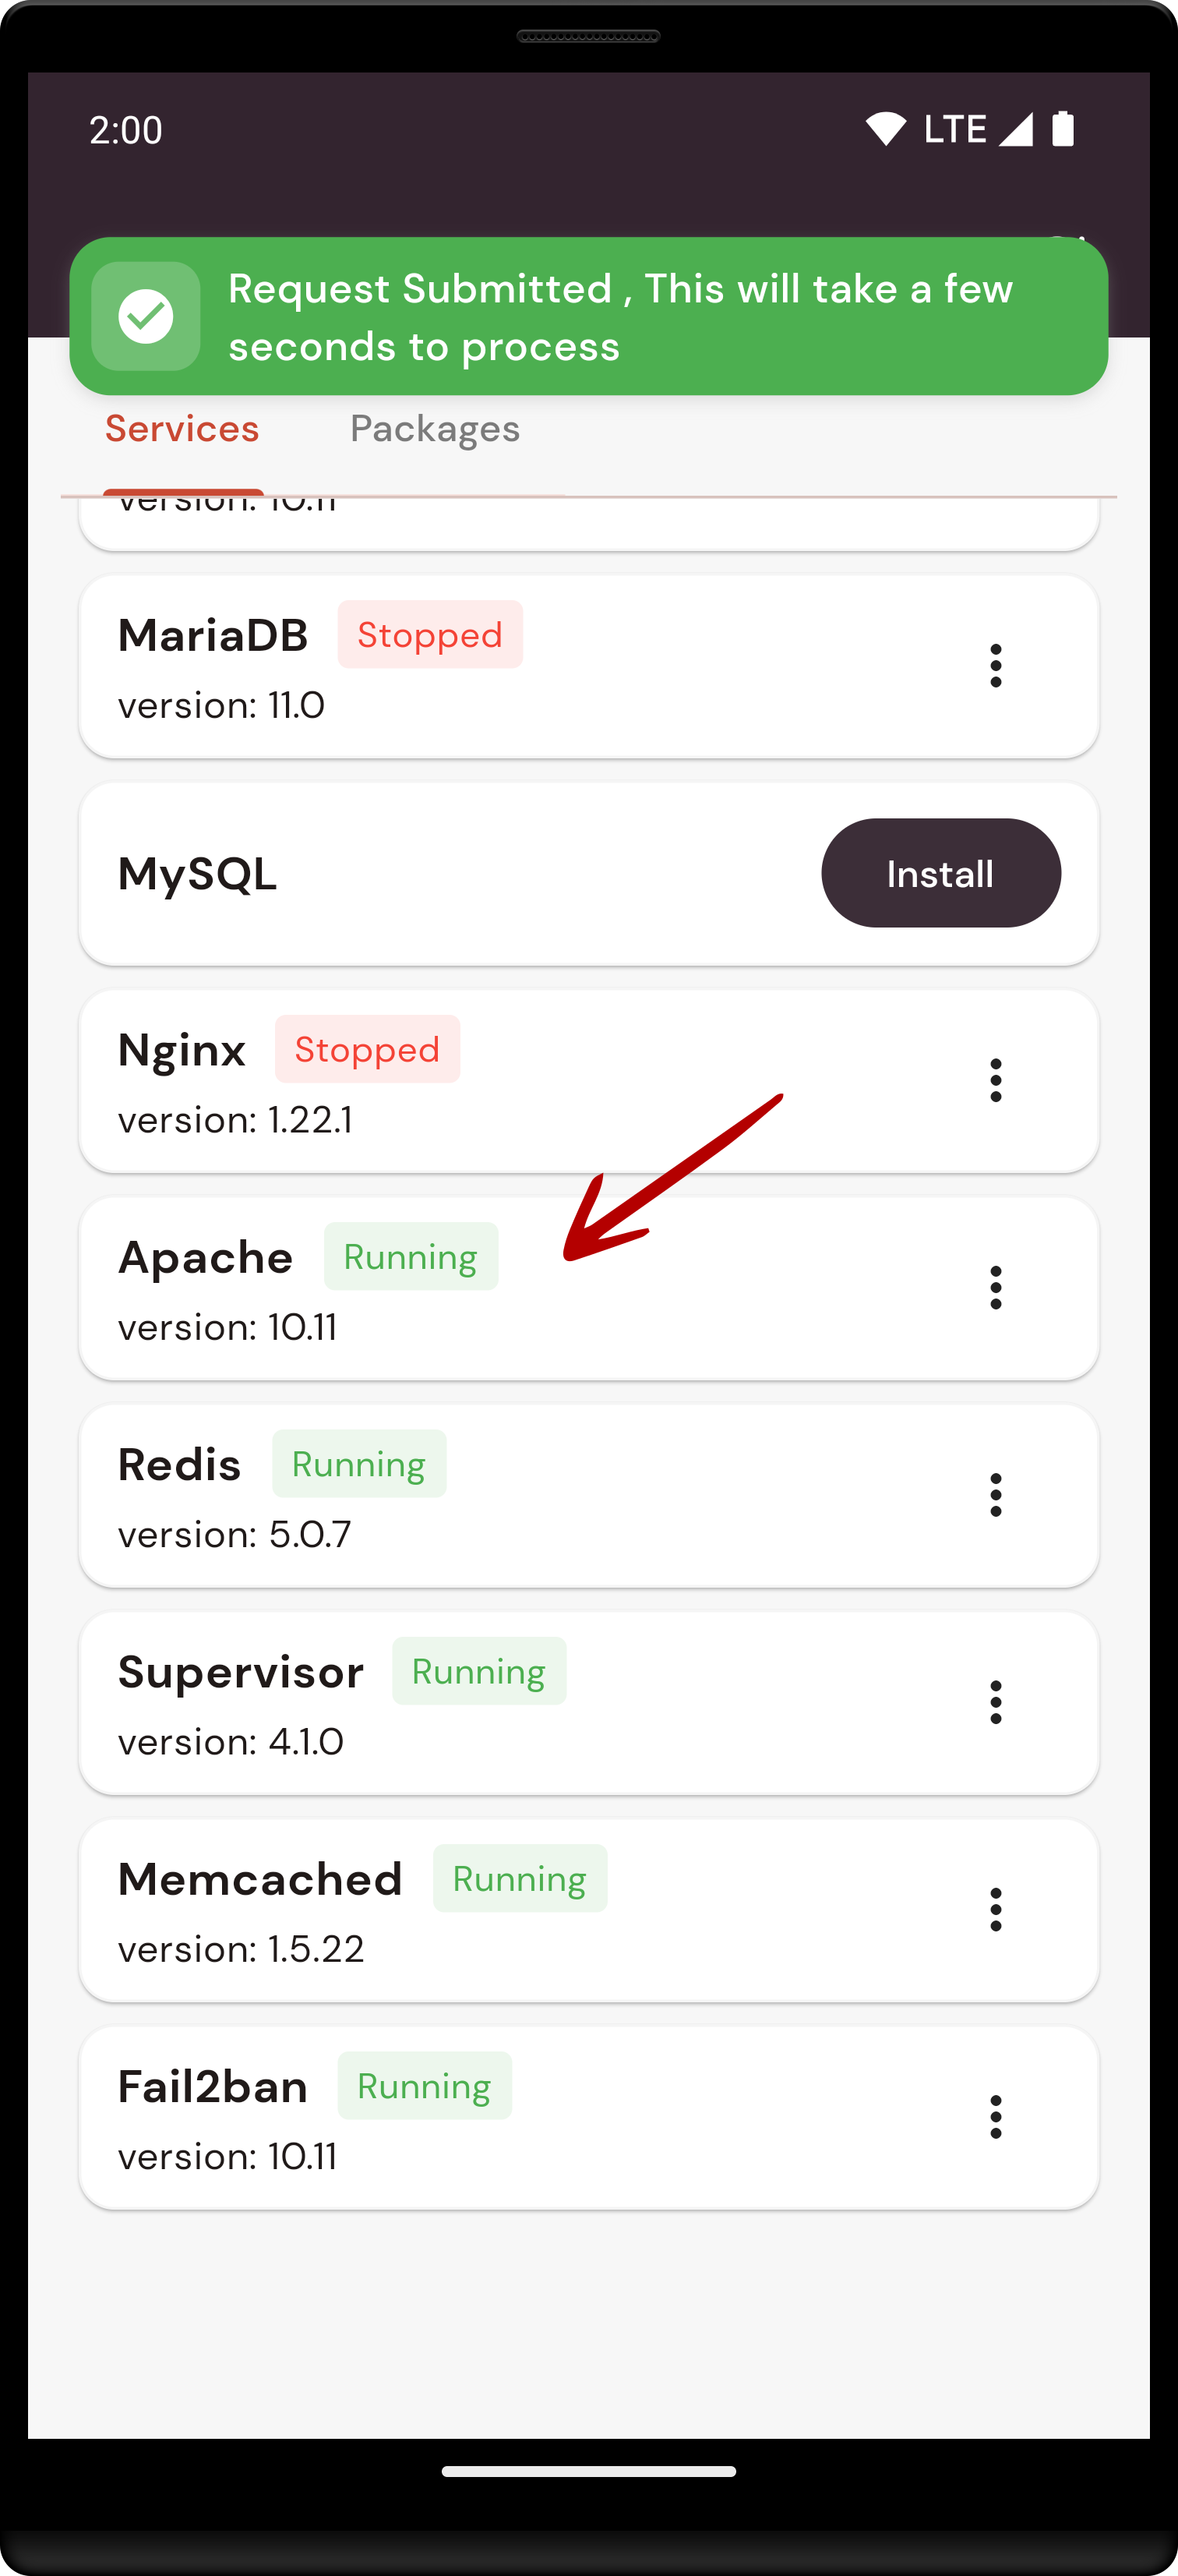
Here, you can see Apache Started successfully.
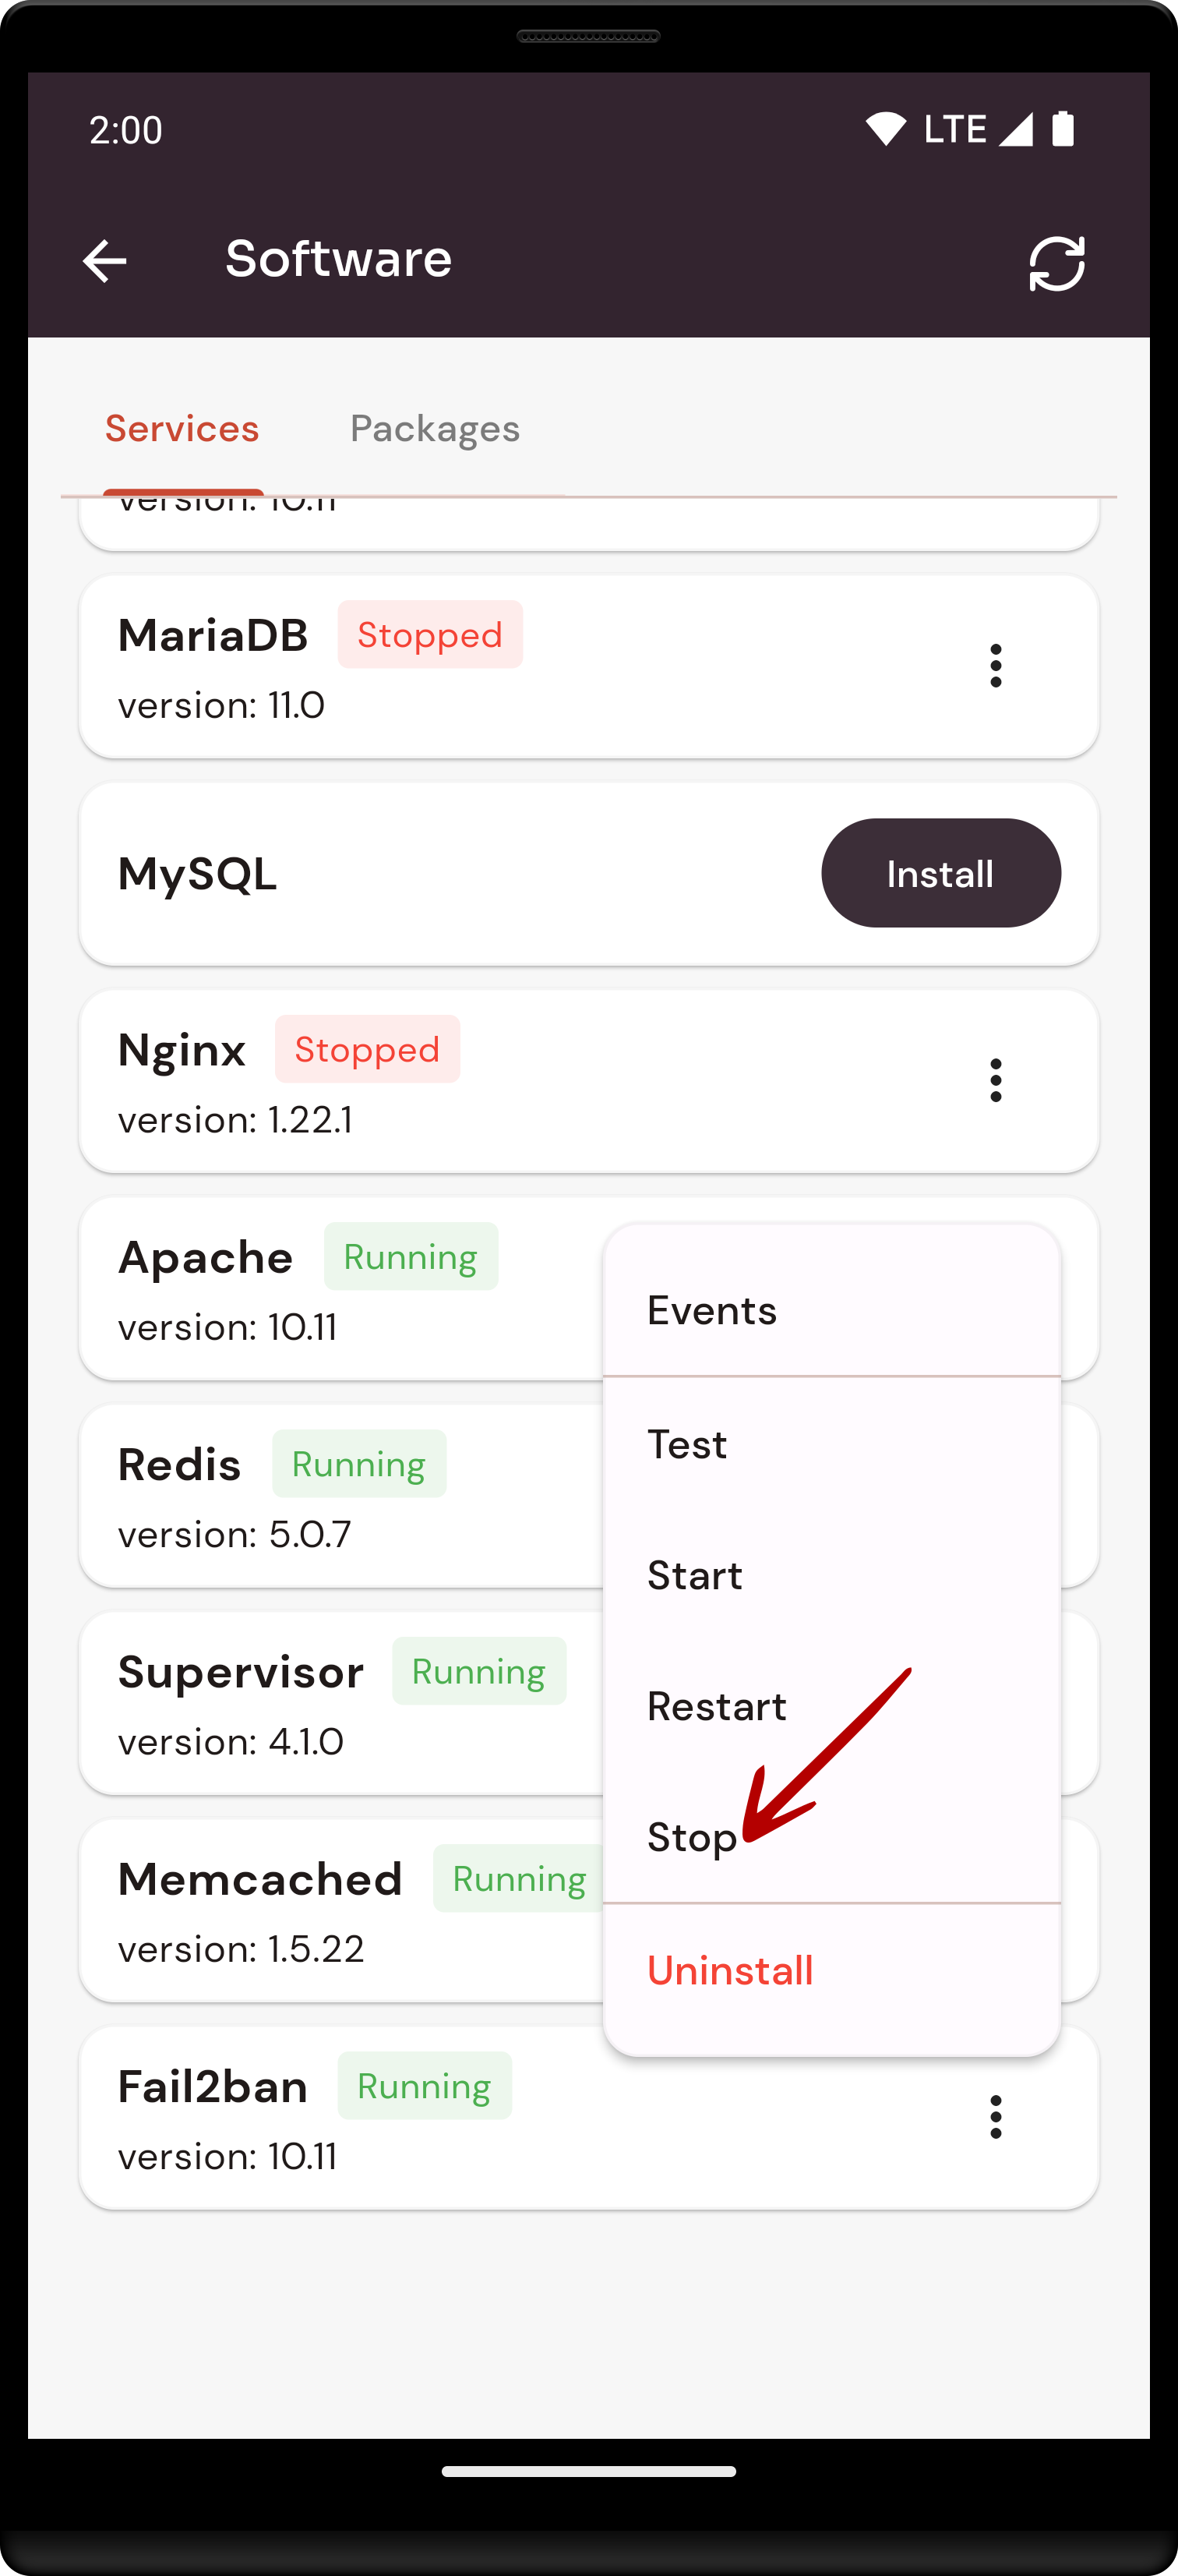
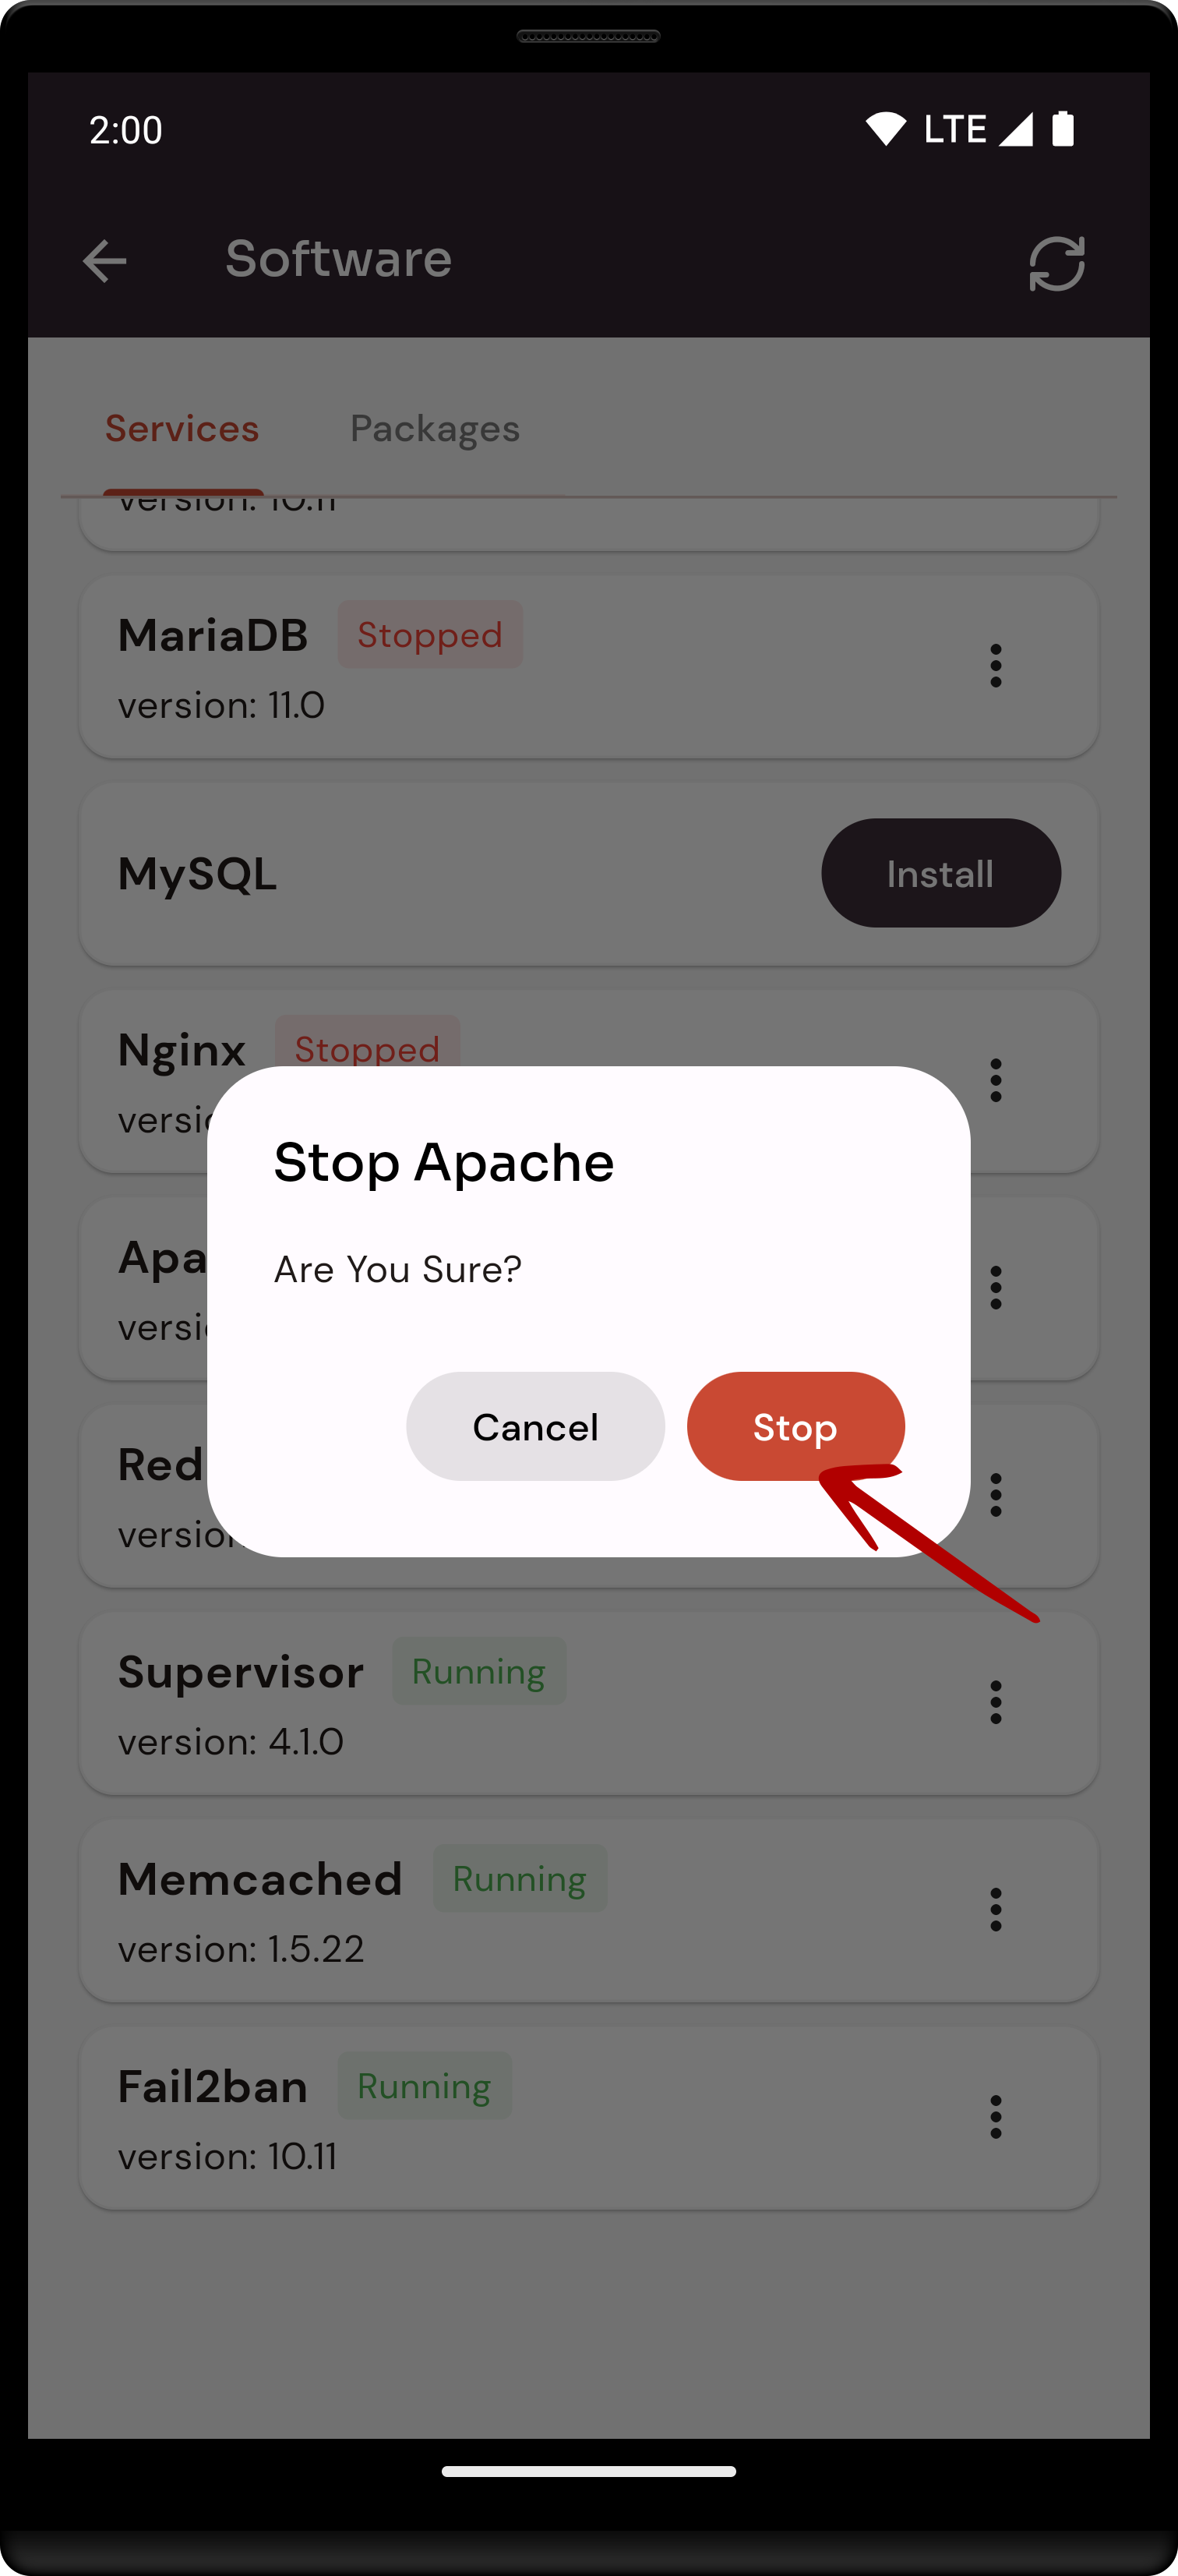
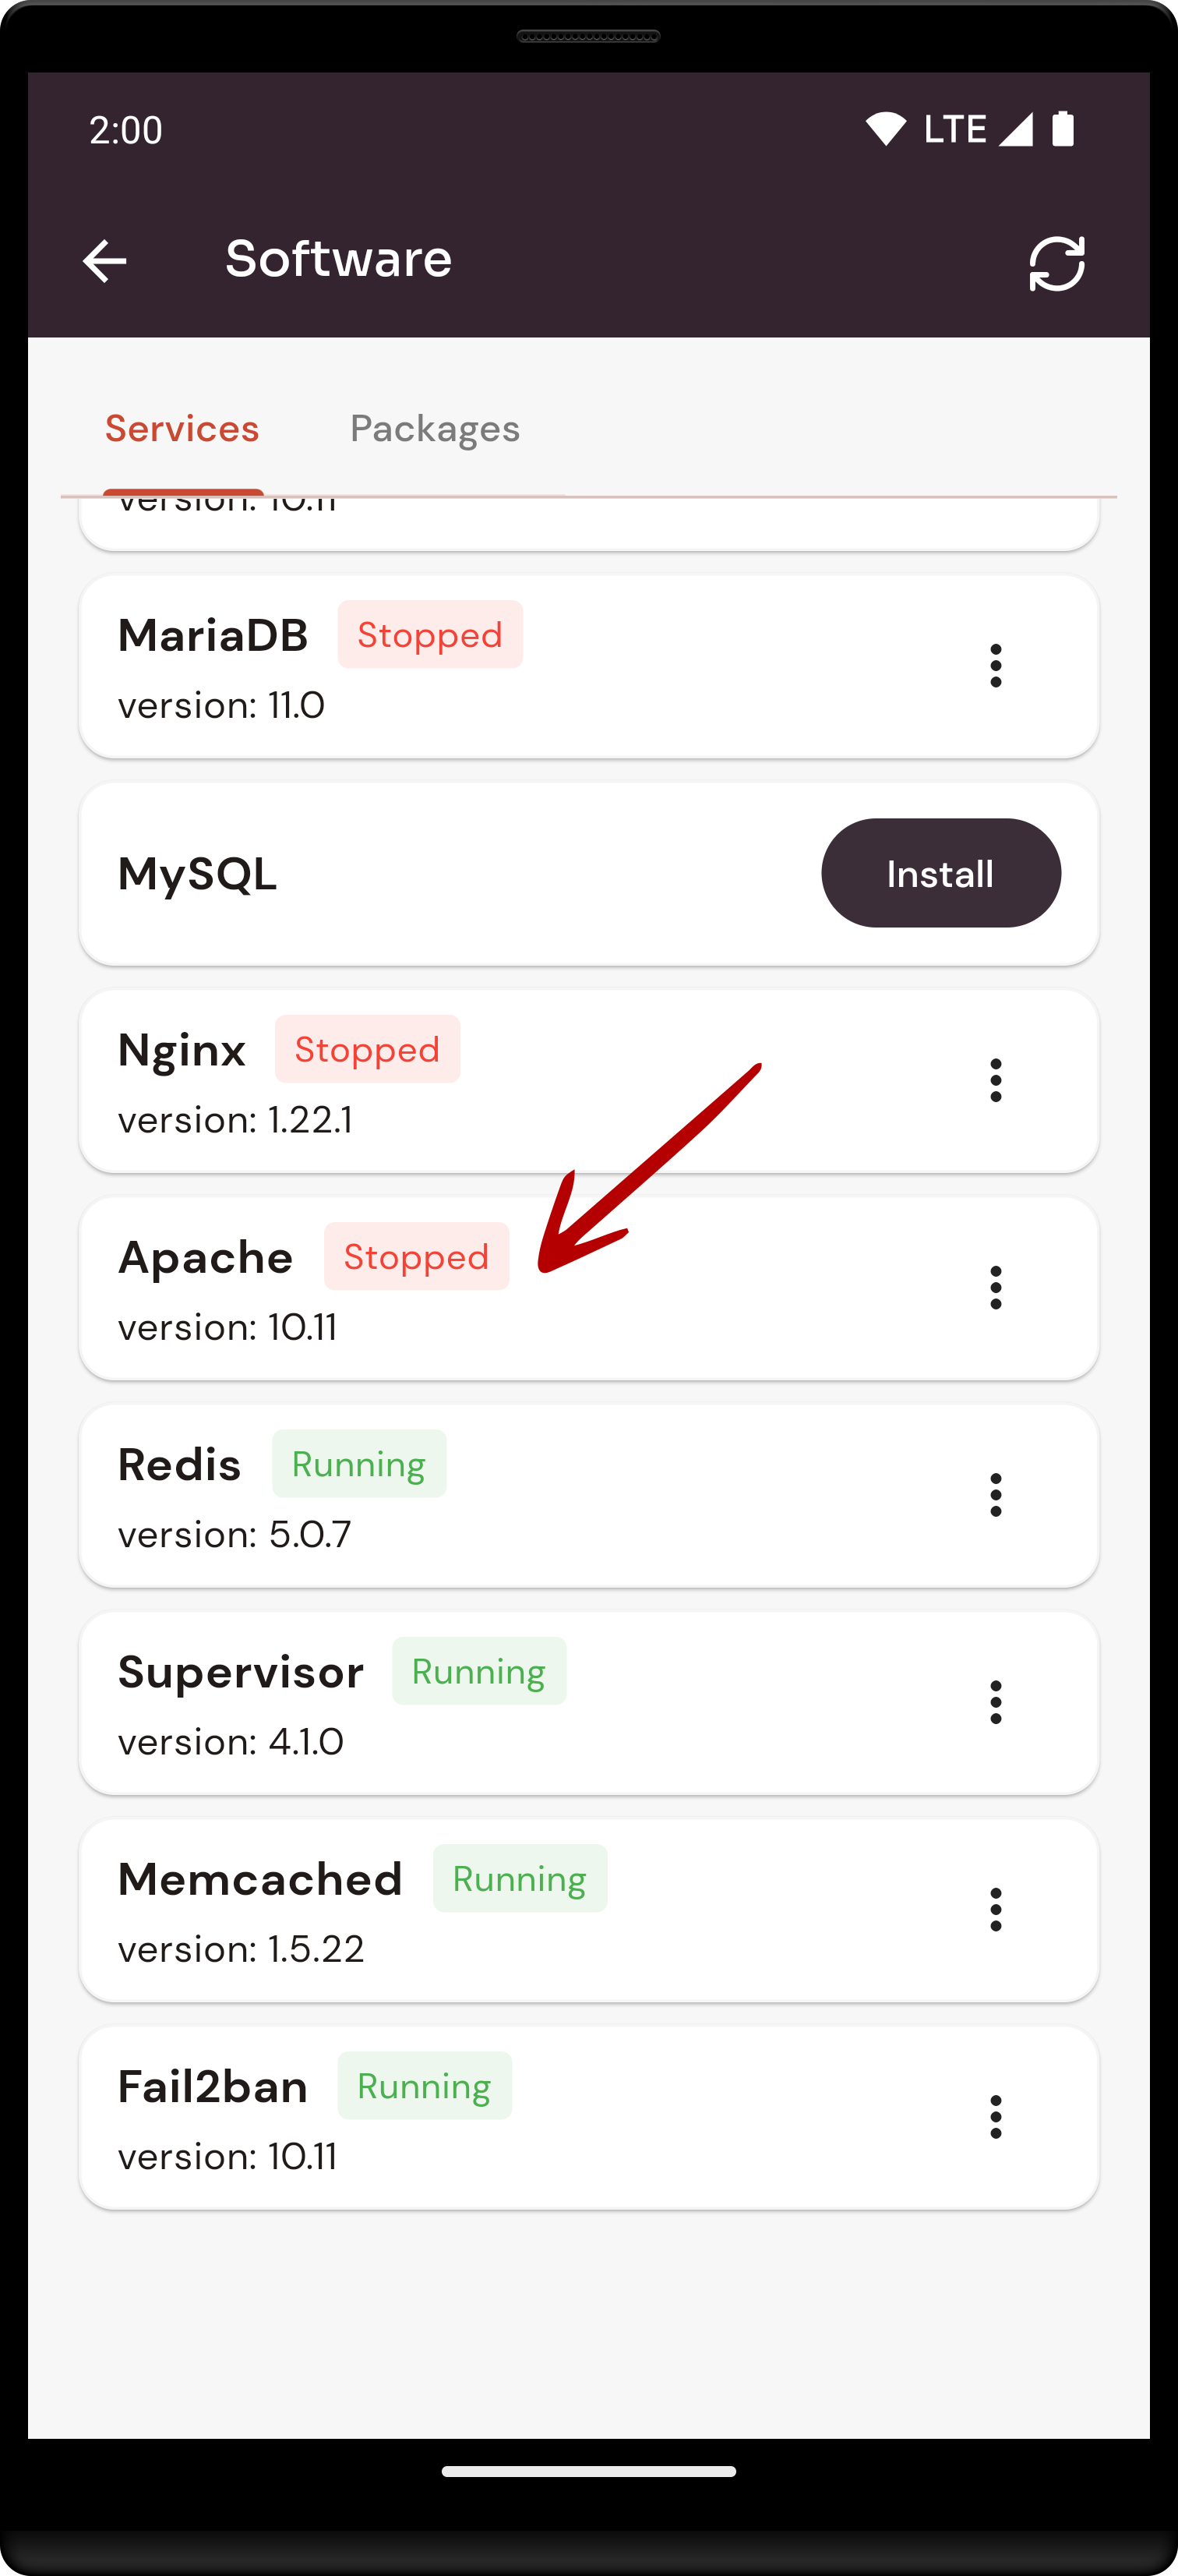
8. Open a dialog and click the stop button to stop the Apache software.
Here, you can see Apache Stopped successfully.
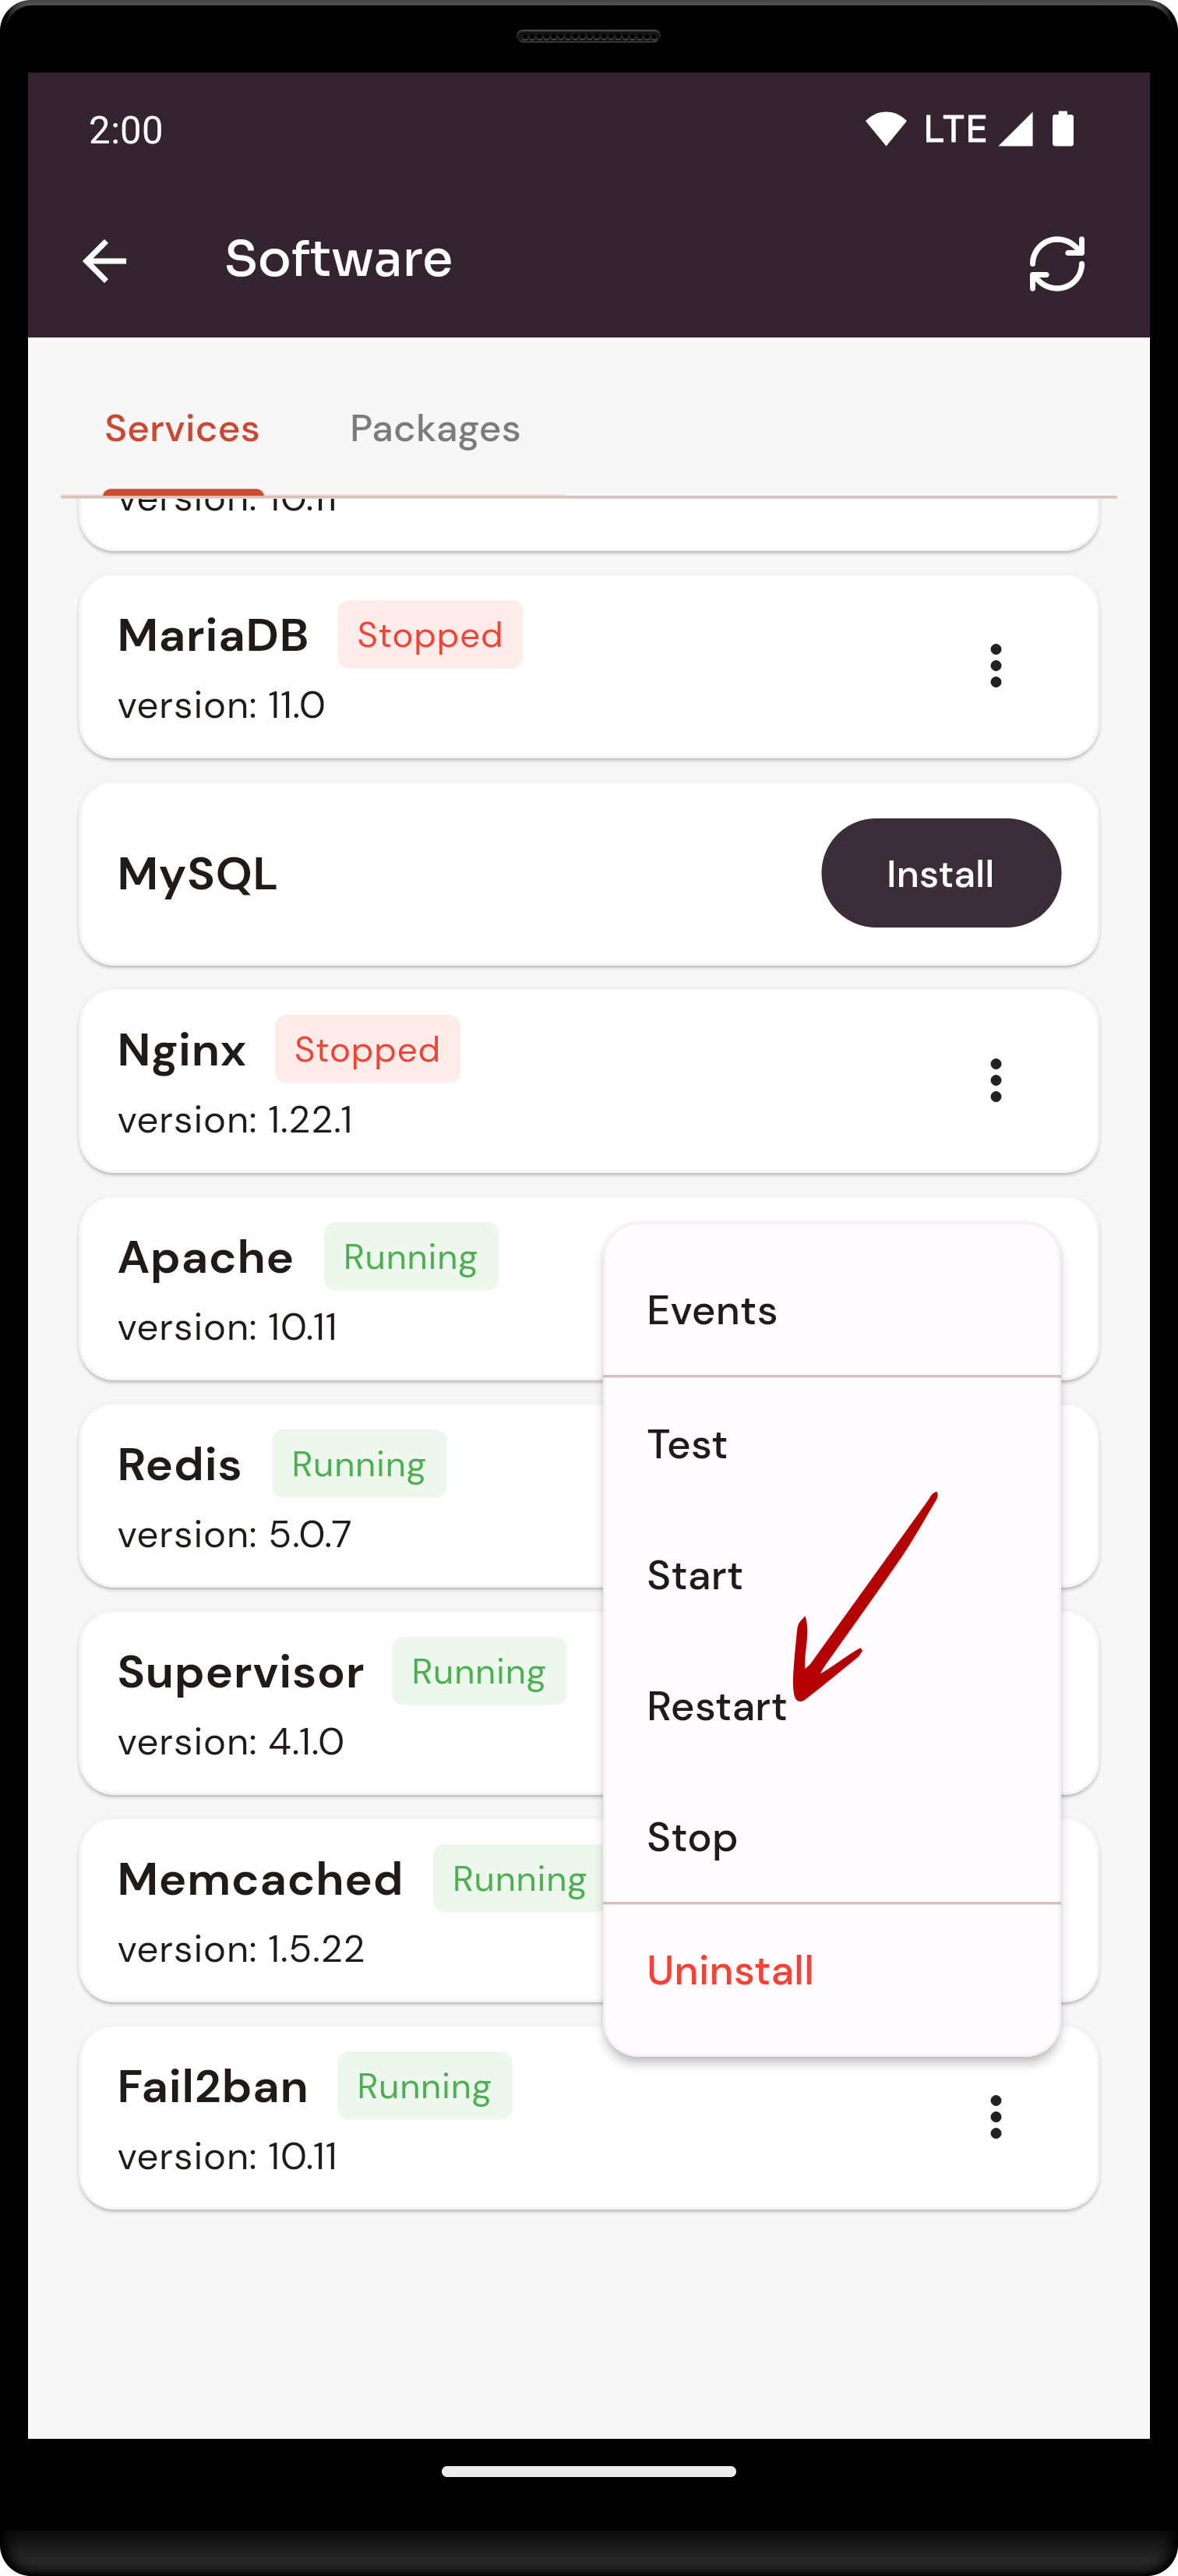
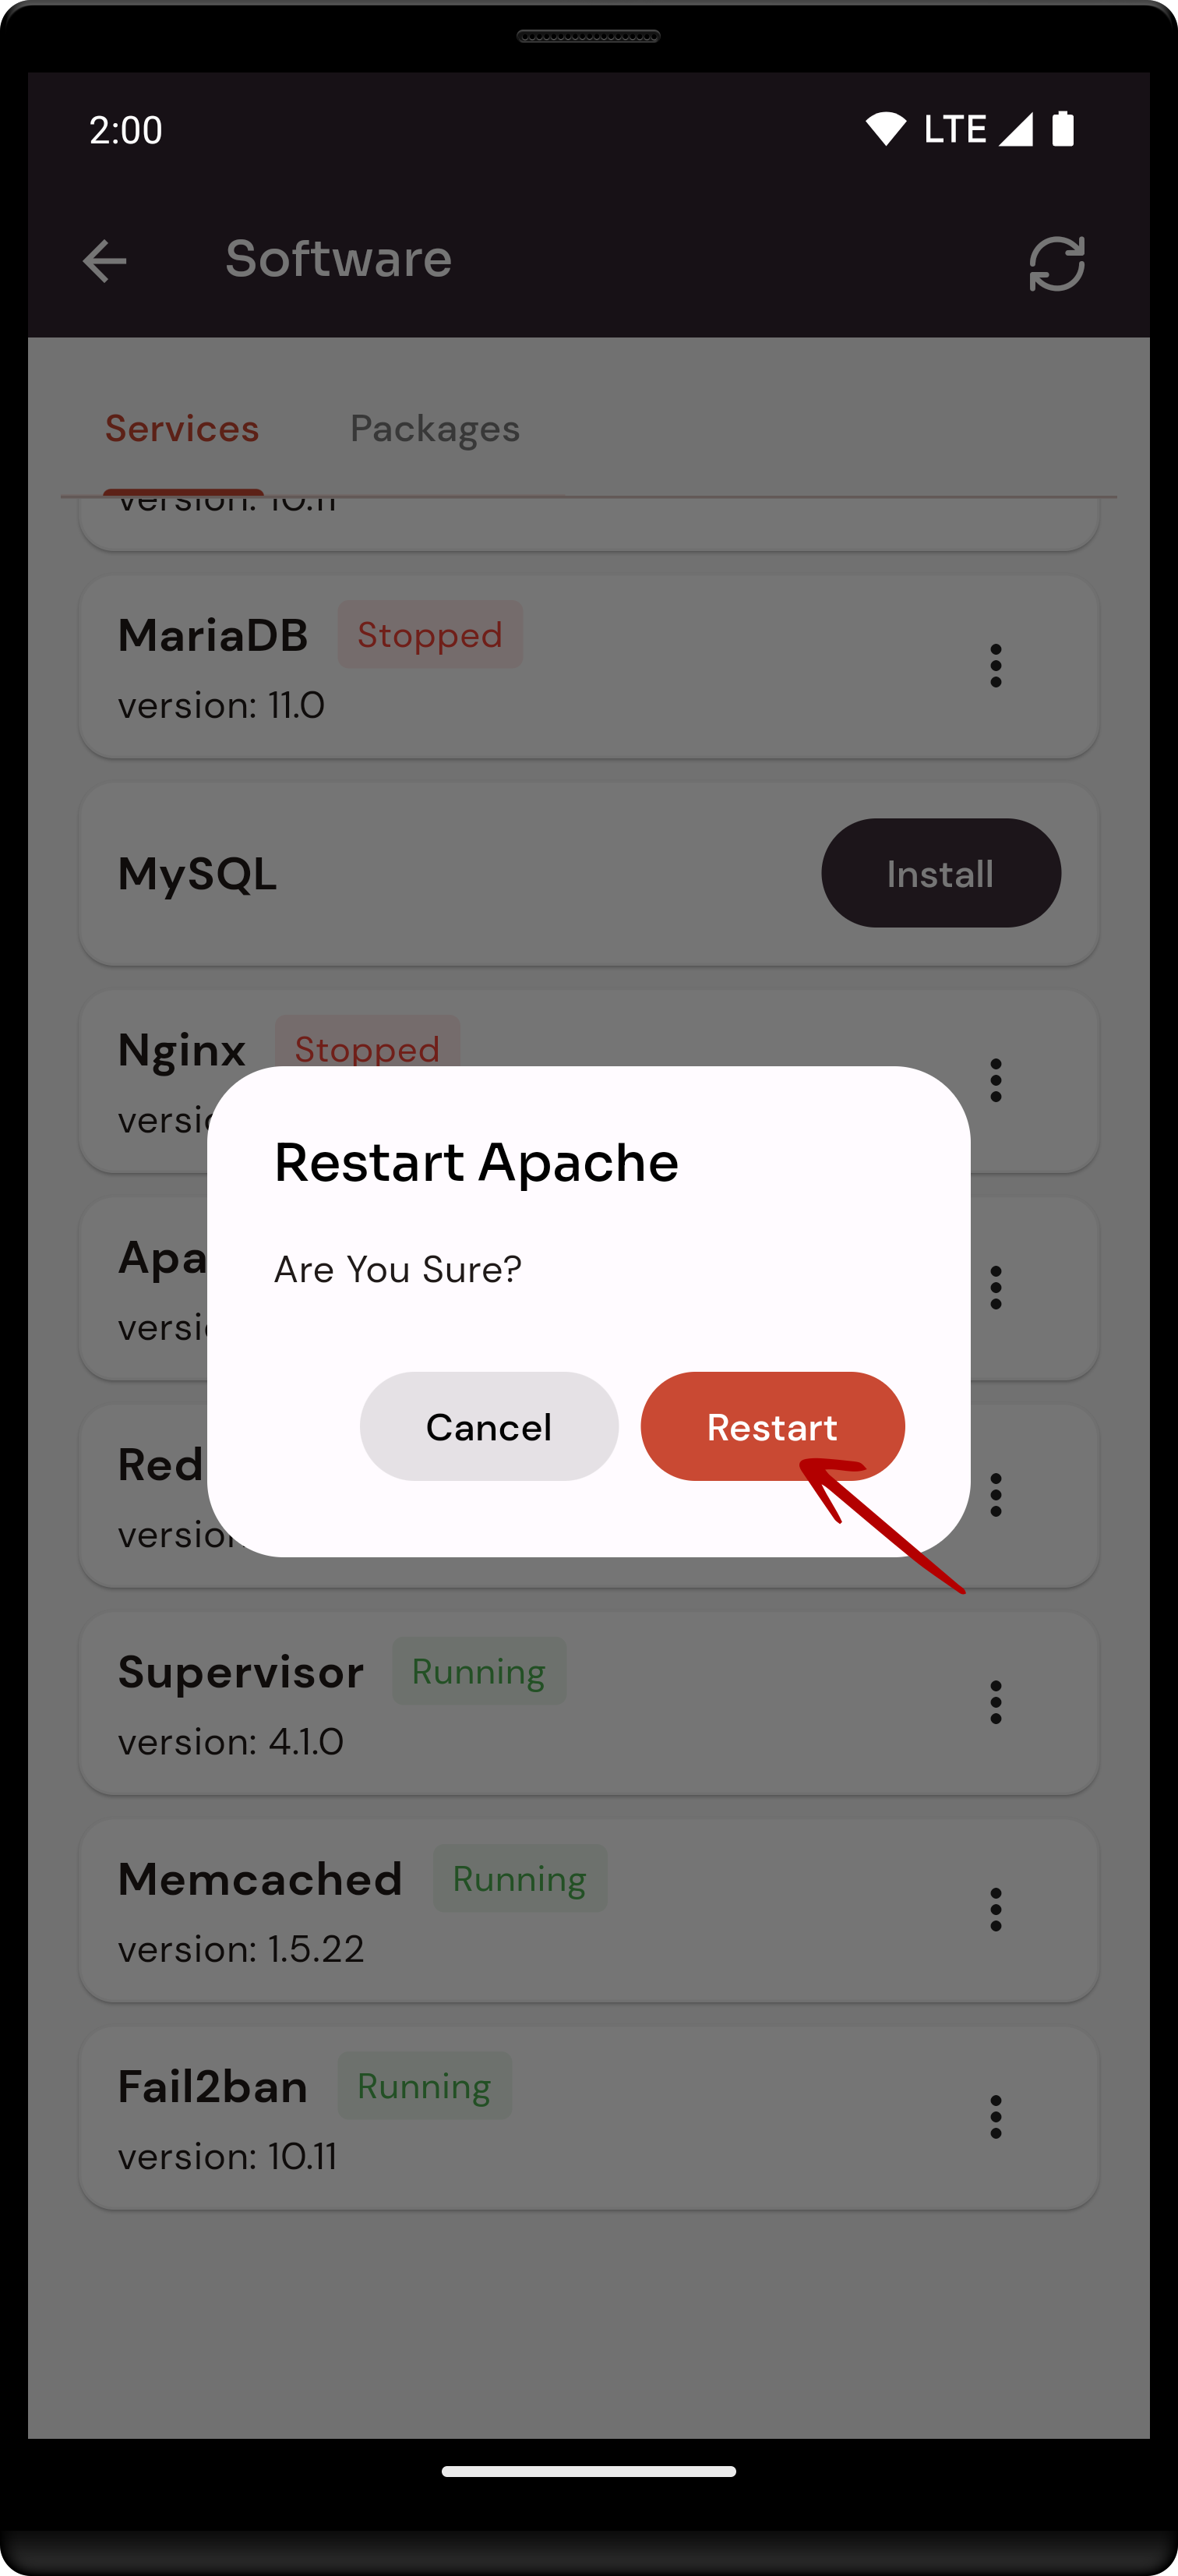
10. Open a dialog and click the restart button to restart the Apache software.
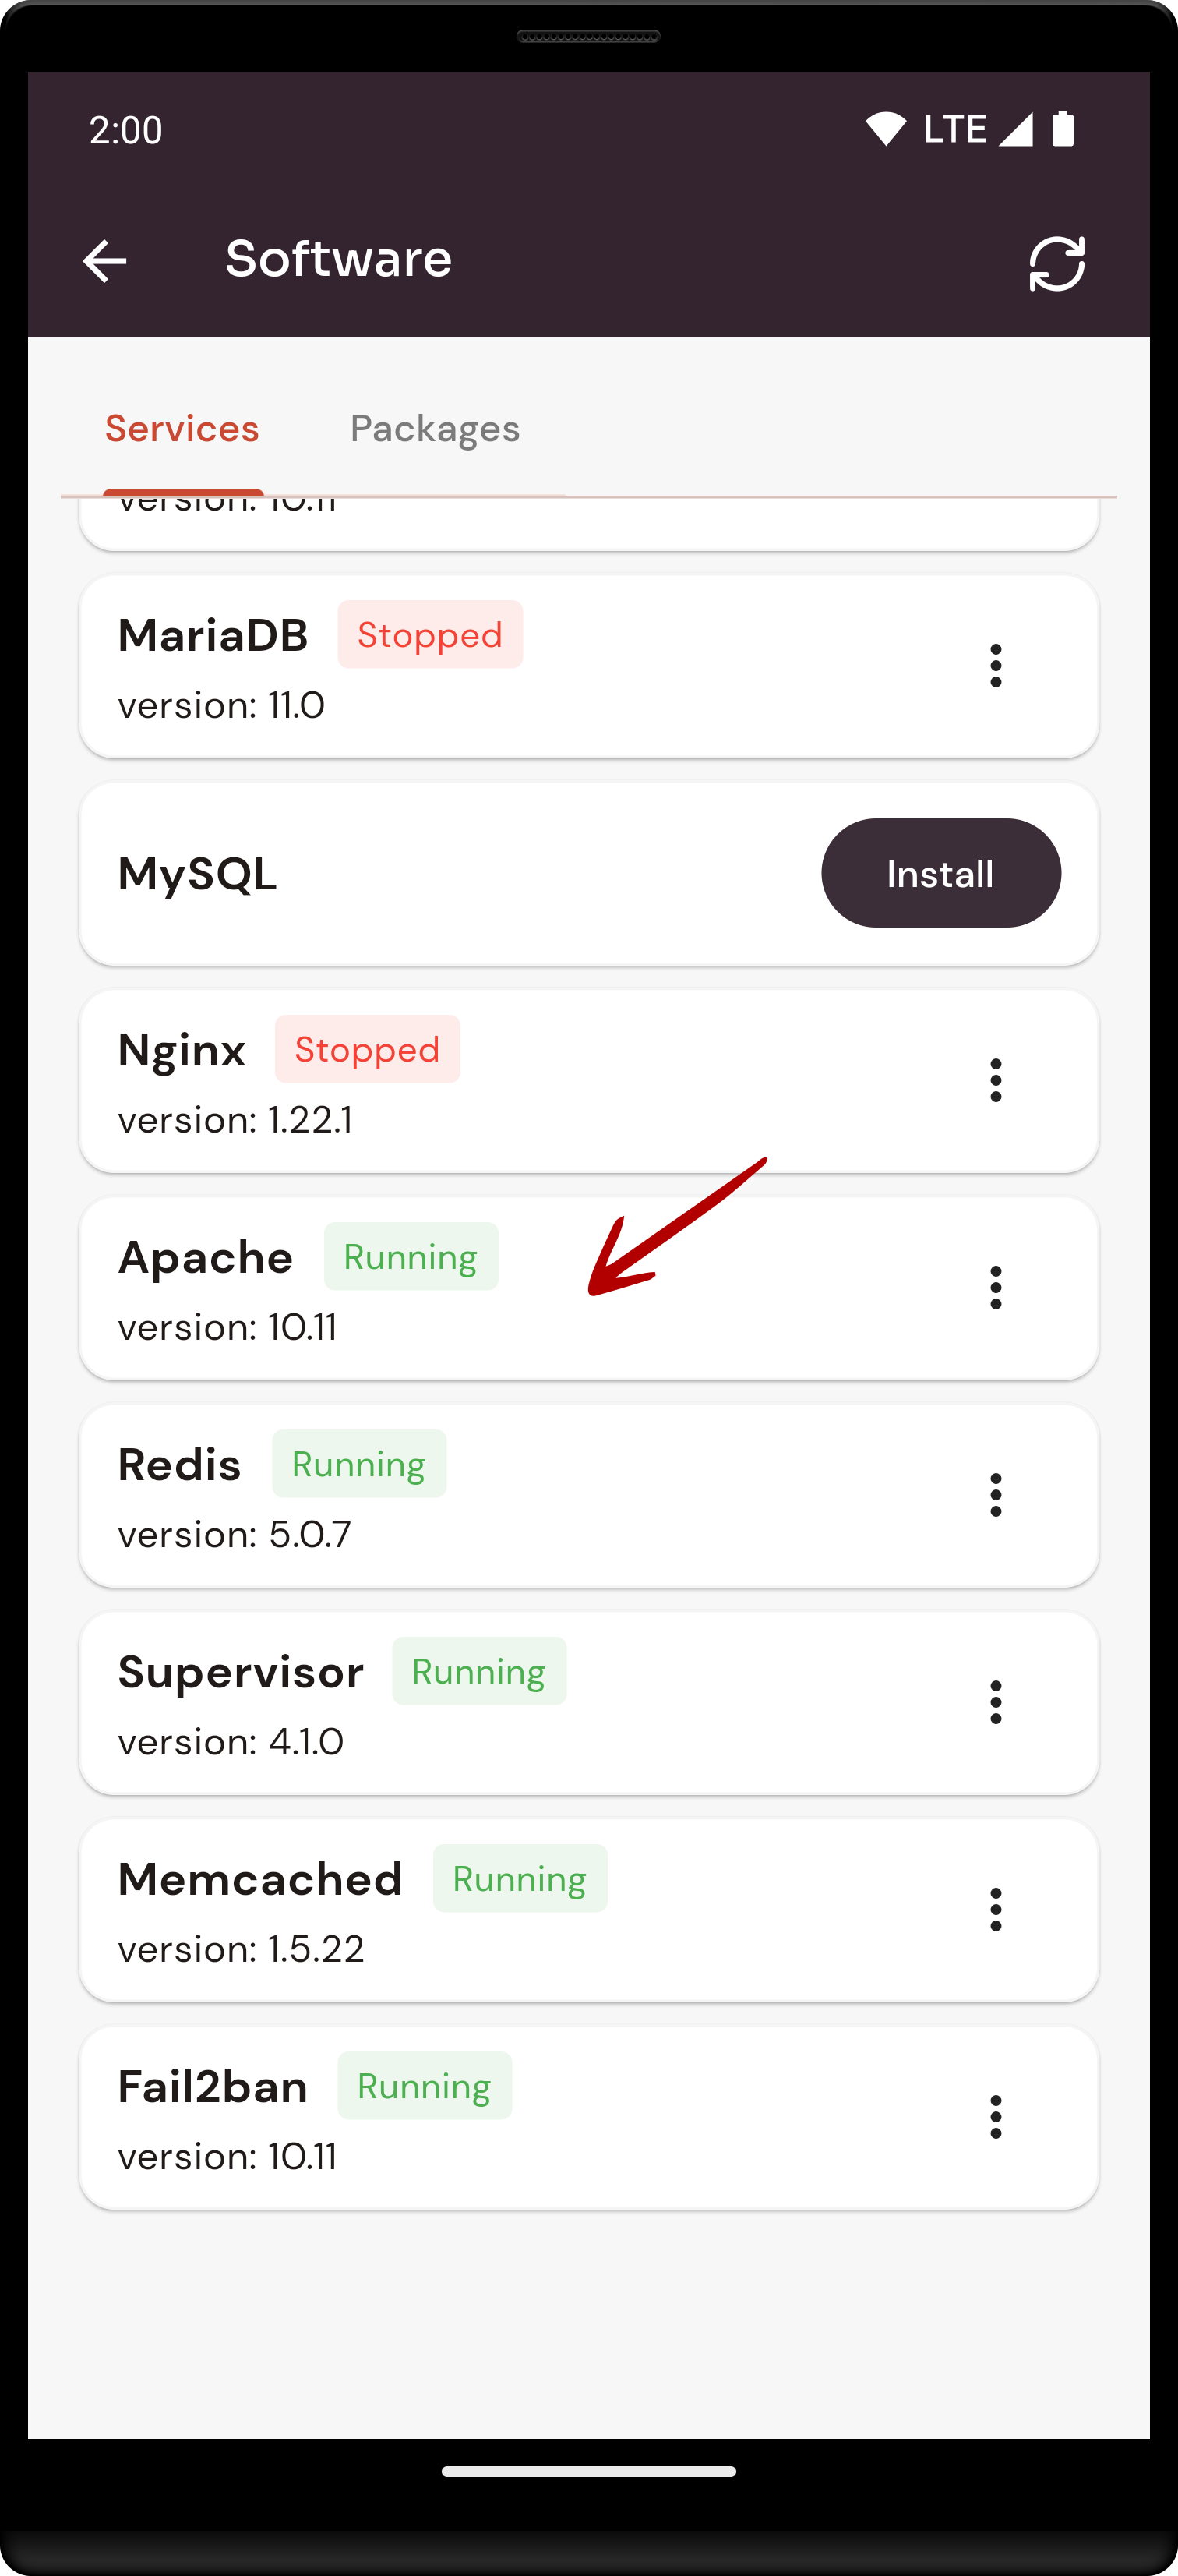
Here, you can see that Apache restarted successfully.

No Comments