How to manage the fail2ban configuration of cloudpanzer through the mobile application?
Follow the steps below to manage the fil2ban configuration.
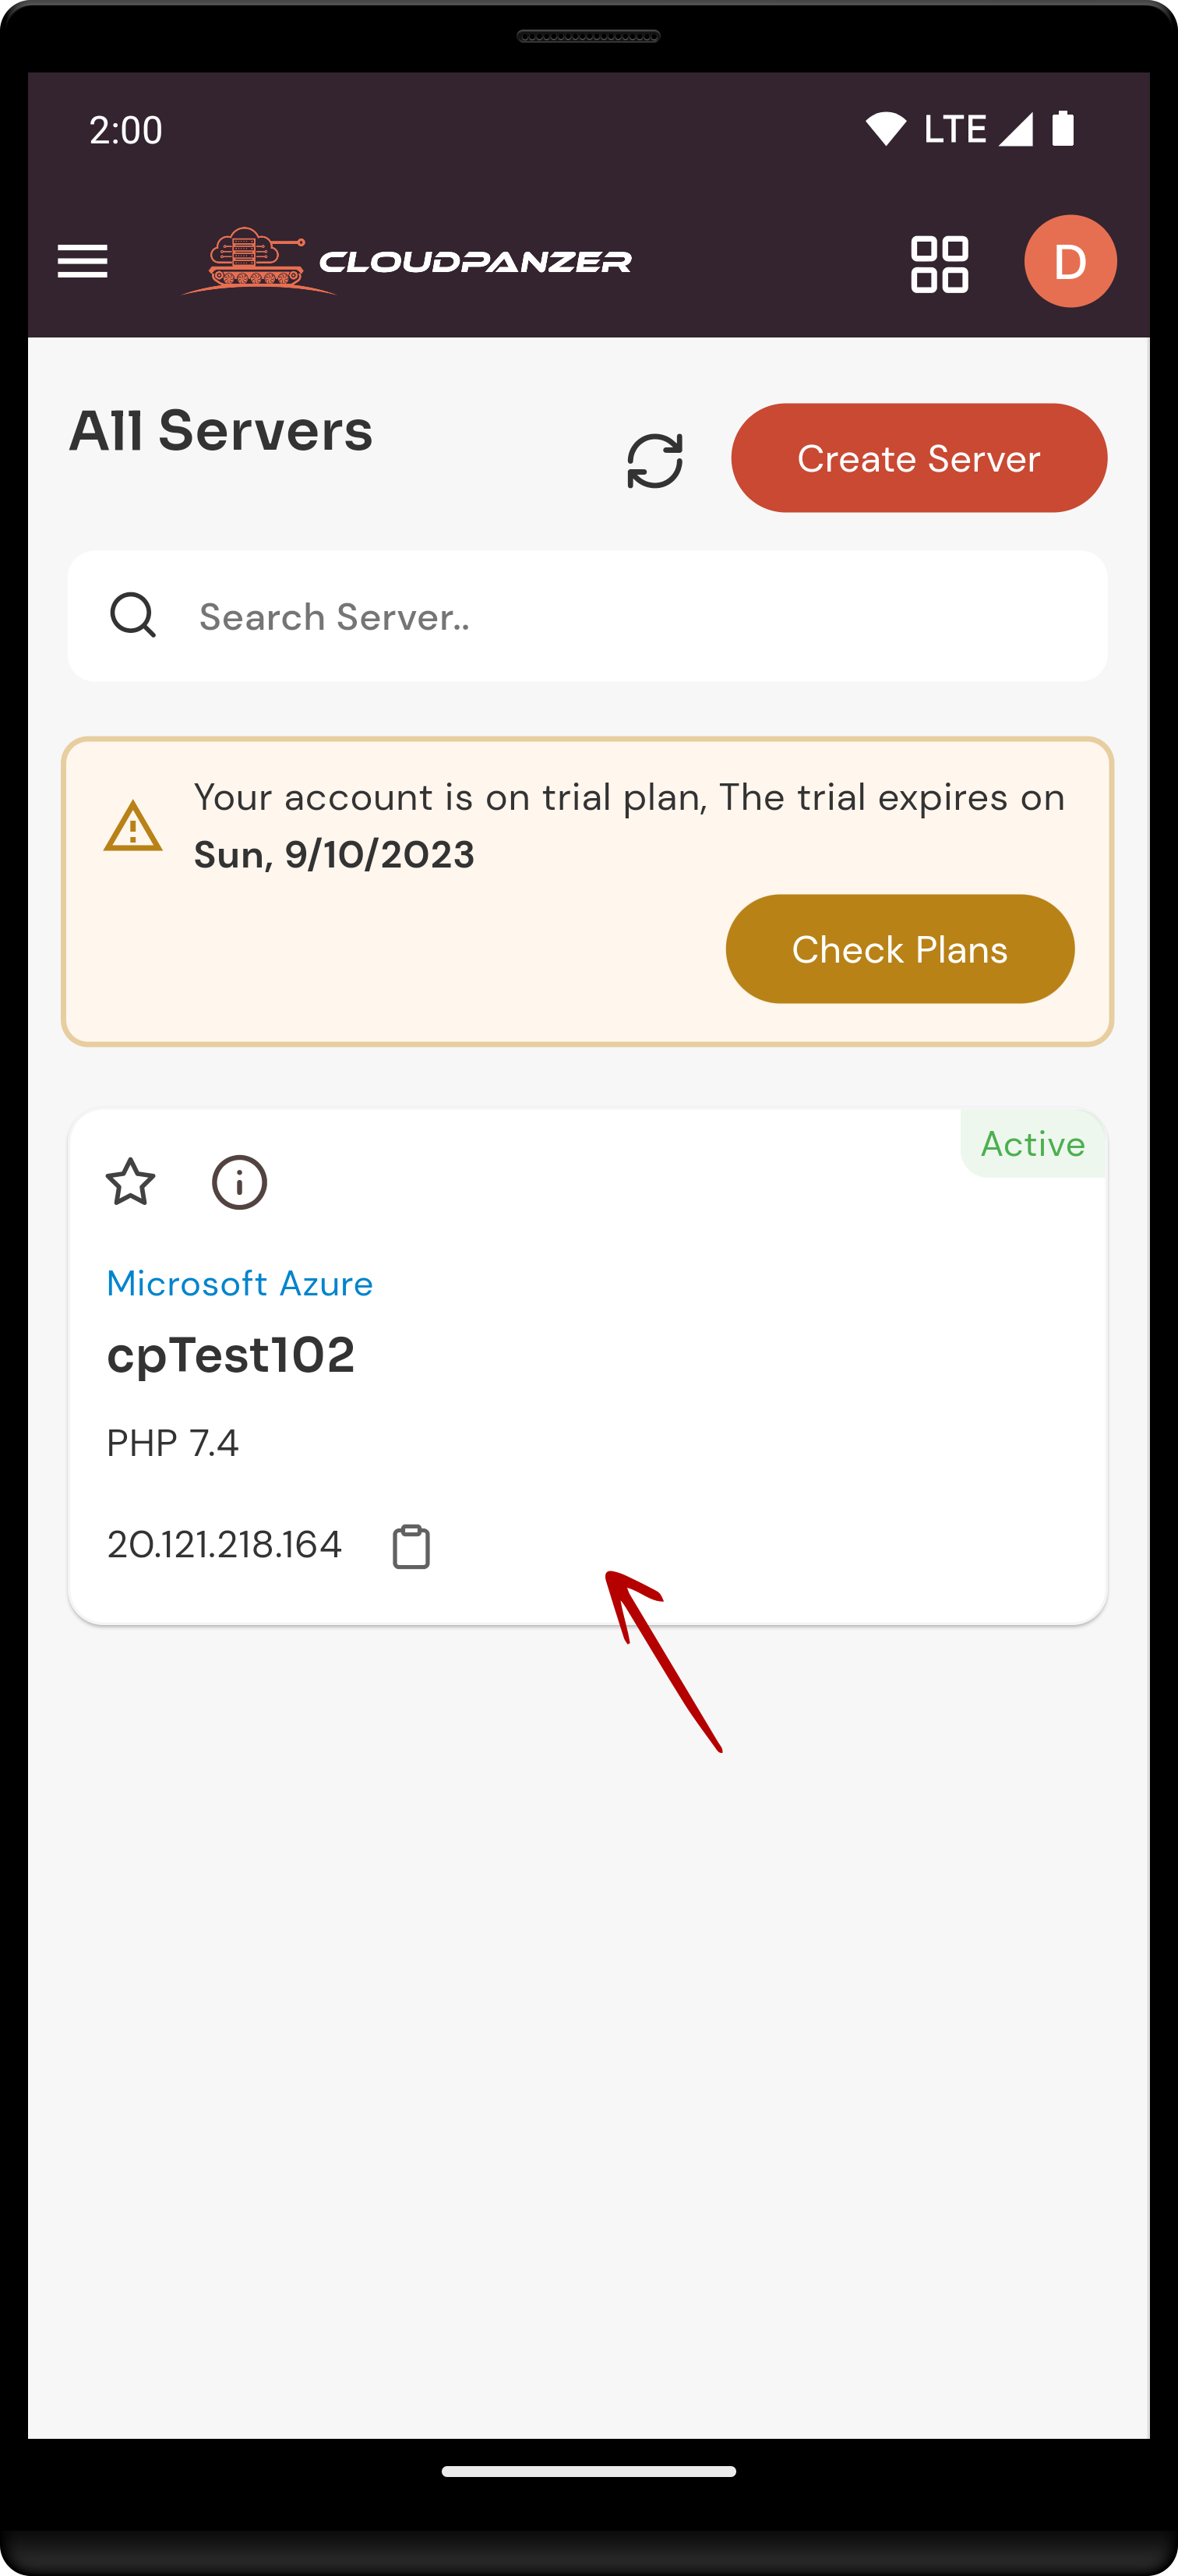
1: Once logged in, look for a "Server" and click on it.
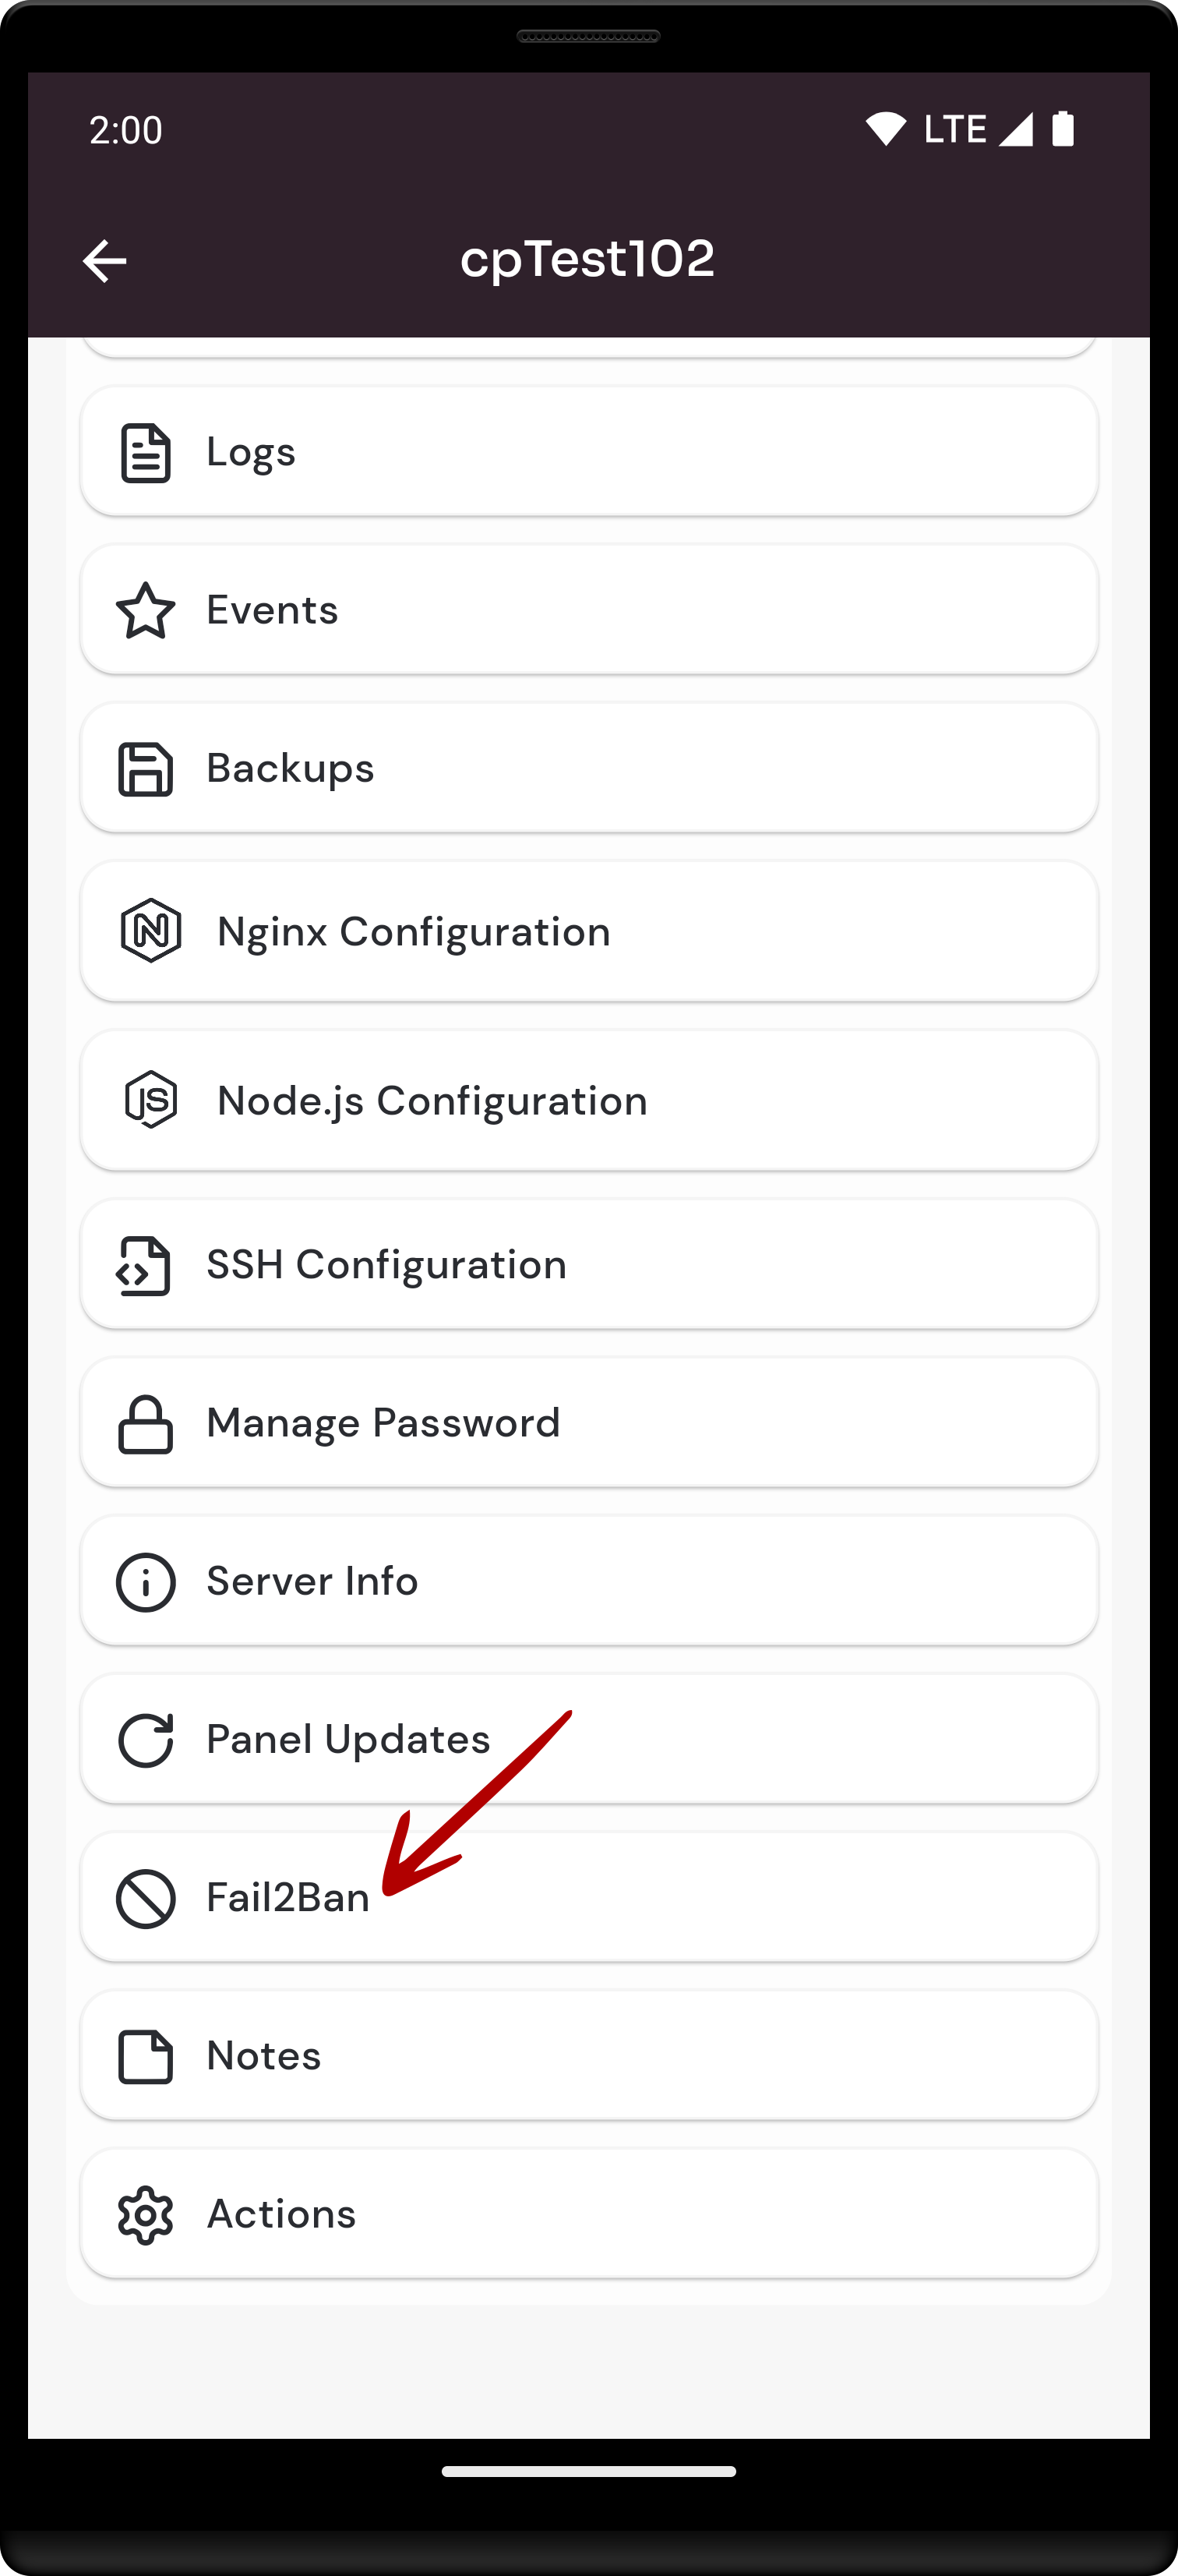
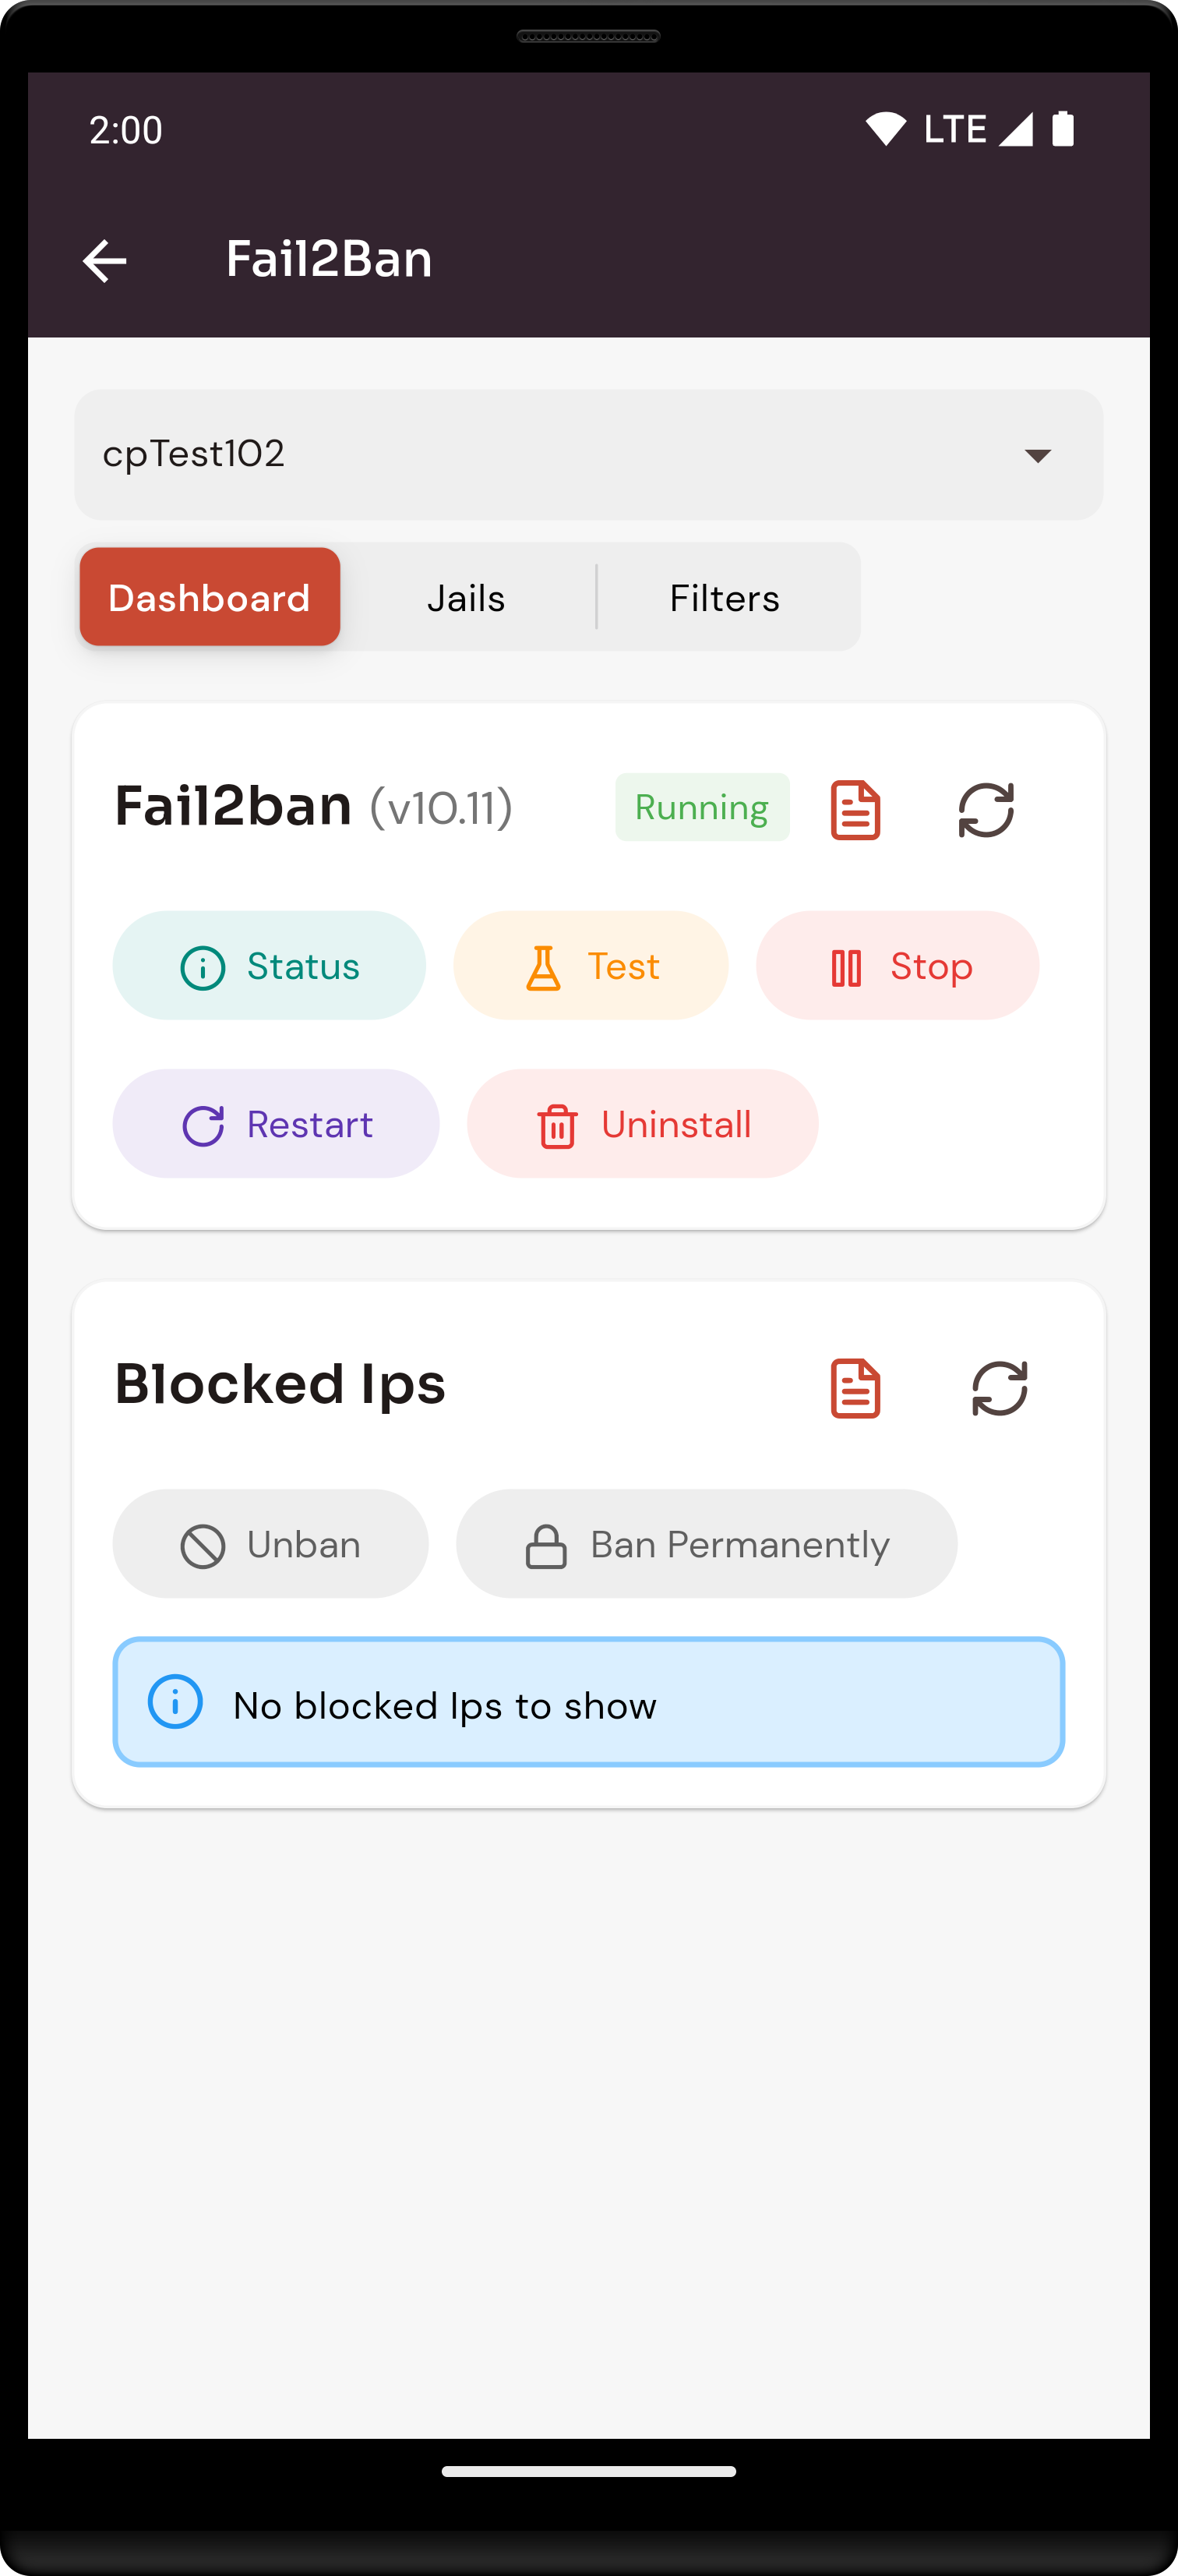
2. Click on the Fail2ban option.
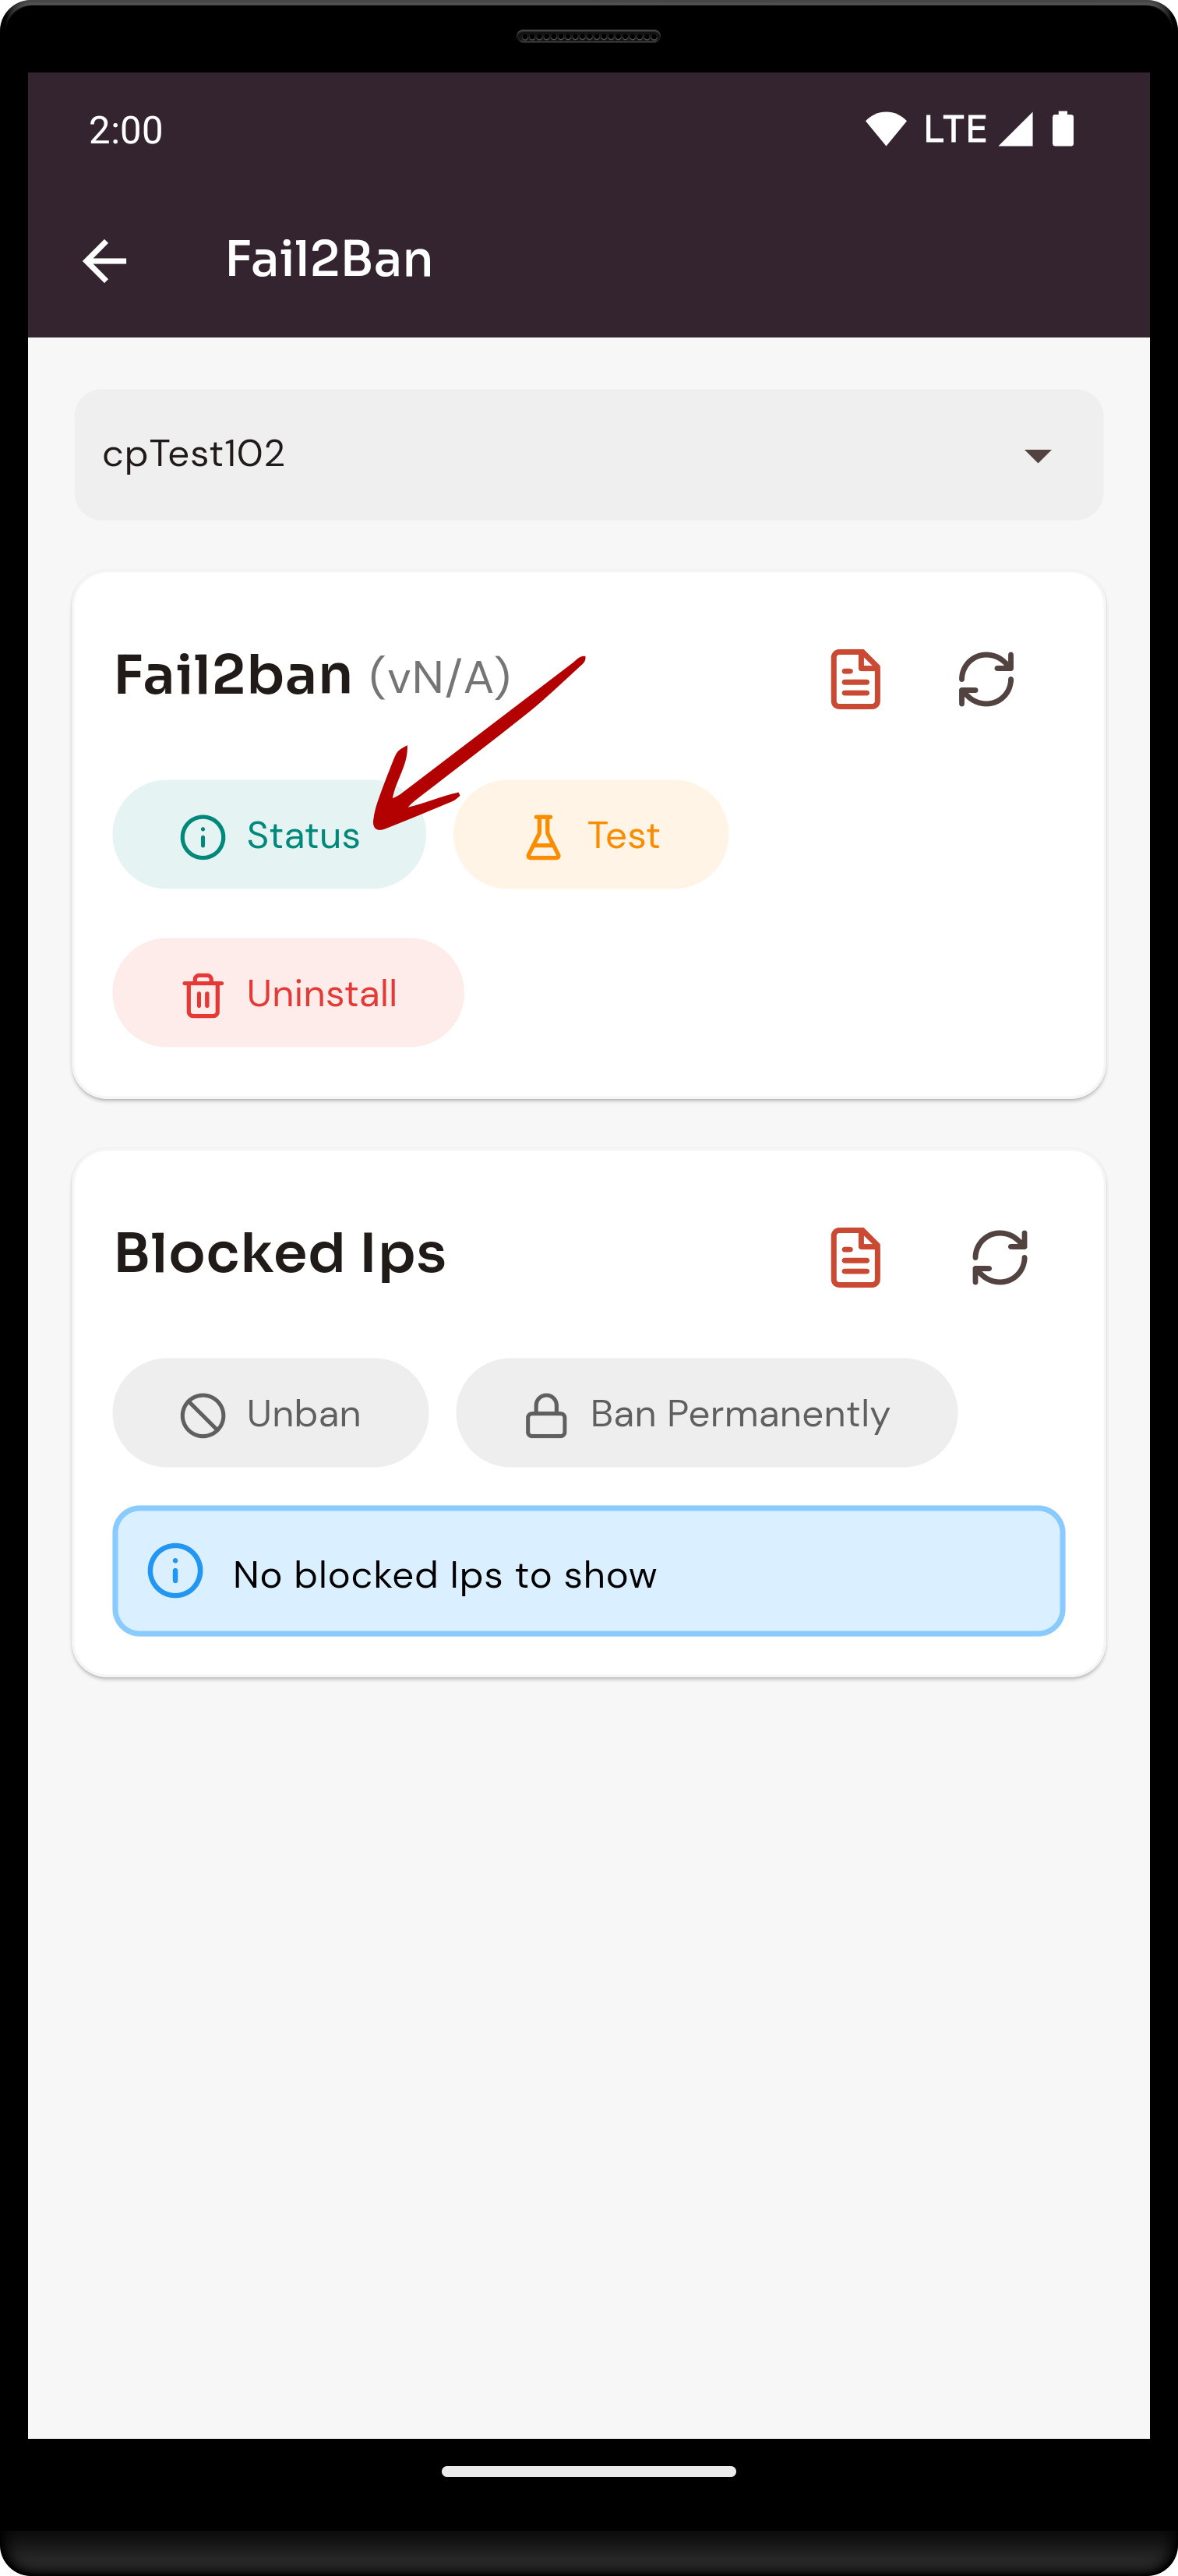
3. Click on the Status option.
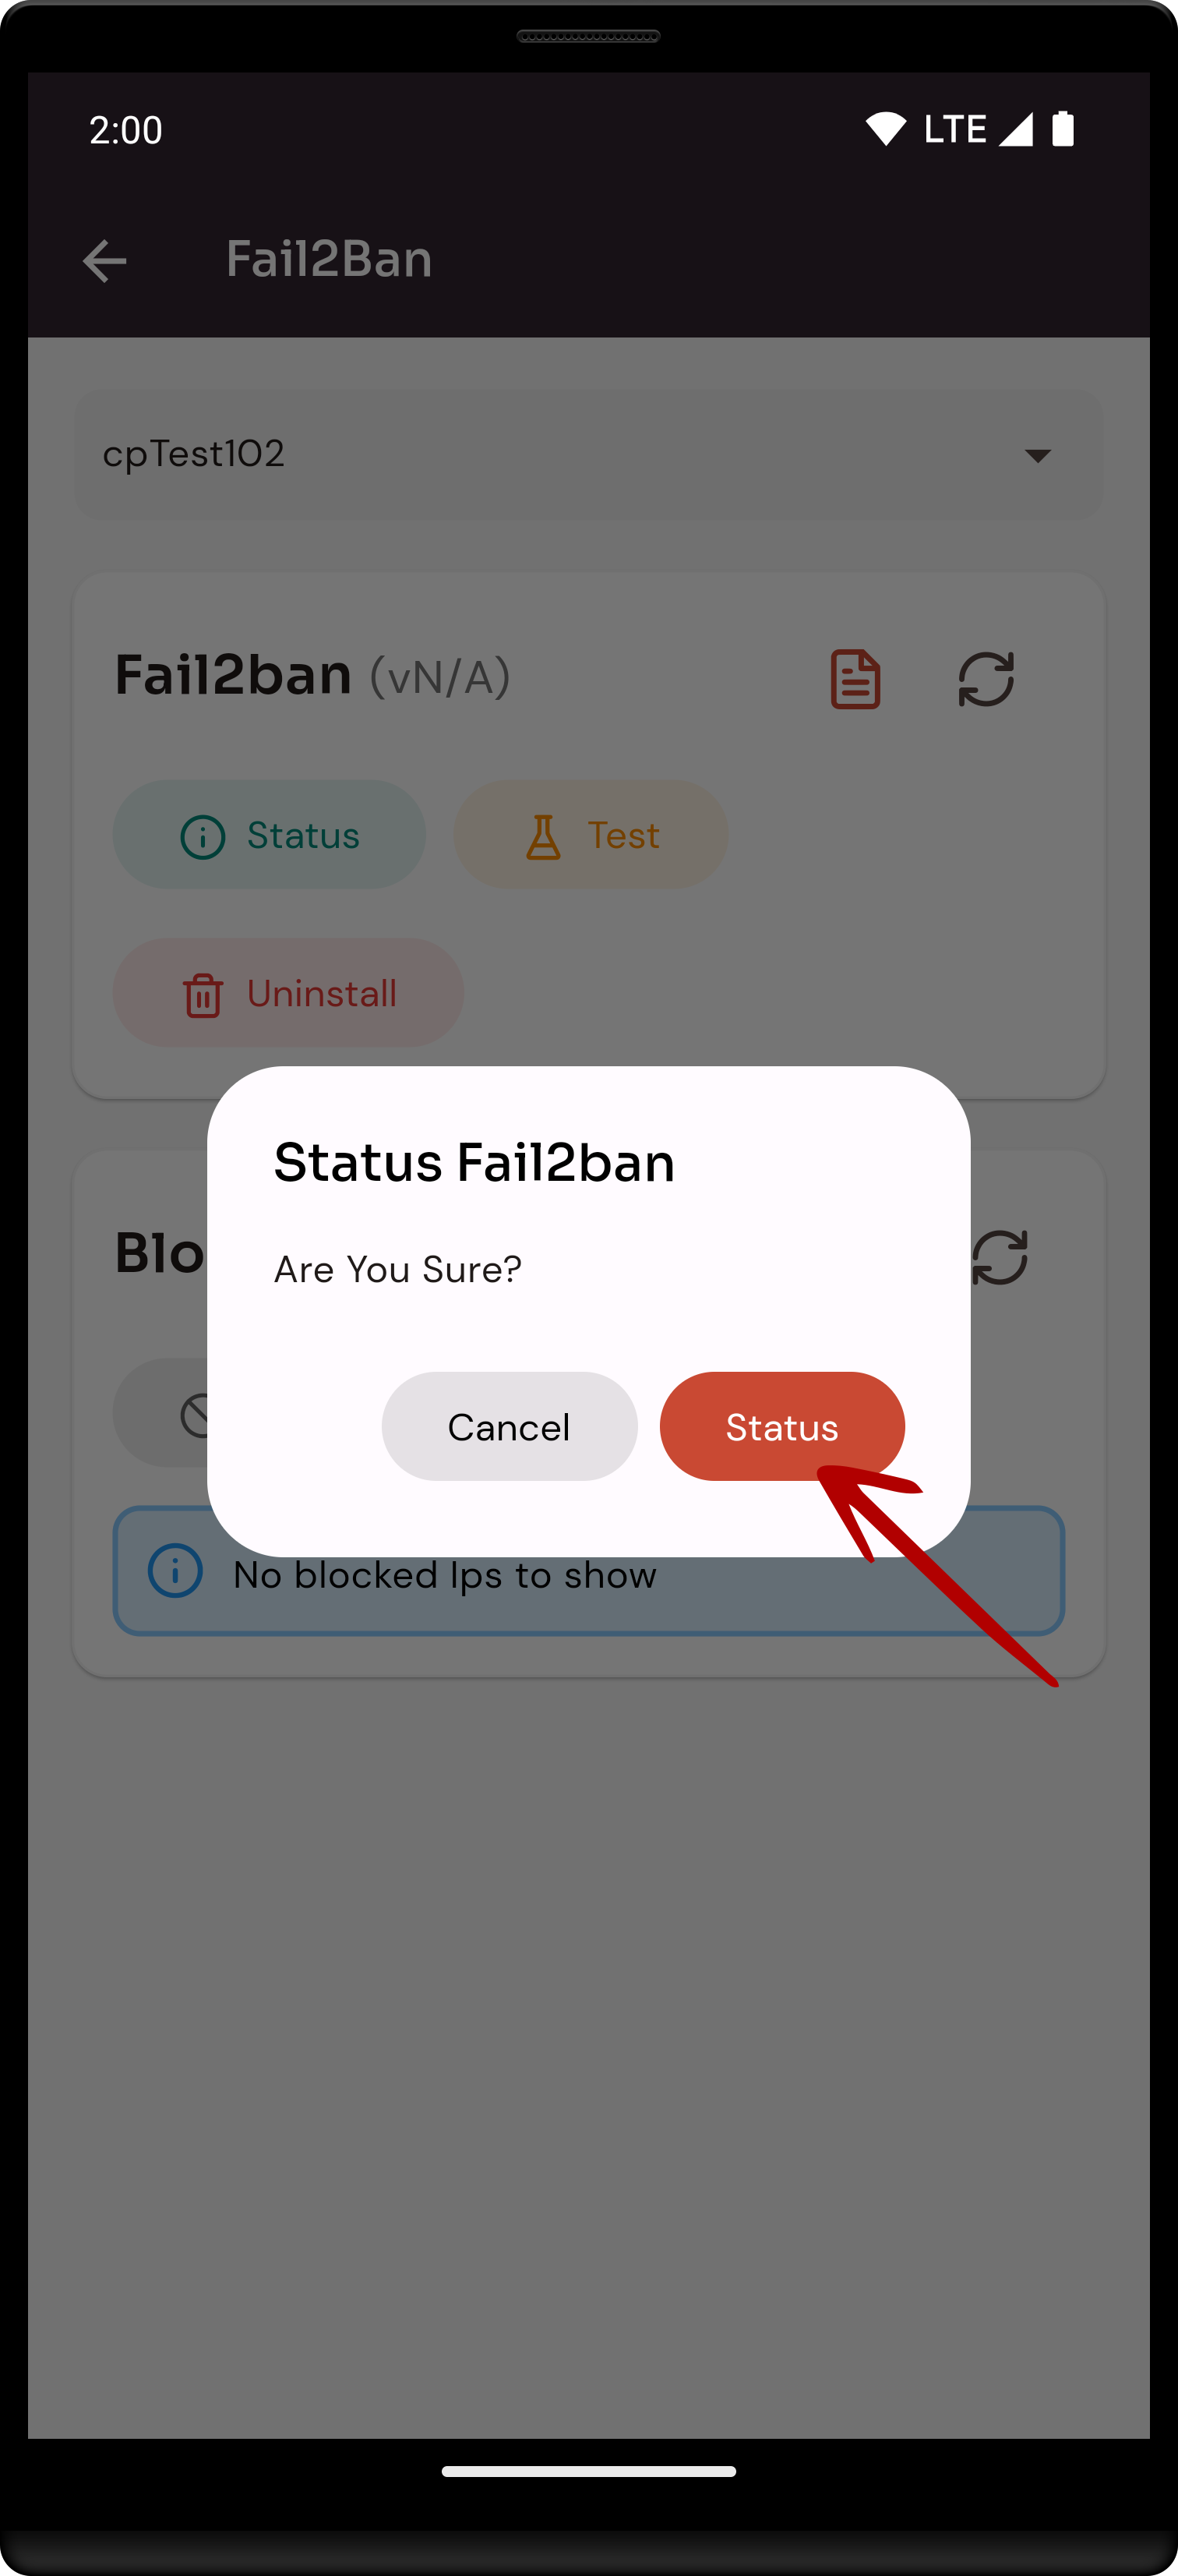
4. Click on the status Button.
Here, You can Check the status successfully.
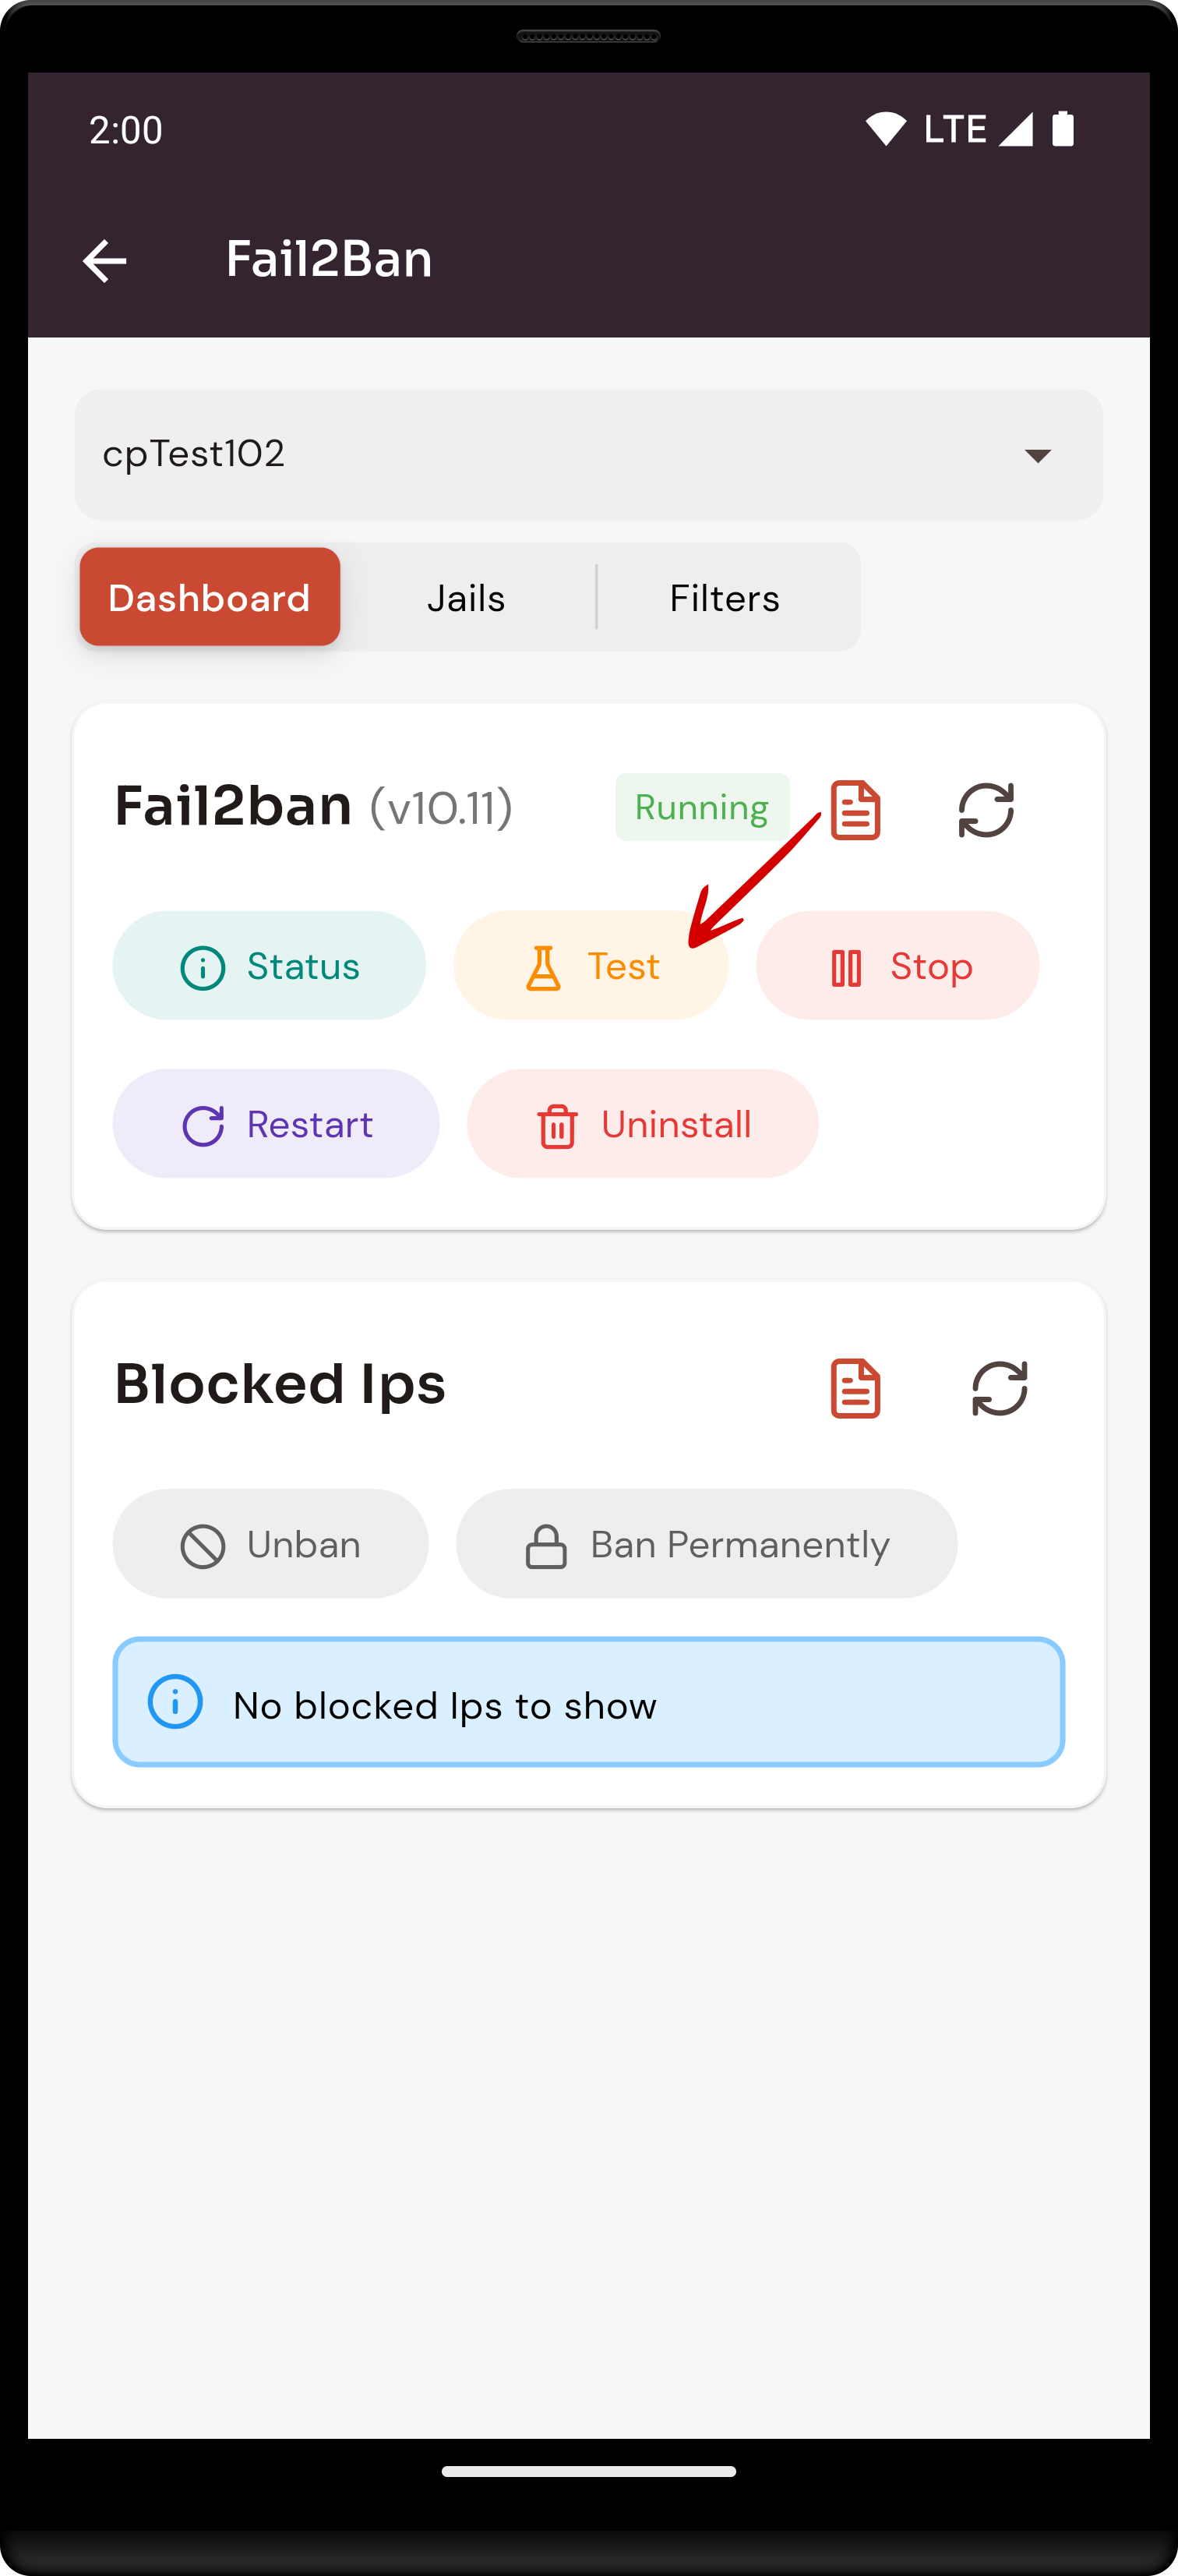
5. Click on the Test option.
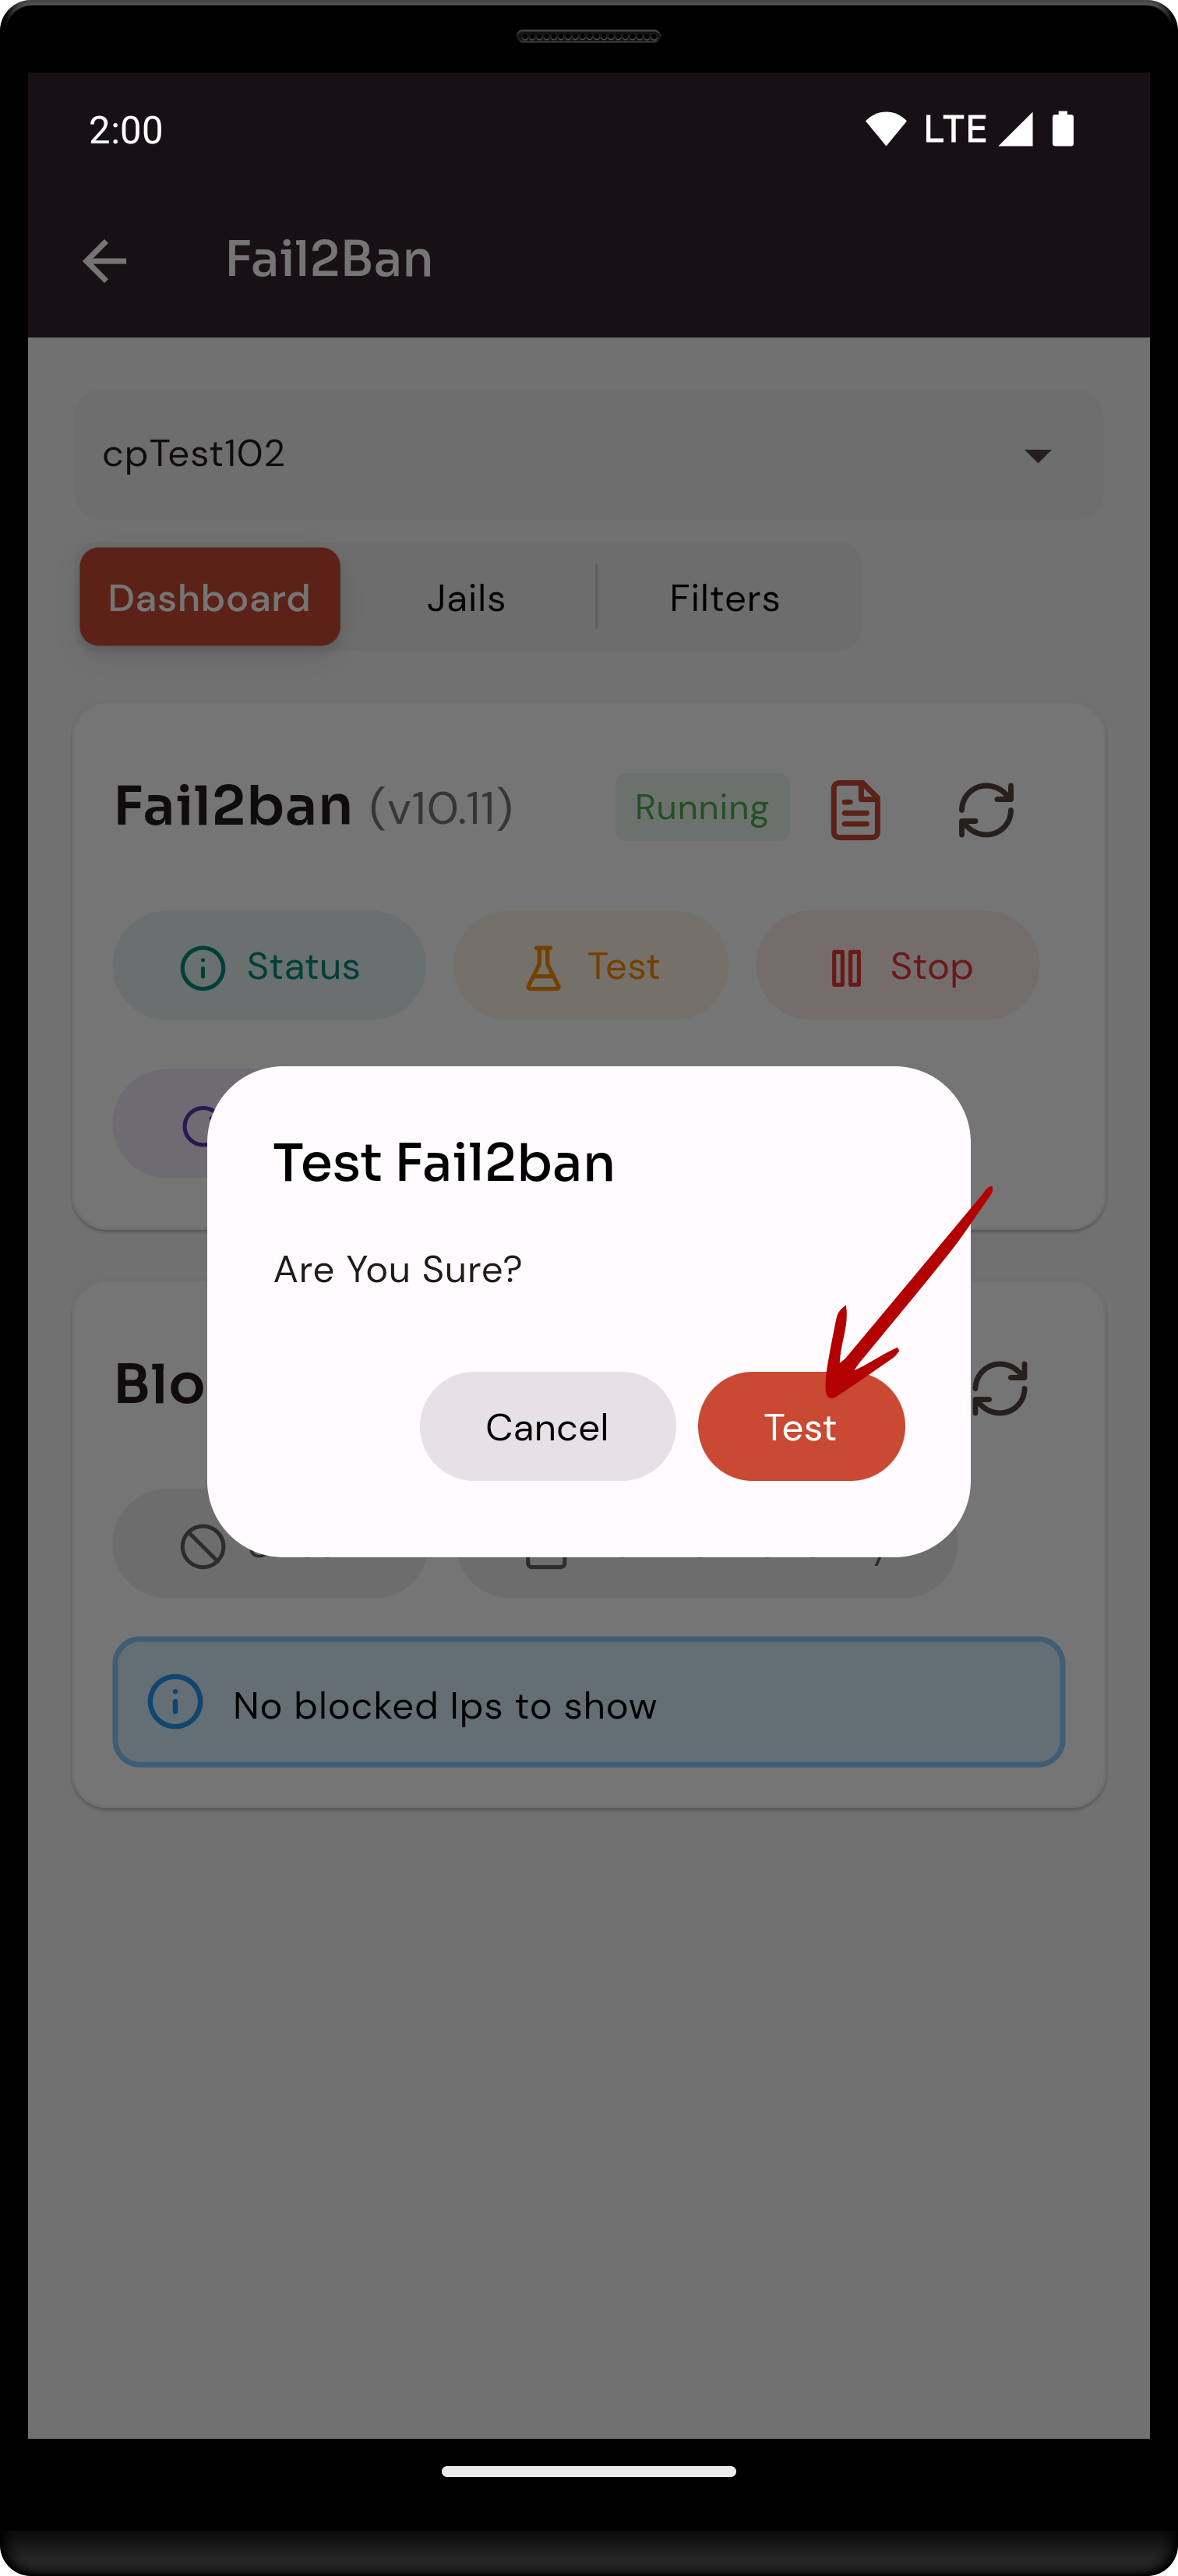
6. Click on the Test Button.
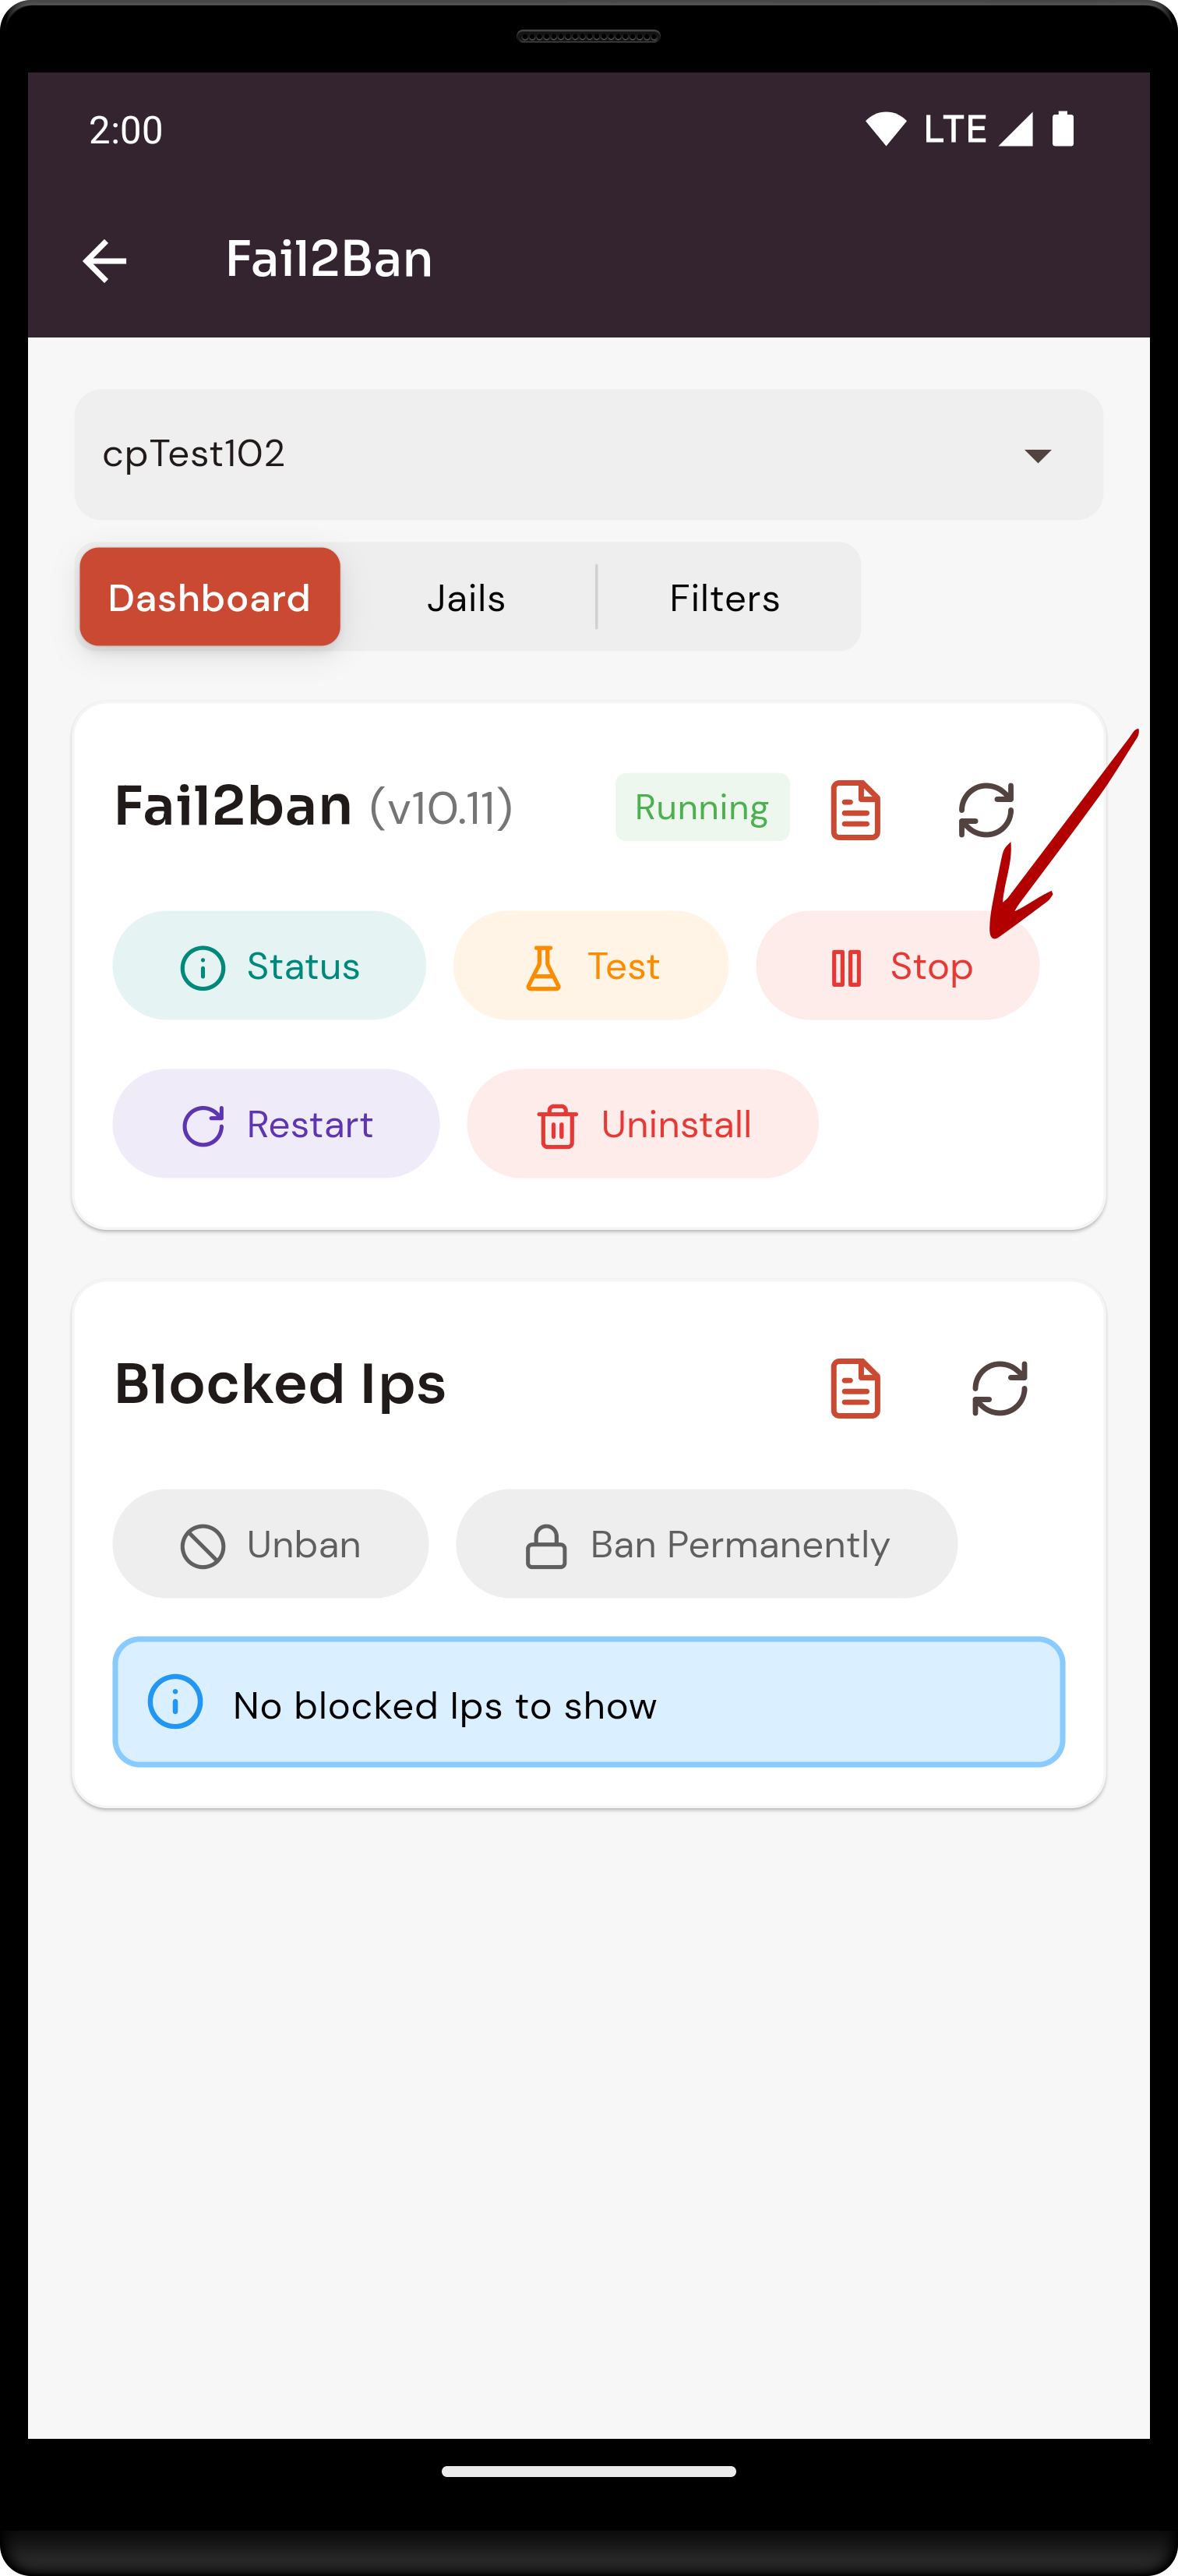
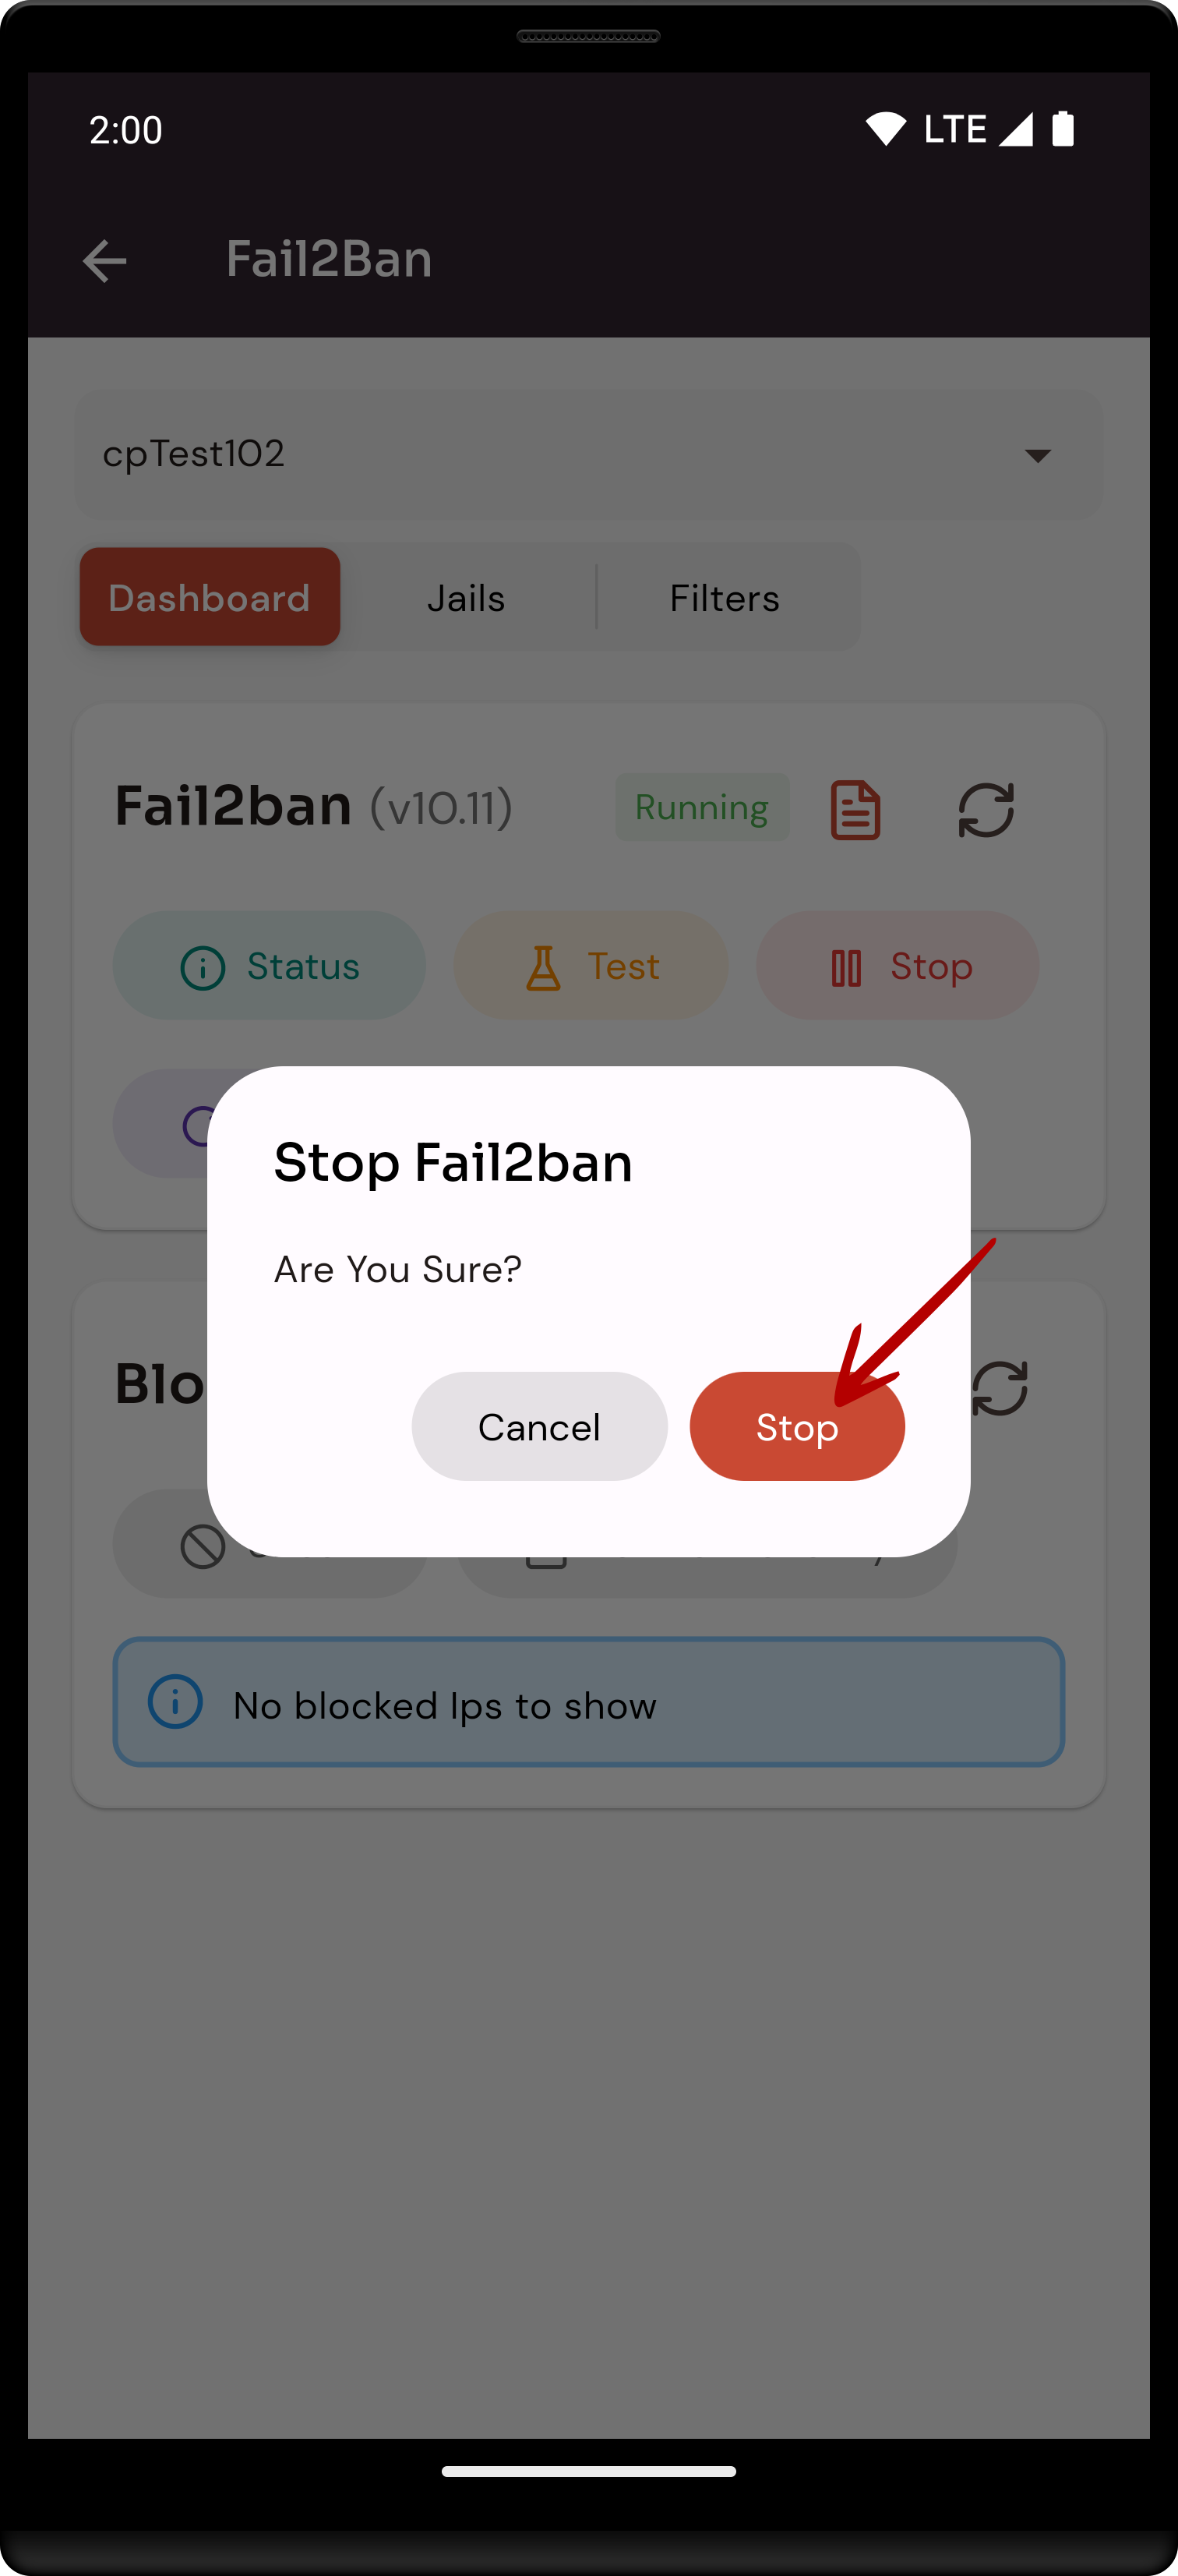
7. Click on the Stop Option.
8. Click on the Stop Button.
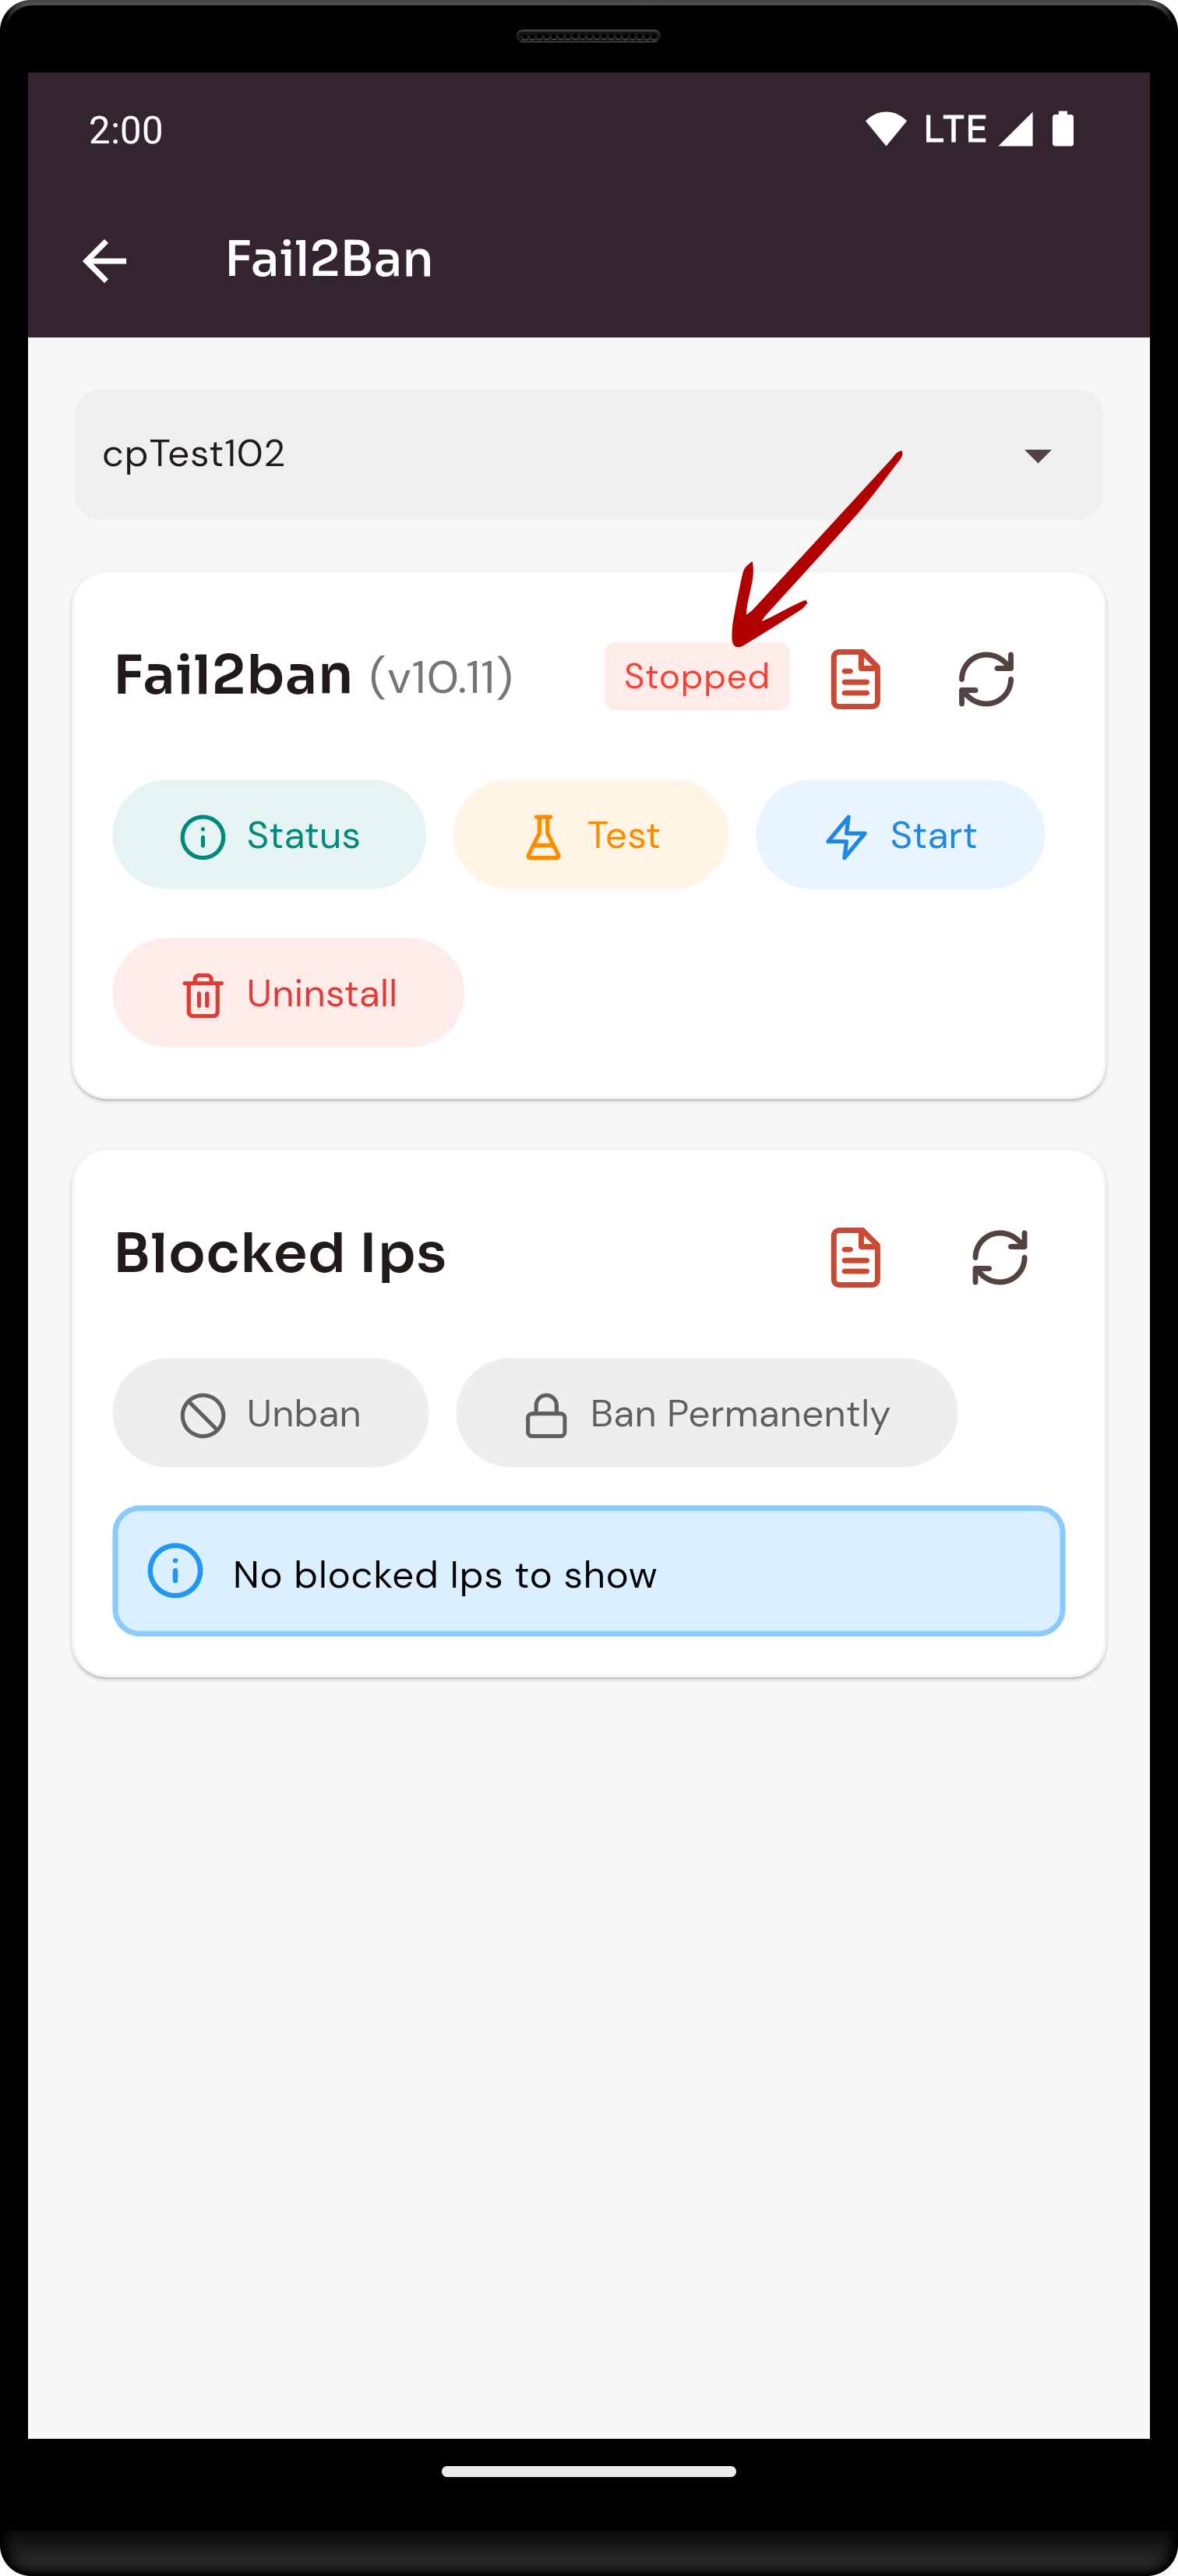
Here, you can see that Fail2ban stopped successfully.
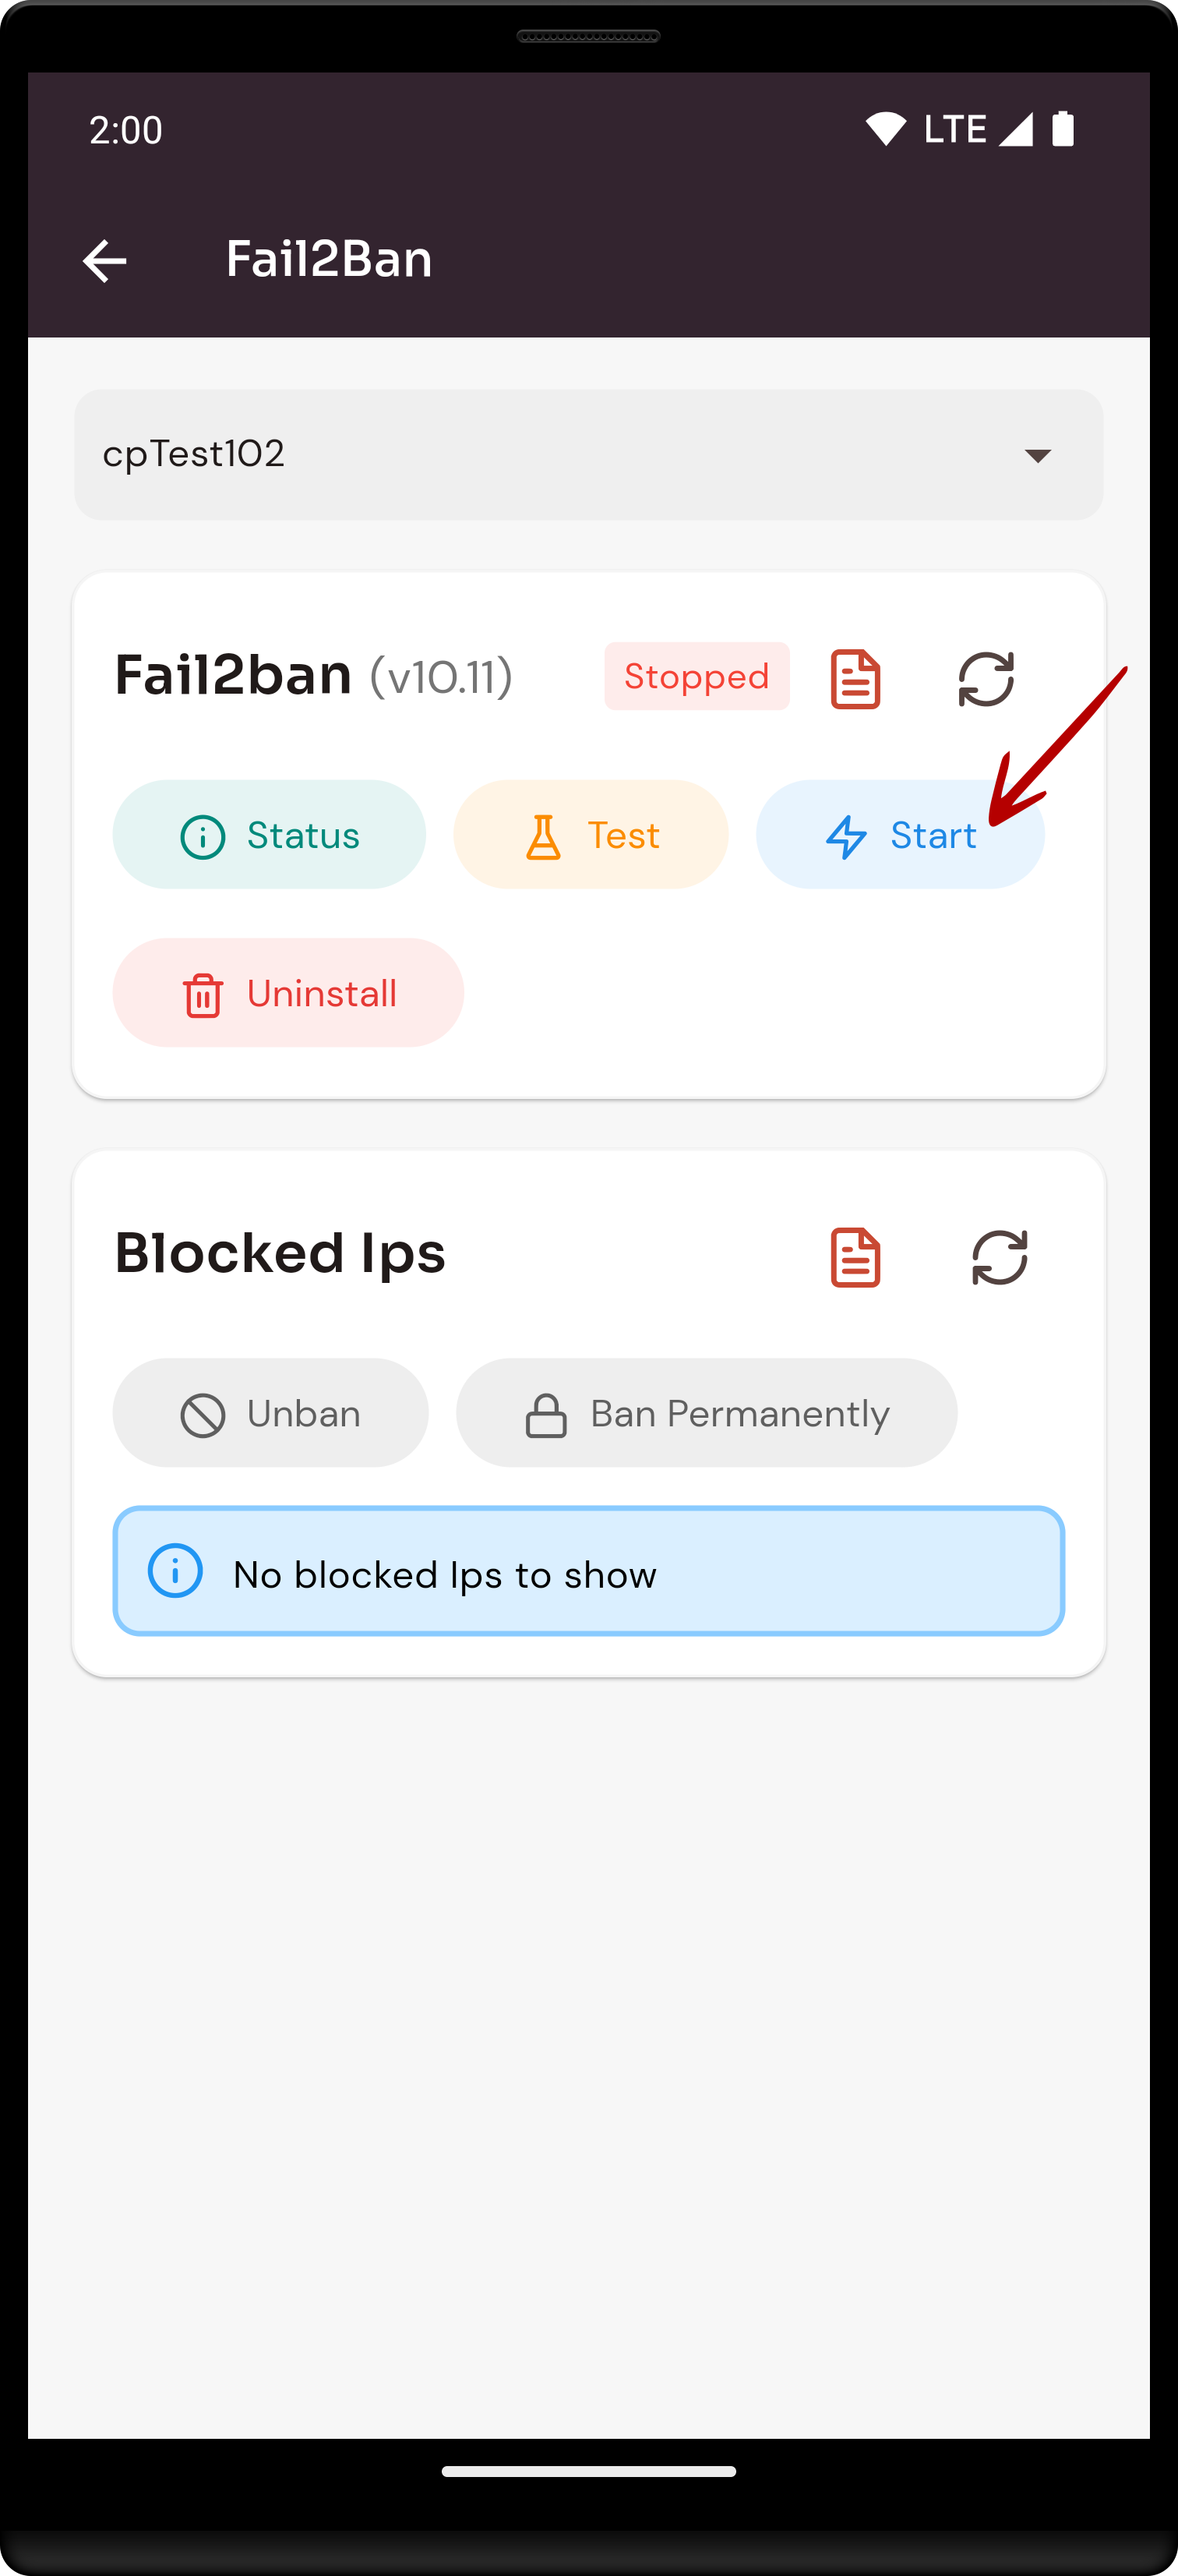
9. Click on the Start option.
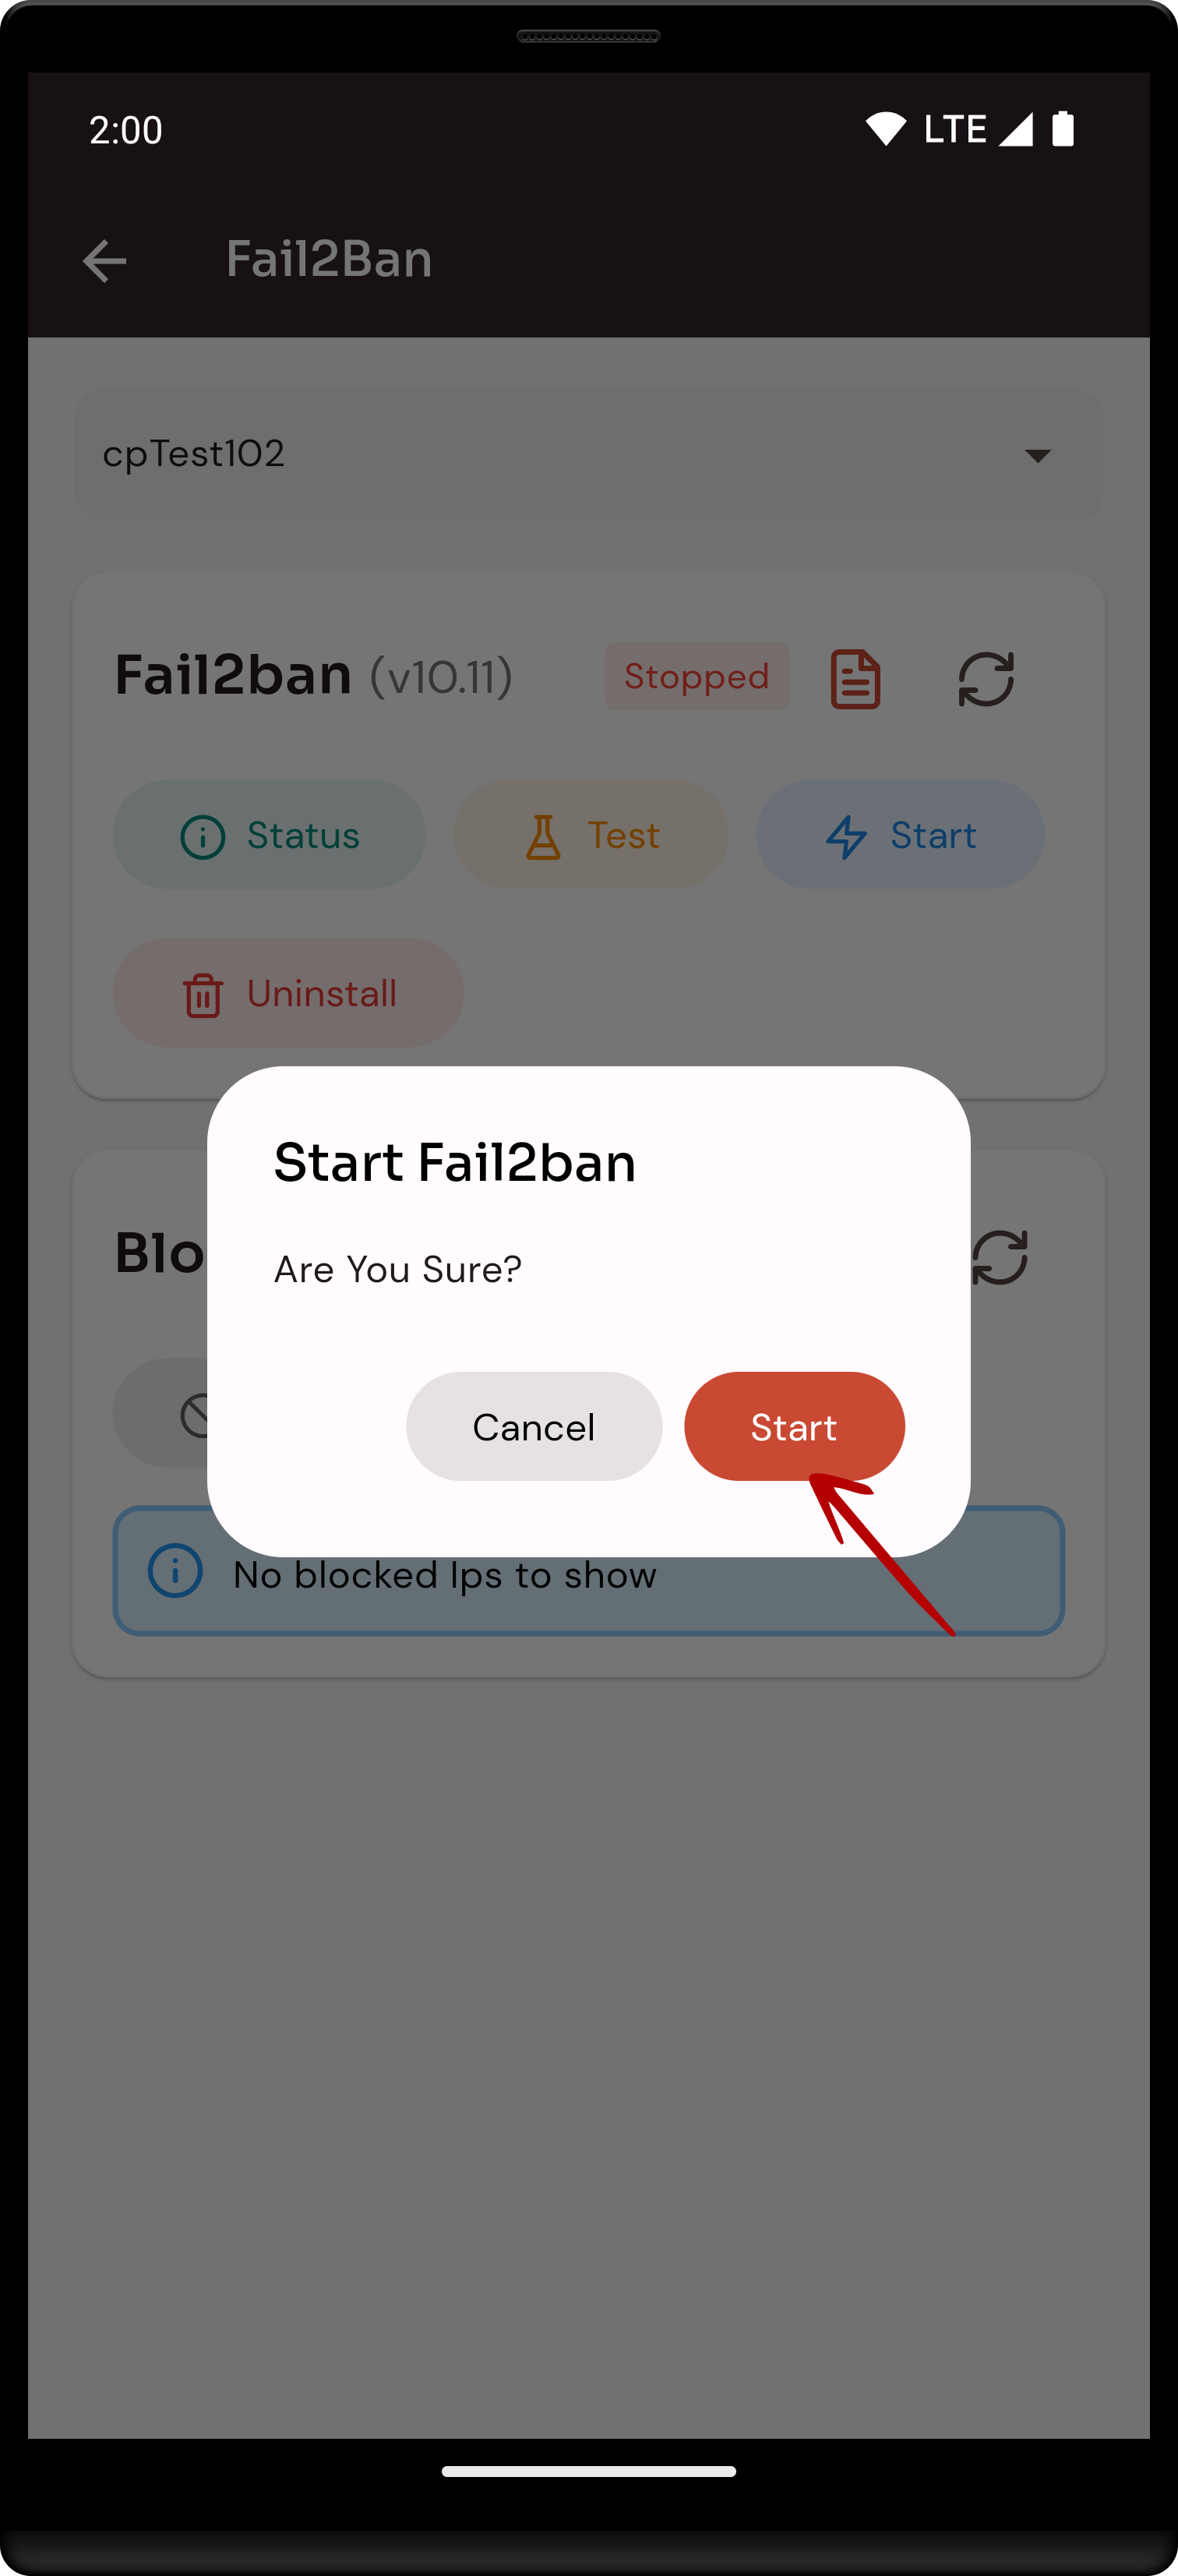
10. Click on the Start button.
Here, you can see that Fail2ban started successfully.
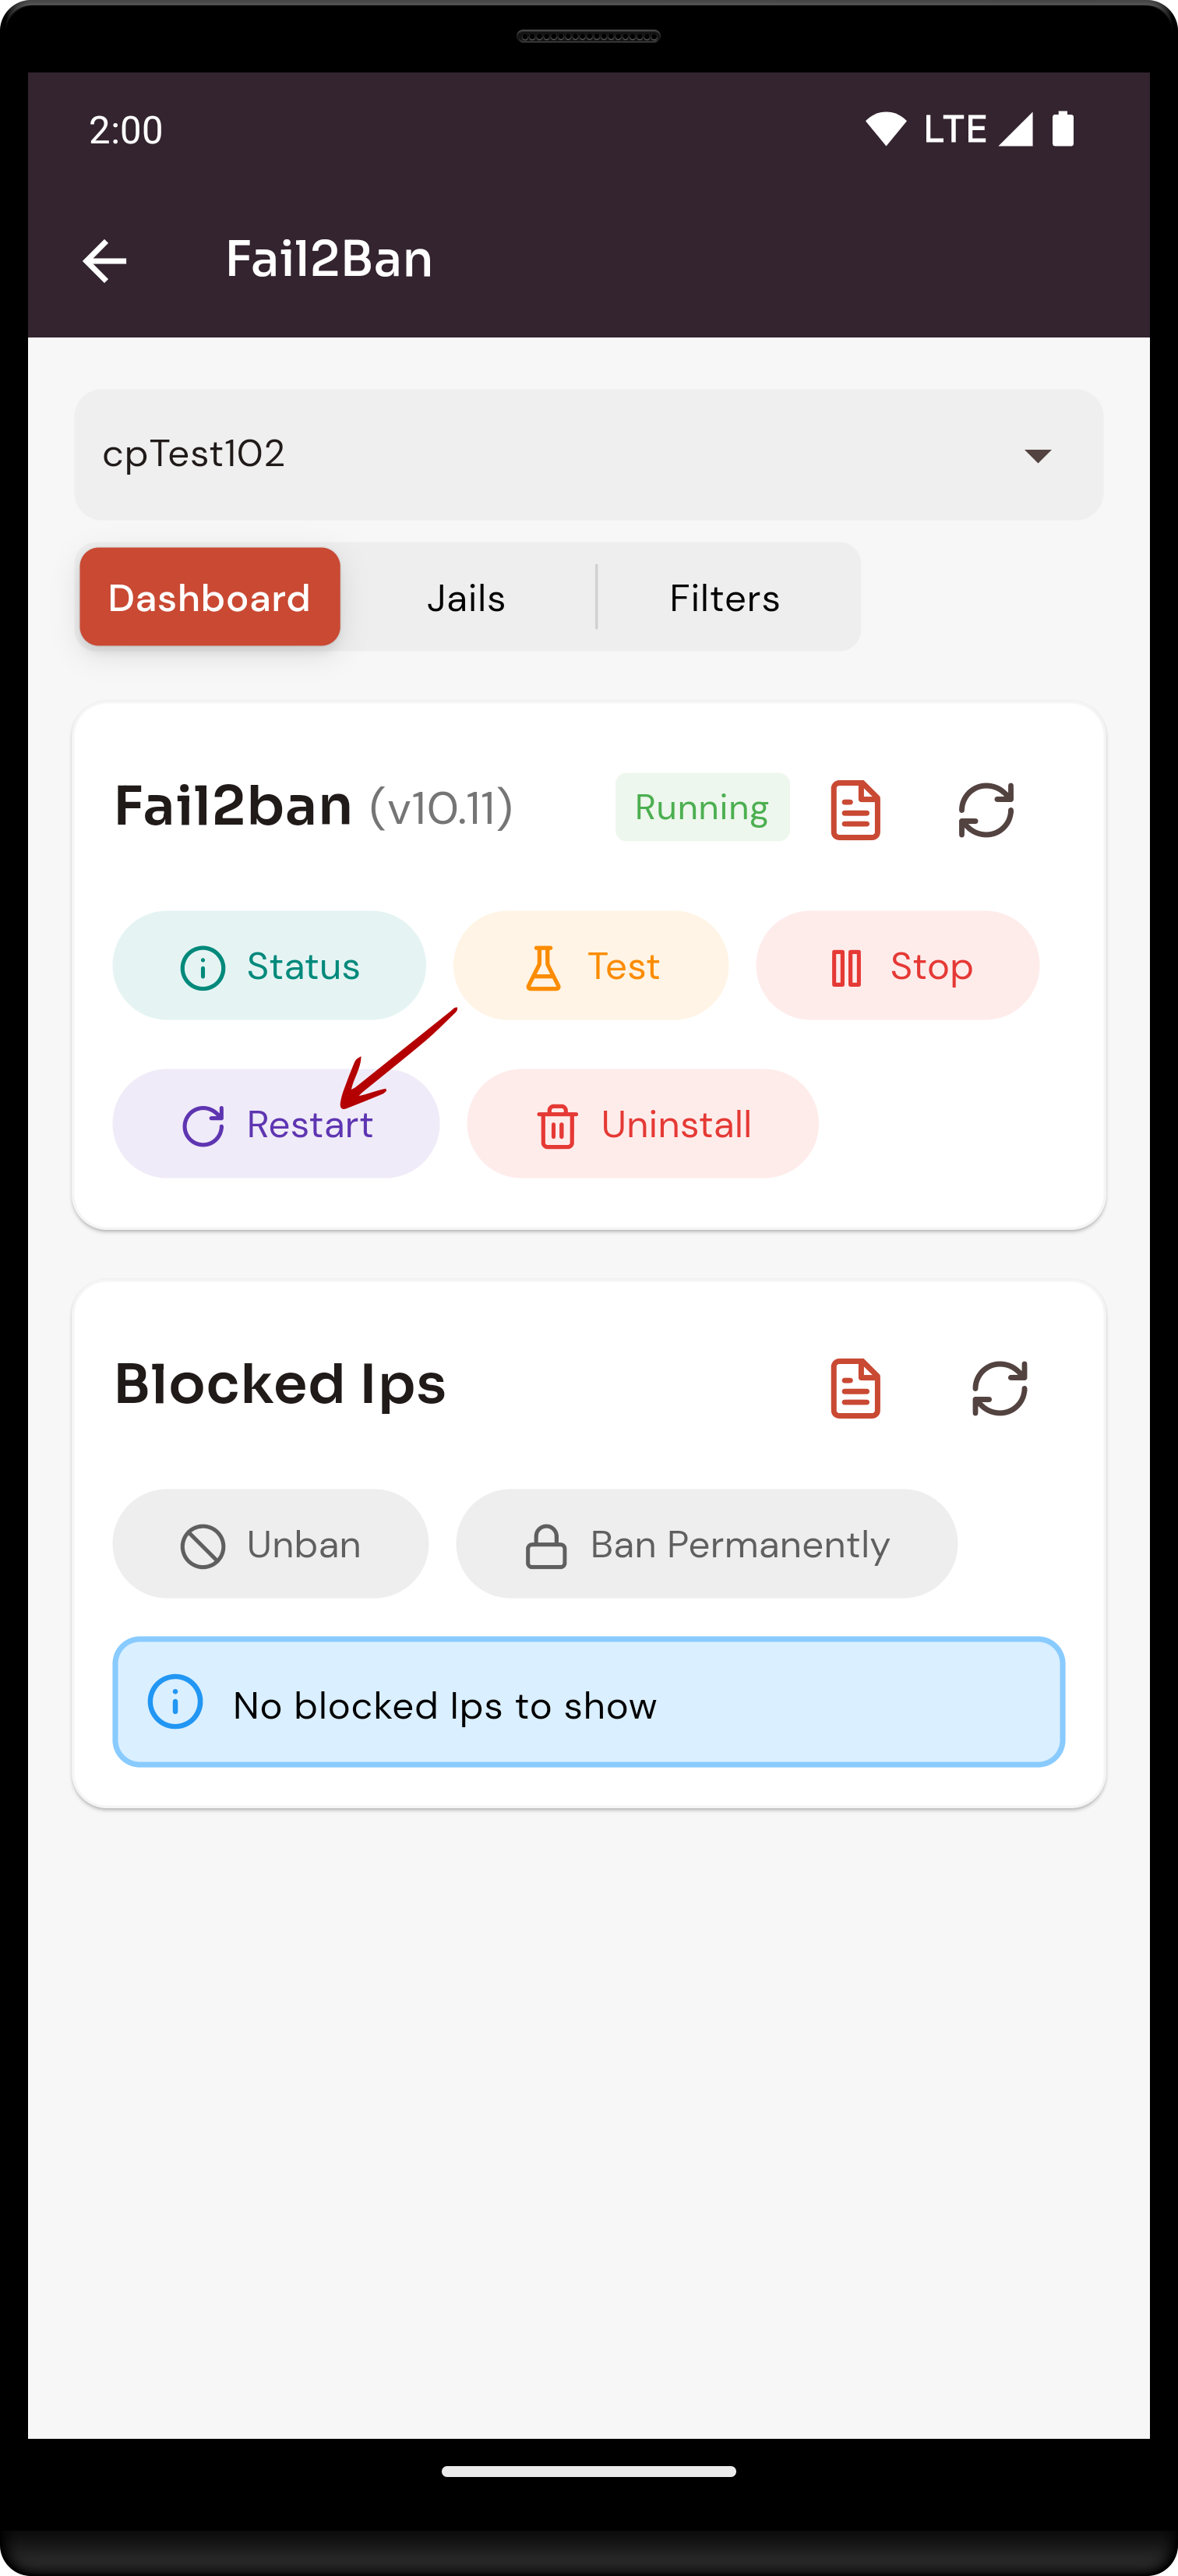
11. Click on the restart option.
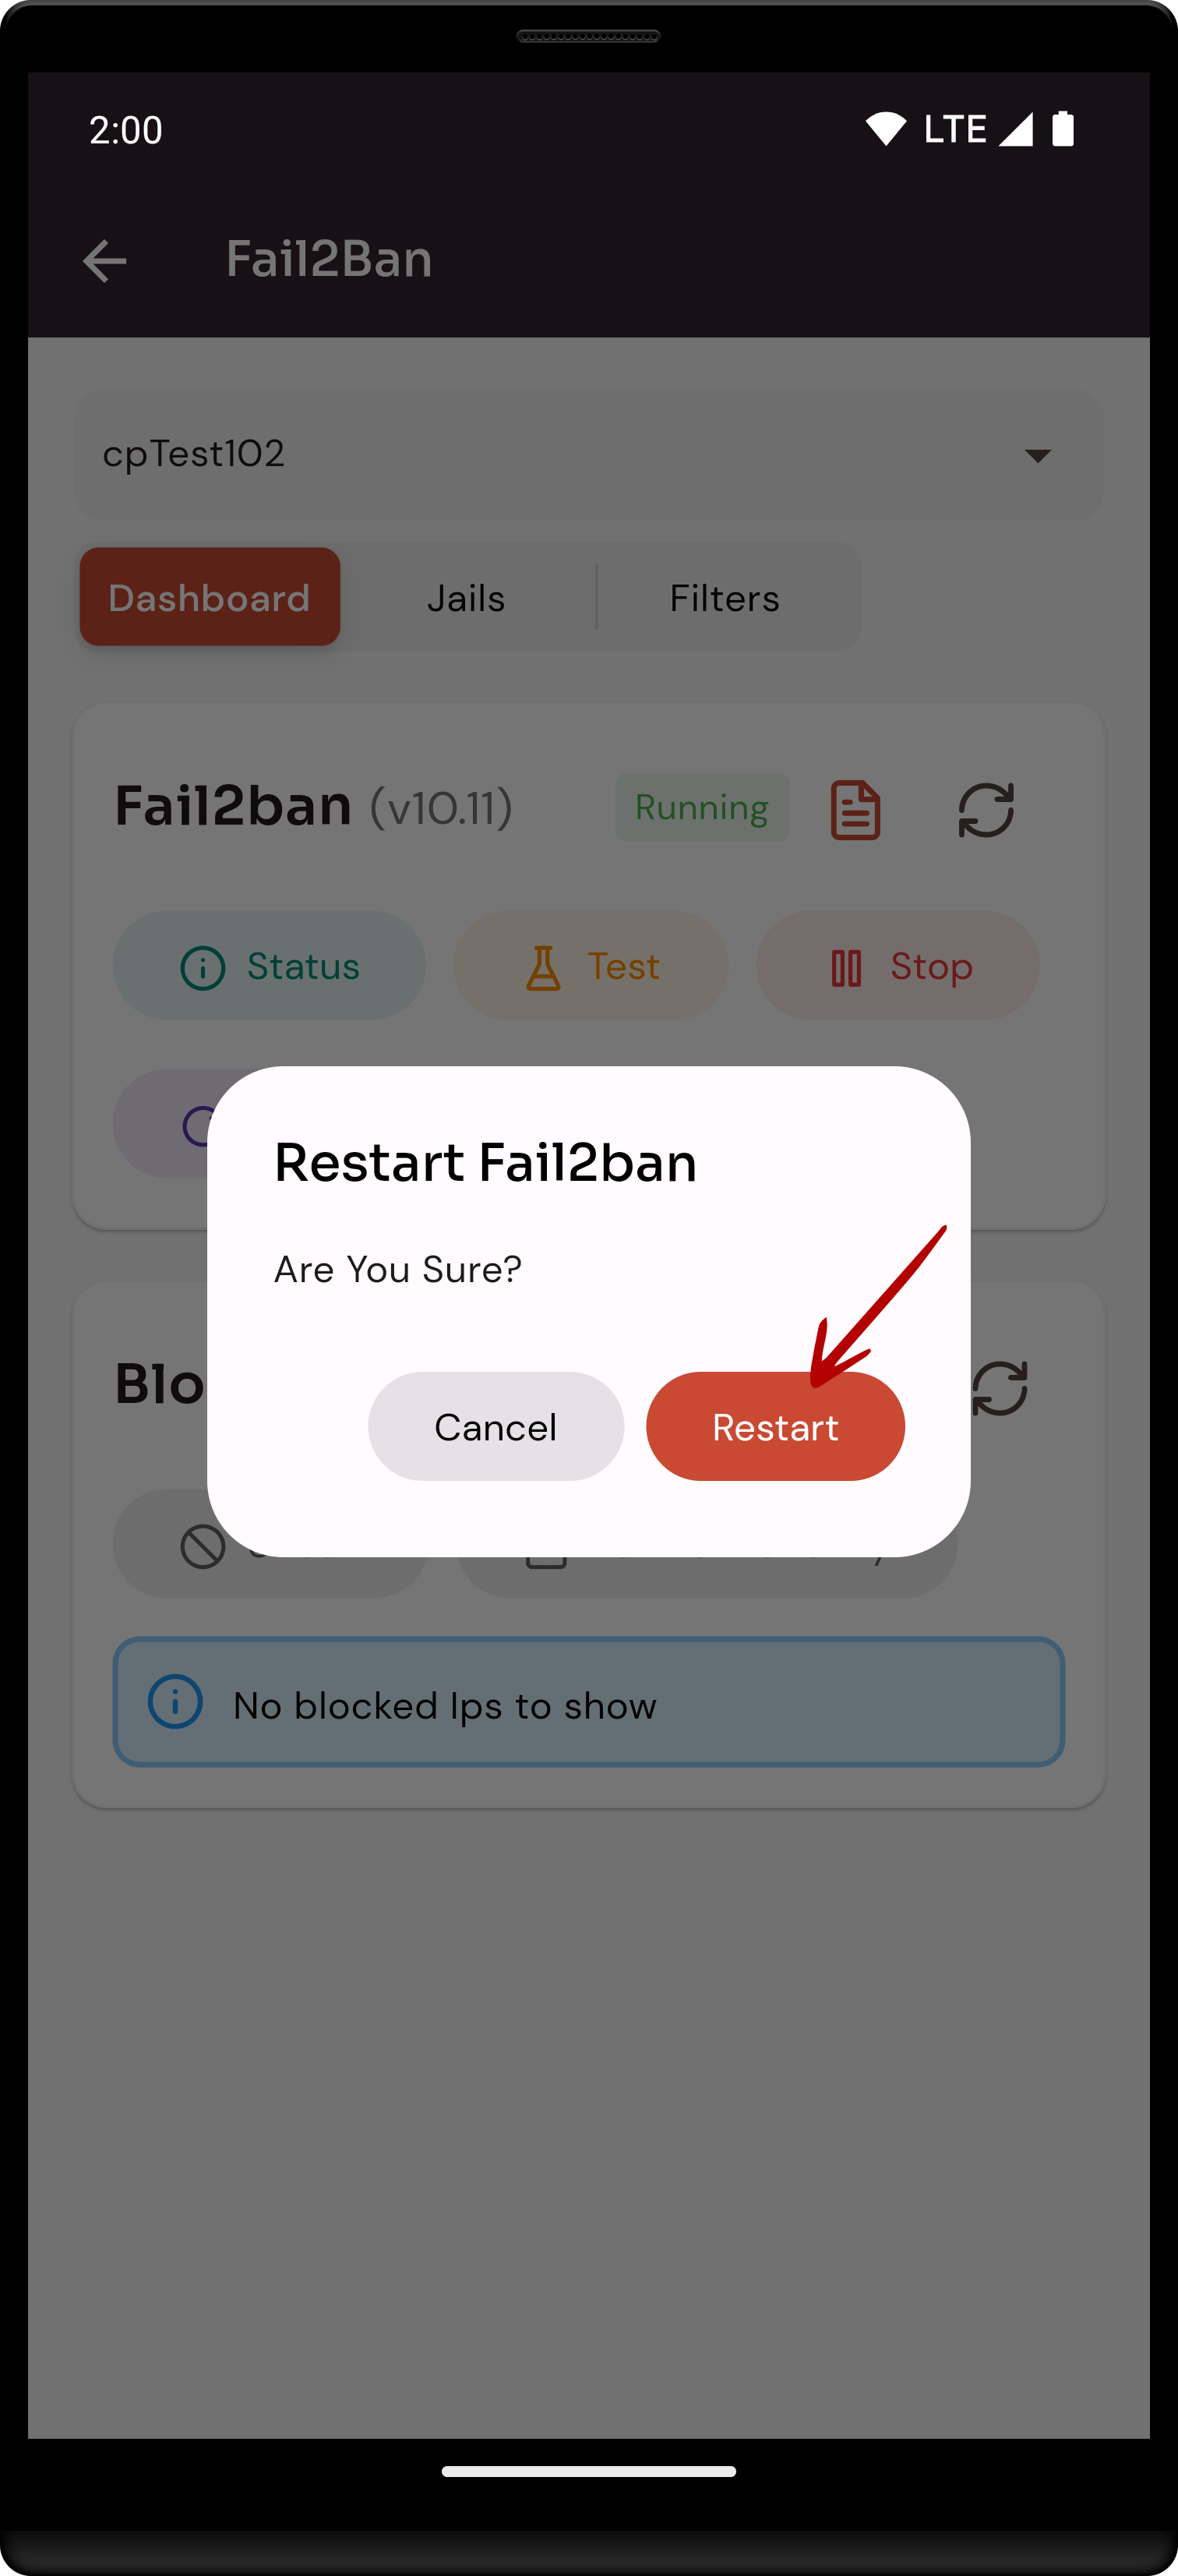
12. Click on the Restart button.
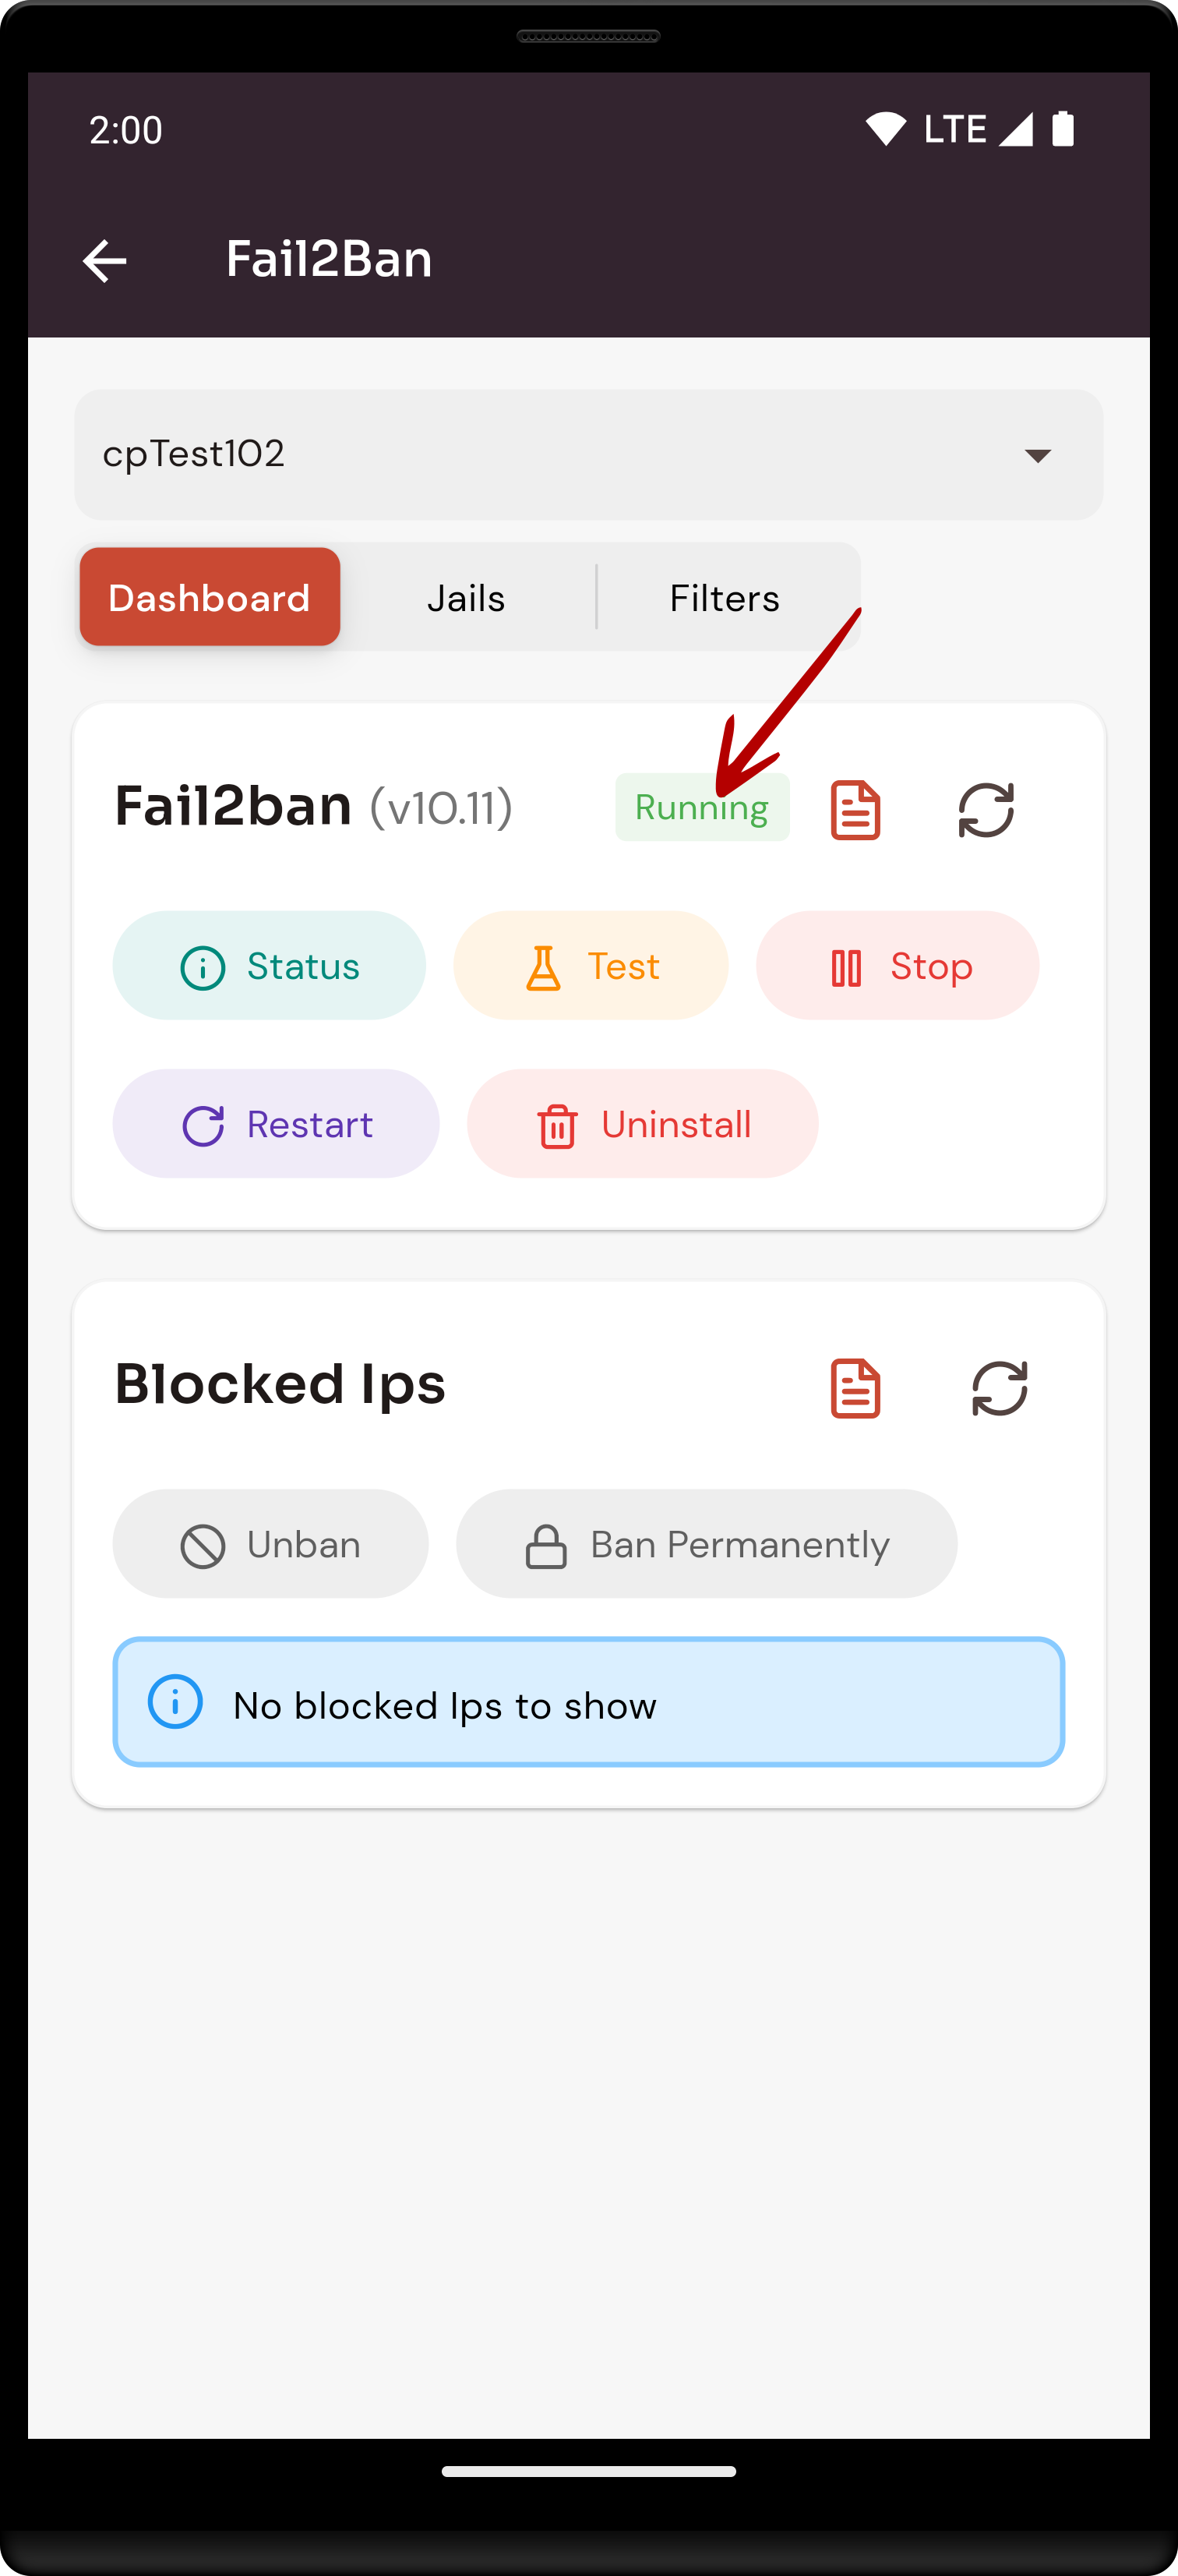
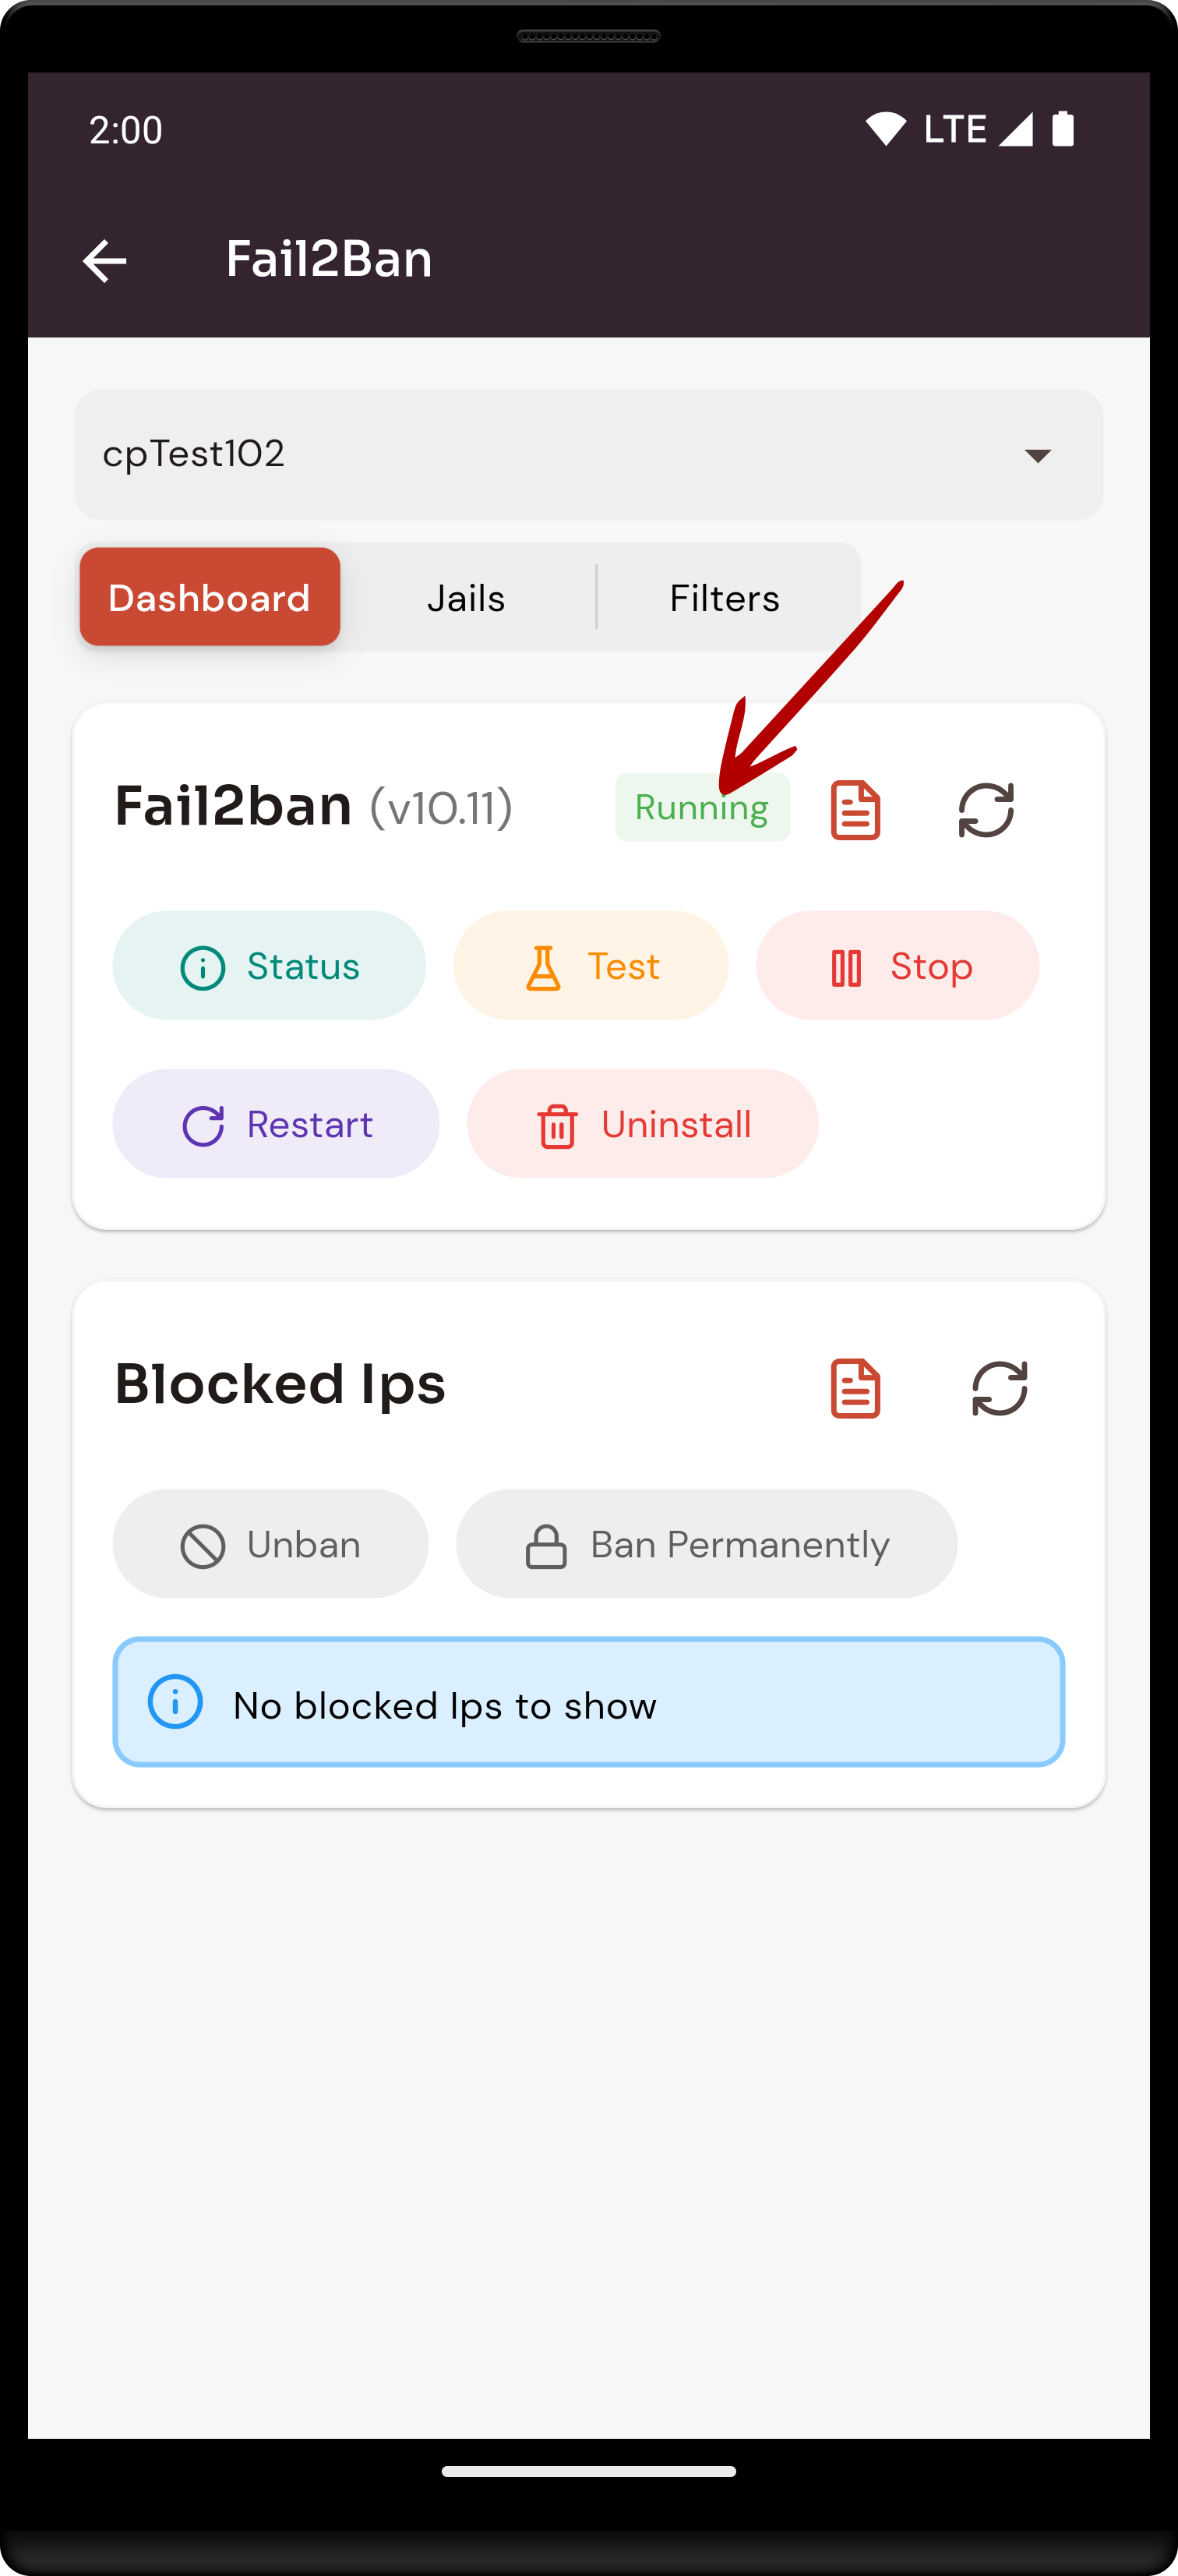
Here, you can see that fail2ban restarted successfully.
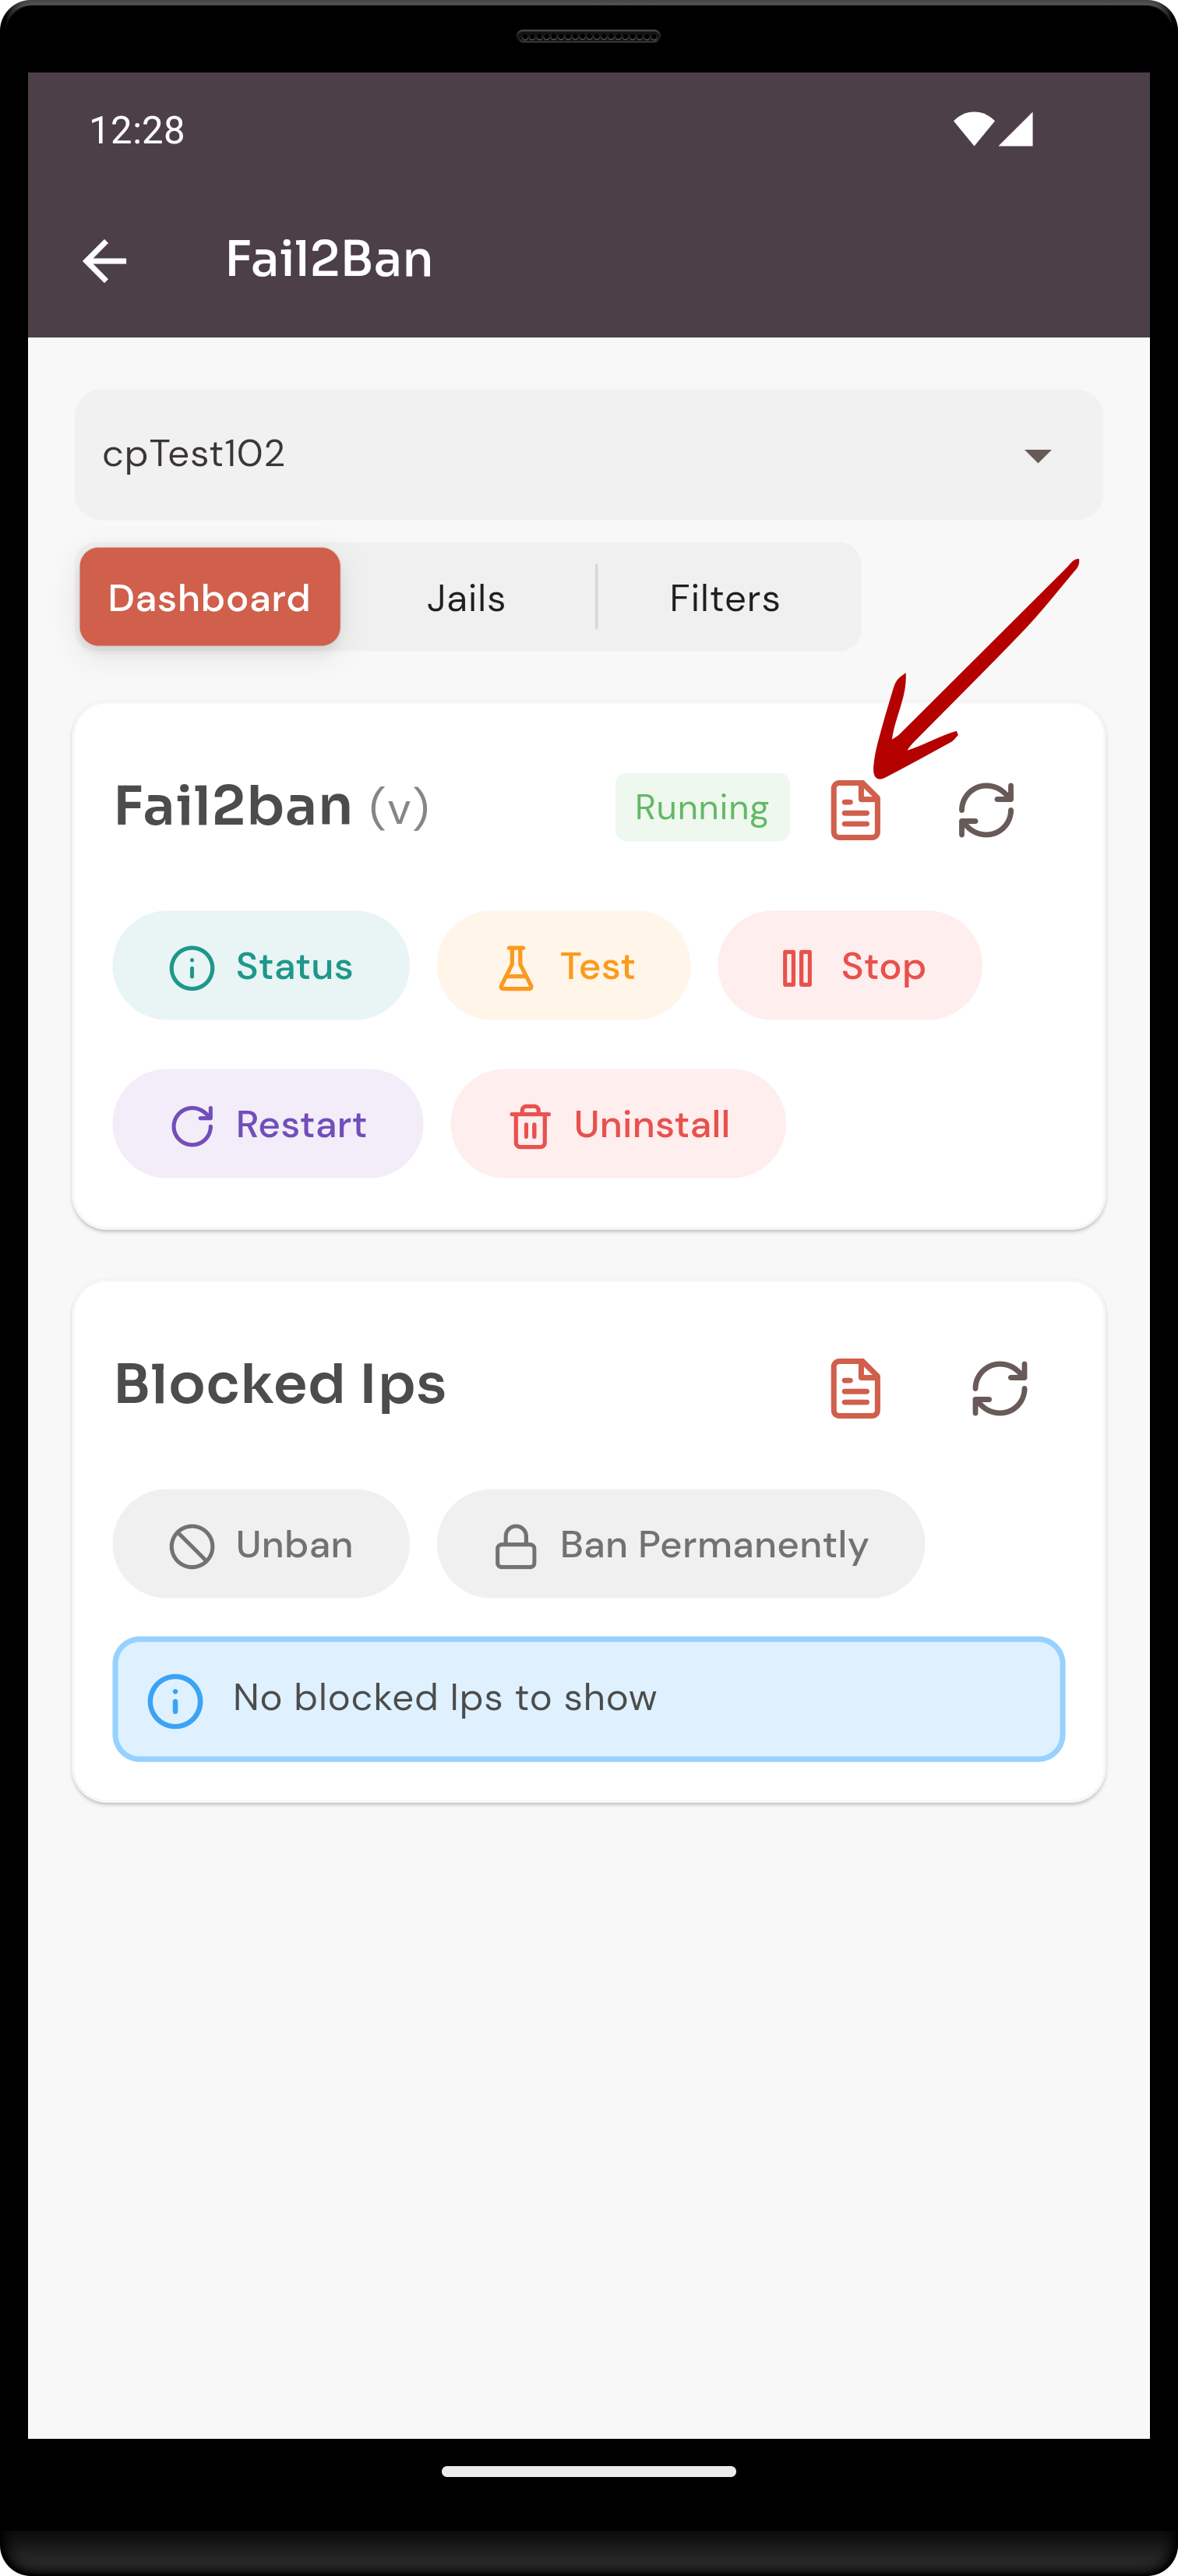
13. Click on the Event button.
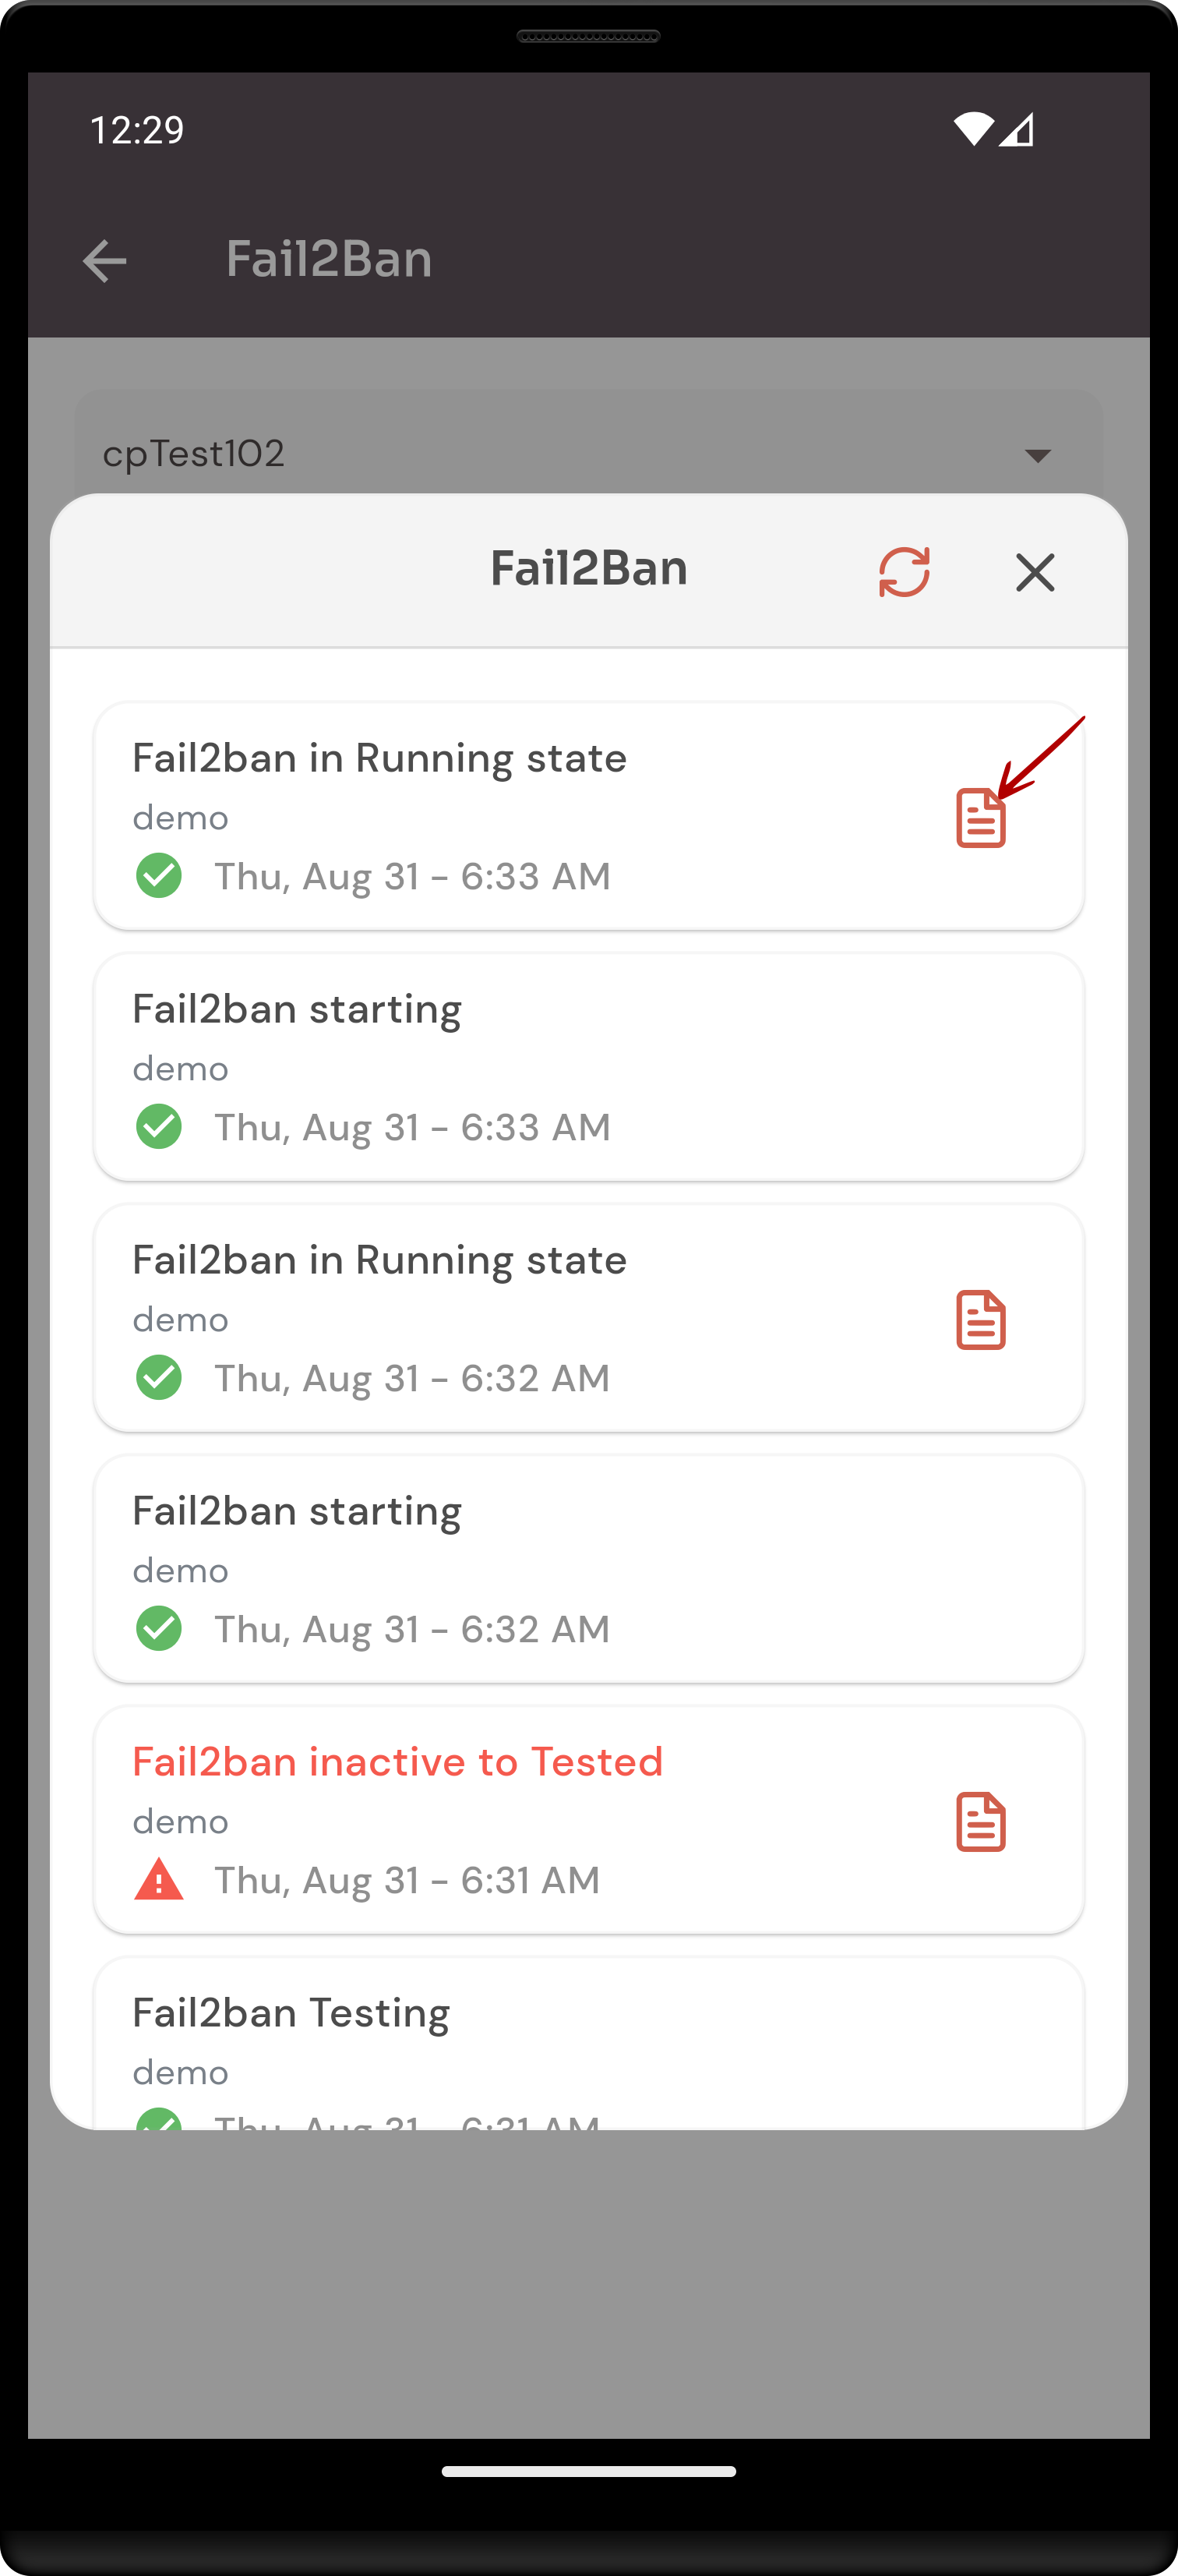
14. Click on the Event File button.
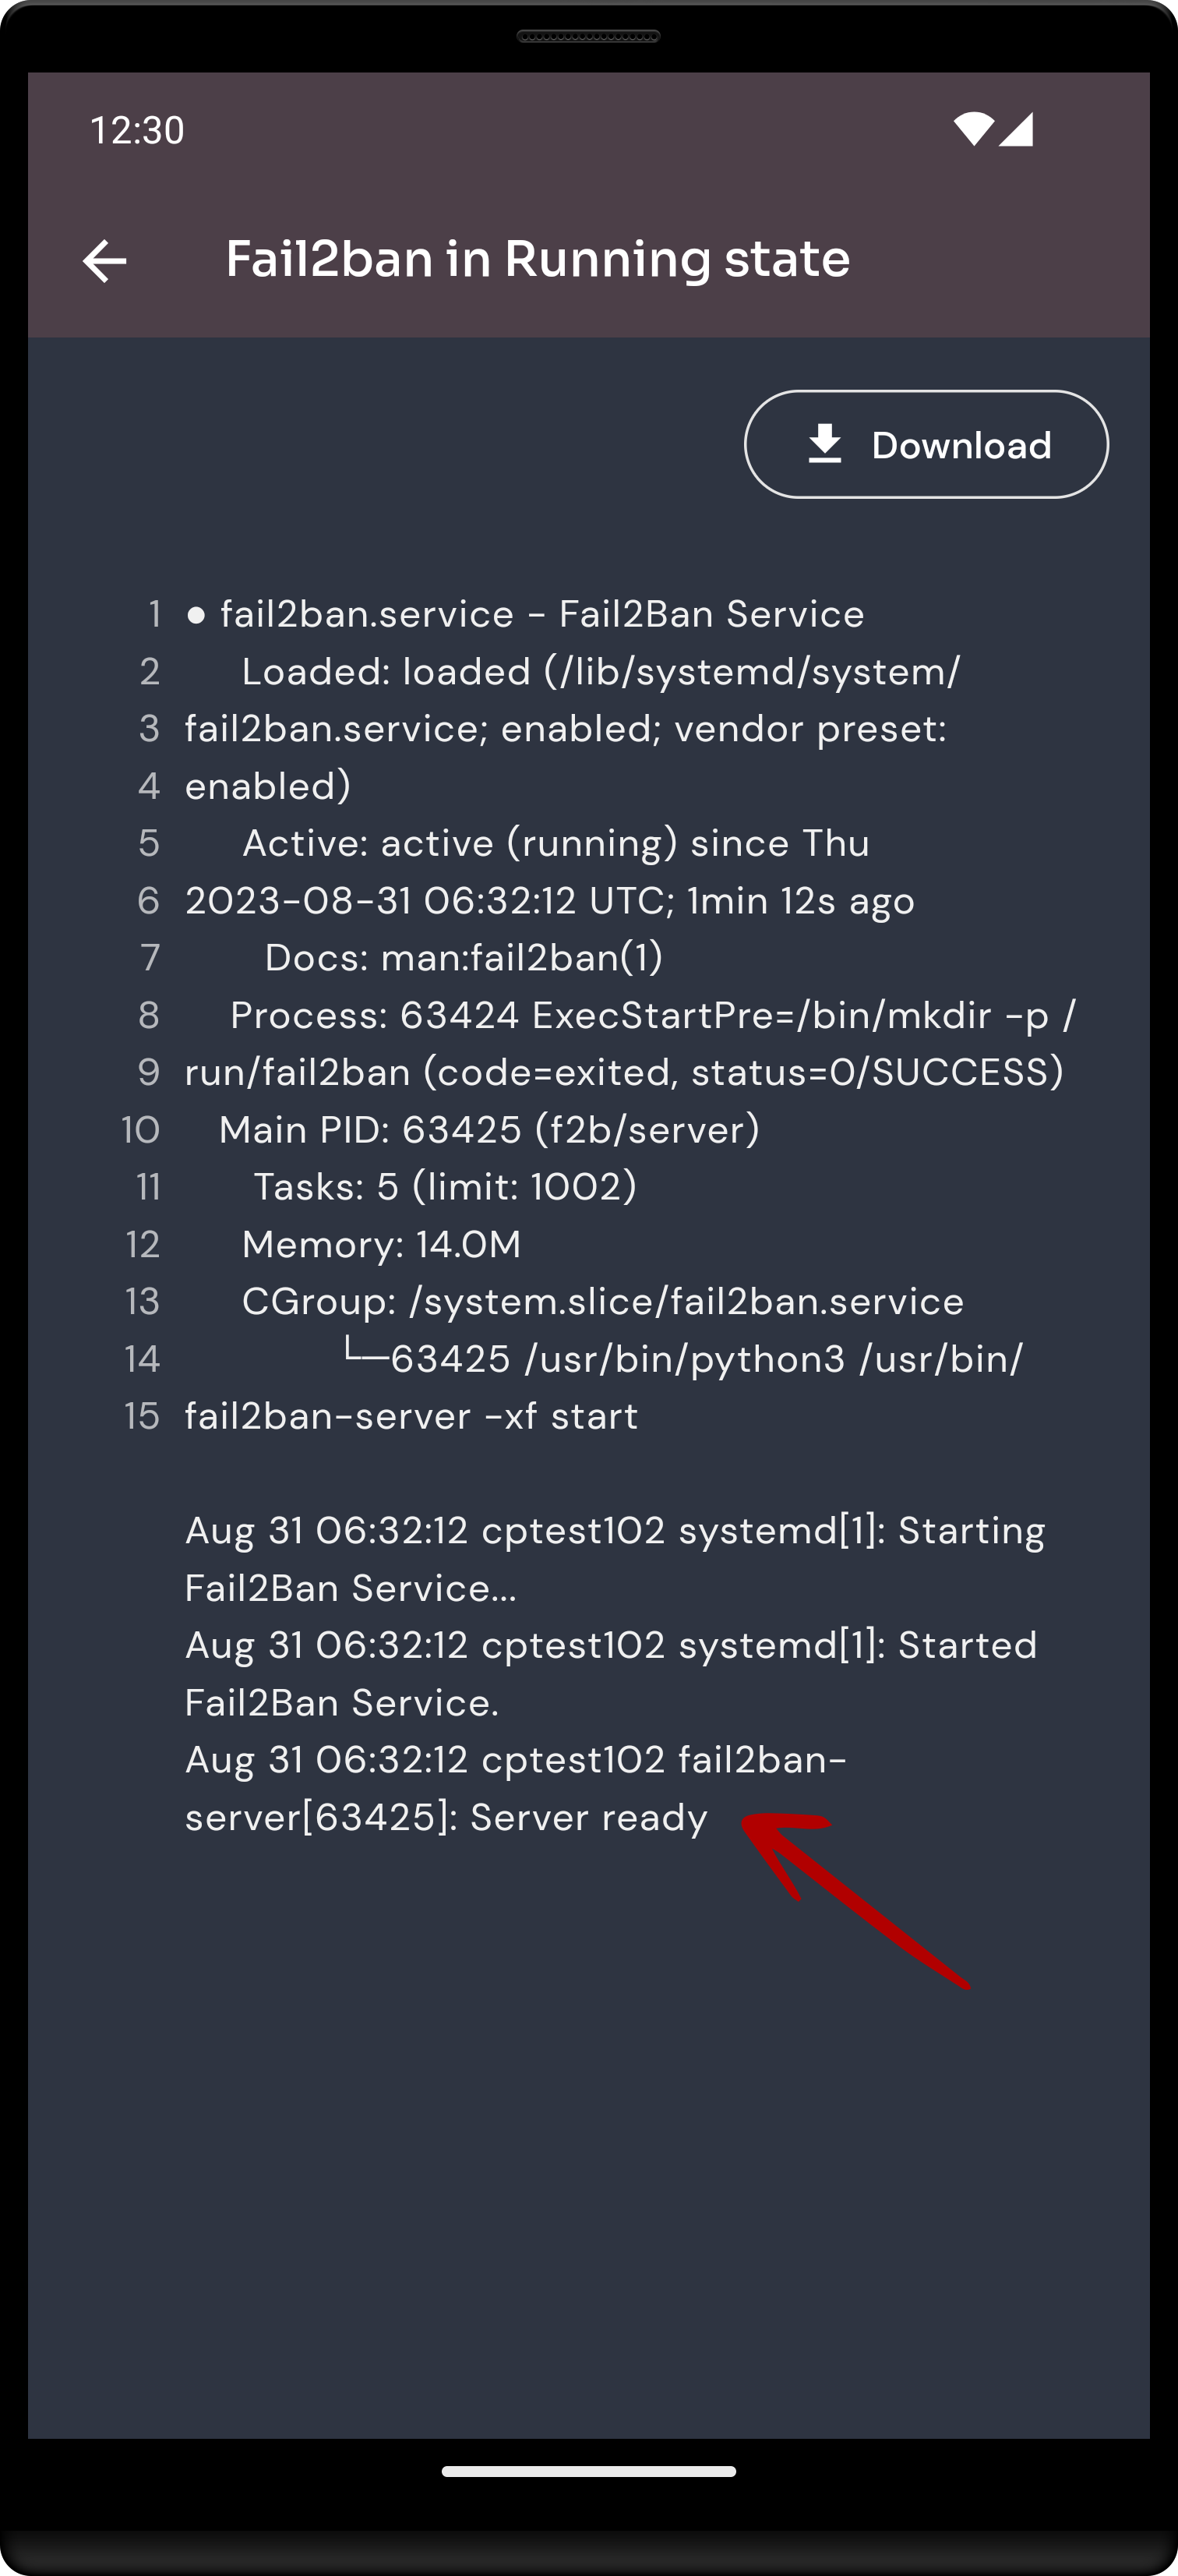
Here, you can see Fail2ban Event data.

No Comments