How to Manage Fail2ban on CloudPanzer Servers?
Adding Fail2ban jails to your server helps enhance security by automatically blocking malicious IP addresses attempting to access your system. Fail2ban monitors logs and enforces bans or restrictions based on predefined rules called jails.
How to install a Server
Tutorial :
You can watch the Video or Continue reading the post.
Follow the steps below to add Fail2ban Jails to the server.
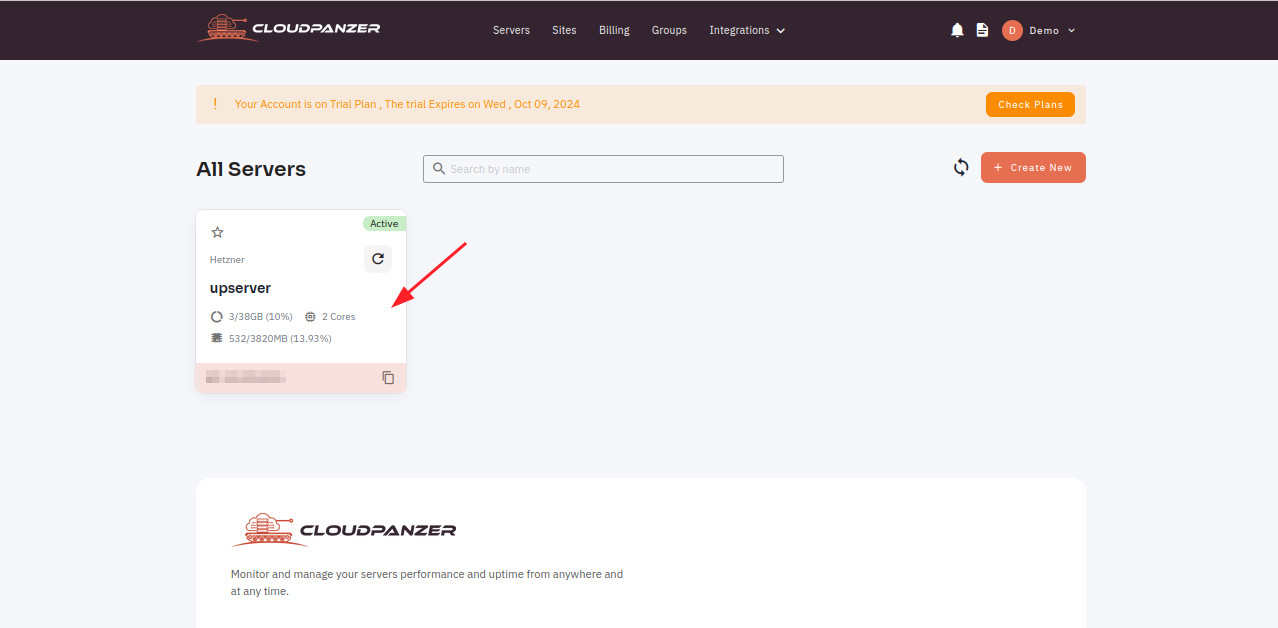
1: Once you are logged in, look for a "Server" and click on it.
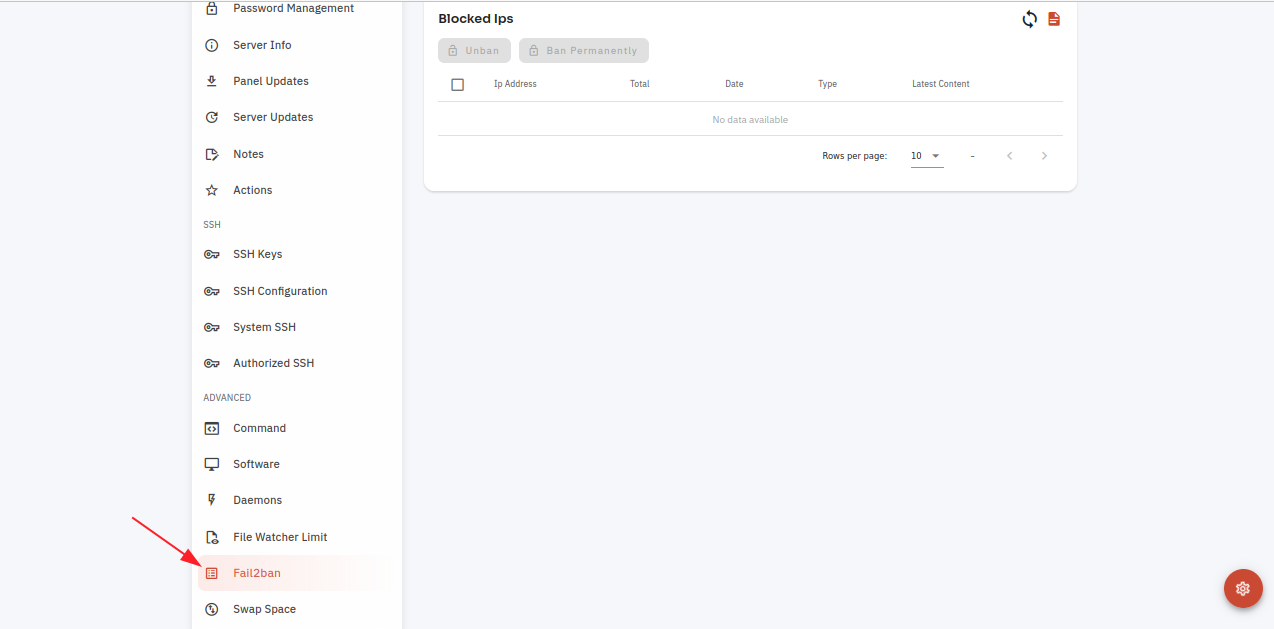
2. Select the Fail2ban option.
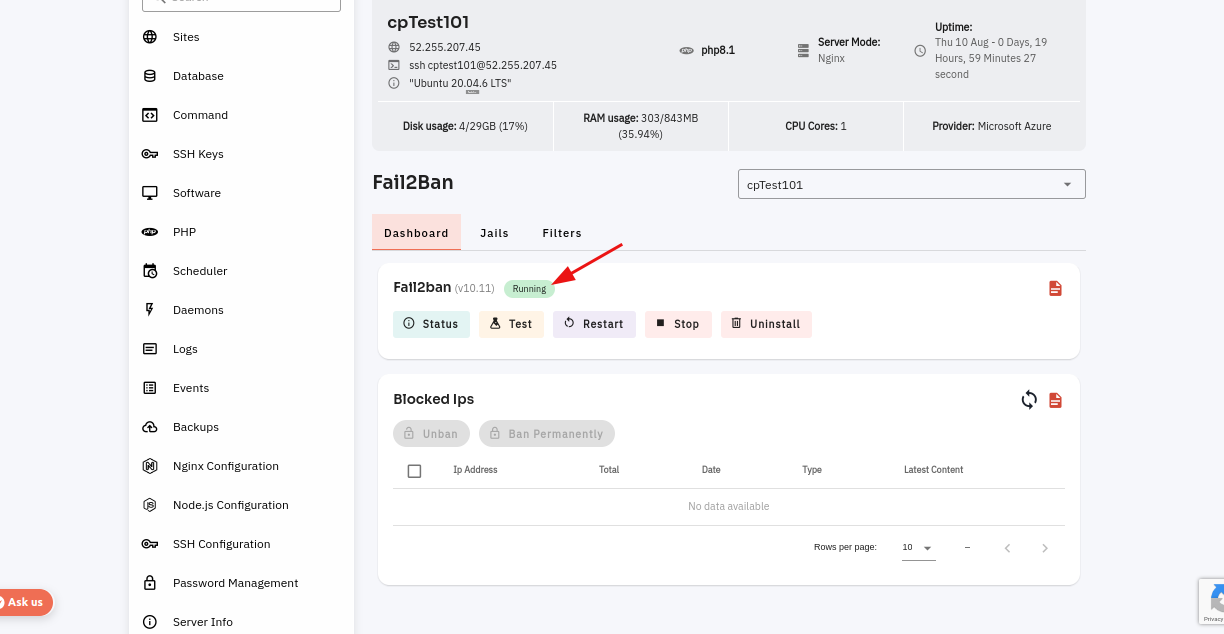
3. Select a Dashboard tab and click on the Status button.

4. A dialog box will open and click on the Yes button to check the Status.
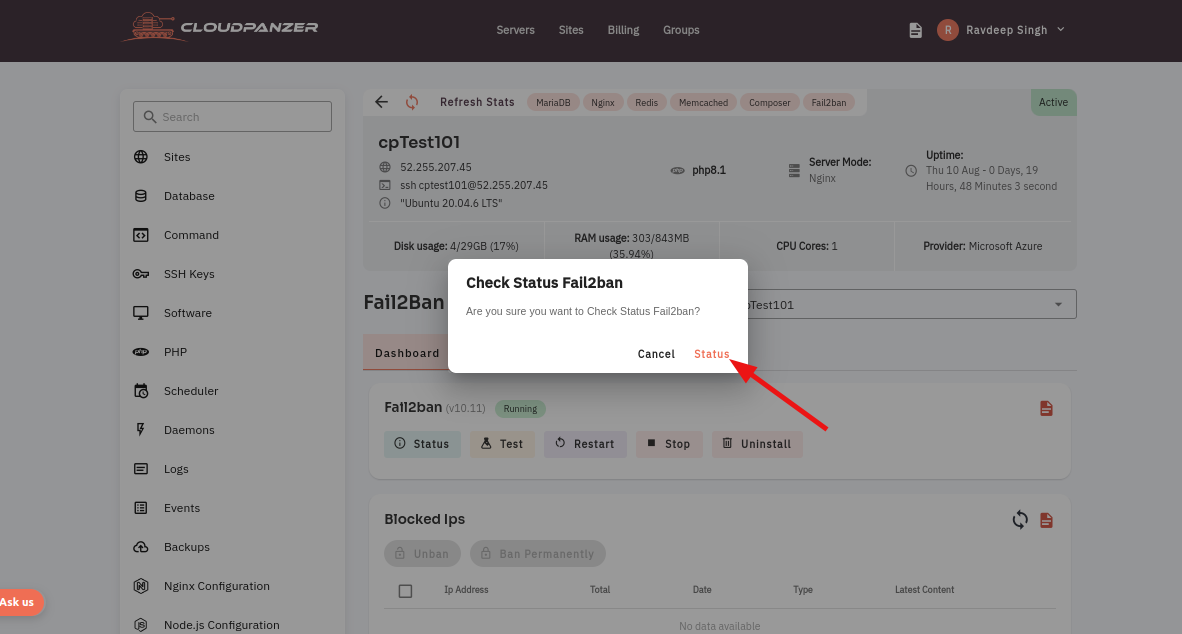
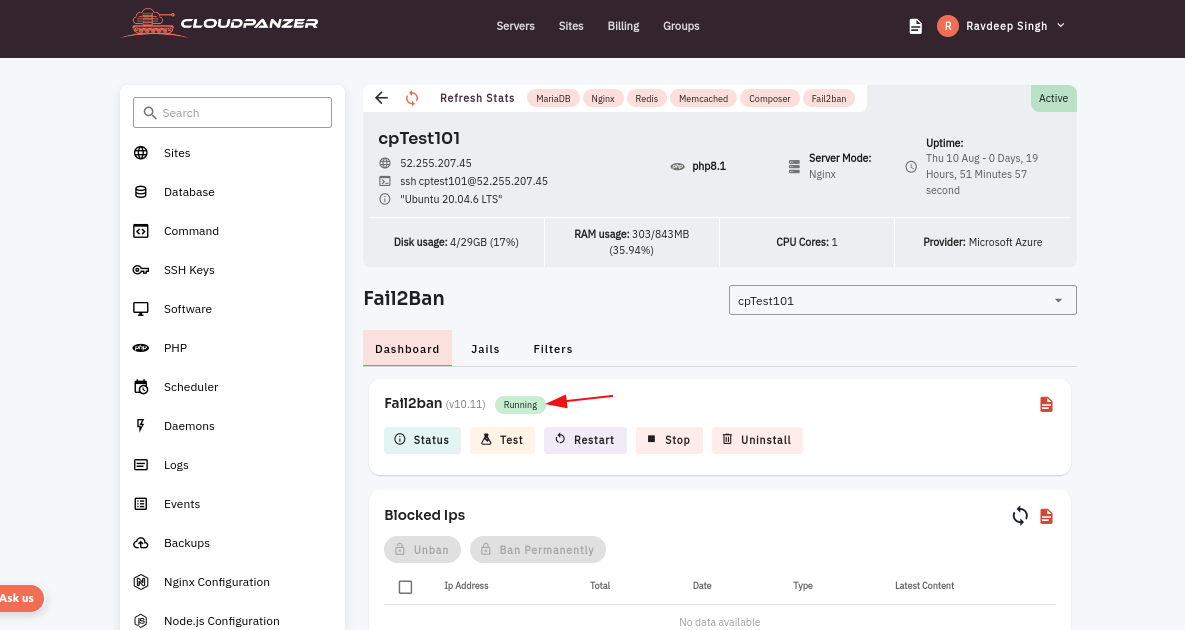
Here, you can see the Status checked successfully.
5. Click on the Test button to test a Fail2Ban.
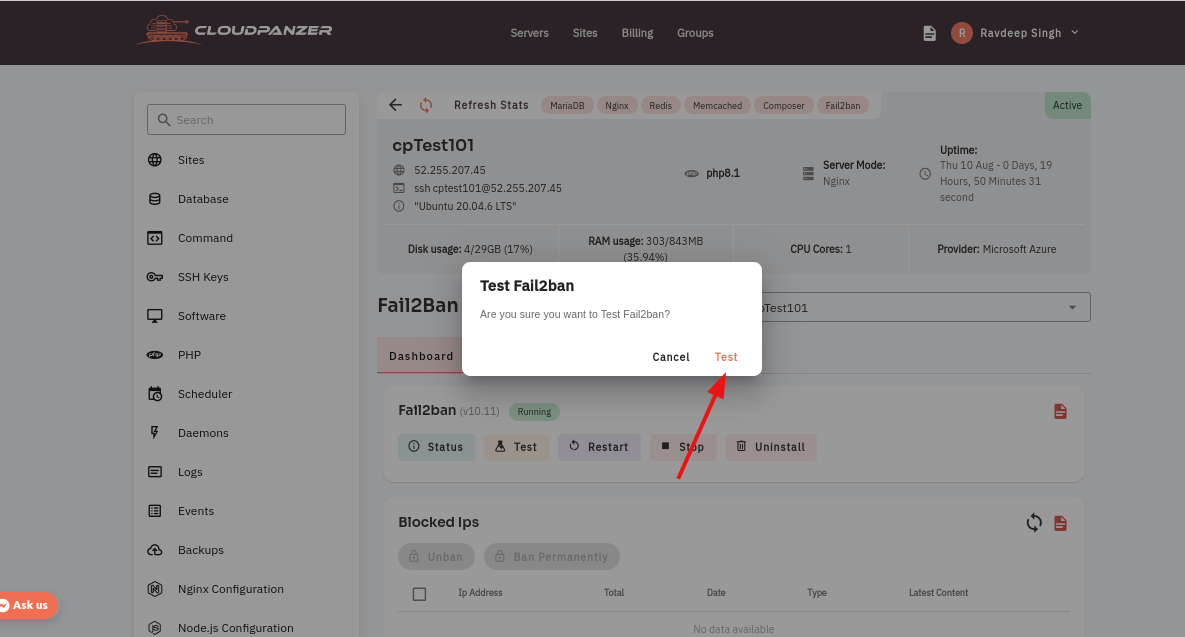
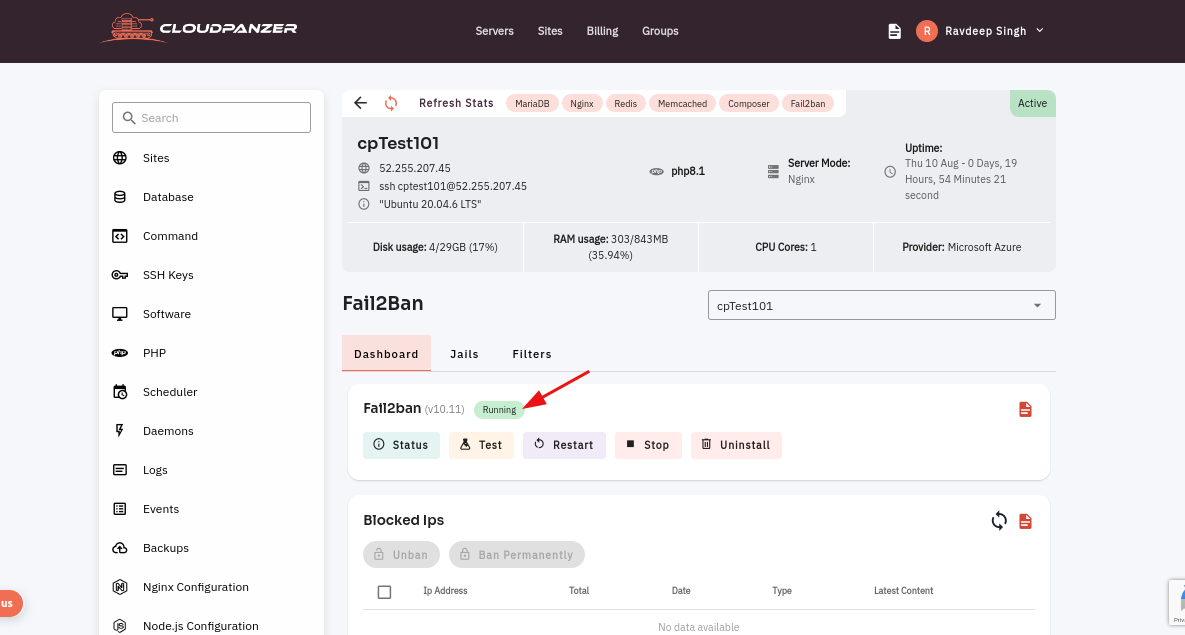
Here, you can see the server tested successfully.
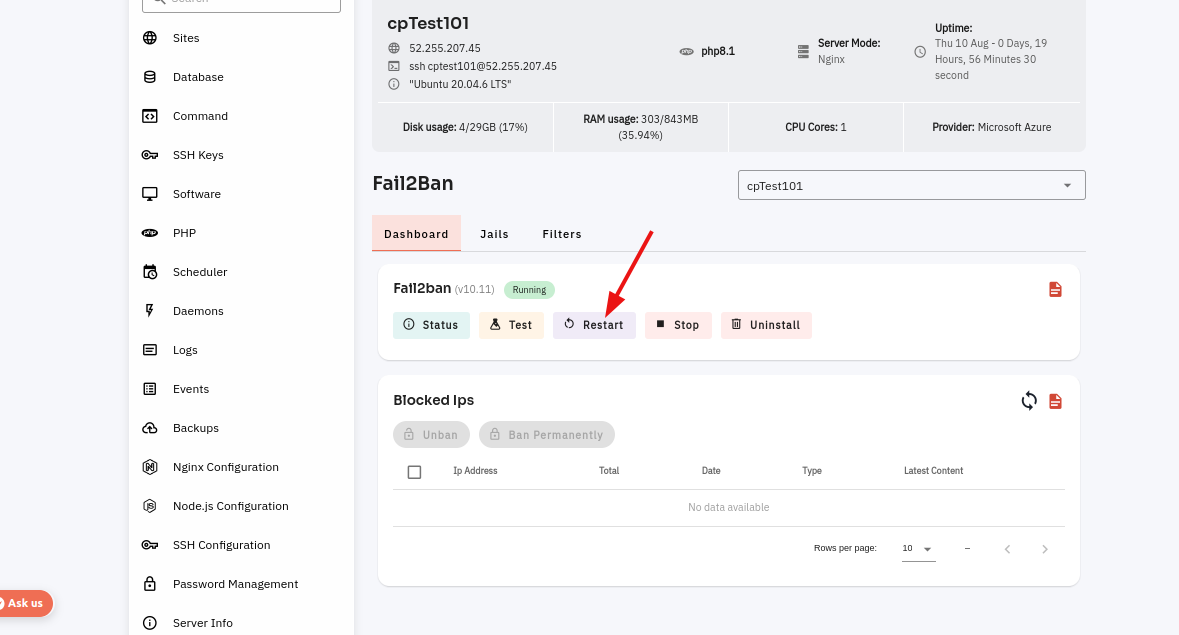
6. Click on the Restart button.
7. A dialog will open, then click on the Restart button.
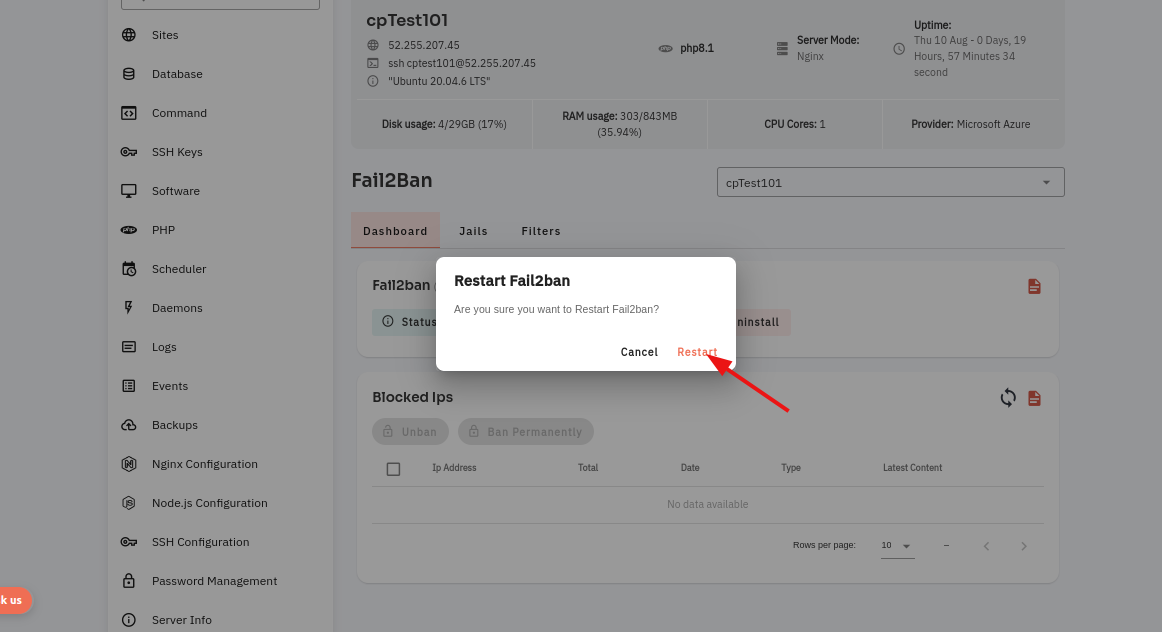
8. Here, you can see Fail2Ban restarted successfully.
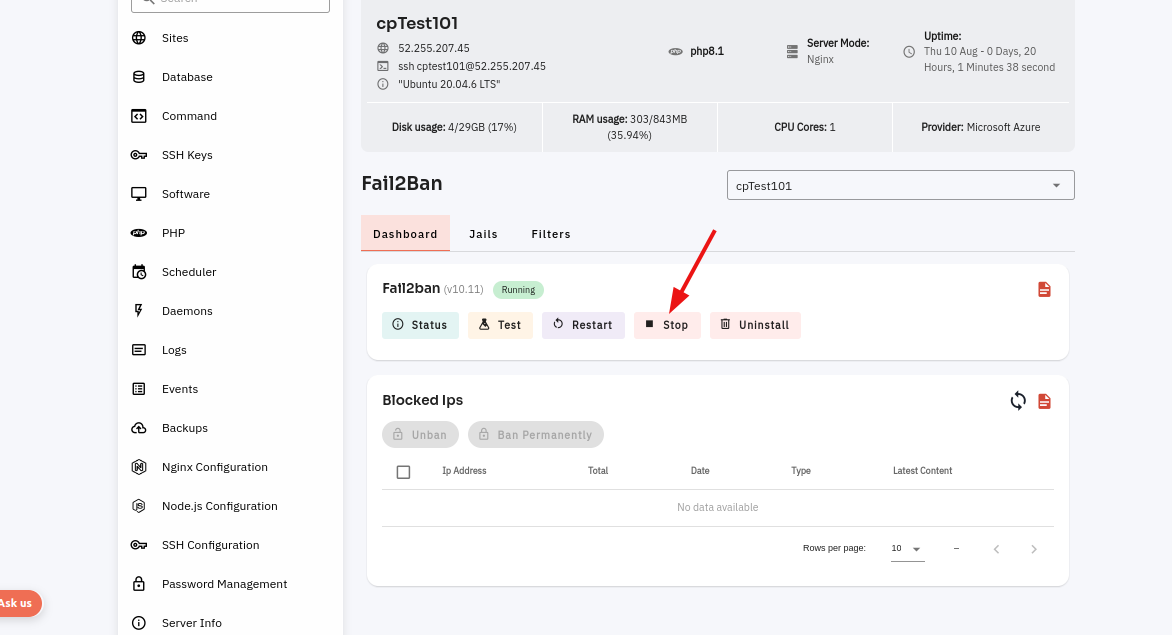
9. Click on the stop button.
10. A dialog will open and click on the stop button.

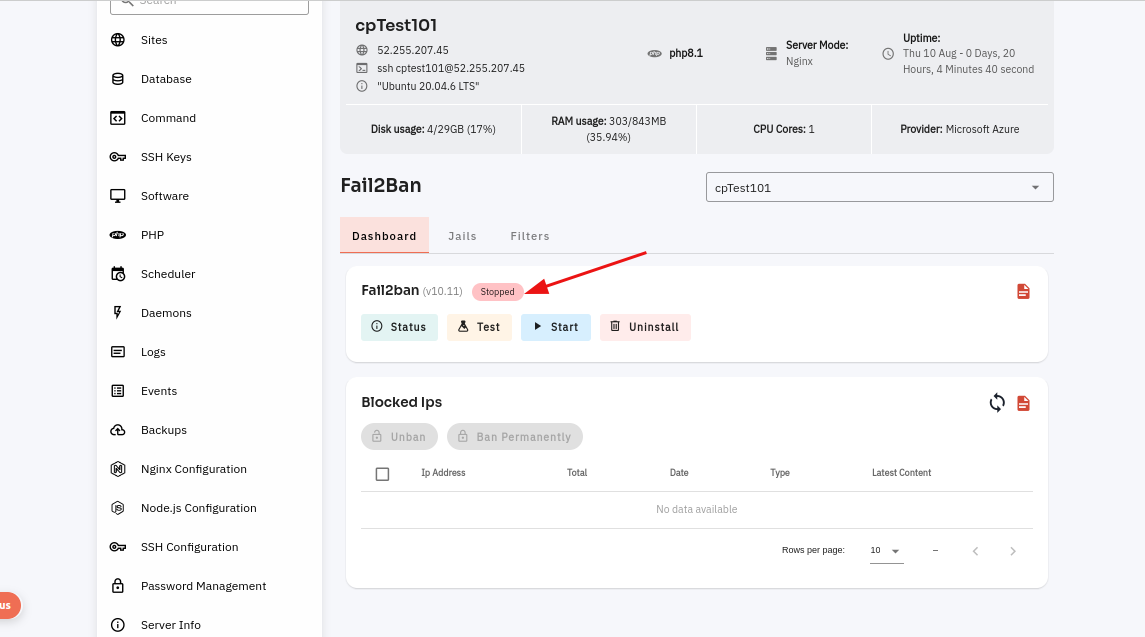
Here, you can see that Fail2Ban stopped successfully.
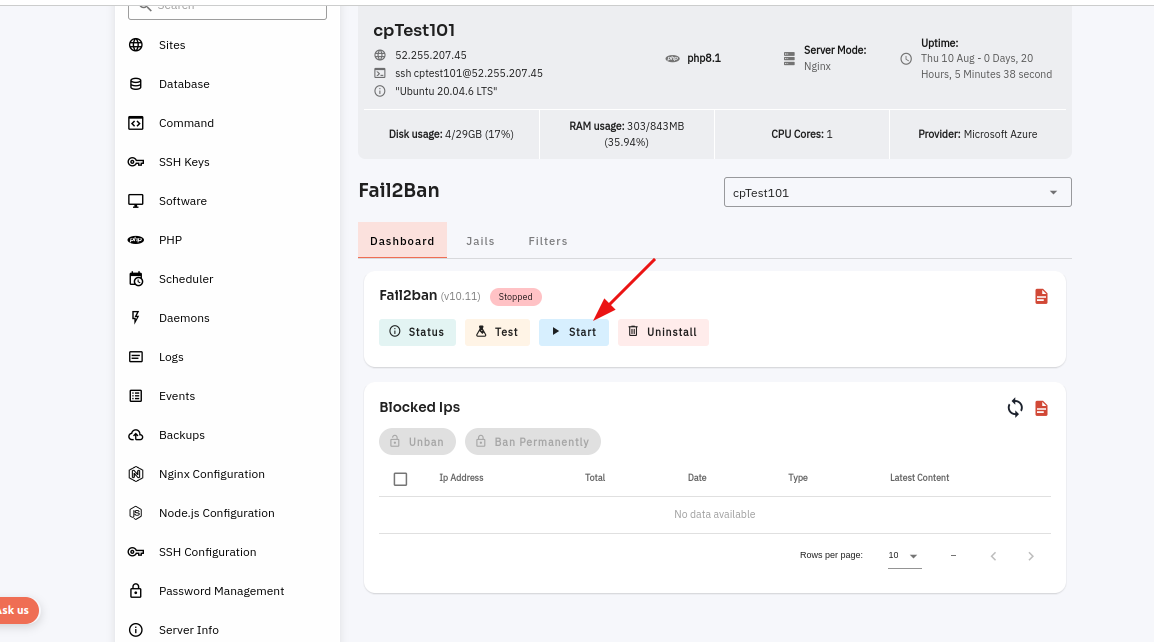
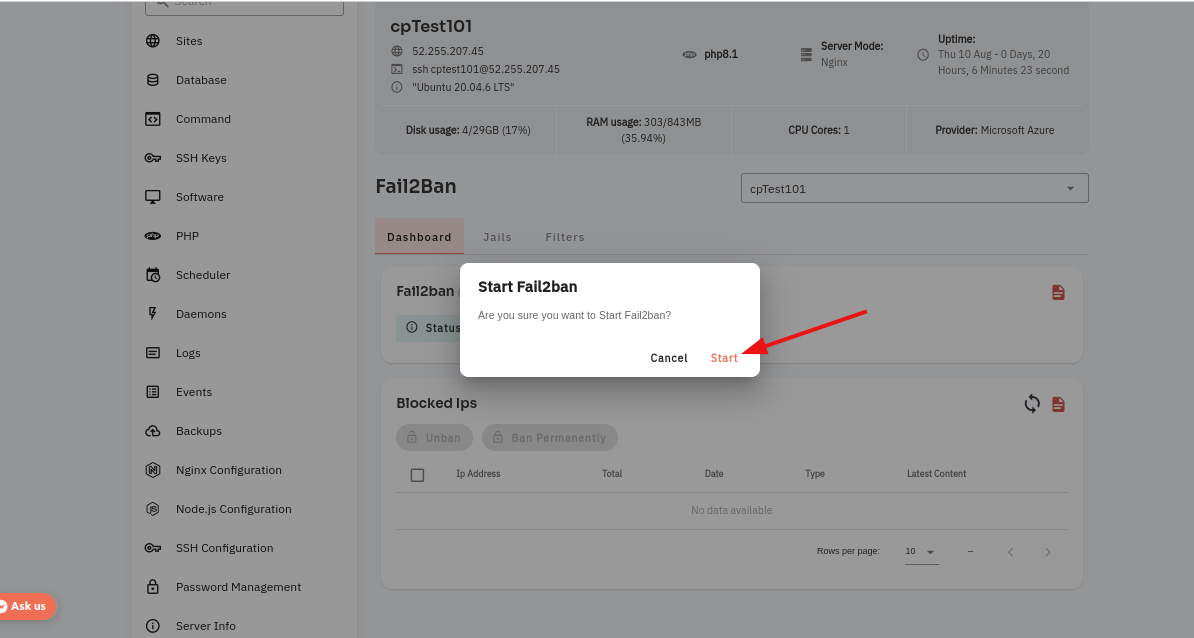
11. Click on the Start button.
12. A dialog box will open, then click on the start button.
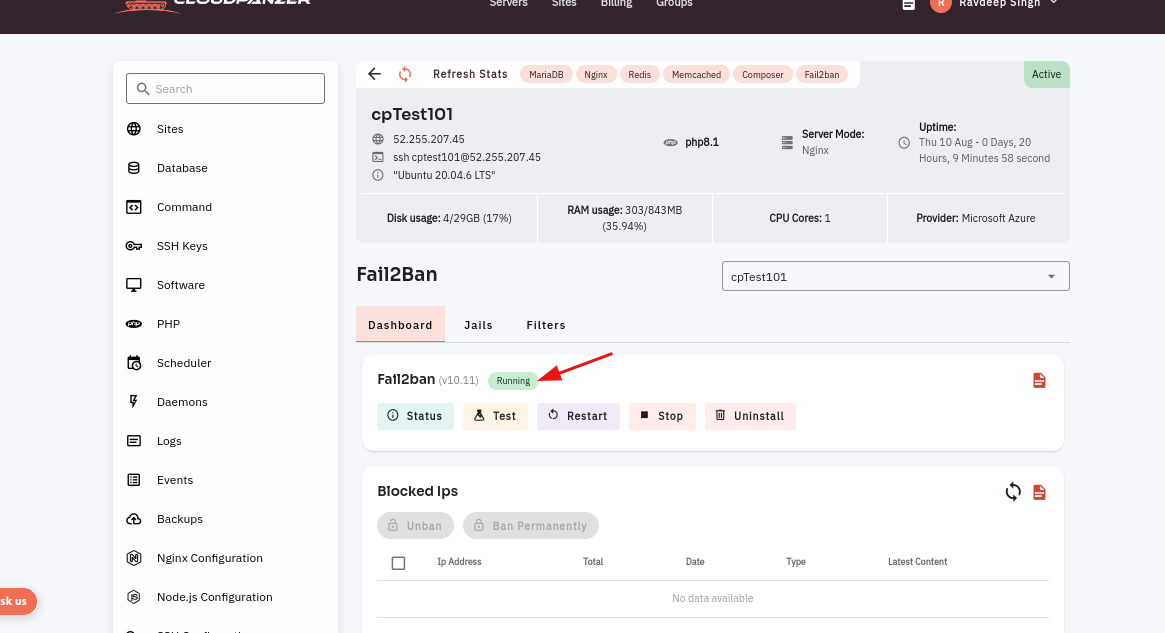
13 . Here, you can see Fail2Ban Started Successfully.
No Comments