How to configure Fail2ban Software through the cloudpanzer website?
Fail2ban is a popular open-source intrusion prevention software that helps protect your server by monitoring log files and blocking IP addresses that show signs of malicious activity.
Follow the steps below to configure Fail2ban Software.
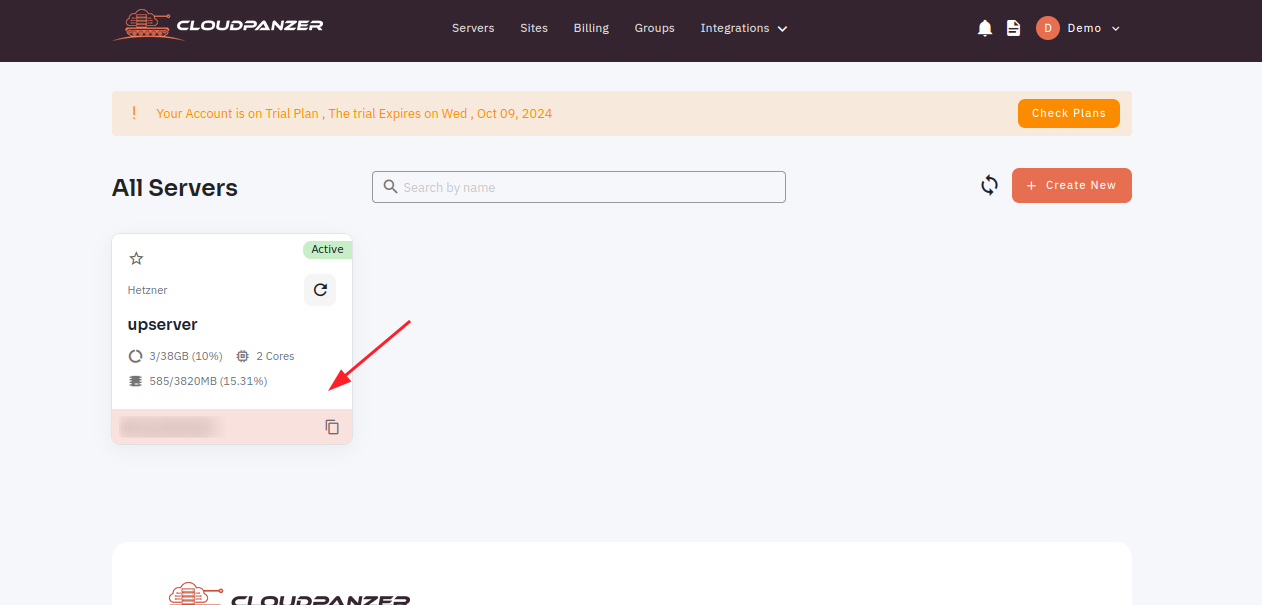
1: Once logged in, look for a "Server" and click on it.
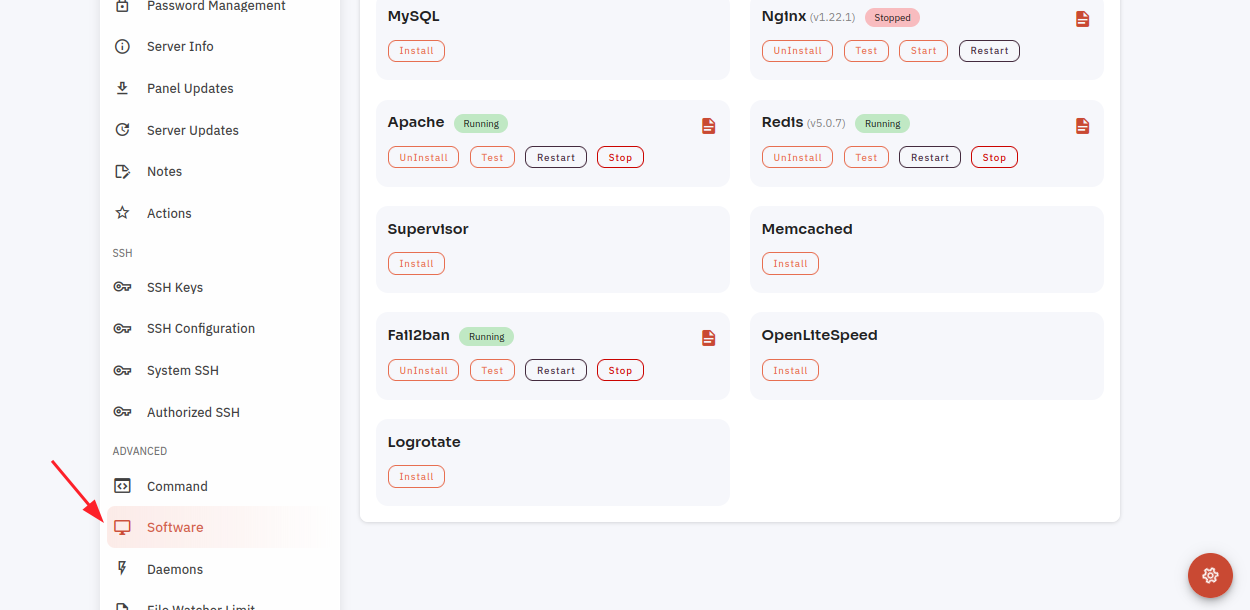
2. Select the Software Option.
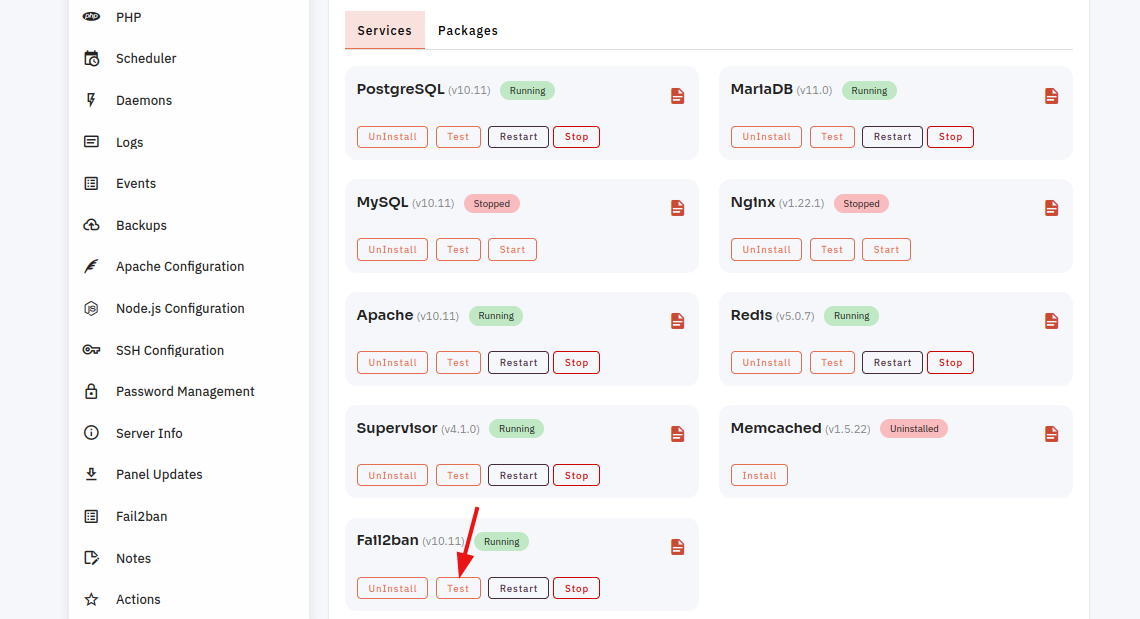
4. Open a dialog and click the "Text" button to test the Fail2ban software.
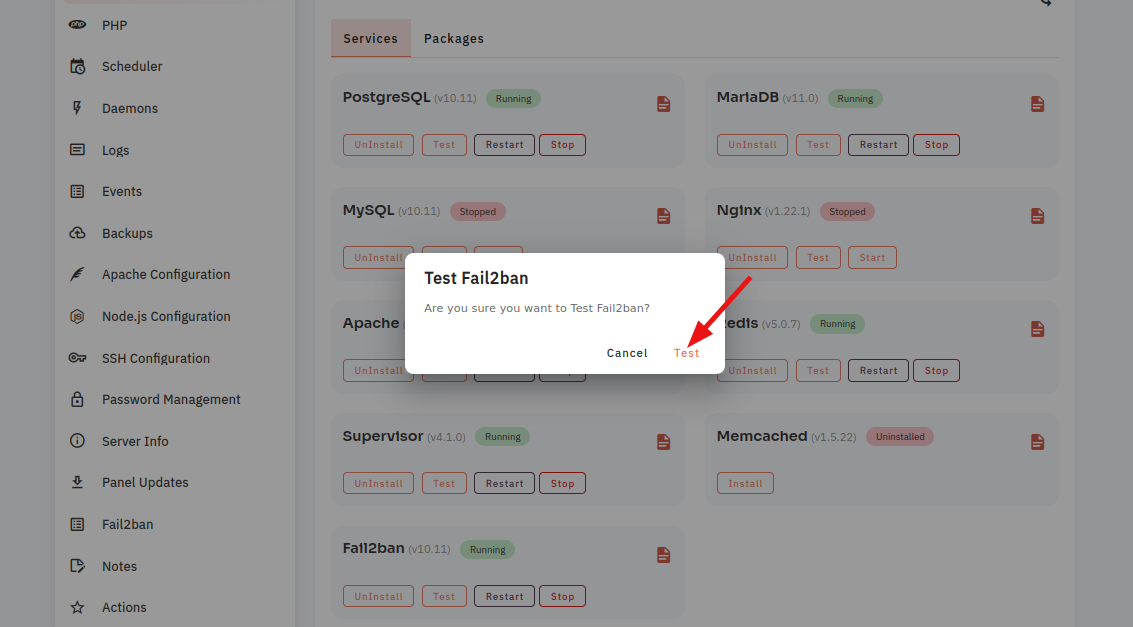
Here, you can see the Fail2ban Test successfully.
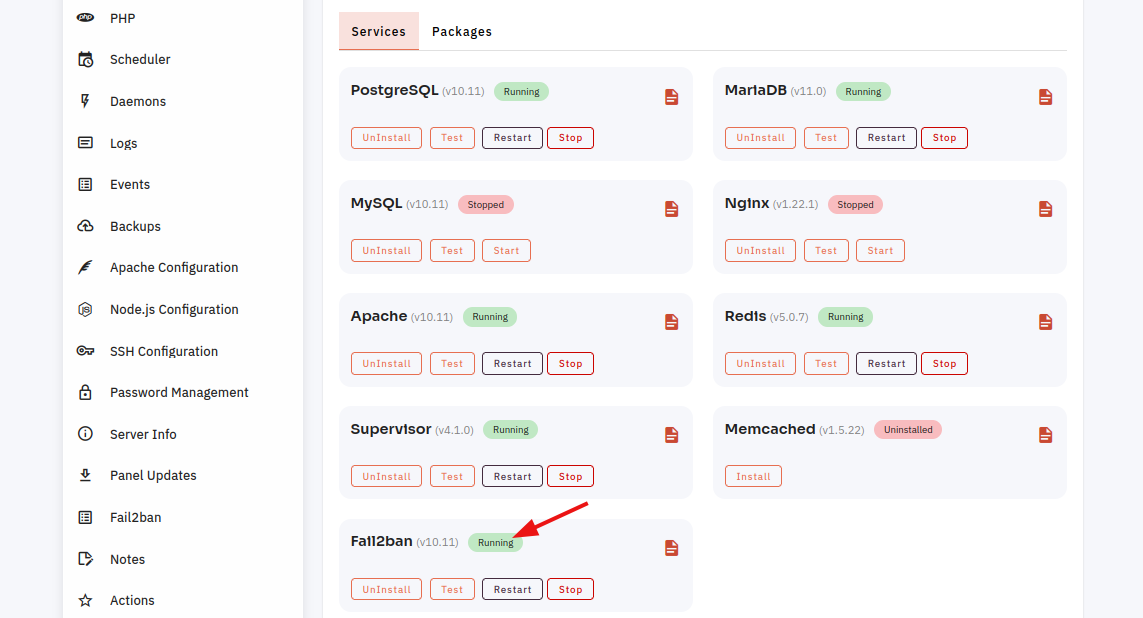
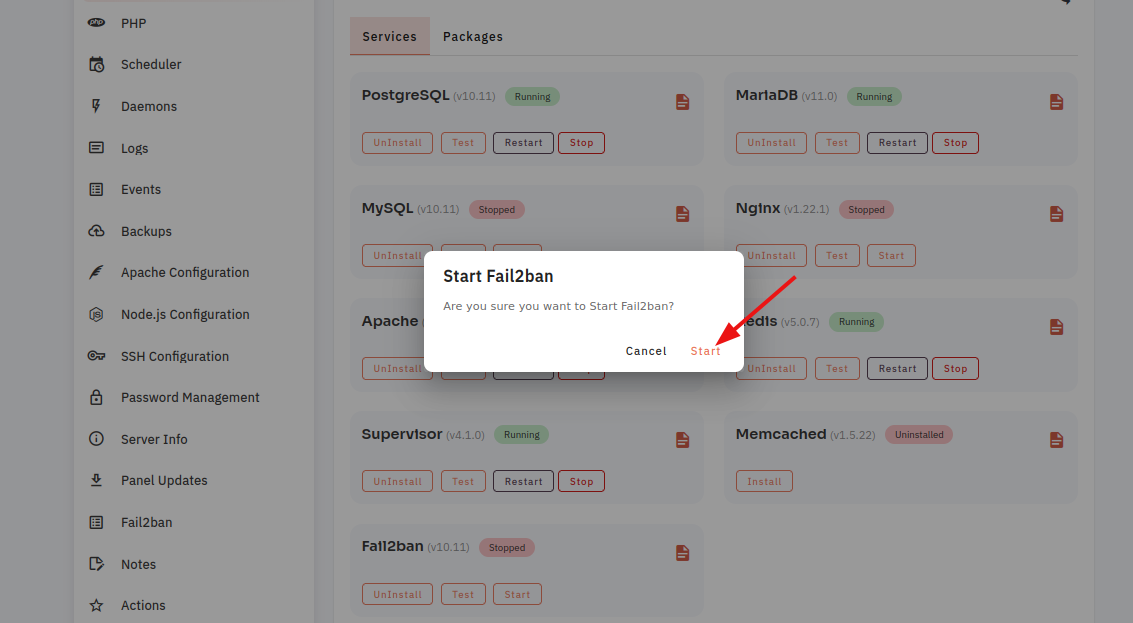
6. Open a Dialog and Click on the Start Button to start Fail2ban software.
Here, you can see that Fail2ban started successfully.
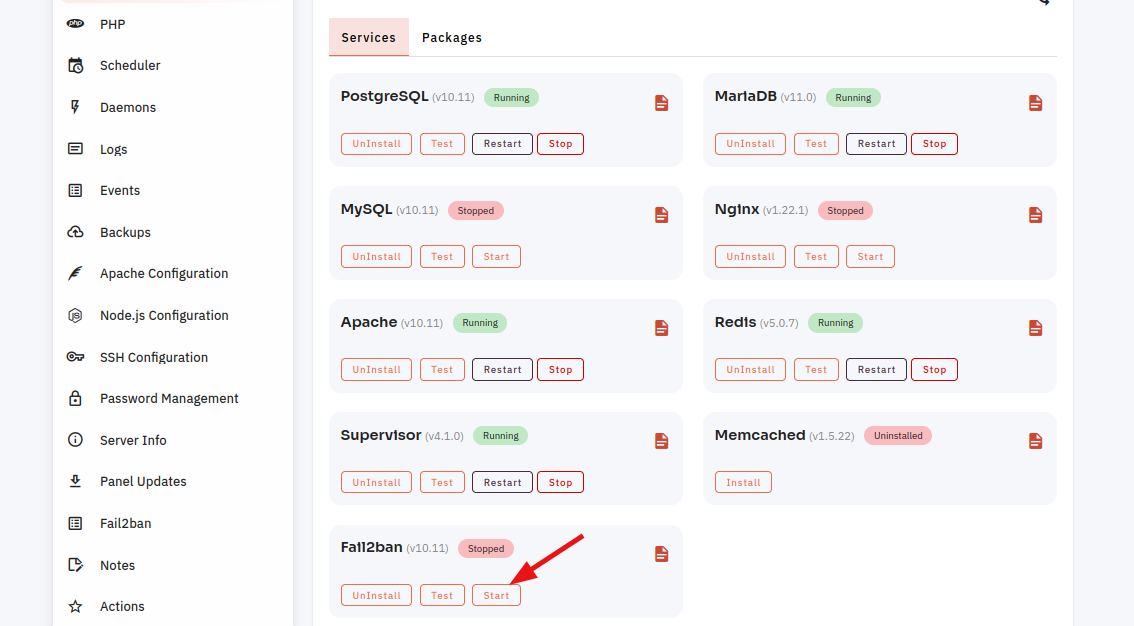
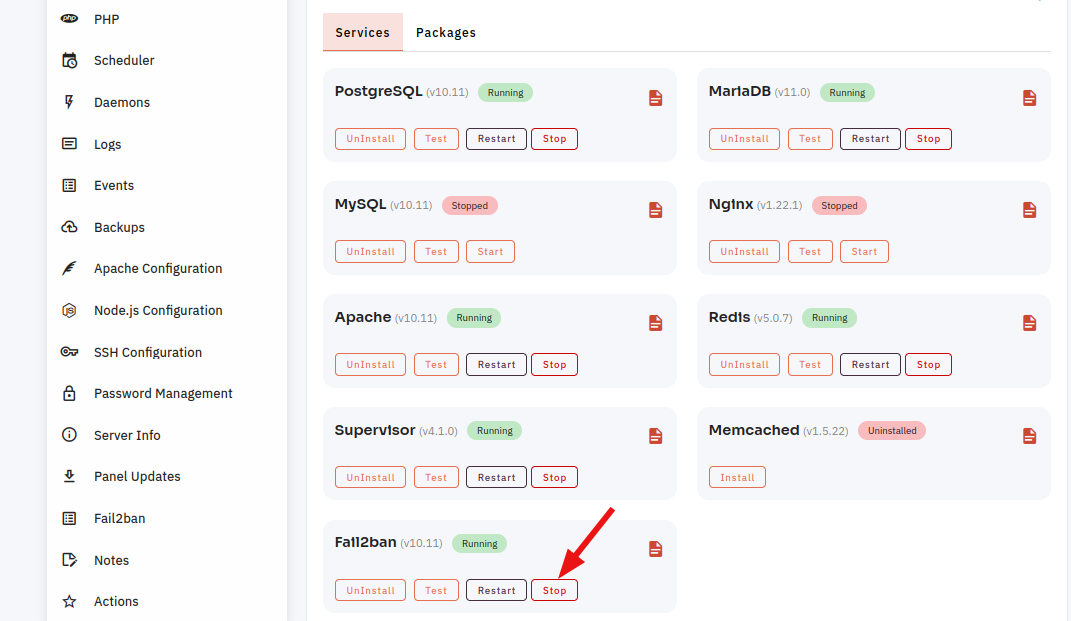
7. Select the Stop option.
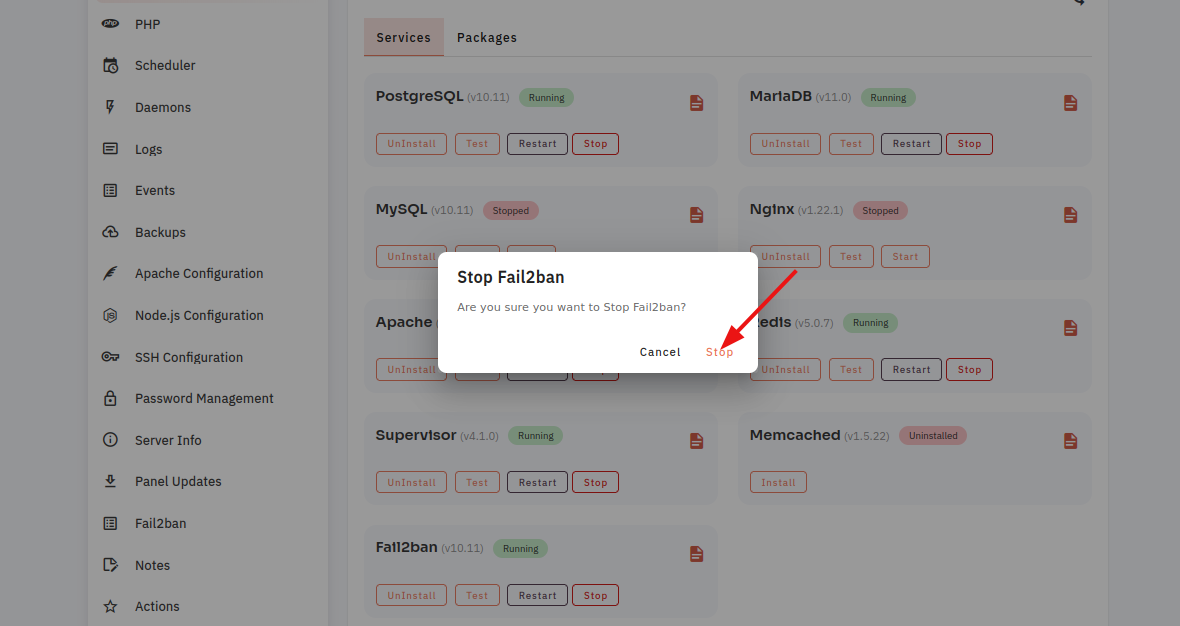
8. Open a Dialog and Click on the Stop Button to Stop Fail2ban software.
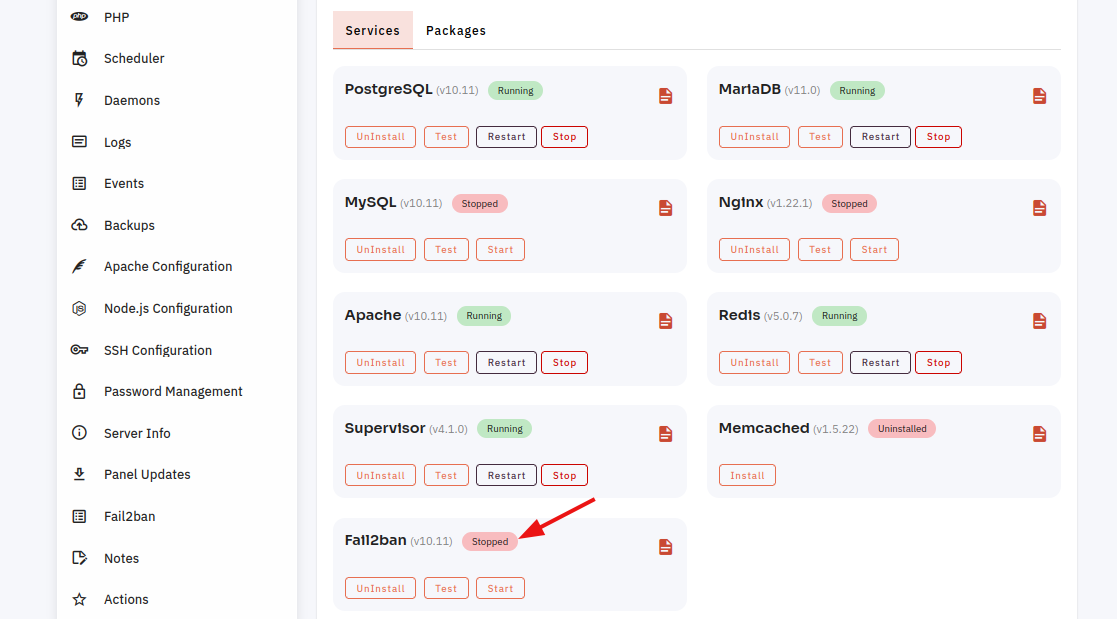
Here, You can see Fail2ban Stopped successfully.
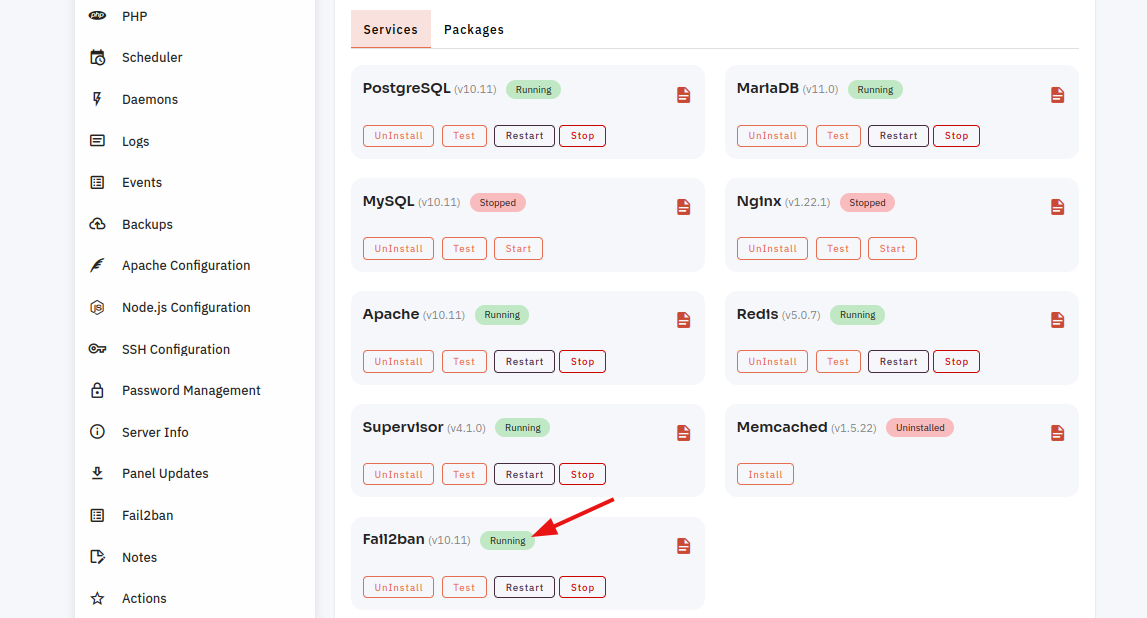
9. Select the Restart Option.
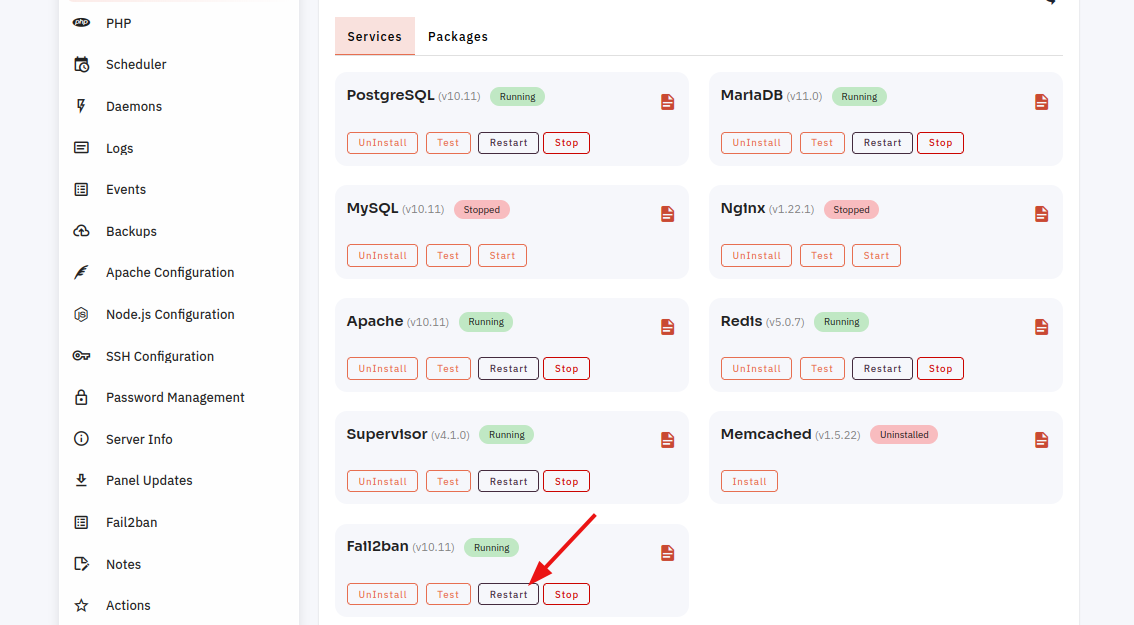
10. Open a dialog and click the restart button to restart the Fail2ban software.
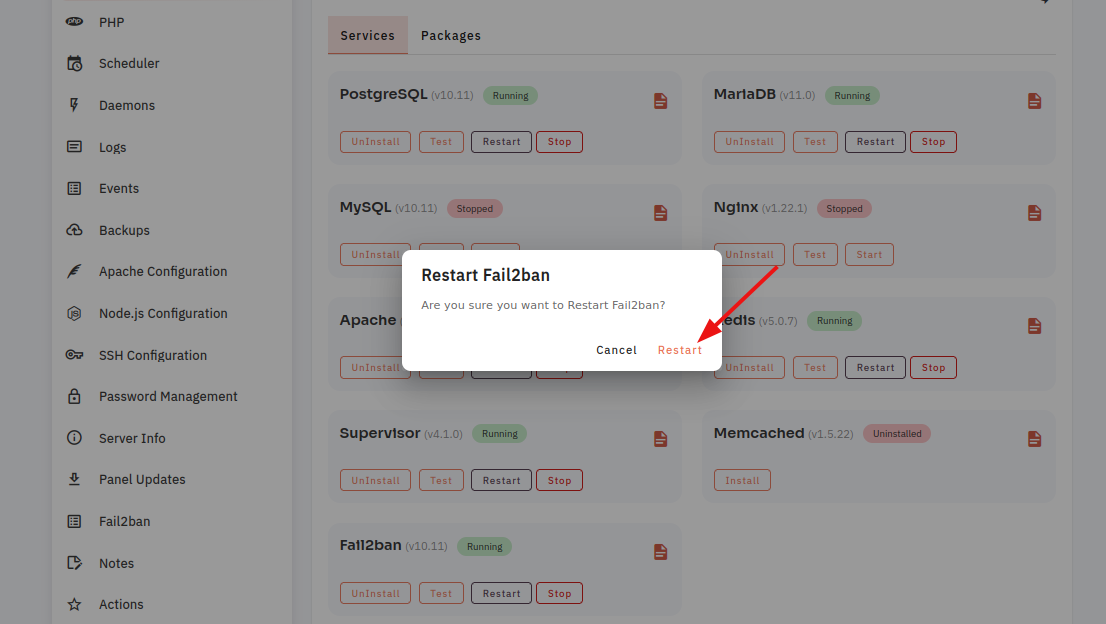
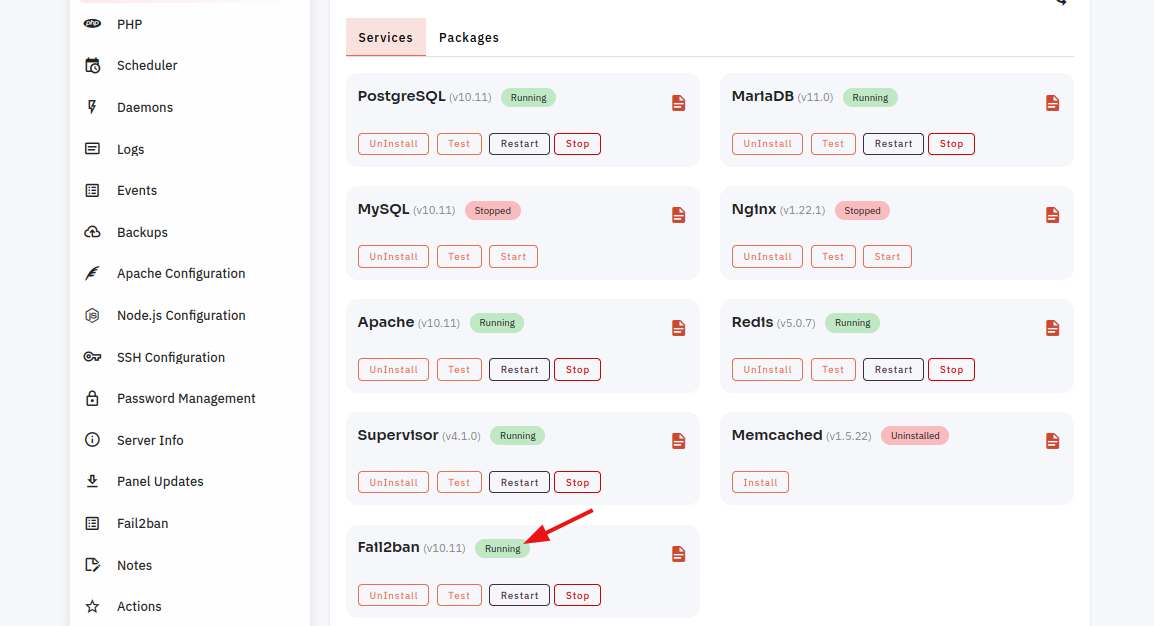
Here, you can see that Fail2ban restarted successfully.
11. Click on the Event Button.
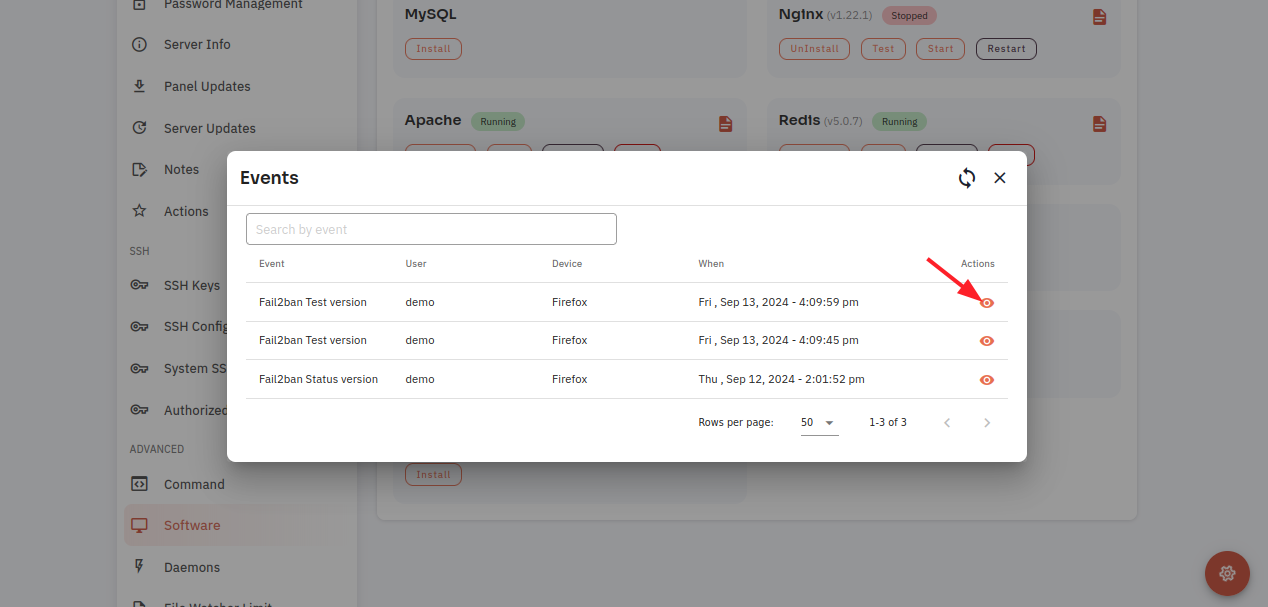
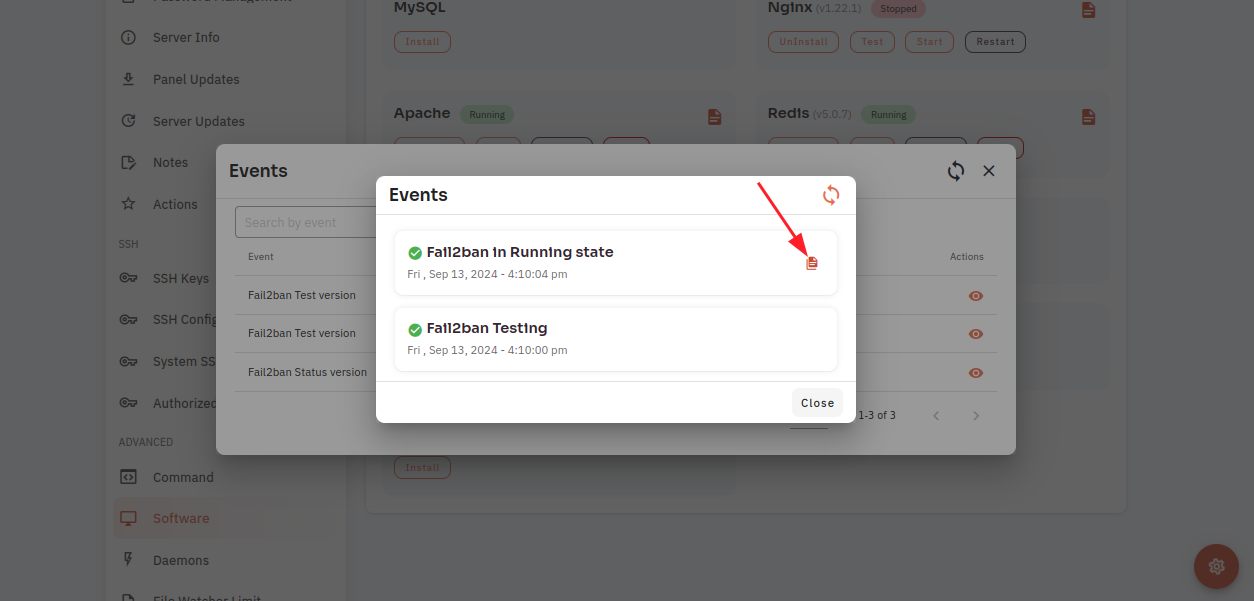
12. Click On the Eye icon.
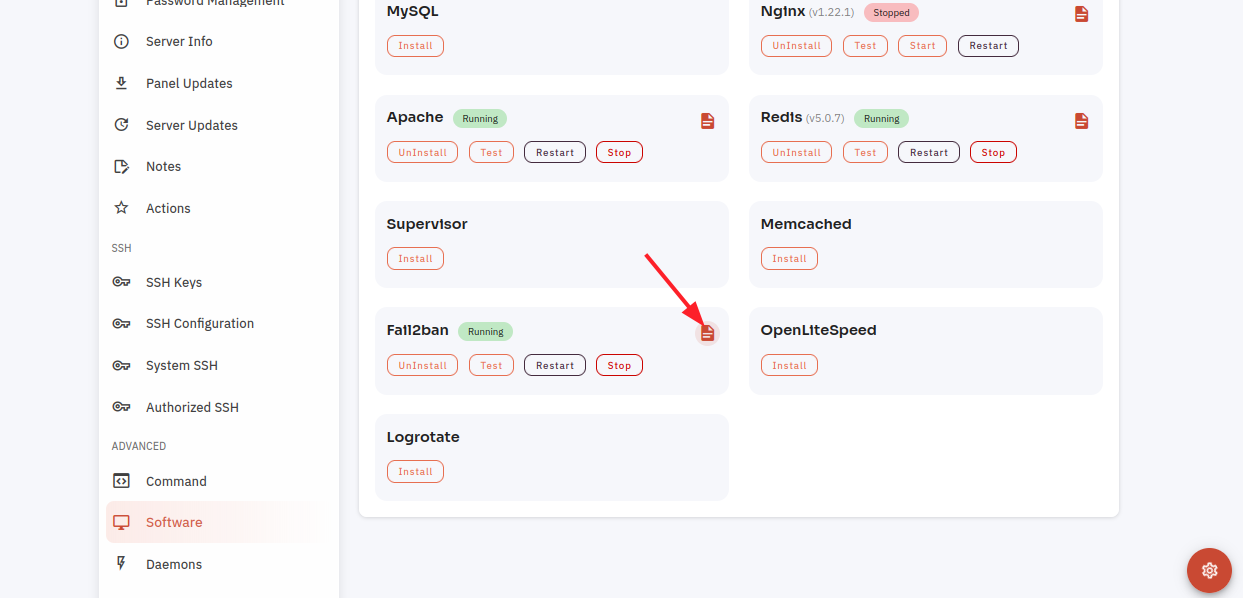
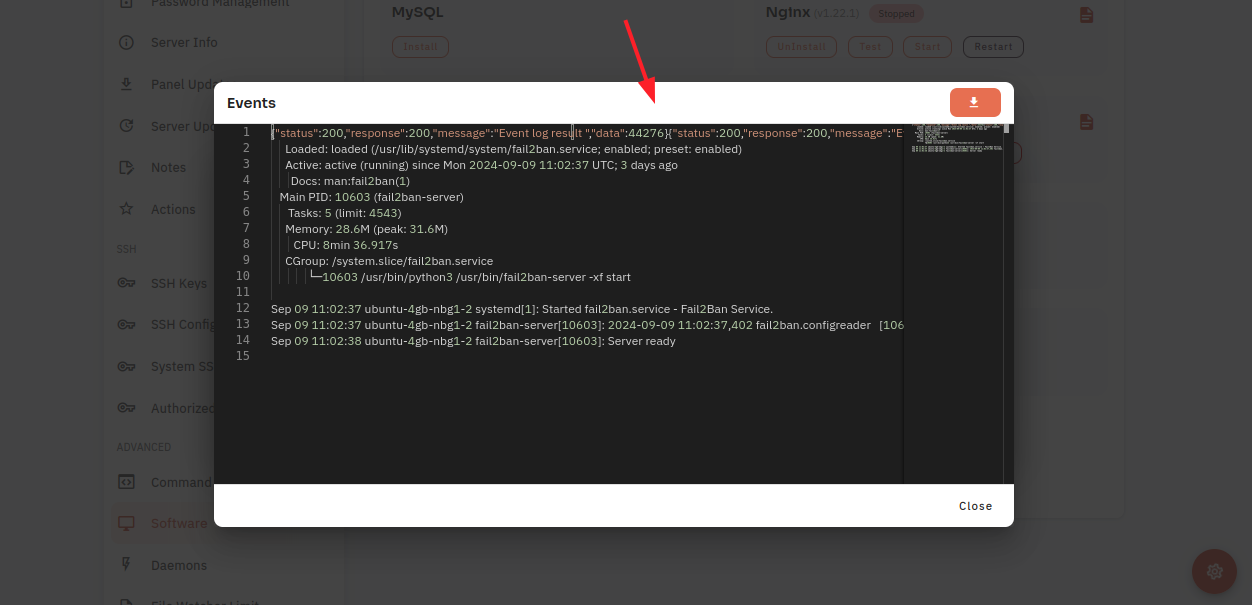
13. Click on the File icon.
Here, you can see Event data.
No Comments